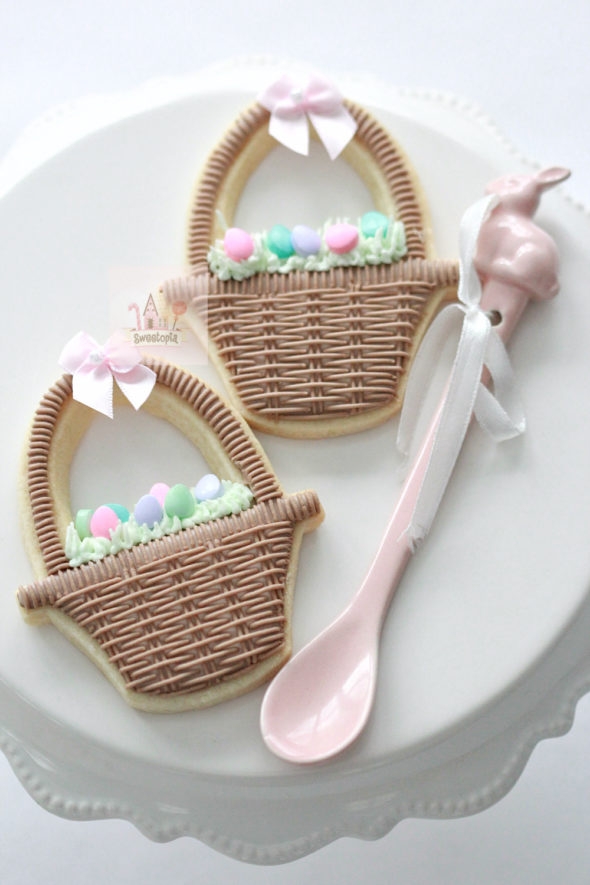
Hosting a Cookie Decorating Party
Hi there! Today I’m sharing how to host a cookie decorating party for about 6-10 adults, including recipes, a time line of sorts, and my top tips. If you’d like to host a cookie decorating party for more people (for kids), here’s the post for you. If you decide to have more adults, you can use this guideline as well, but will need to prepare more of everything of course. Before I get started, in case you’d like a video tutorial for these cookies, HERE it is.
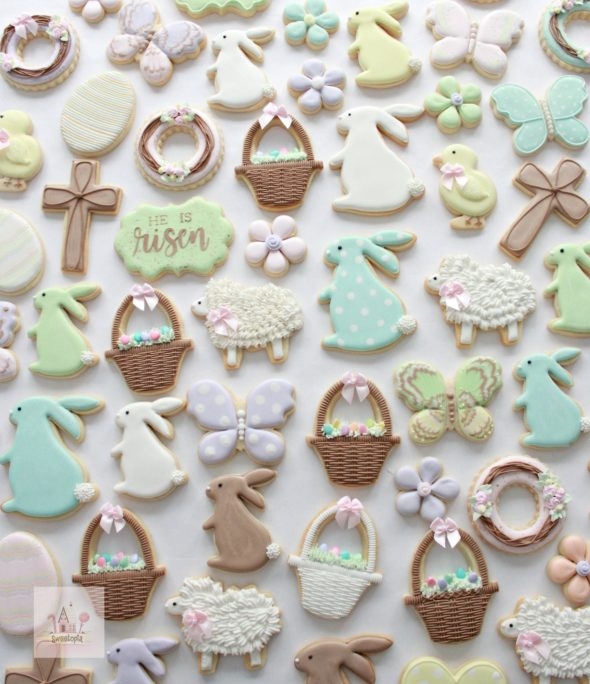
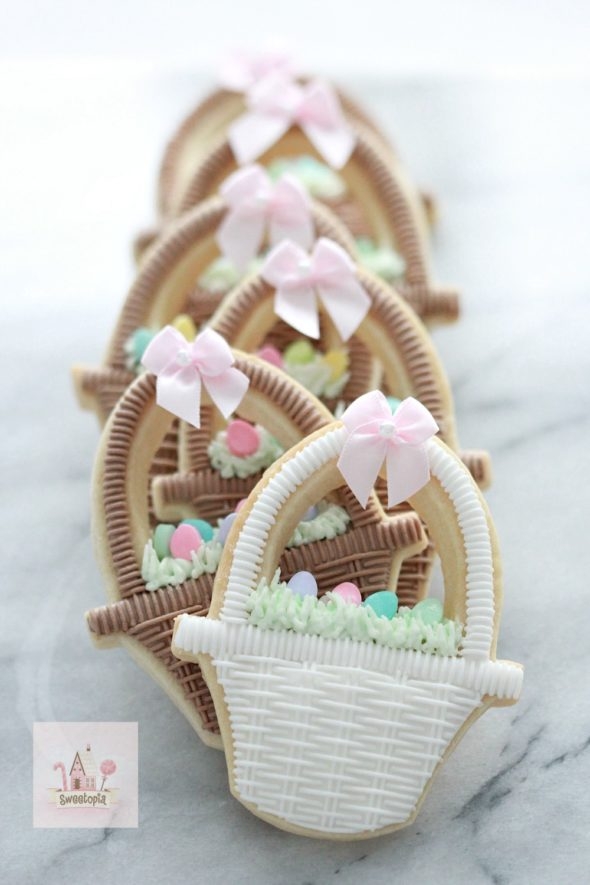
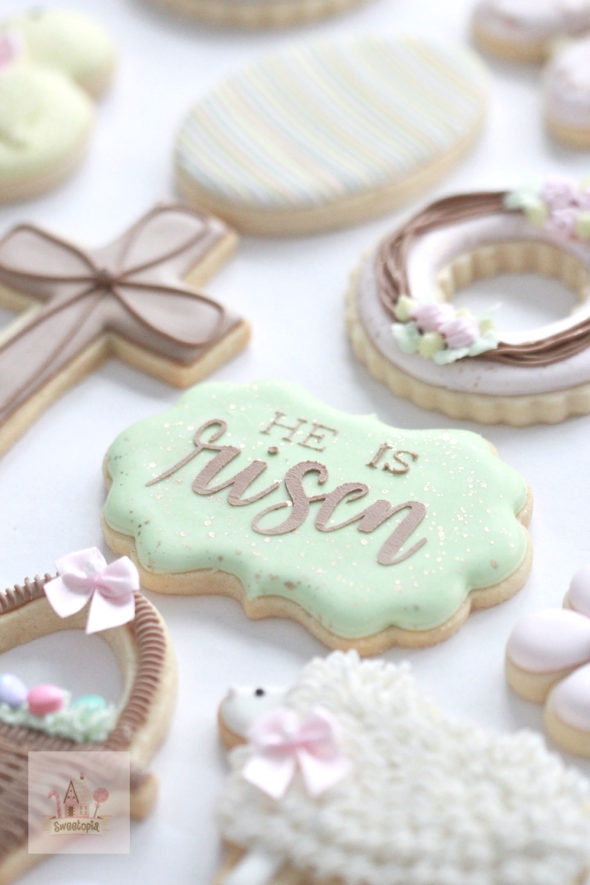
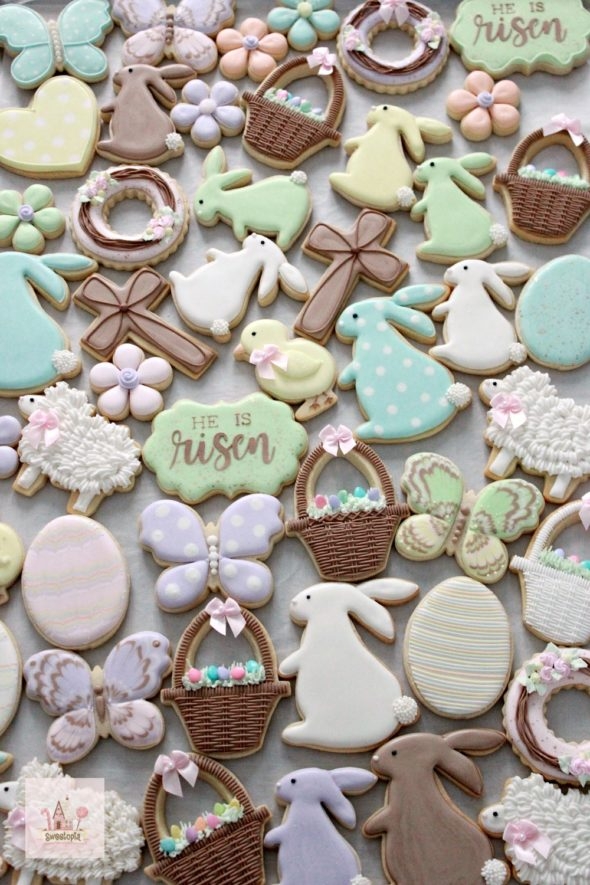
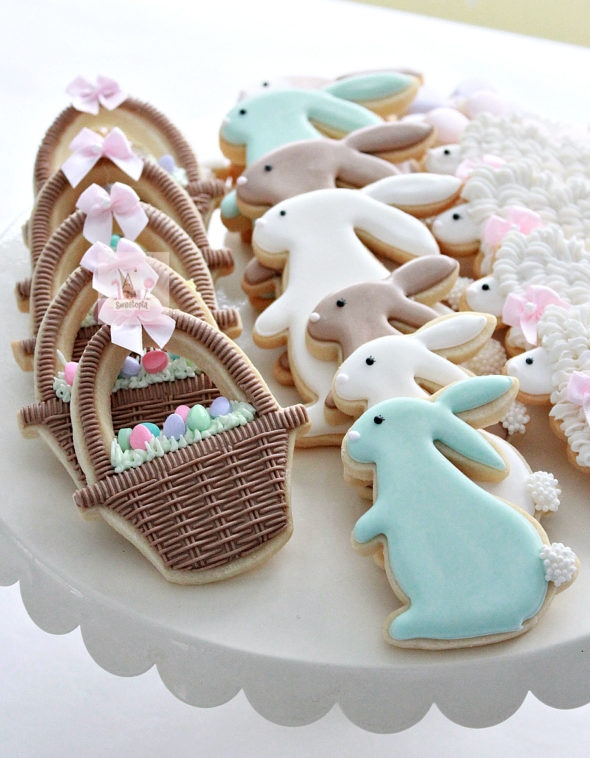
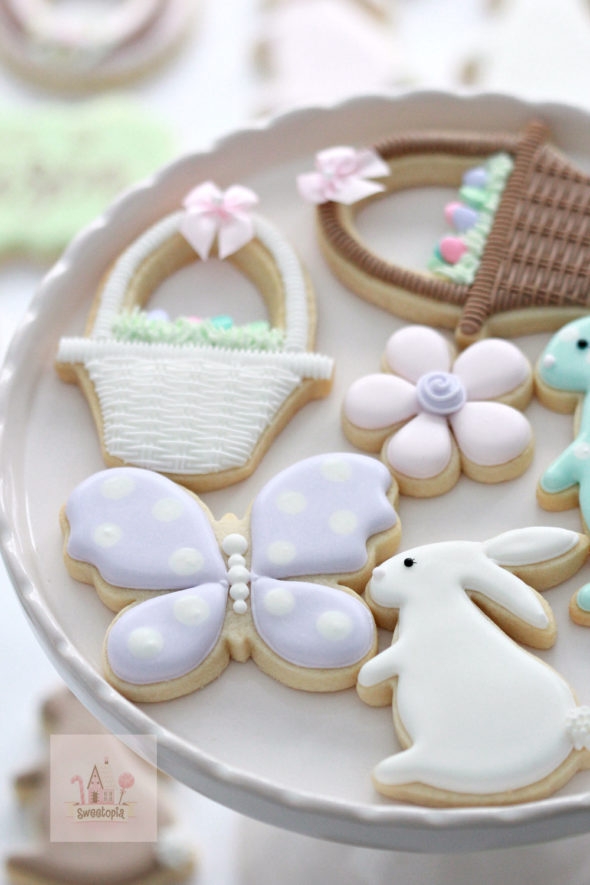
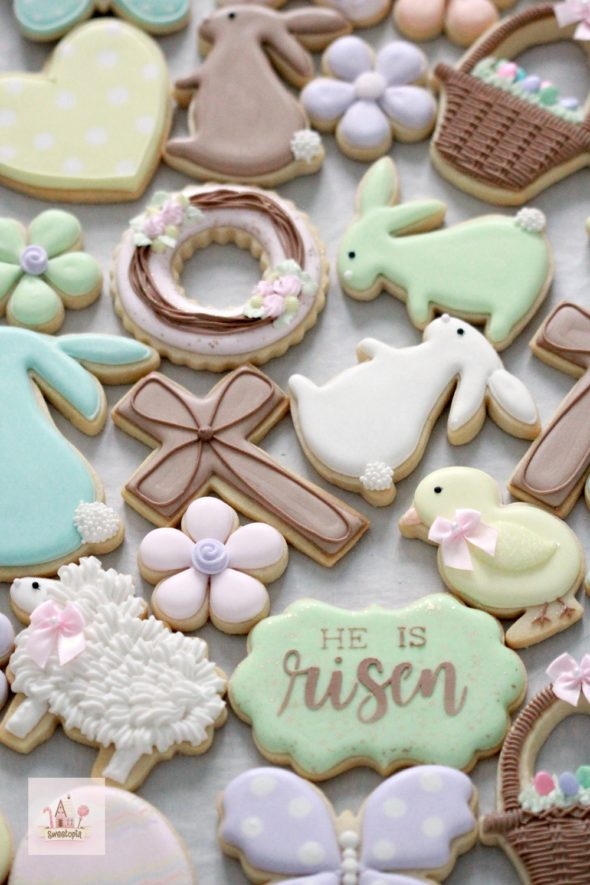
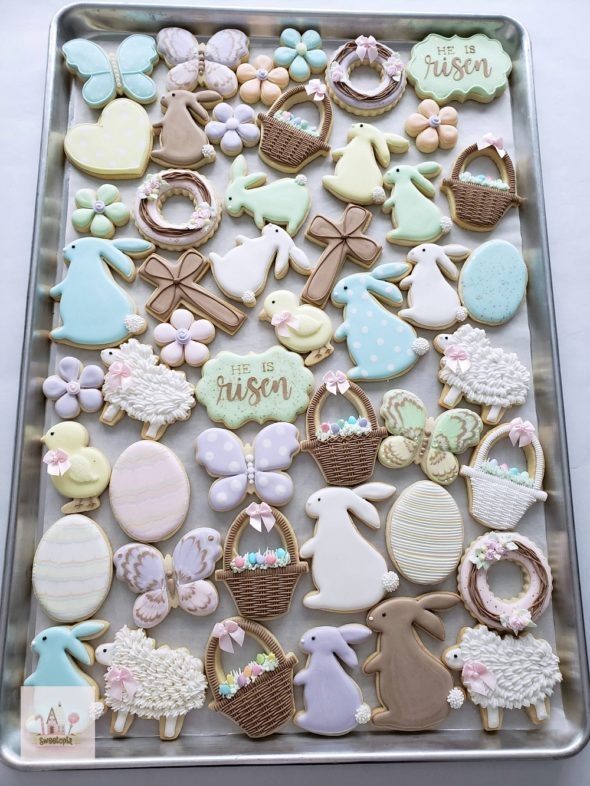
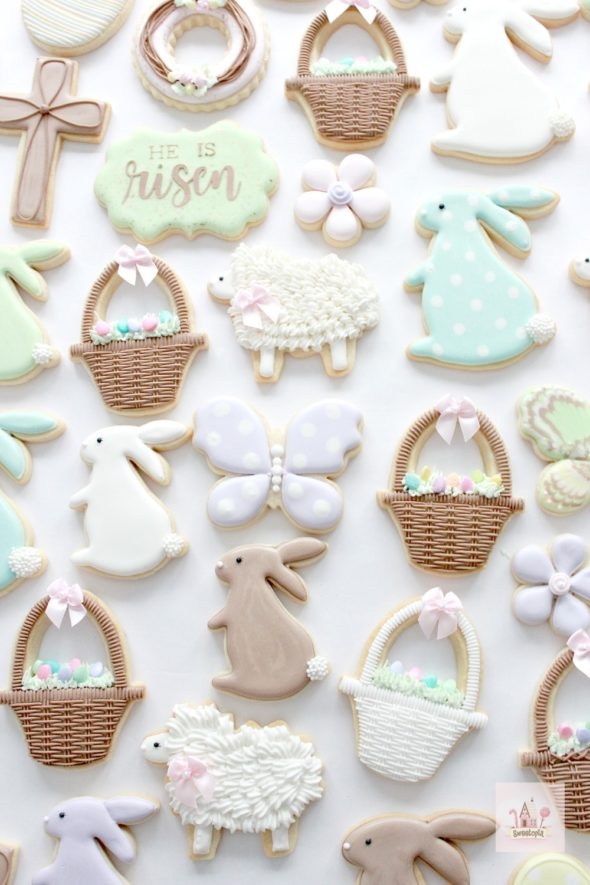
The ladies coming to decorate have never decorated cookies before, so I used simple designs. In case you’d like to host an Easter theme, I’ll share some basic how-to’s and the tools etc. below.
The Schedule
I recommend breaking up the preparation, unless you have at least one full day to make the dough, cut out the cookie shapes and bake, make the icing, color the icing, prepare piping bags etc. In my case I made the cookies ahead and froze them, made and colored the icing a day before and set up the decorating area the morning of.
Here are some free printables that you might want to use for your cookie and icing preparation.
Here is a post on thawing frozen cookies, if you chose to make and freeze your cookies ahead of time.
Depending on how much time you and your group have, you could have everyone color the icing together, make piping bags and even make the icing too. I decided to make everything ahead, as we had a smaller window of time, about 3 hours, including lunch.
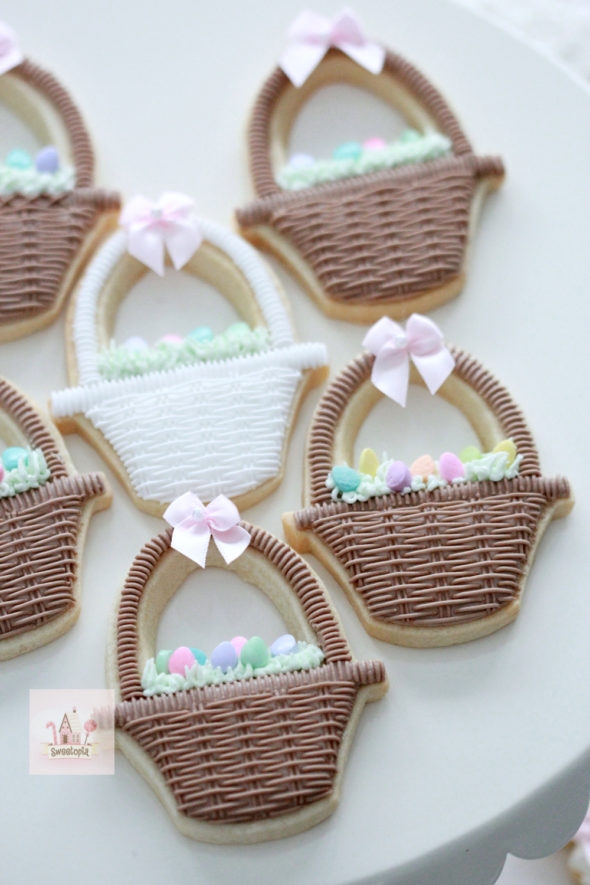
Not included in this schedule is the grocery shopping you’ll need to do. It does vary depending on what you already have at home, but you’ll need to have all the cookie ingredients, icing ingredients, gel colors, cookie cutters, tools, and depending on how you host, groceries for drinks, food etc. I did also buy paper plates so I’d have less dishes around. We ate lunch right before decorating, so I didn’t want to have a lot of dishes cluttering the sink/kitchen.
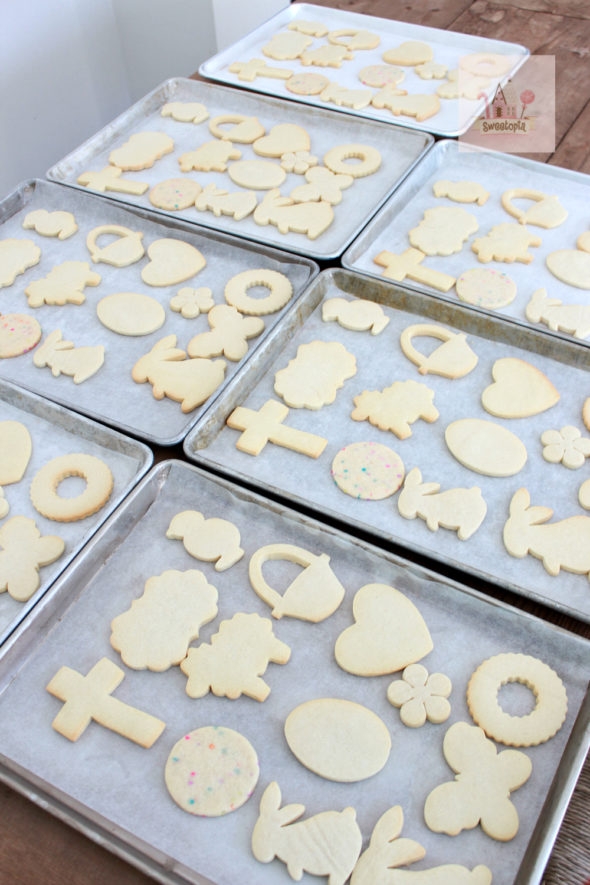
The Recipe – Sugar Cookies
Cut Out Sugar Cookies
I used this sugar cookie recipe, but if you’d like to decorate a different cut out cookie recipe, you can find a selection of ideas here.
I did also have leftover circle cookies from this post, confetti sugar cookies, enough for one cookie per person.
Cookie Cutters
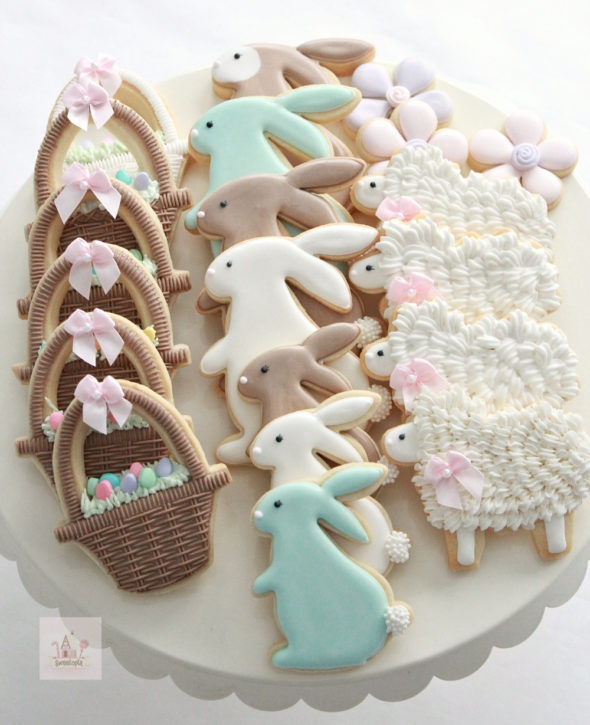
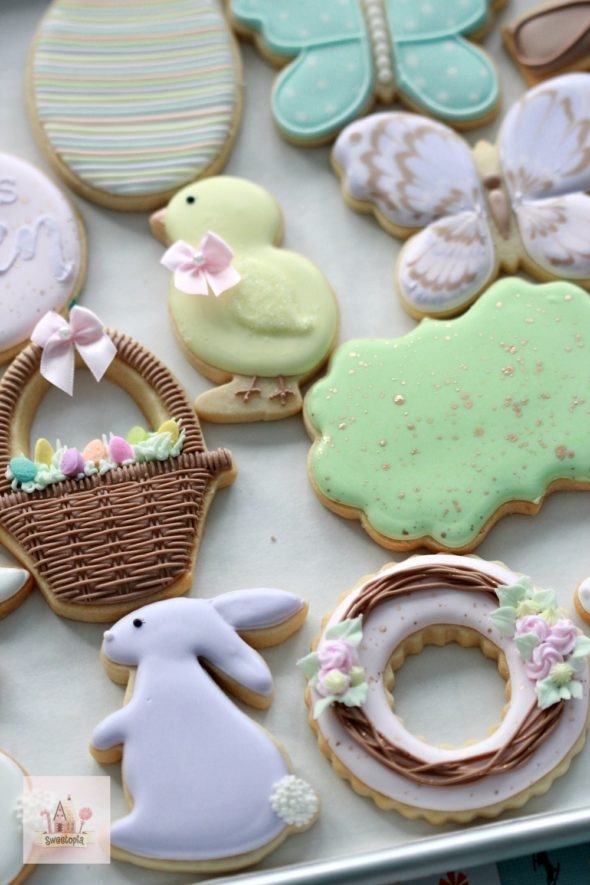
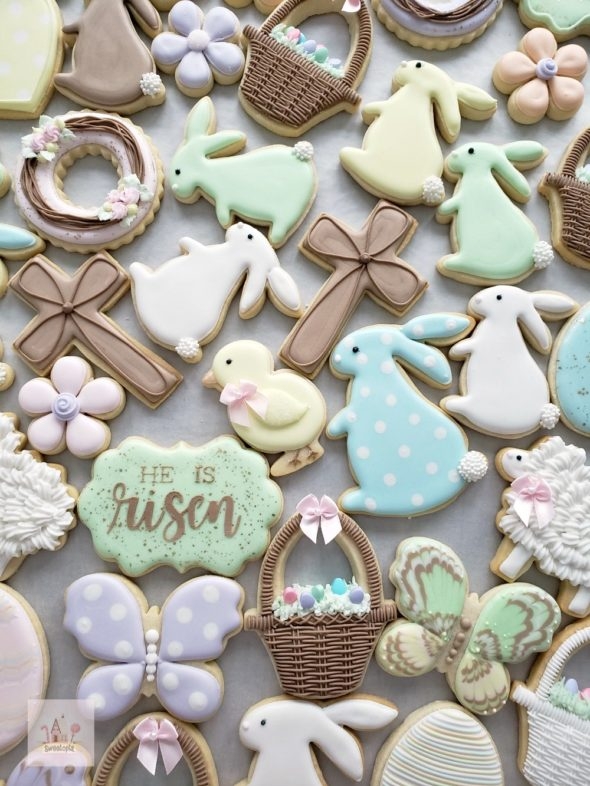
For this Easter set, find the cookie cutters by clicking on each individual cutter below (Any links to Amazon in this post are affiliate links. There is no extra cost to you):
- Small and large bunny
- Plaque Cutters
- Cross
- Chick
- Circle
- Egg
- Lamb
- Butterfly
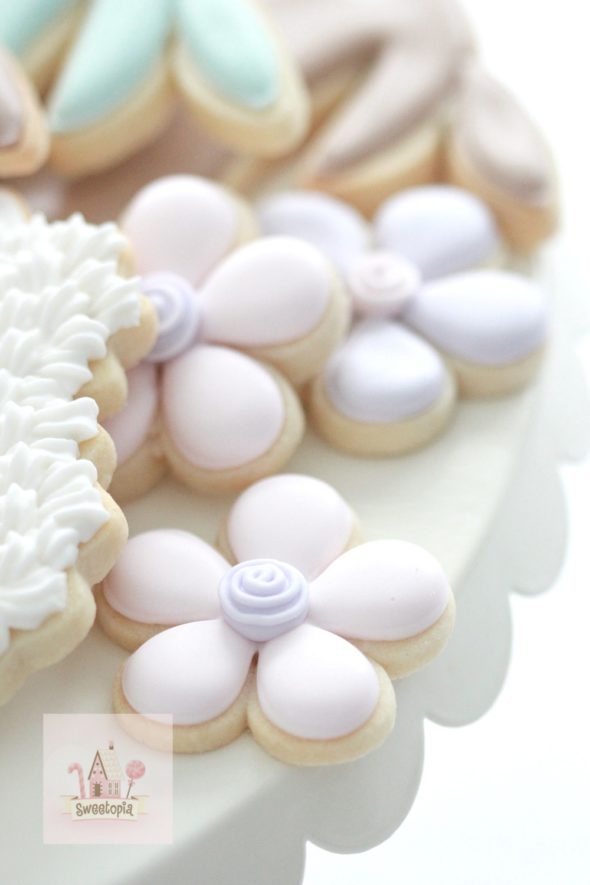
- Flower (Is a gumpaste cutter)
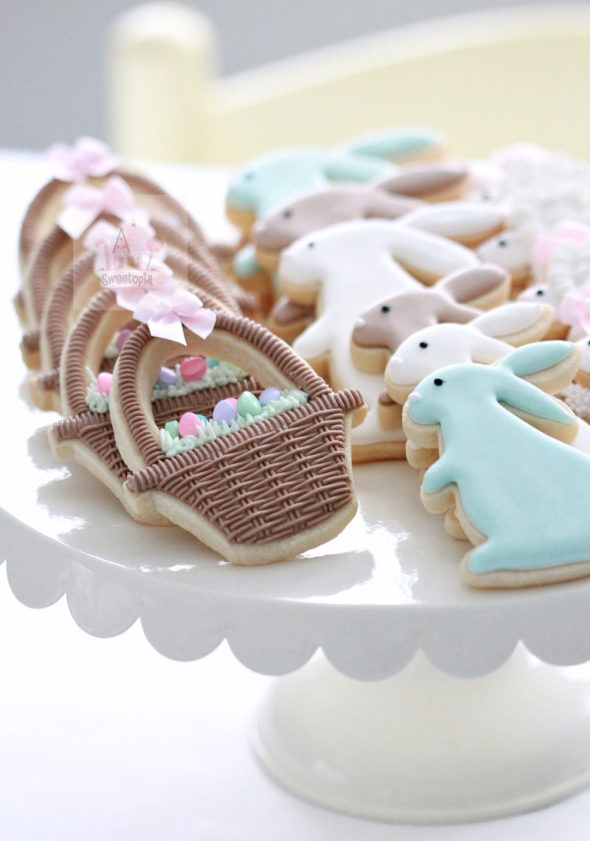
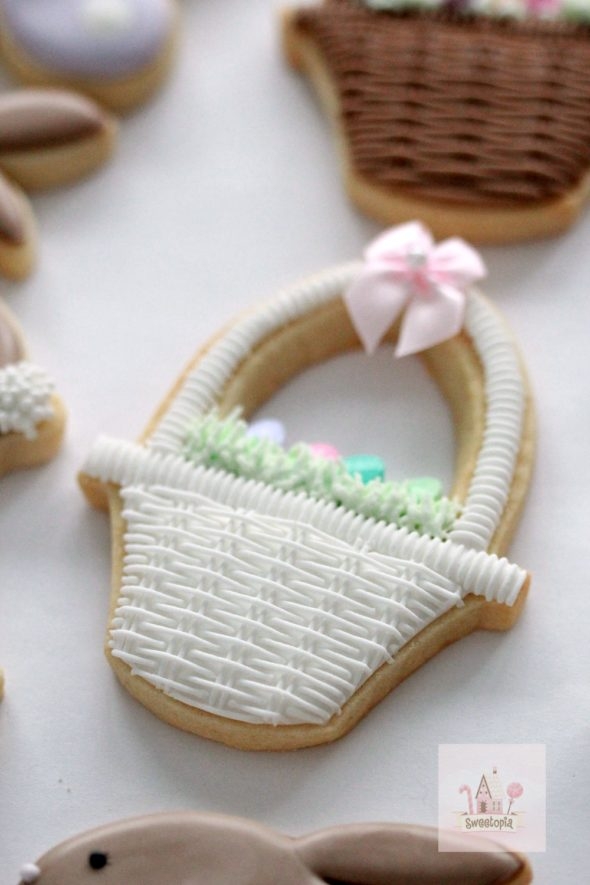
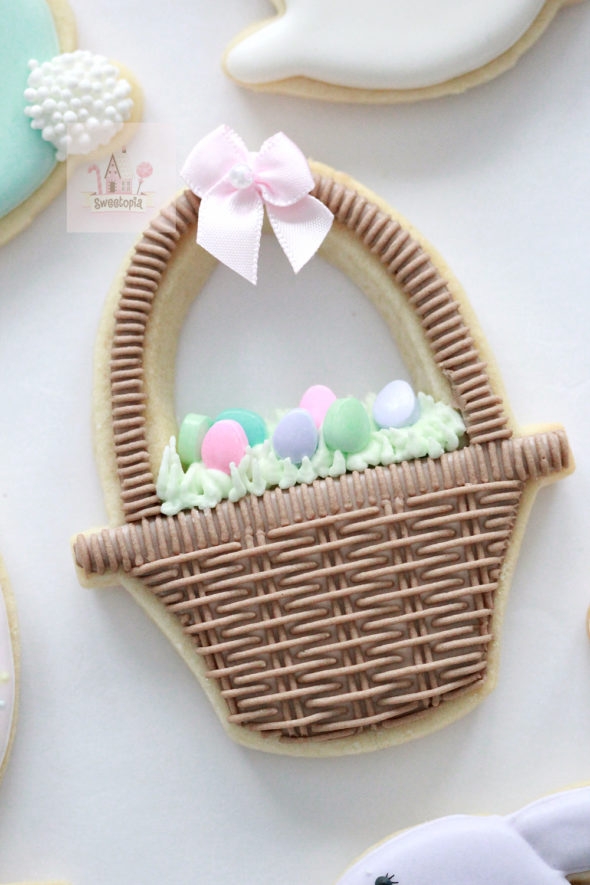
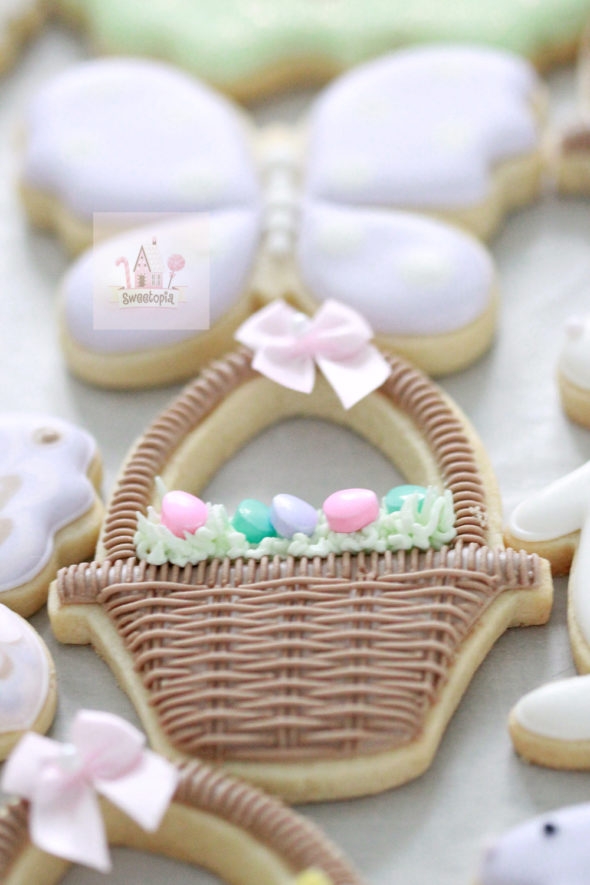
- Basket
How Many Cookies to Make
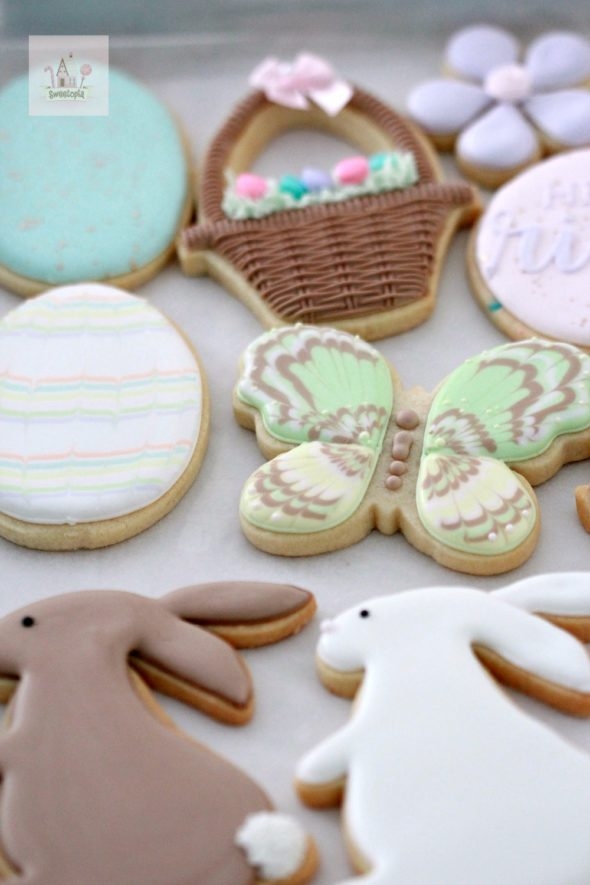
How many cookies you make each person depends on your preference. I would likely make less designs per person if more people came. I made 2 sets of cookies for myself; one set I decorated ahead of time so my friends could see finished examples and one set I kept for the day of to demonstrate with.
There were 6 people plus myself (2 sets for me), and I made each of us 13 cookies, so about 104 cookies. I did make extra as well, in case any cookies broke. I made 3 batches of this sugar cookie recipe, cut and baked the shapes, and froze the cookies until I needed them. (Here is a post on thawing frozen cookies). The morning of the party, I divided the cookies so that every person got one tray of the 13 cookie designs.
The Recipe – Royal Icing
I made 4 batches of this royal icing recipe. I did have leftover icing, and decorated more Easter cookies later. Note that depending on the size and designs of your cookies, you may need more or less cookie dough and icing.
When coloring the icing, I guesstimated which colors would be more popular (i.e. pink), and which we’d need less of (i.e. black), and portioned the icing out accordingly.
For the royal icing, you will need to determine what consistency you’ll need for each color. Write down the colors you’ll need and what consistency each needs to be. You can use this printable for your notes if you like.
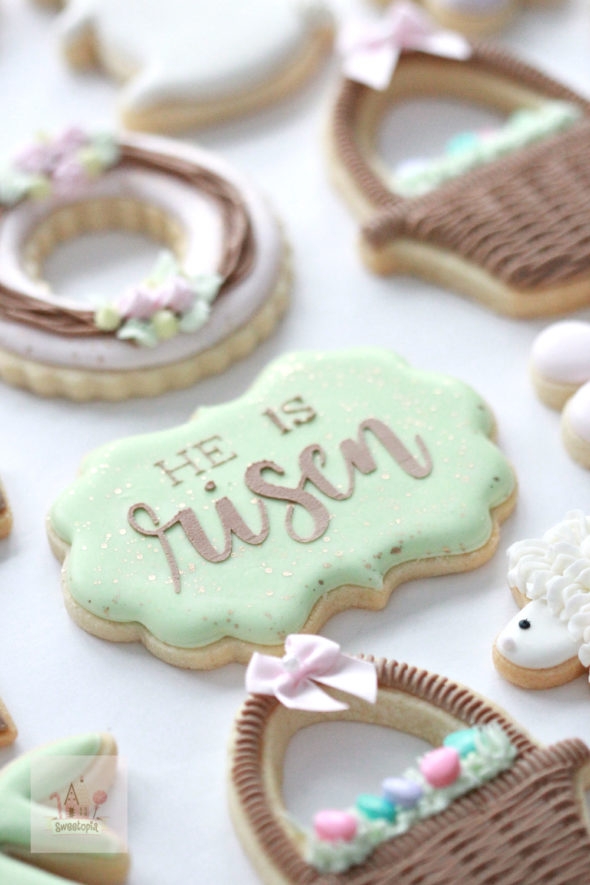
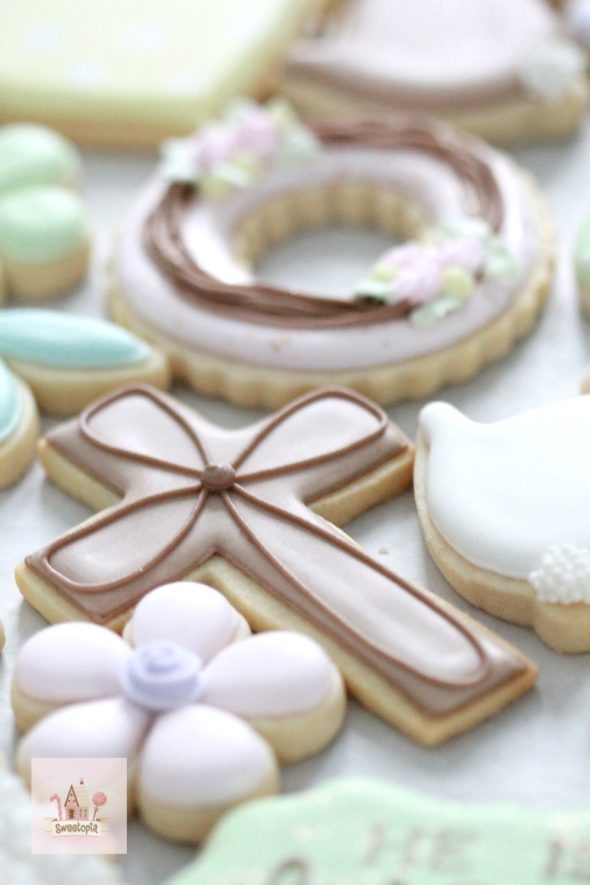
Here is a video on finding icing consistency. I used 10 second icing for almost all the colors, except for the following colors which I made a thick consistency. The white for the lamb’s wool, green for the wreath leaves and grass tip, pink for rosebuds, yellow for flower buds and brown for the “He is Risen” stencil.
For more tips on royal icing and consistencies, see this post here.
For tips on storing royal icing, see this post here.
Piping Bags
On the list of which colors you’ll need, write down the piping tip you’ll need for that color, and prepare the piping bags. For all the flood icing (10 second consistency), I used tip #1.5. Here is the list of flood icing colors I made:
Flood Consistency Icing – Piping Bags to Prepare
- white
- pink
- yellow
- purple
- brown
- green
- orange
- black
- blue
For the thick consistency icing, here is my list:
Thick Consistency Icing – Piping Bags to Prepare
- white – star tip 14 (lamb)
- green – leaf tip 65S (wreath leaves)
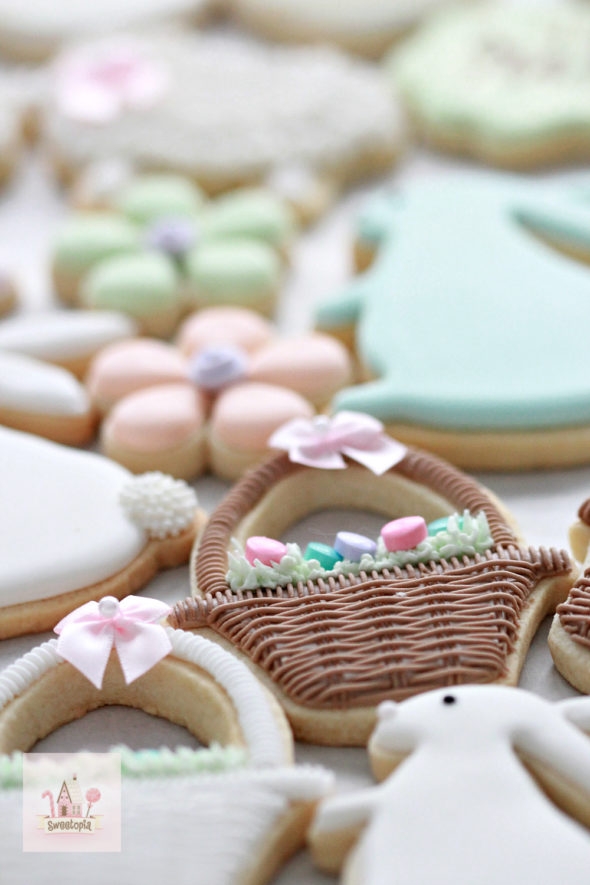
- green – grass tip 233 (basket grass)
- pink – star tip 14 (rose buds)
- yellow – tip 43 (flower buds)
- brown – tip round 8 (stencil)
- brown- PME 1.5 (basket lines)
If I were to teach a cookie decorating course, I would have every person have their own piping bags, but in this case, I made two sets of each flood icing color (10 second consistency) to share. I made one piping bag for each thick consistency icing. (See above for specific colors).
Tools
Click on the following links to find the tools you’ll need. Here is a video explaining a bit more about my favorite basic cookie decorating tools and how to fill a piping bag.
- star tip 14
- leaf tip 65S
- tip 233
- tip 43
- tip round 8
- PME 1.5 (Lots of these. I needed 19)
- Piping Bags
- Couplers
- Gel paste colors
- Scribe Tool or Toothpicks
- White non-pareils sprinkles
- Wilton Easter egg sprinkles (comes in a sprinkle set)
- Black edible ink pen
- Tweezers
- Mini pink bows
- He is Risen stencil
- He is Risen stencil options
- Gold luster dust and raspberry vodka to dilute it (you can use a clear extract instead)
- Paintbrush for luster dust
- Painters palette to mix luster dust and vodka
- Stencil scrapers for cookie stencils
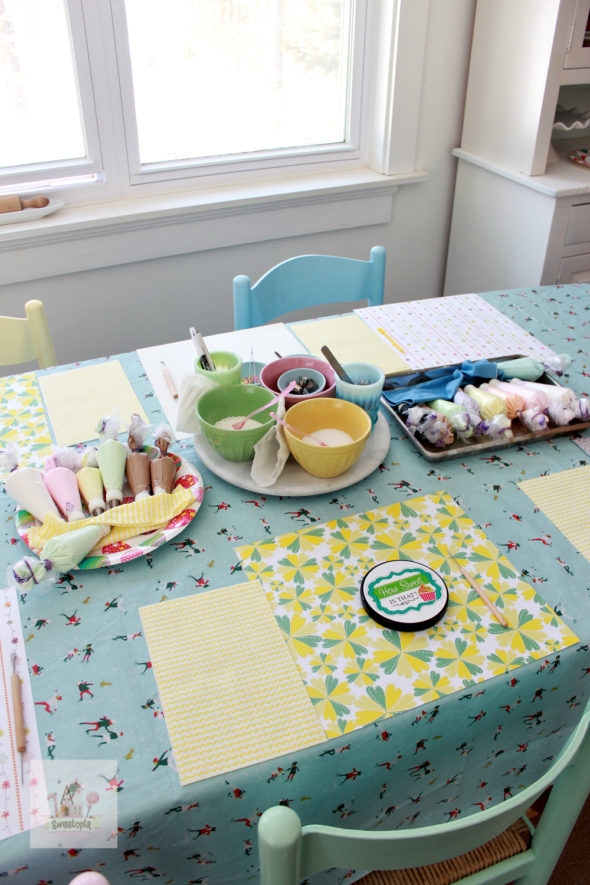
The Decorating Table(s)
This will vary depending on your set-up (one table or more etc.), and how many people you have.
I covered the table with a plastic table cloth, and used scrapbook paper as a place setting for each person. Each person had a disposable cloth to the left and a scribe tool on the right. Each person also had a cookie turntable from How Sweet is That?. Thanks SO much to Sherry who provided them, and so quickly, for us! My friends literally picked them up at How Sweet is That? on the way to the party. (Hence no photo of all of them in the set up itself).
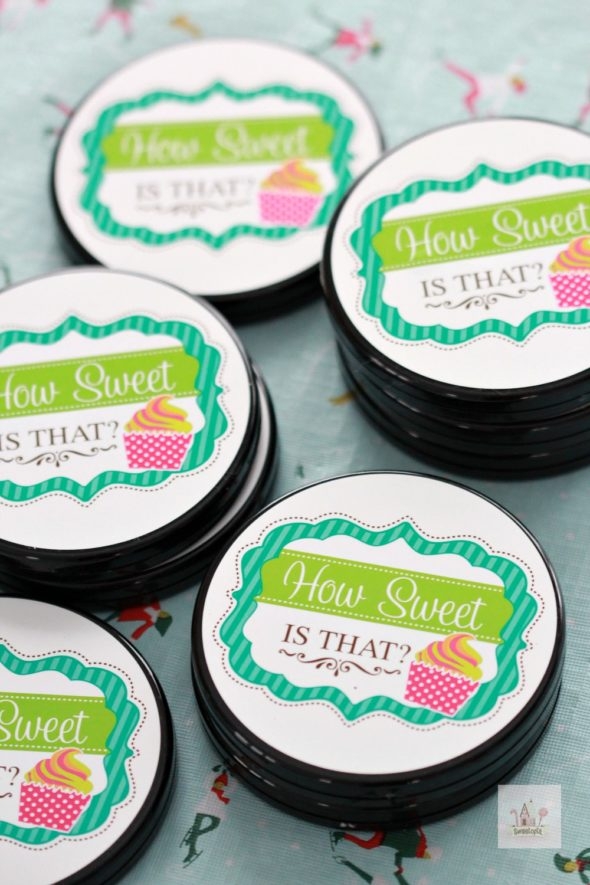
In the middle of the table I placed a lazy susan with the bowls of sprinkles with spoons, optional coffee filters to catch excess sprinkles, a black edible ink pen, tweezers, ribbon bows (to be removed when cookies are eaten), and extra piping tips in case people wanted to try other options. I also had 2 extra grass piping tips handy as that tip clogs easily.
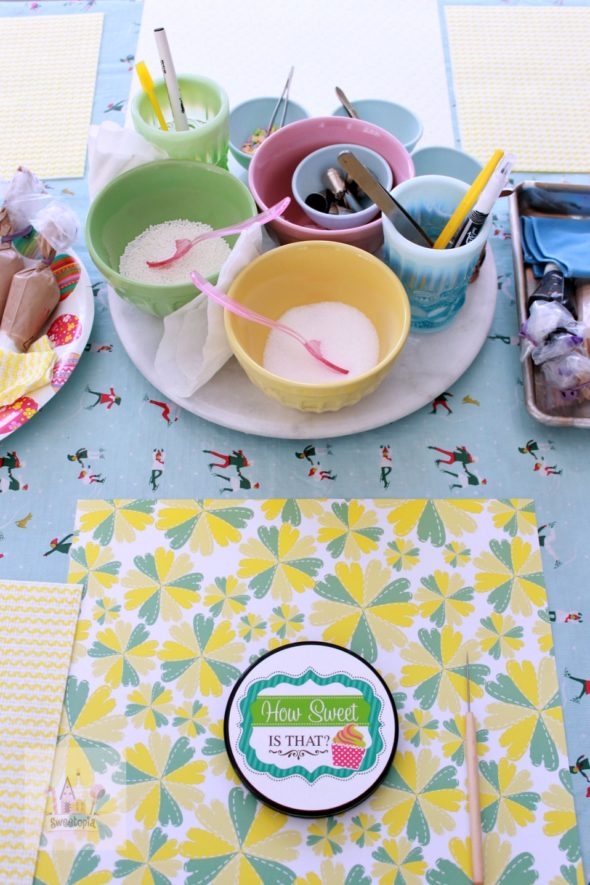
Off to the side until we were ready to use, I had the following (already listed under tools you’ll need, but mentioning here to share that I had them off to the side):
- gold luster dust and raspberry vodka to dilute it (you can use a clear extract instead)
- paintbrush for luster dust
- painters palette to mix luster dust and vodka
- stencil
- stencil scrapers
- extra cloths
- a bucket of water to dampen cloths (we weren’t near a sink)
- extra spinkles
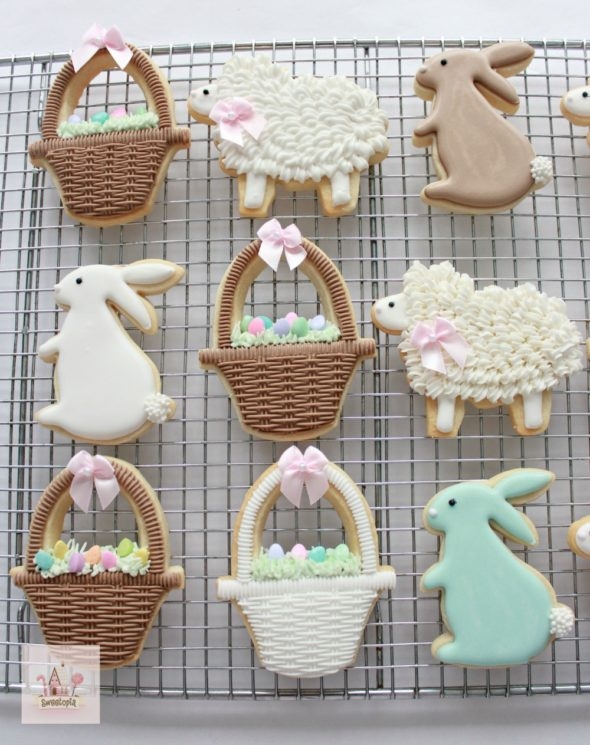
Teaching Cookie Decorating
If you decide to teach a few basics, you might want to make a list of which order the cookies will need to be decorated in. For example, I started with the base for the “He is risen” cookie, as that cookie needed the most time to set before we stenciled it. I did make a list, making sure the bases I needed done were listed first. Below is the list, although I will mention that I didn’t entirely stick with it. The order of things changed a bit because of questions and conversation, and I didn’t end up needing to demonstrate every single cookie once the ladies had grasped the basics. Here’s the list I made:
- base for “He is Risen
- base for wreath
- base for basket
- butterfly outline
- egg outline
- cross outline
- bunnies base
- chick base
- flower base
- flood remaining
- gold splatters
- animal face details
- basket details
- stencil
A few other ideas
In our case, we had a potluck lunch first and then did the cookie decorating. I put on a crockpot hot chocolate recipe a few hours before everyone came (Delicious recipe by The Recipe Rebel, found the recipe on Pinterest), had coffee, tea, water and juice ready.
I played spa music in the background. 🙂 You could of course play whatever you like, but I thought it might be nice to have relaxing music on.

Cookie Decorating Basics
This video on outlining and flooding is a good place to start if you’re new to decorating cookies with royal icing. These cookie decorating basics YouTube videos may also be helpful to get you started.
Royal Icing Consistency
The consistency of icing is key for easy decorating. Click here to see a YouTube video on finding the right icing thickness for basic flooding and decorating.
You can also find my Complete Guide to Royal Icing Consistency here.
Cookie Designs
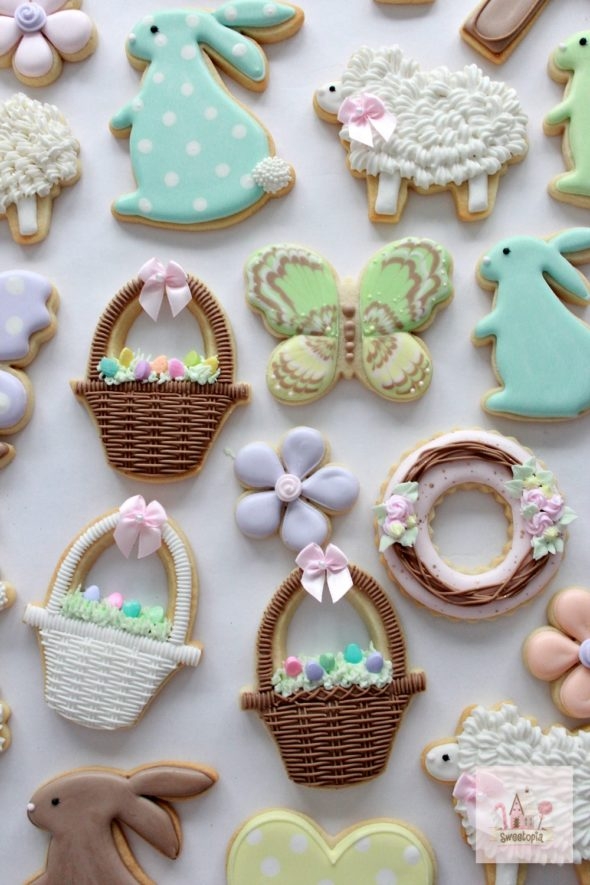
Most of these cookie designs are beginner level. I have individual tutorials for a few, which I’ll list below, and HERE is a video tutorial for most of these cookies. Please let me know if you have any other questions.
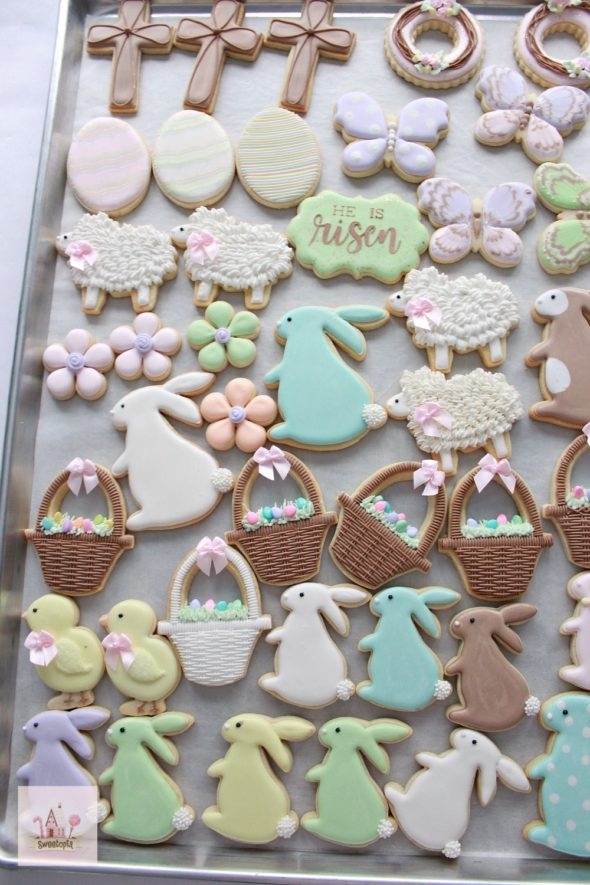
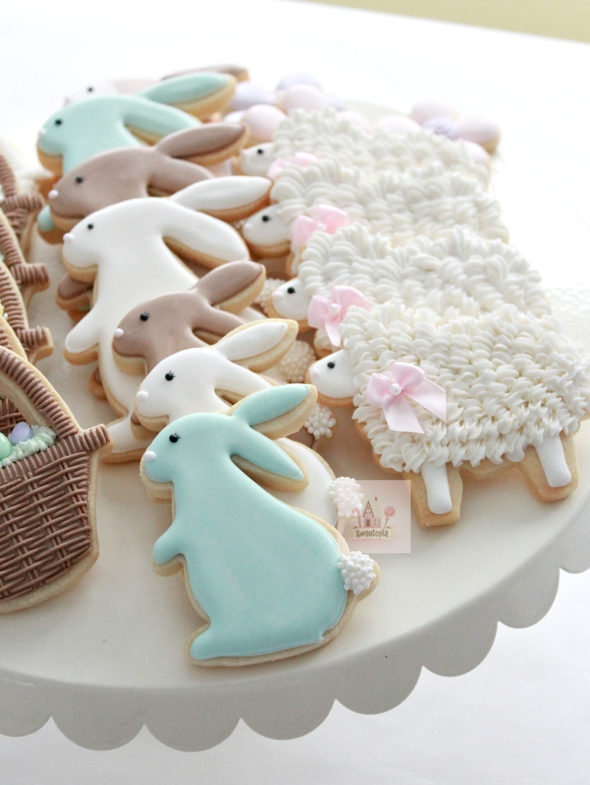
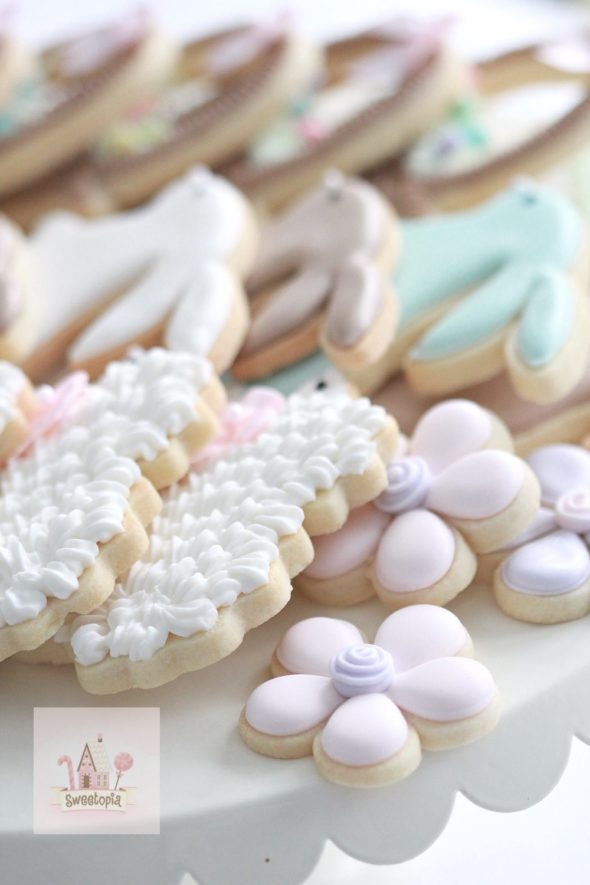
Click here to find a tutorial on how to decorate these lamb cookies.
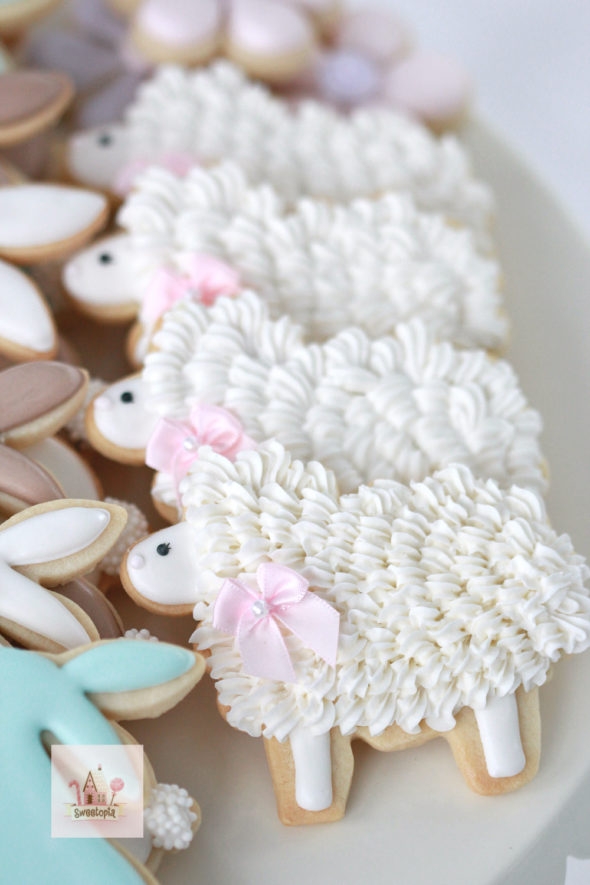
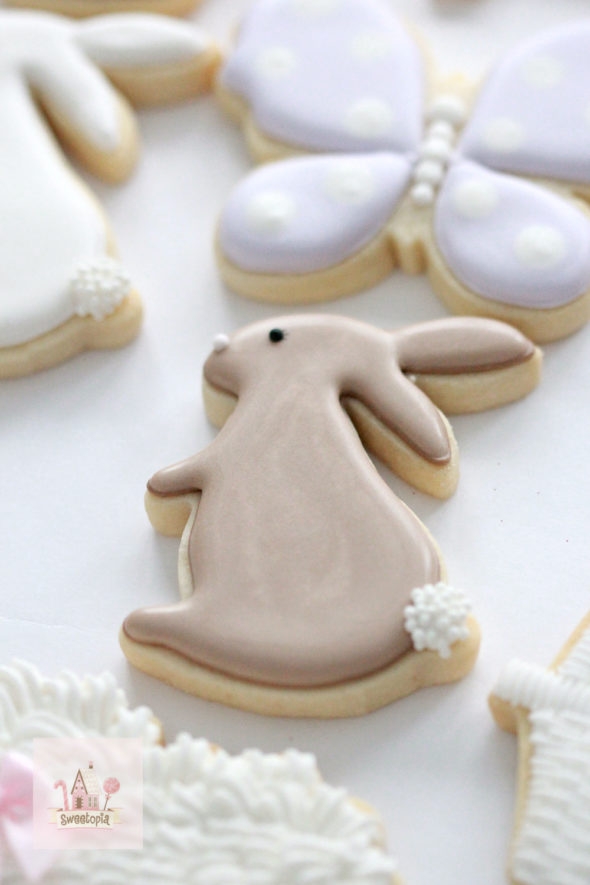
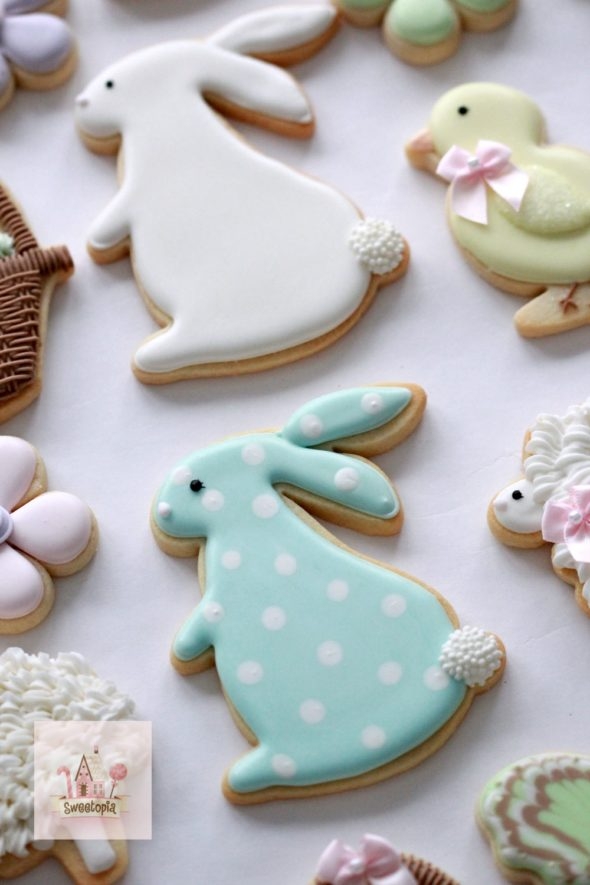
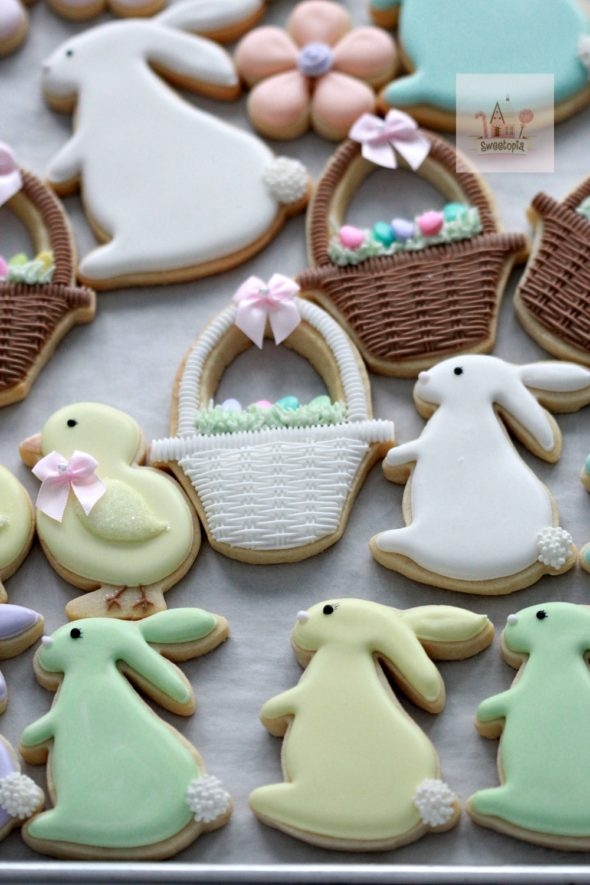
Click here to find a tutorial on how to decorate these bunny cookies.

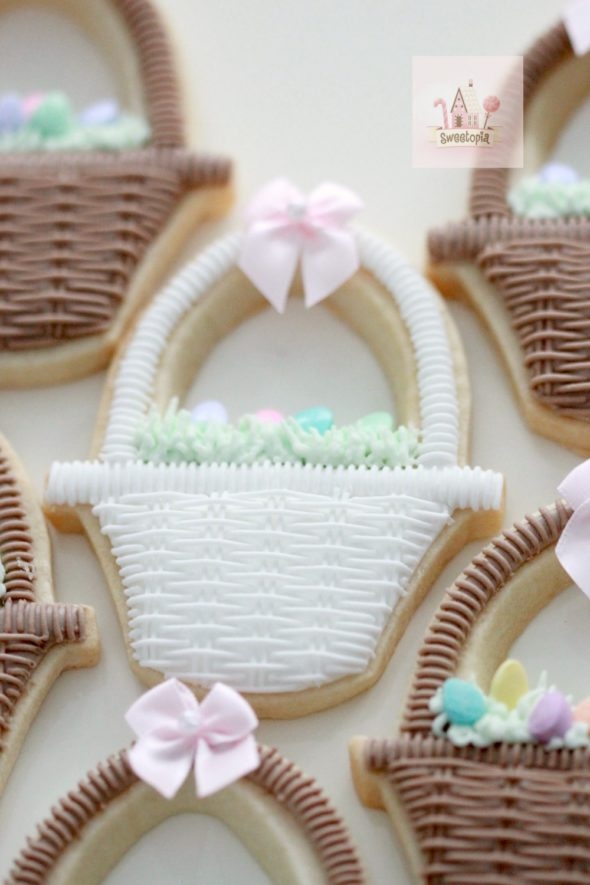
Click here to find a tutorial on piping basket weave cookies.
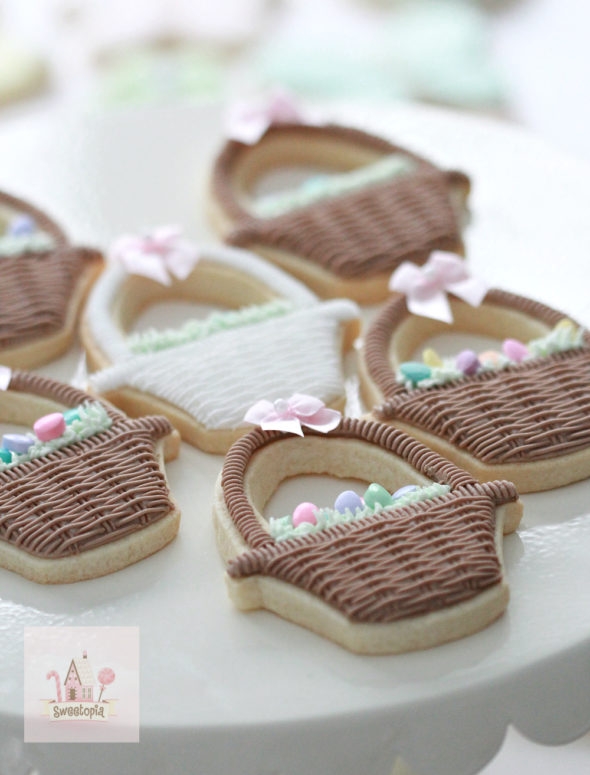
The pattern on the baskets are slightly different, but the principle is the same.
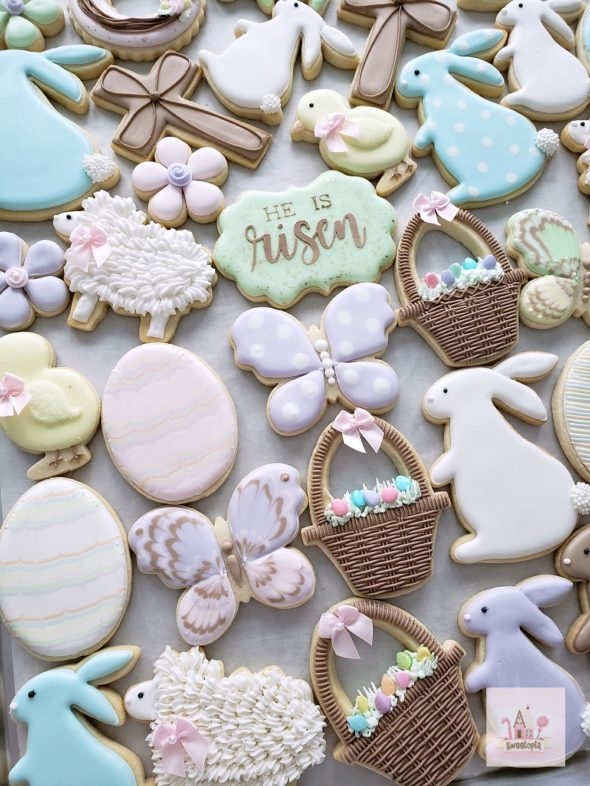
Click here to find a video on marbling icing.
Cookie Decorating Party
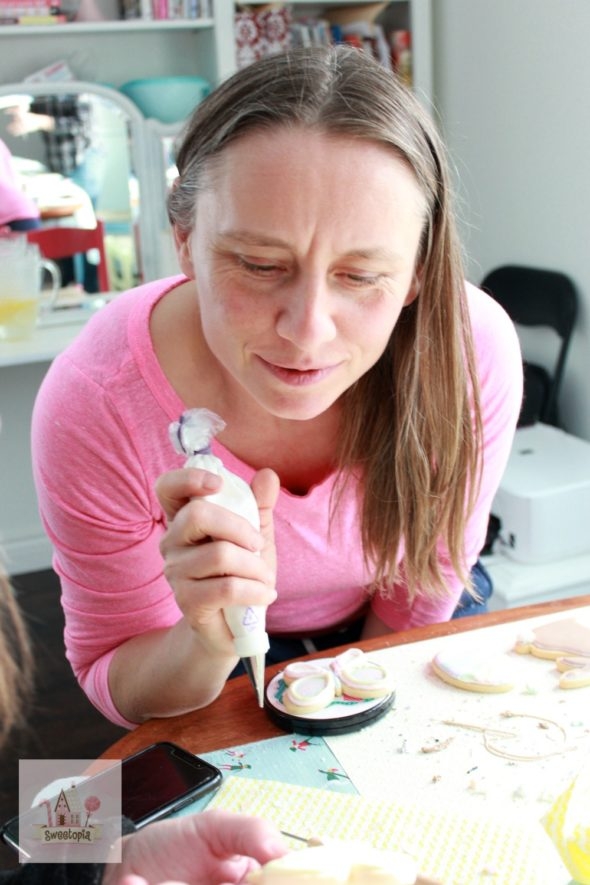
I was really impressed by the enthusiasm and effort everyone put forth!
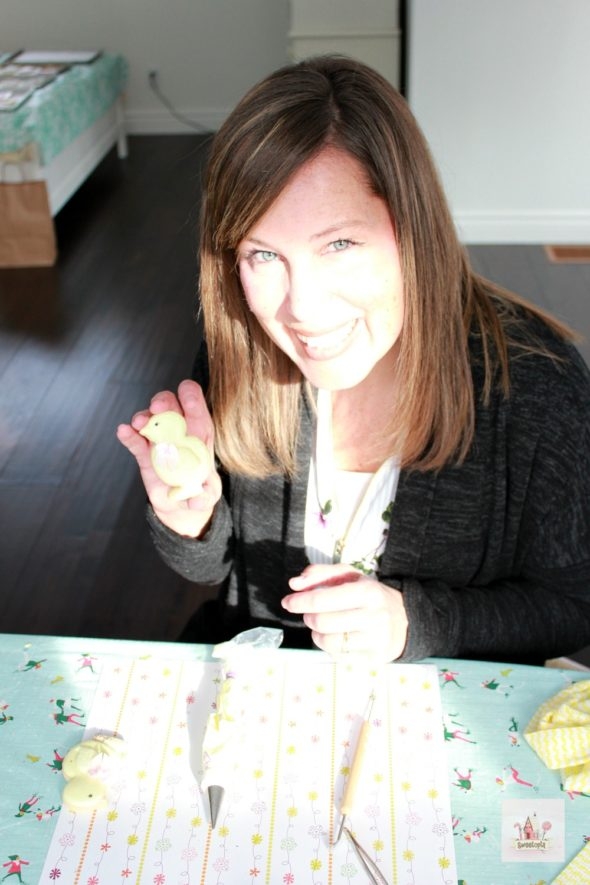
It really was fun to see the results!
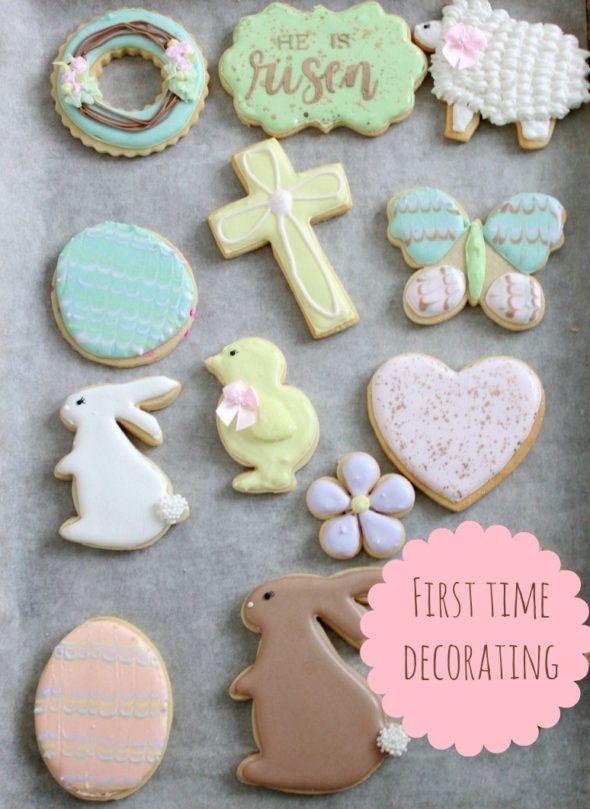
There were some creative ideas and I was thrilled to see that my friends seemed happy with their cookies!
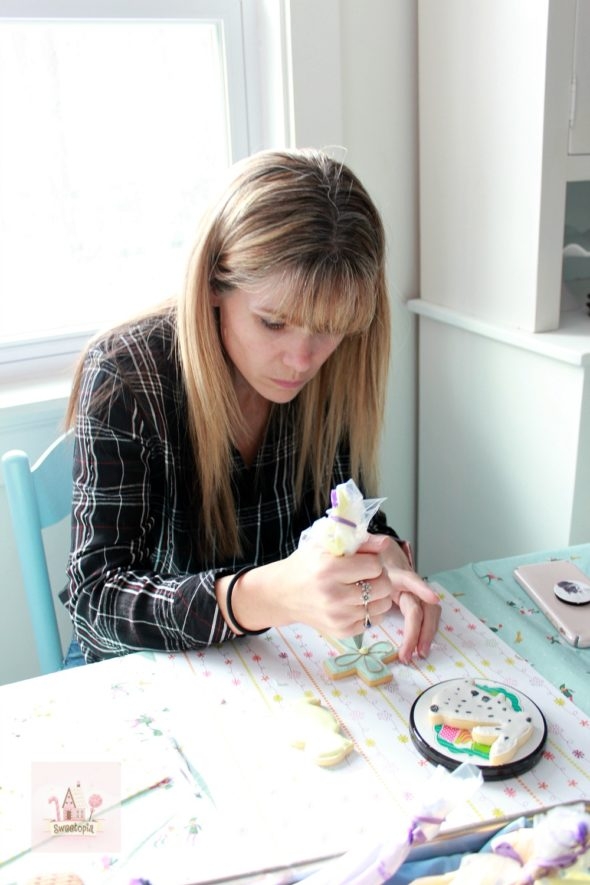
Missing Leslie who had to leave early, wish I had thought to take photos earlier!
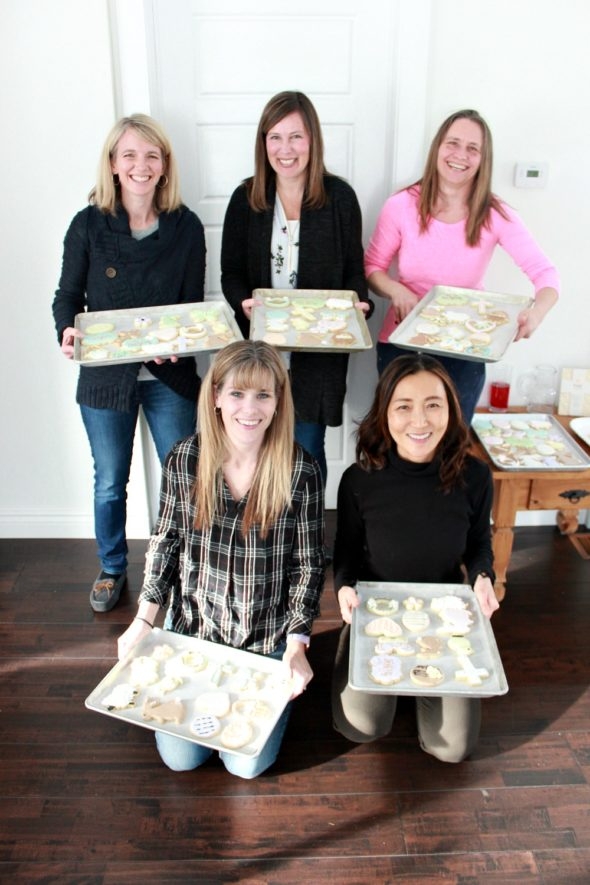
Taking the Cookies Home
I didn’t buy special take-out boxes to send the cookies home in, but asked everyone to bring containers. You might want to mention that your guests will need to bring a large enough container so that the cookies don’t need to be stacked, or a few smaller containers. The cookies won’t likely have had enough time to dry hard enough to stack without getting damaged.
Side note, if you’ve come this far 🙂 thank you for putting up with the gazillion photos I took!
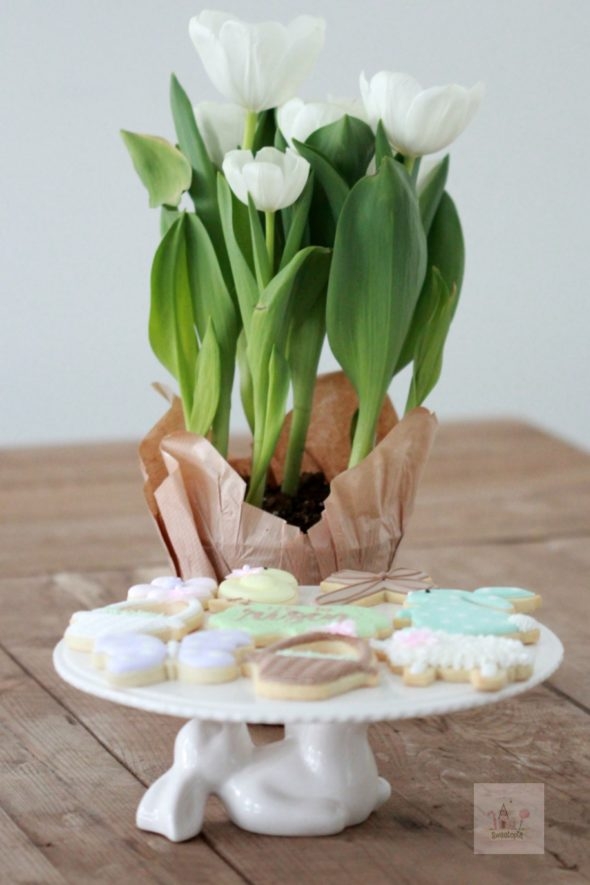
And thank you to Sherry of How Sweet is That? for this adorable bunny cake stand. It was perfect for the Easter cookie party!
Final Notes
This experience was so much fun! There definitely is some work involved in the preparation, but I thought it was so worth it. Clean up didn’t take long at all, the ladies helped clear off the cookie decorating table, wash dishes and sweep. I kept the piping bags with leftover icing and decorated more cookies when everyone left.
The ladies seemed to really enjoy it, and it felt great to be able to share. I hope you try it too, and please let me know how it goes if you do! If you have any more tips, I would love to hear them! Also, please don’t hesitate to ask questions if you have any, and happy decorating!
xo,
Marian




What a neat idea! Now that I’ve moved closer to family and friends, I will try to organize a cookie decorating party in the near future. Love all your posts and cookies!! Thanks for sharing!
Thanks Marguerite! Have a great time decorating with your family and friends!
Thanks Marion! I might try this. You put in so much effort- very kind of you to share with us. This is how we lift each other up!
Thanks so Esther! I’m glad you enjoyed the post and hope you do try it!
Oh my I guess this is an omen for me to have a class for my neighbors! I have been think g of doing one anyway for Easter cookies. Thank you for all of your helpful hints.
Funny how that happens! Hope you do have a class with your neighbours. 🙂 Have fun Connie!
Thank you for all the helpful tips! I just have one burning question. I’ve been reading your posts for years, and your colors are always gorgeous and work so well together. Do you use a color guide or are you just naturally talented at combing colors? Have you ever considered publishing color charts?
Thanks so much Beth! It’s a combination of sorts. I can’t take credit for being great with thinking up colors for the most part – I either work off a design I’m inspired by, such as the grey wine bag in this post here; https://sweetopia.net/2018/11/chocolate-royal-icing-recipe/ or, as in the case of these cookies, I just went with an Easter color theme. I do color my icing, as much as possible, in natural lighting by a window, so I can see it best. Thanks for the idea to do a color chart, I think I will! It’s just a matter of when, lol. Thanks for following the blog and happy decorating! xo
Marian, thank you for sharing all these wonderful tips for a cookie gathering. Your cookies, as always, leave me feeling so, so envious! Your work is so precise and beautiful. I did do lambs two years in a row following the one on your website. I found the icing tip and design quite forgiving. Easy to cover my mistakes. So maybe it’s lambs again this year! A question…My “go to” for gel paste colours has stopped stocking AmeriColor. Now my only option is back to Wilton. Thoughts?
Hi Marilyn,
Thank you! If you haven’t seen my Secrets of a Cookie Decorator post and would like to, let me know… In there I mention that I don’t post the designs I don’t like. I’ll experiment and not every cookie makes the photographs. 🙂 Maybe that will help to know regarding cookie envy! I have felt it too, but then remind myself to focus on the joy of decorating, not comparison. It is a work in progress sometimes!
About Wilton black, yes, it’s good too!
I WISH I could have been there with you guys!!
Looks like a lovely gathering and the cookies your friends made look amazing! GOOD JOB, everyone!! 🙂
As usual, I am astonished at your talent, Marian.
All you pipe is: perfection 🙂
I love your cookies <3
Hi Niner,
Thank you so much, wish you could have been there too!! xo
Hi Marian,
What a great amazing idea, a cookie decorating party! What an effort you did put into it! You amaze me with each blog. I love all the shapes and designs you choose!
Your ladies did do a very nice job. No wonder with a teacher like you!
Thank you for everything you share! I enjoy your site very much.
ML
Hi Maria,
Thank you for your kind comments, they are appreciated! Xoxo
This has been so informative and helpful. I am thinking of hosting a Easter themed cookie decorating party myself. I will be charging a fee for the class in my home and they will take home a dozen decorated cookies. All prep will be done. Supplies included. can you help me in deciding what to charge for the class. And how many hours should I allow for this class. Thank you so much for all the wonderful tips and tricks.