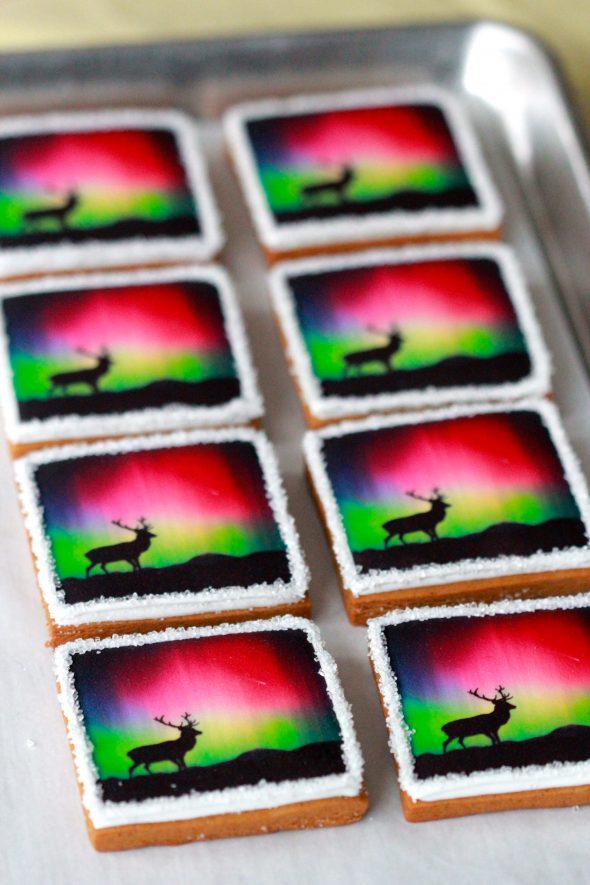
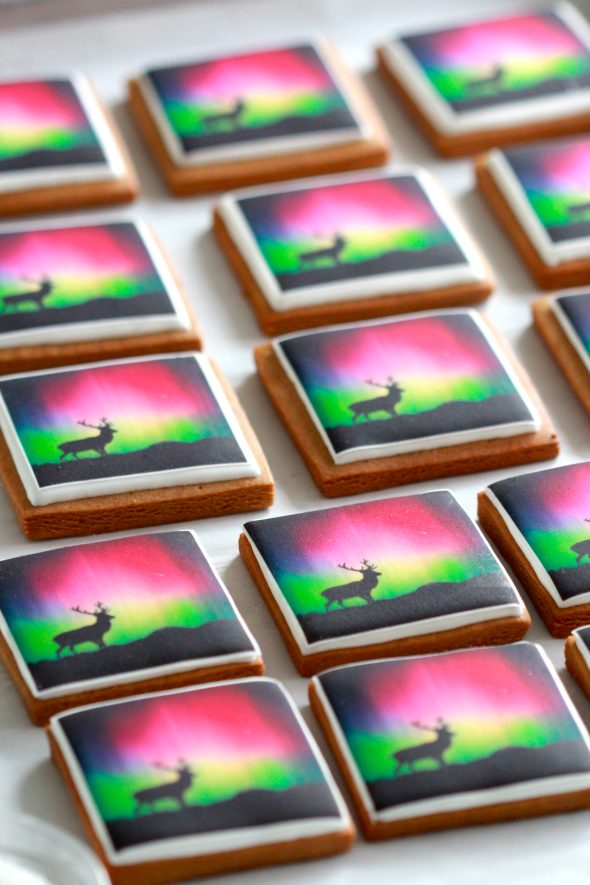
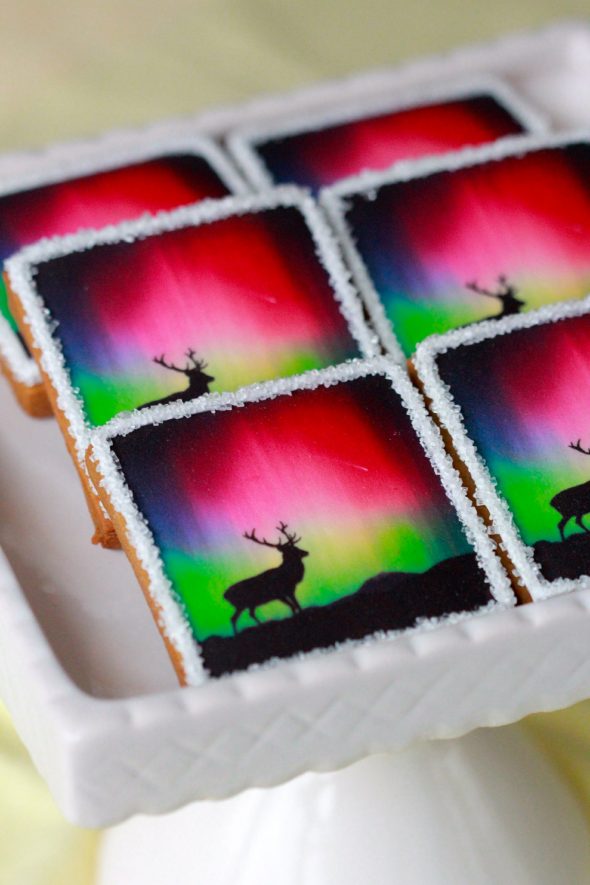
Thrilled to be enlisted by gorgeous clothing company Aritzia to make DIY Northern Lights Cookies, these were simple to create using an edible ink image printer. You can check out the article here and be sure to check out the rest of their Holiday Issue magazine and beautiful products.
How to Make Northern Lights Edible Image Cookies
There are a few ways I make edible ink logo cookies. Both involve using frosting sheets but the difference is in how they’re applied. Putting the frosting sheets onto wet icing is one fast technique, but I find it a little less neat than my second method, which I’ll be sharing with you here.
You’ll need:
- Sugar Cookie Recipe here or Gingerbread Recipe here.
- Royal Icing Recipe here. *White is the best colour to tint your icing. Any other colour as the base tends to cloud the image when applied to the cookie.
- Edible Frosting Sheets
- Edible Ink Printer
and Food Coloring Cartridges
- Image of your choice (This one is from Shutterstock)
- Clear Corn Syrup
- Paintbrush or Foam Brush
- Piping Tip (#2)
- Coupler
- Piping Bag
- White Gel Colouring
Instructions
Before decorating:
- You’ll need to print your image onto frosting sheets using an edible ink printer
. If you only have a few images to print and don’t want to invest in a printer, check your local bakery shop to see if they can print a sheet for you. Where I live, the Sobey’s grocery store prints them for $10.00 per sheet.
- Cut cookie shapes according to image size & shape.
Ready to decorate:
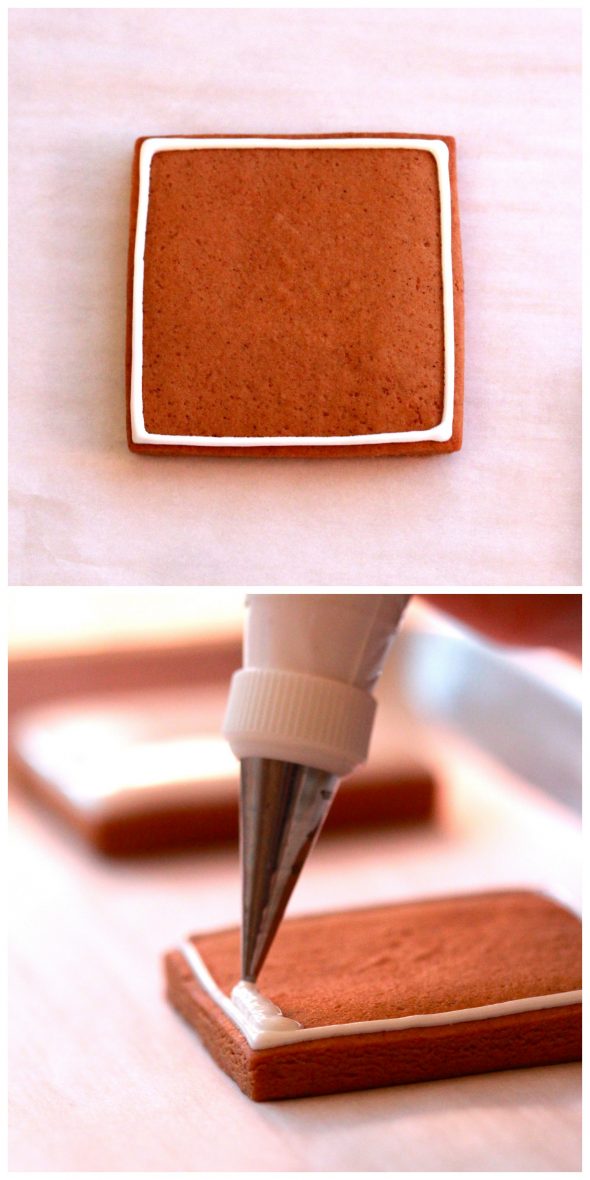
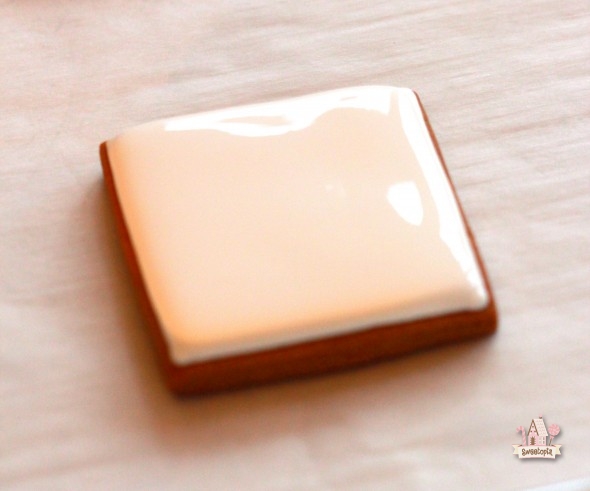
Step One: Flood your cookie with tinted white royal icing and let it dry for 12-24 hours.
You can find a detailed video on how to flood cookies here.
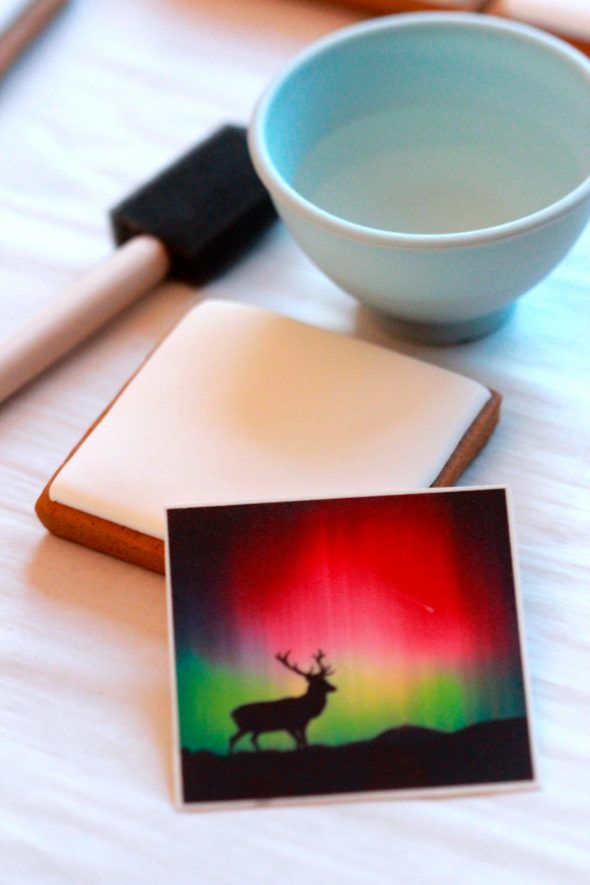
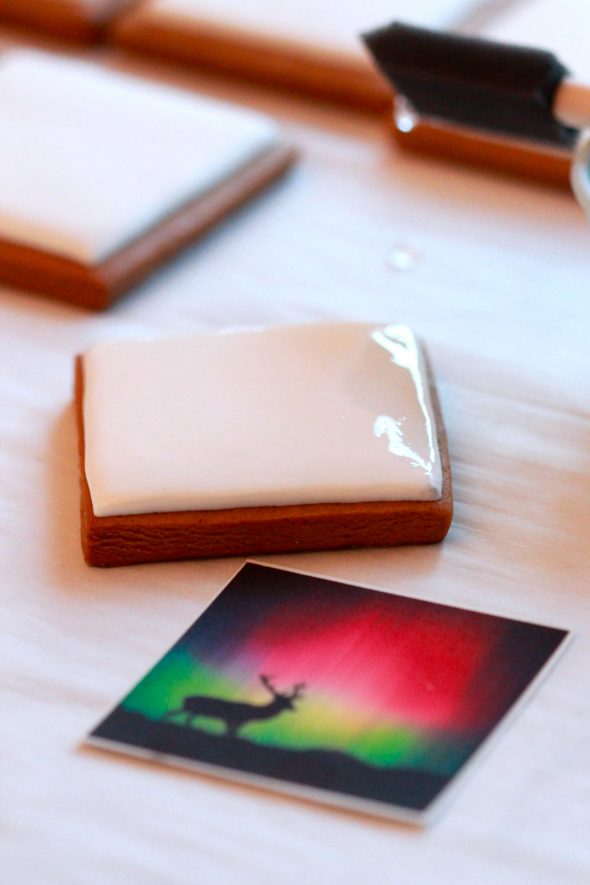
Step Two: Gently cut out wafer paper image.
Step Three: Apply clear corn syrup to the back of the wafer paper or onto the dried royal icing with a ‘food-only’ paintbrush or sponge brush.
Apply image, gently smoothing over the surface all the way to the edges with clean, dry fingers. Have a damp & dry cloth nearby to wipe your hands as they can get sticky.
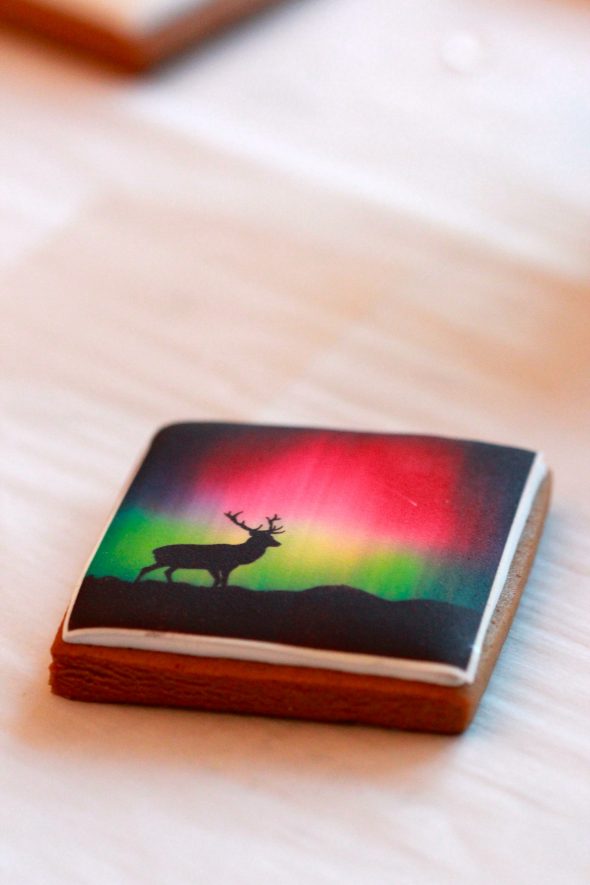
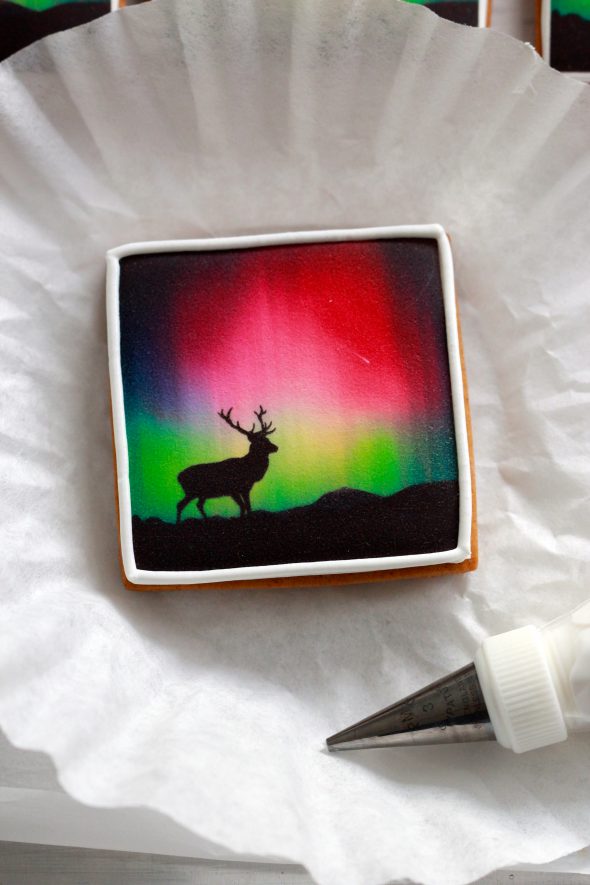
Step Four: Using a #2 piping tip, pipe a line around the borders with thick royal icing.
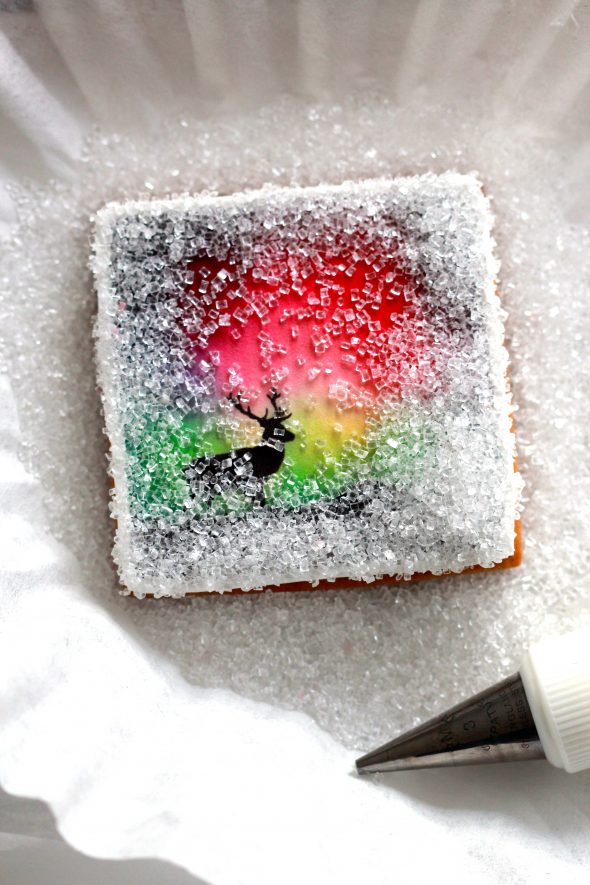
Step Five: Immediately sprinkle with sanding sugar and pour off the excess sugar.
If you place your cookie on a coffee filter (or something else, such as parchment paper), it catches the excess sugar and makes it easy to pour back into your container.
Let cookies dry for a few hours and serve or package as gifts!
Have fun decorating!
xo,
Marian
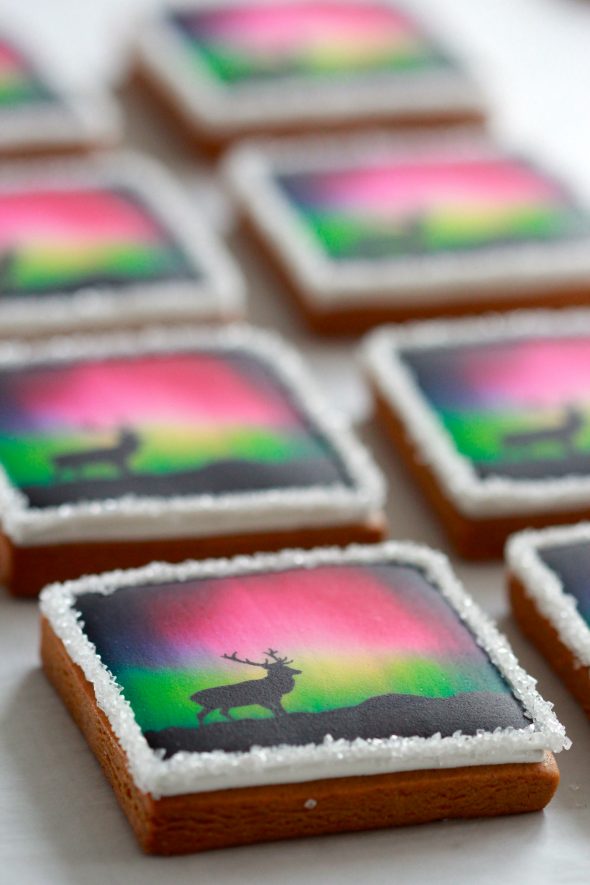
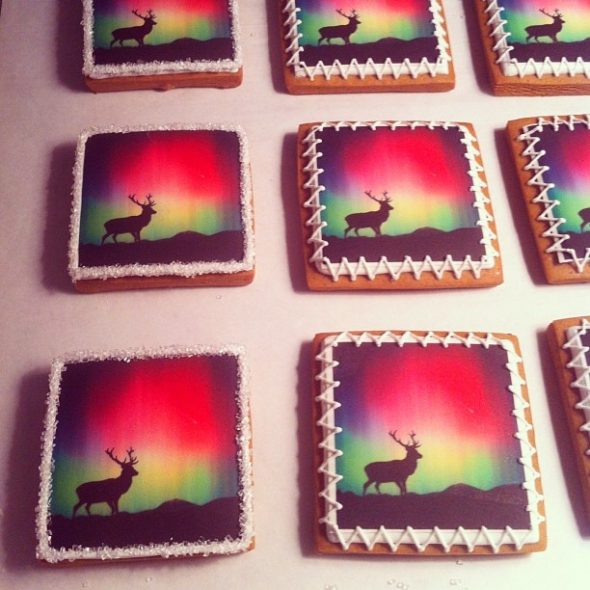
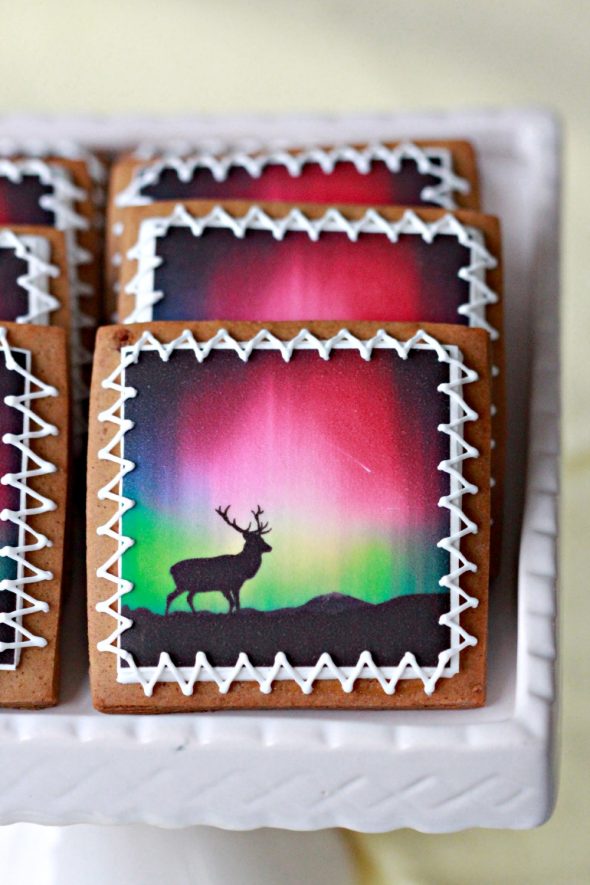
p.s. Thanks to all of your feedback on Facebook and Instagram, on which cookie border you preferred!
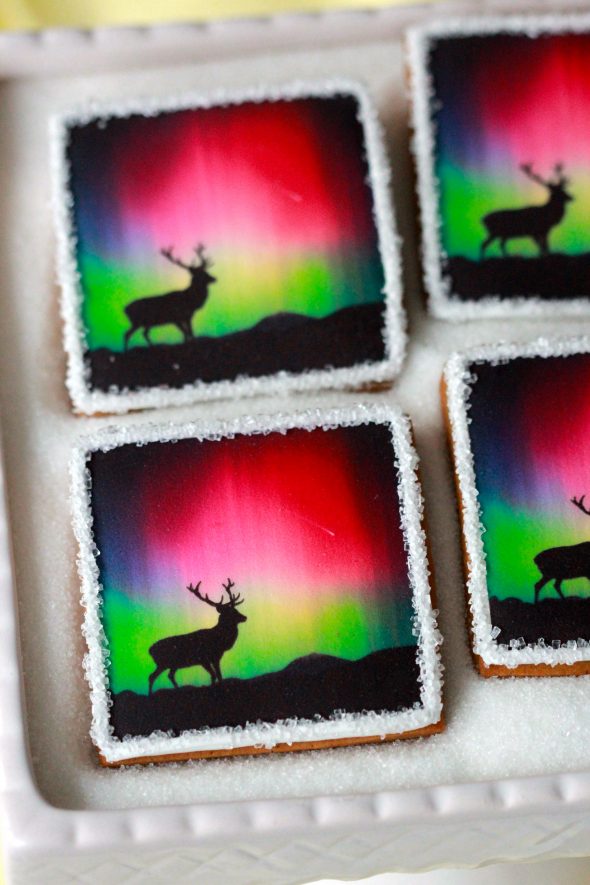
I ended up sharing the sugared edges with Aritzia.
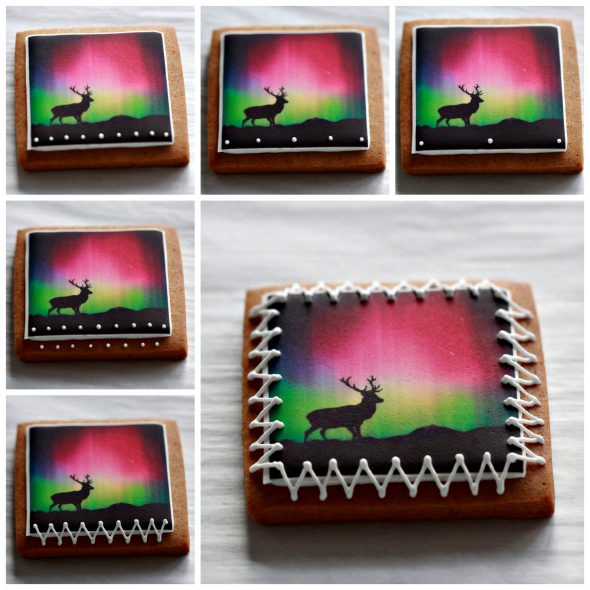
If you don’t already know this tip, to freehand your spacing as evenly as you can, break up your area in half (& pipe dots), and then that smaller space in half etc. Then connect the dots with a short line (piped with a #1 tip for these ones). Hopefully a visual will help explain what I mean a bit more:



These are stunning, but mostly I love the tip to do the sprinkles into a coffee filter for easy clean up…..sprinkles have been the bane of my existence for too long, but not anymore! THANKS!! 😀
Marian these are just wonderful. And thank you, thank you for explaining how to use the wafer sheets. I’m always amazed by the edible images and had no idea how to work with them. I also never even thought about asking a local bakery! You are always such a wealth of information.
And thank you for explaining how to space evenly. Among many other issues I have, that is definitely one of them! The way you explain it “just makes sense” 🙂
Good morning Marian,
Congratulations for being in Aritzia Clothing Co. Magazine.
Beautiful, amazing cookies. You shared the best tips for doing excellent looking work.
I just love follow you on your blog!
ML
Oh my goodness, these are stunning!
Marian, wishing you a Merry Christmas and a very happy,prosperous New Year!
You’re awesome! Thanks for the great tips!
These a just gorgeous!
Really nice looking cookies. I’m considering getting an edible ink printer – not for the most of my projects, but I think it might come in handy once in a while.
Hi Marian!
Quick question about printing at Sobeys if you don’t mind. Do you bring in one image (the exact size you need for your cookie) and they duplicate it as many times as they can fit it on the page? I printed duplicated images (fit to 10 x 7). I sent my husband and they had so much trouble. They ended up shrinking my images considerably. Wondering what you do (did). Sorry, it’s hard to explain.
Thanks!
Hi Tiffany,
I brought in exactly what I wanted them to scan in – If I’m remembering correctly I think I had 8 of these laid out on one sheet. It sounds like you did something similar?
Yup, that’s what I did! I’ll try again during the day where hopefully there is someone more knowledgeable. Thanks for the reply!
Hello again!
Have you ever experienced edible paper sticking to the inside of the bag they’re placed in?
I made cookies for my step sisters wedding, sent them on a plane with my step mum all the way to Australia. And the edible image peeled off the cookie! I’m wondering if it had something to do with the plane pressure! Every experienced them peeling off? Thanks!
Hi – I have the same problem. I placed the icing image on a thicker consistency wet royal icing and dried them overnight, then bagged them and tied with a ribbon. After a while, the icing image was sticking to the bags. I suspect humidity to be the problem as I’m in the deep south. I’m going to try Marian’s method and hope I get a better result.