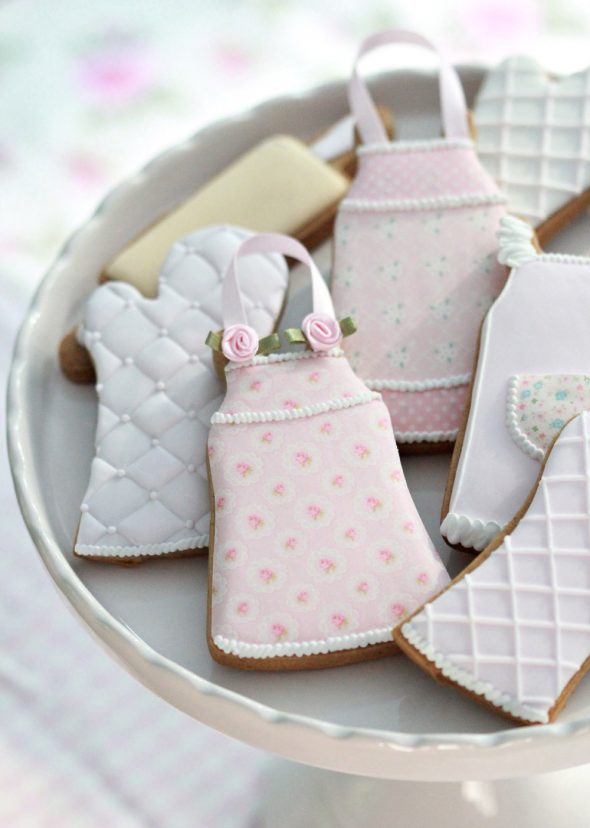
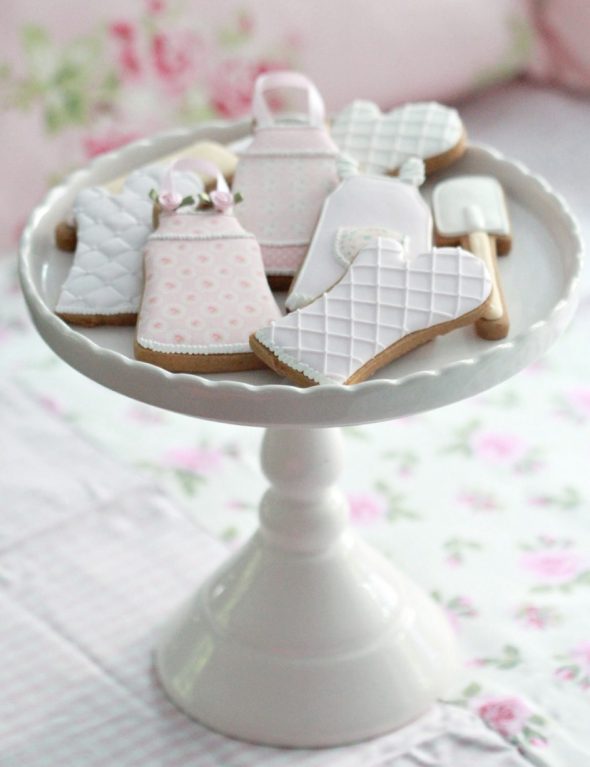
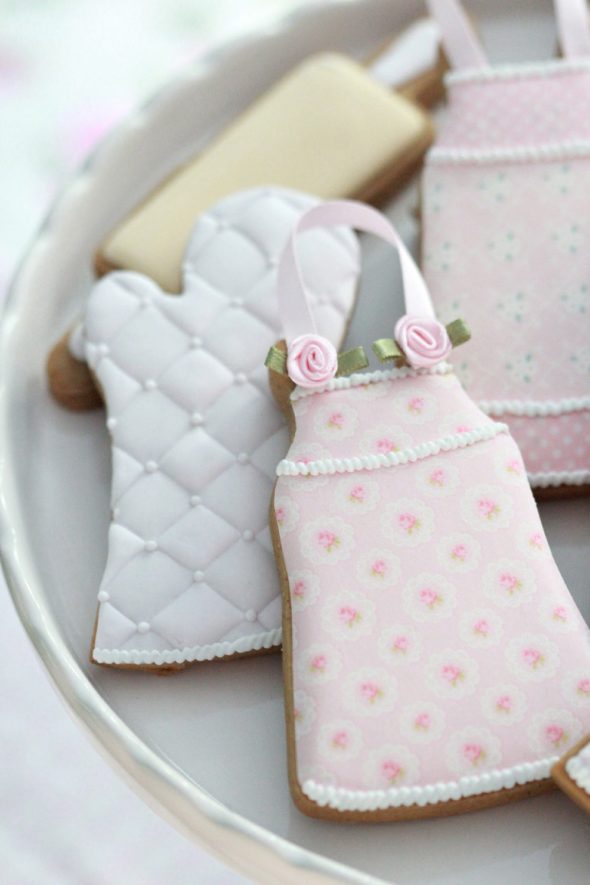
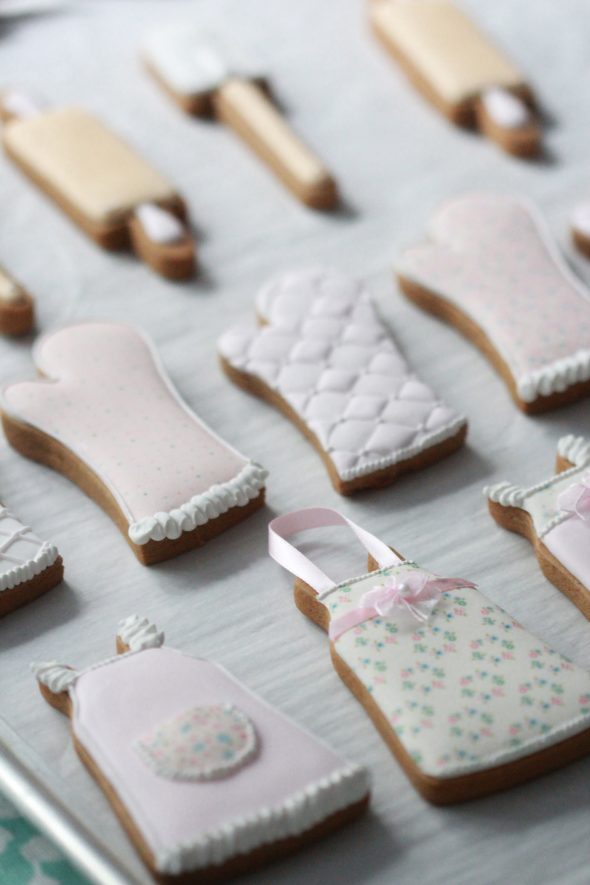
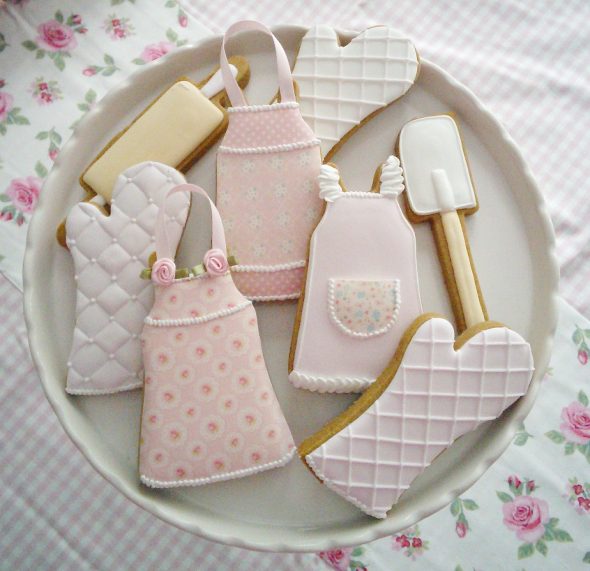
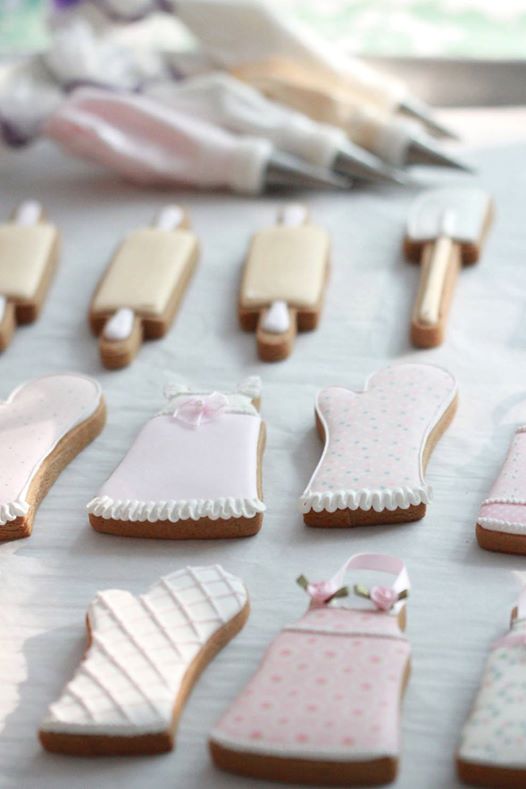
Sometimes the mere shape of a cookie cutter will make me want to go out and bake and decorate cookies… For no specific reason at all – just the adorable shapes themselves beg to be made and decorated. These baking themed cookies definitely fell into that category. I’ve been itching to make them ever since my lovely sponsor, Cheap Cookie Cutters, sent the cutters to me.
The decorating possibilities are endless. I ended up going with a kind of shabby chic theme and I’d love to see how you end up icing them if you buy the cutters. You can find them here (their search bar works well for the individual shapes) and also might want to add a few more matching cutters like this pie cookie I made.
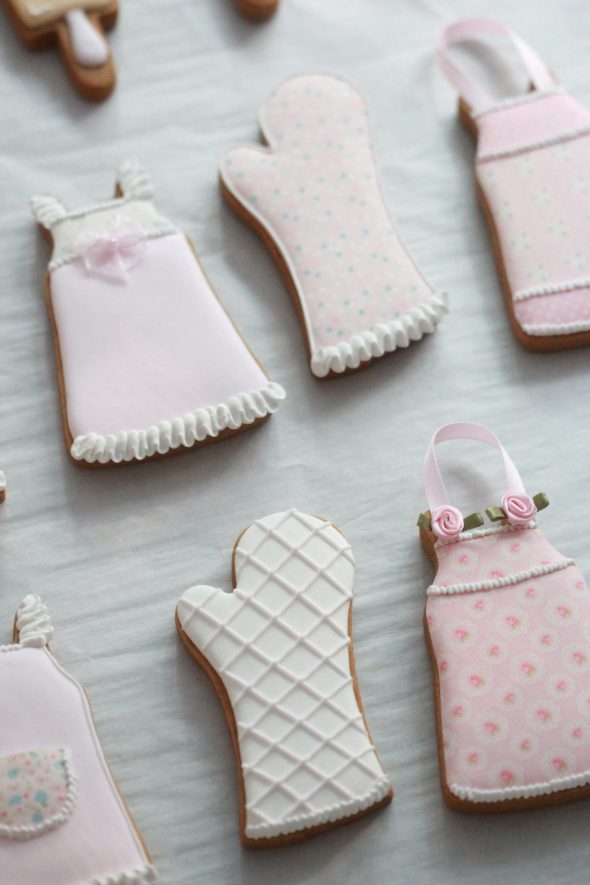
The apron cutter could also be used for a dress or nightgown I think.
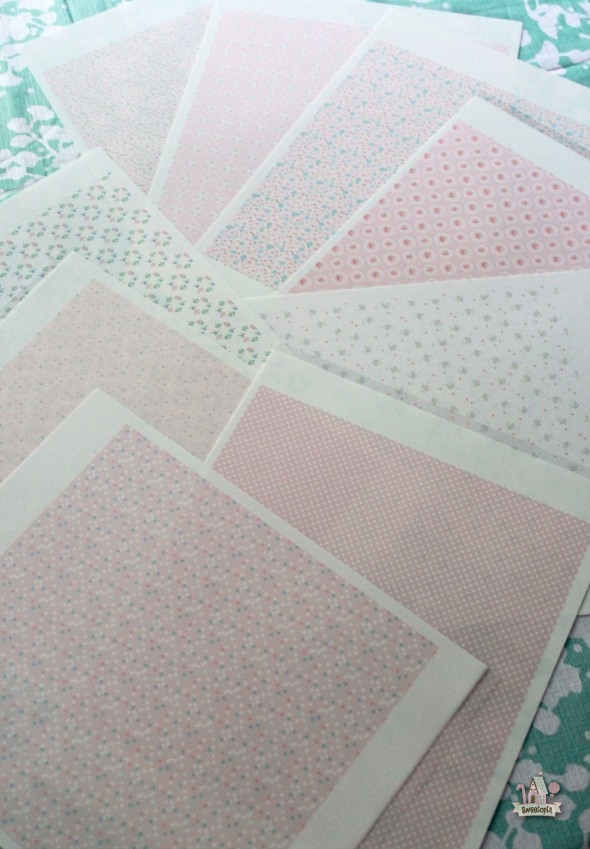
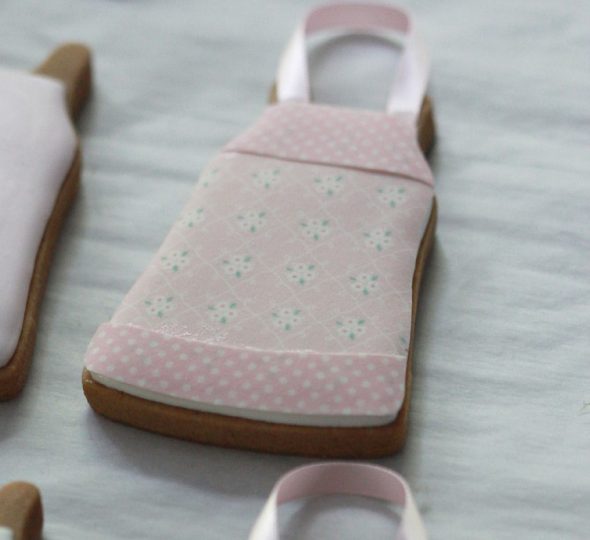
Making them was easy enough – the shapes are simple to decorate with a few key icing tips and if you’d like to go a step further with the apron patterns, you’ll need frosting sheets and an edible ink printer. (Tutorial on using frosting sheets below and more of a step by step example here). If you don’t want to invest in the printer, try your the bake shop in your local grocery store. Where I live, Sobey’s prints one sheet for $10.00.
I printed quite a few sheets as I was so enamoured by the patterns and have a lot left over for future projects, but if you only have a few cookies, you could use an online collage service like PicMonkey and put all of the patterns on one page.
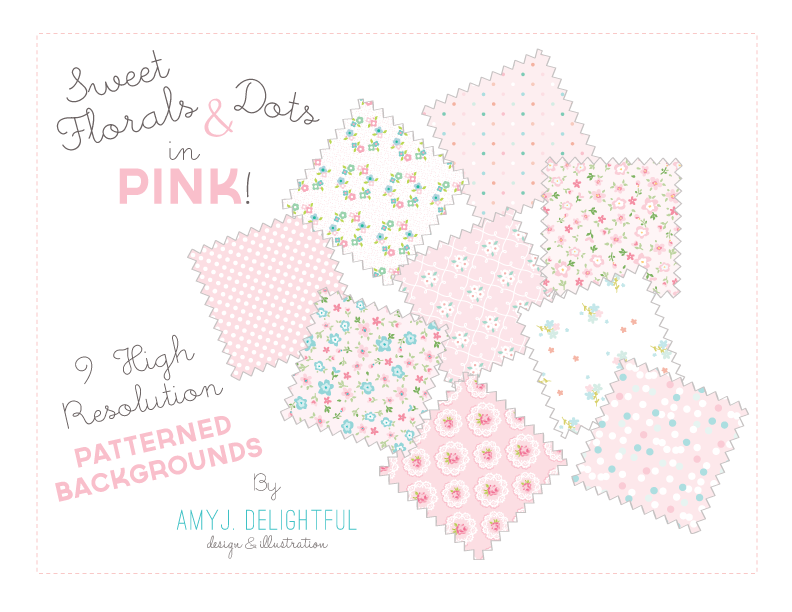
Speaking of the patterns, they are made by Amy J. Delightful on Etsy. I absolutely fell in love with her work. Definitely check out her website as well – completely charming!
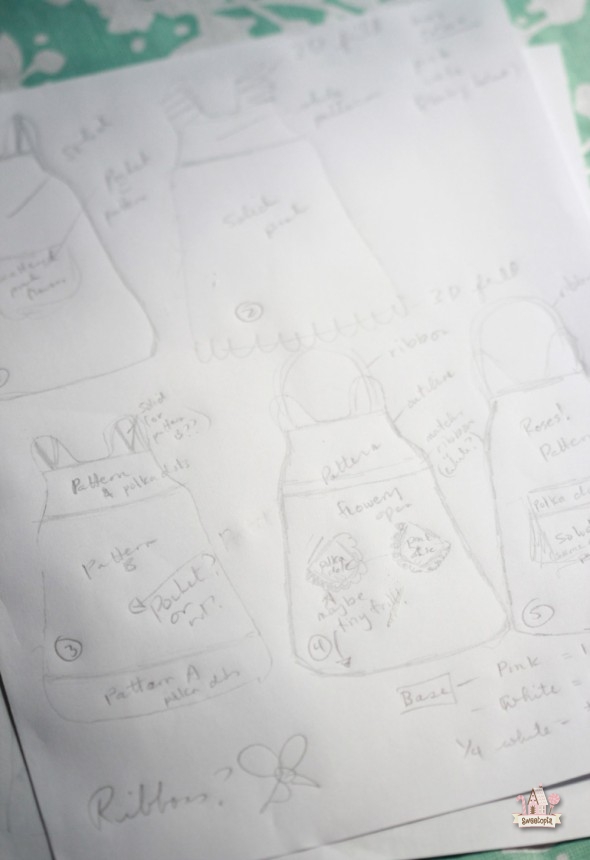
It’s not something I often do, but for these cookies I found it helpful to roughly sketch some ideas out.
If you’d like to make these cookies too, here’s a little how to for you:
Decorating the Cookies
What You’ll Need:
- Sugar Cookie Recipe here or Gingerbread Recipe here.
- Royal Icing Recipe here. *White is the best colour to tint your icing. Any other colour as the base tends to cloud the image when applied to the cookie.
- Edible Frosting Sheets
- Edible Ink Printer
and Food Coloring Cartridges
- Image of your choice
- Clear Corn Syrup
- Paintbrush or Foam Brush
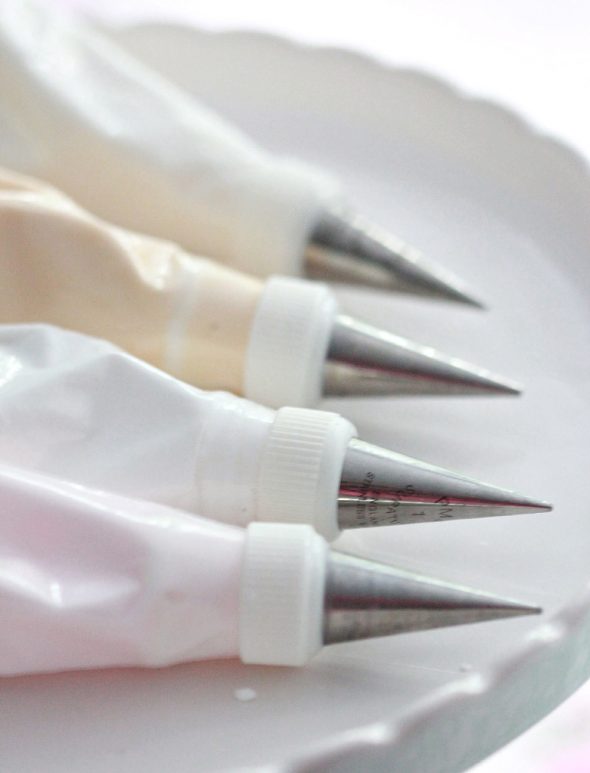
- Piping Tip (#2)
- Coupler
- Piping Bag
- White Gel Colouring
Instructions
If you’d like to use the edible frosting sheet prints:
- You’ll need to print the patterns onto frosting sheets using an edible ink printer
. If you only have a few images to print and don’t want to invest in a printer, check your local bakery shop to see if they can print a sheet for you. Where I live, the Sobey’s grocery store prints them for $10.00 per sheet.
Ready to decorate:
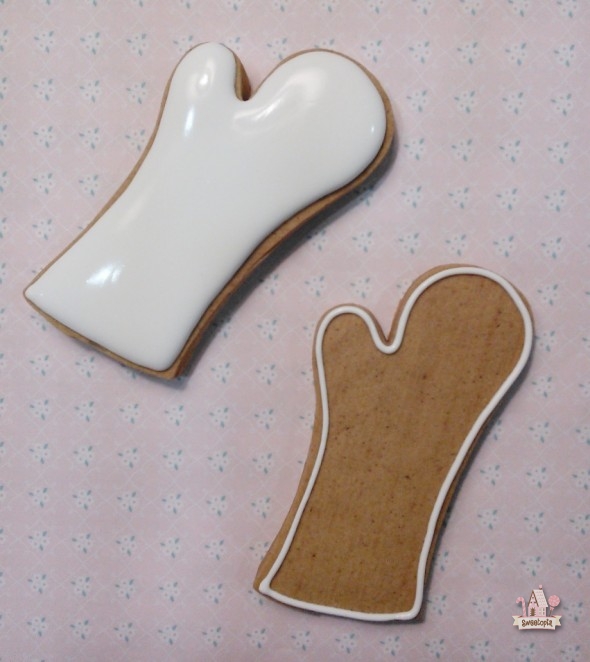
Step One: Flood your cookie with tinted white royal icing and let it dry for 12-24 hours. You can find a detailed video on how to flood cookies here.
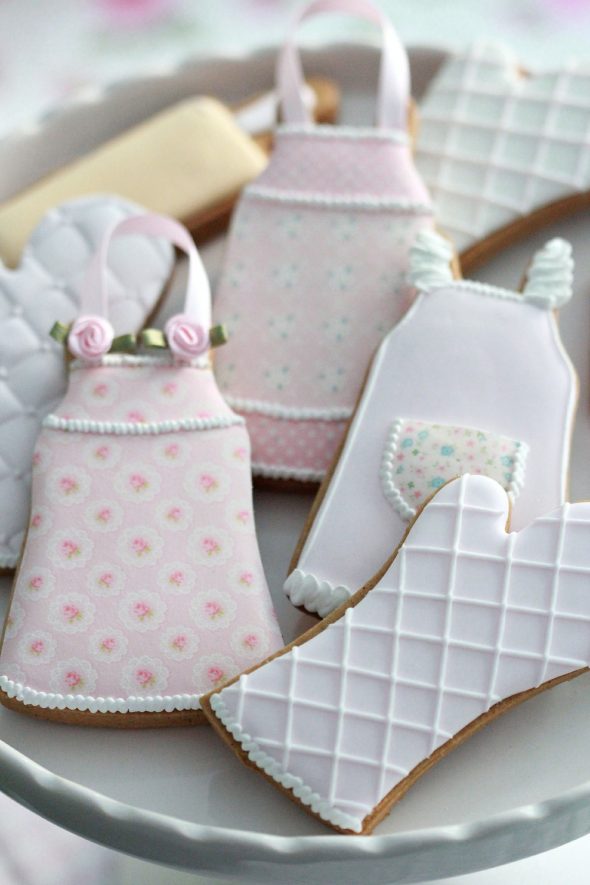
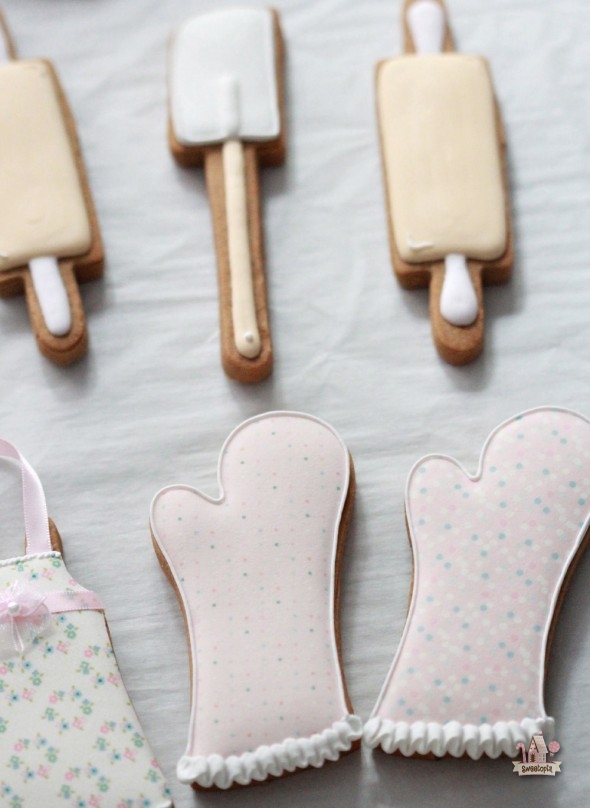
Step Two: Gently cut out wafer paper image. Apply clear corn syrup to the back of the wafer paper or onto the dried royal icing with a ‘food-only’ paintbrush or sponge brush. Apply image, gently smoothing over the surface all the way to the edges with clean, dry fingers. Have a damp & dry cloth nearby to wipe your hands as they can get sticky. In the example above, I also layered a second print on top of the first.
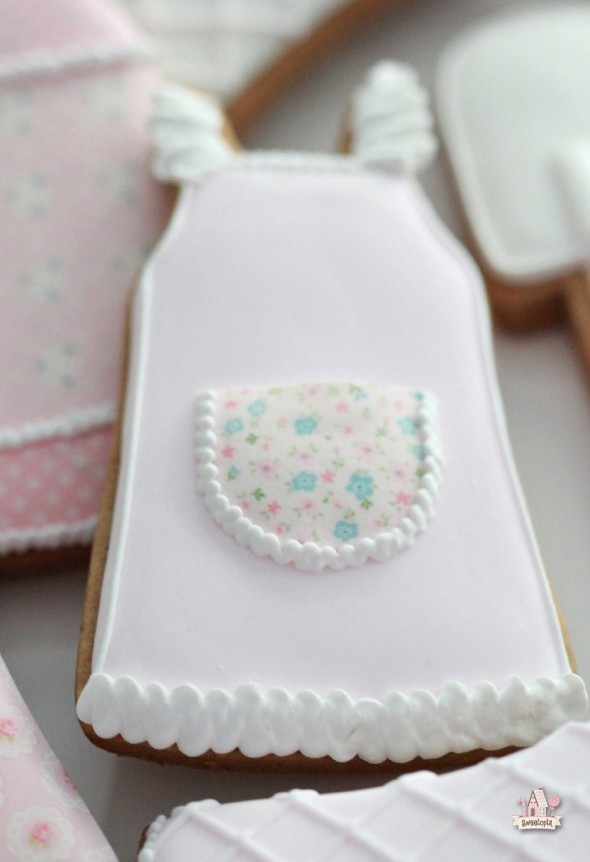
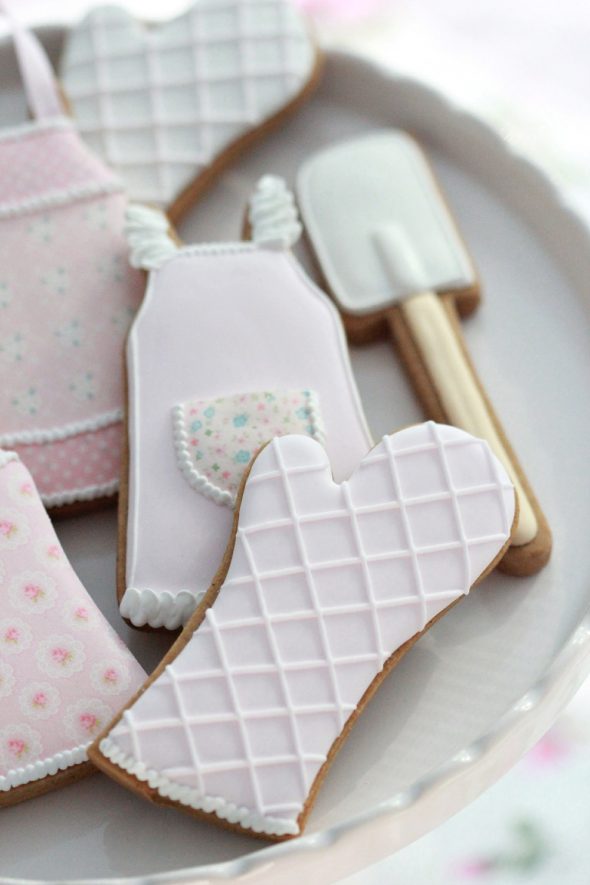
For the apron below, I piped a small amount of icing in the shape of the pocket, on top of the first layer, let it dry, and applied the frosting sheet “pocket”.
Step Three:
Using a thicker royal icing (the icing should stand straight up if you dipped a spoon into it and pulled upwards), add a little frill edge using piping tip #59s (as in the photo above), or thicker icing and PME piping tip #1
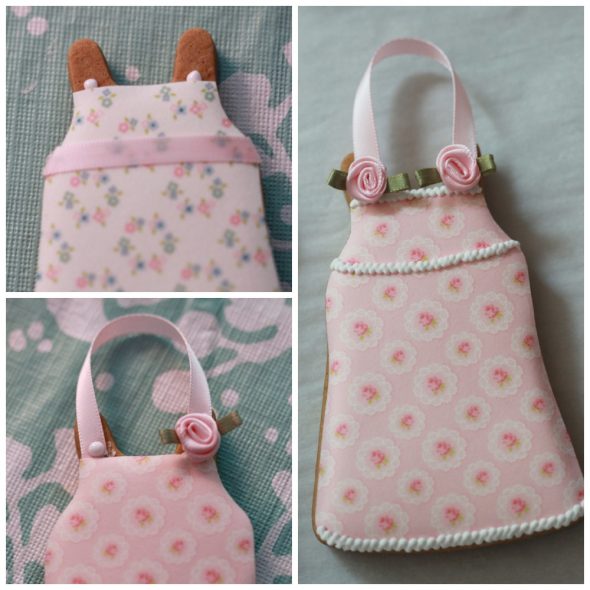
as in the rose apron below.
Adding Embellishments
The roses, bows
and ribbons on the cookies are embellishments found on Amazon. I got the idea of using them from this sweet cookie book, The Flour Pot Cookie Book
. The ribbons are just barely iced so that they’re easy to remove. You can definitely make an edible option using fondant.
*
Royal Icing Tufting
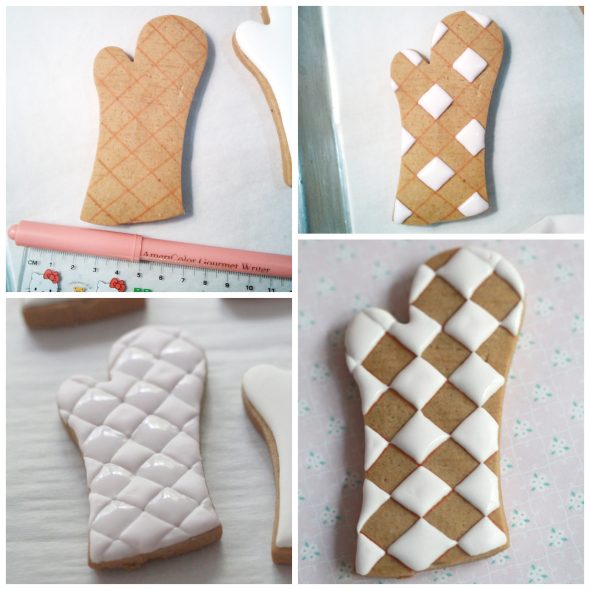
To create a tufting look with royal icing, section your cookie off into a diagonal grid pattern using a ruler and a food decorator pen. Ice some of the squares, making sure none of them touch, and let that dry for a few hours. Next, ice the squares touching the points of the already filled squares. Once those have dried for a few hours, fill in the remaining gaps.
Pipe a small dot at each intersection.
A little less time consuming option would be to pipe a base of icing and then lines of royal icing in a grid pattern on top.
I freehanded mine but you could project the lines using a Kopykake projector.
I hope you have fun decorating these cookies… they were one of my favorite to decorate so far.
I’d love to see how you ice yours! Share a link in the comment section below or tag me on any of the usual social media spots; Facebook, Pinterest, Instagram etc.
Happy decorating!
xo,
Marian



Those are perfection! And I love CheapCookieCutters.com… I shop with them all the time!!
These cookies are so pretty and clever. I love them!
These are just darling! I love the colors, the patterns, the edible papers – everything about them! Thank you so much for sharing.
Oh my goodness perfection as usual!!! Beautiful!
Gorgeous!!
Just like your stand mixer cookies, these are wonderful! I love the embellishments you added and the patterns you used. Have to tell you that the spatula detailing is great!
Beautiful. Thank you for tutorial.
Wow, these cookies are spectacular! So lovely and nice. These cookie cutters are cute but you did such a great work! 🙂
xo
Love them all 🙂
Beautiful!!!! everything is beautiful Marian
Absolutely gorgeous, Marian. Love them!
Oh how much I love these cookies!
And I hold them in my hand…can you believe it??
Absolutely adorable – a dreamy set of cookies I would love to keep forever in a frame.
This tutorial is so so good and I hope some bakers will make them and show off their versions.
So exciting! Thanks for this cute blog post Marian.
They are simply wonderful. I love your work
<3 Laura
Your cookies are soooo incredibly beautiful! Eye candy! And also…real candy in a way because they look delicious!
These are so adorable! I have a question and I would LOVE if you would answer it because it has been stressing me out! Does your royal icing smell bad while it’s drying sometimes, like, the equivalent to a wet dog? I use CK Brand Meringue Powder and have used Ateco as well. It doesn’t always do this and I find that it’s usually my runnier icing that does this. And only when it’s drying.It’s not old, smells great in my mixer, and tastes great. Just smells funny. And it doesn’t do this all the time either. PLEASE HELP! Thank you so much!
-Ashley
Eeeeek, Marian, I am absolutely charmed and giddy over these sweet cookies!