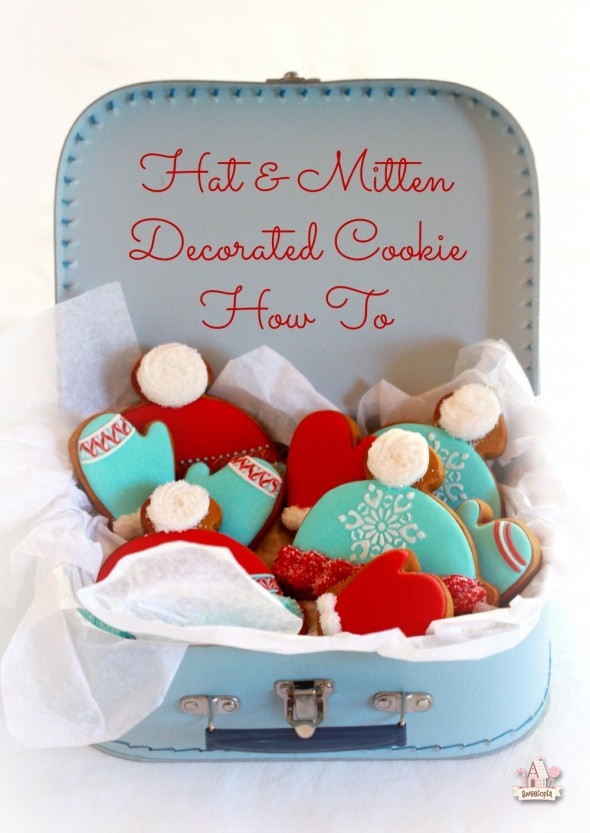
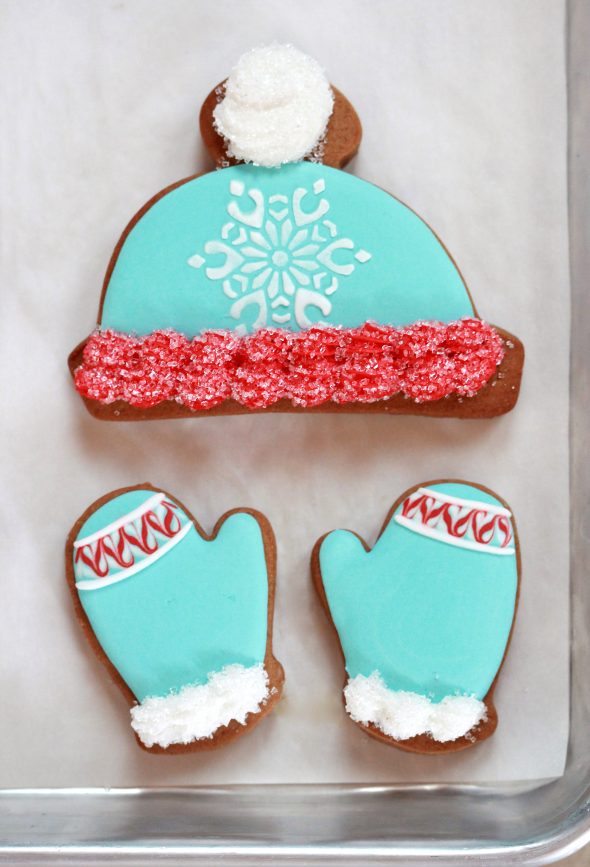
Whether or not you’re in an area which receives snow during the holiday season, making these hat and mitten decorated cookies will put you in a festive mood – and if you’re sharing them others, they’re sure to be charmed by your gift! At first glance, they may look complicated to make, but with a few recipes and tips, you’ll easily be making these too.
I was happy to make these for Go Bold With Butter, a must-see baking and savoury recipe resource for those interested in all-natural ingredients and delicious buttery taste. I wanted to show how using a yummy buttercream or smooth royal icing can be combined in your cookie designs! You can find my tutorial here as well, and definitely check out all the other tempting recipes there!
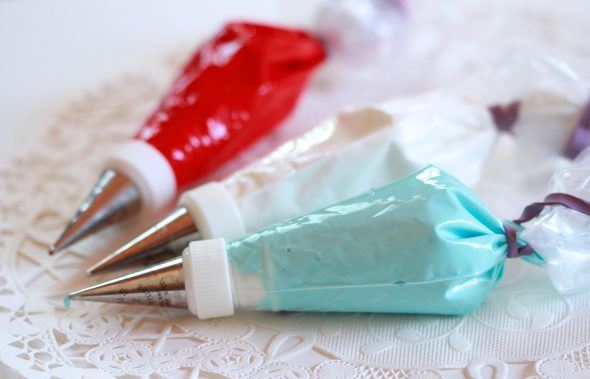
Start with a cookie recipe of your choice, such as gingerbread, and prepare royal and buttercream icing. You’ll also need a few tools:
You’ll Need:
- hat and mitten cookie cutters
- food gel coloring (of your choice)
- piping bags
- couplers
- snowflake stencil
- offset spatula
- #18 star piping tips
- #2 piping tips
- sanding sugar
Instructions:
Once you’ve made your icings, baked your cookies, and let them cool to room temperature, they’re ready to be decorated. We’ll start with the royal icing. The consistency of icing is key for easy decorating. Click here to see a YouTube video on finding the right icing thickness.
Step One:
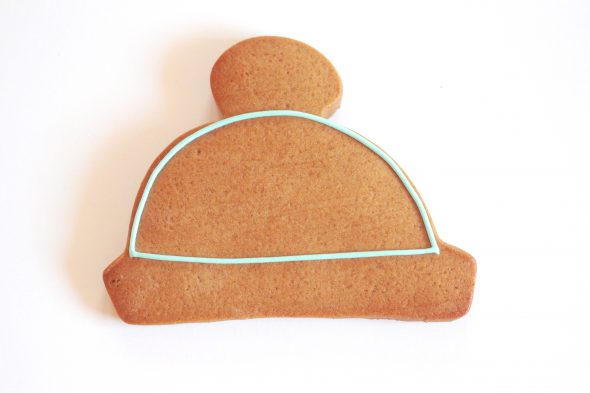
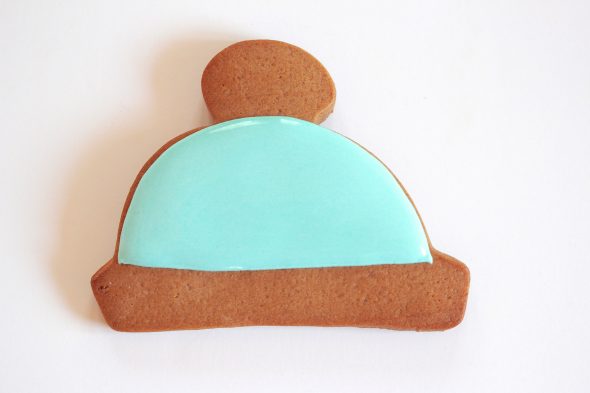
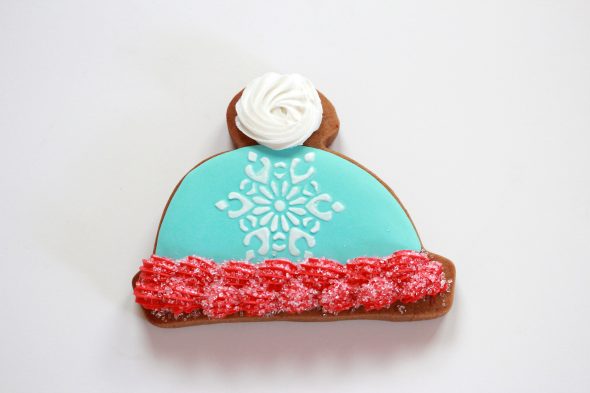
Outline the hat shape with royal icing. For detailed decorating tips, this tutorial may be helpful for you.
Step Two:
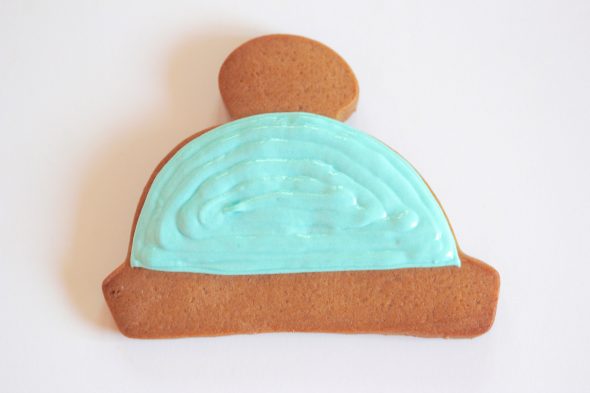
With the same icing, flood, or fill in your shape. Shake the cookie gently to help smooth the icing out.
Step Three:
Let the base dry for at least 6-12 hours.
Step Four:
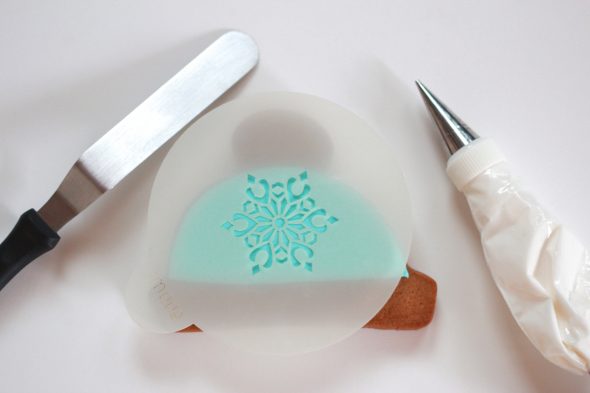
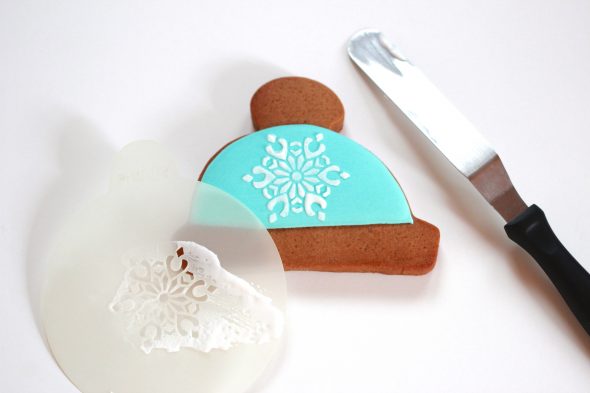
Place your stencil on the tried icing, and smooth some white royal icing over the design with an offset spatula.
Step Five:
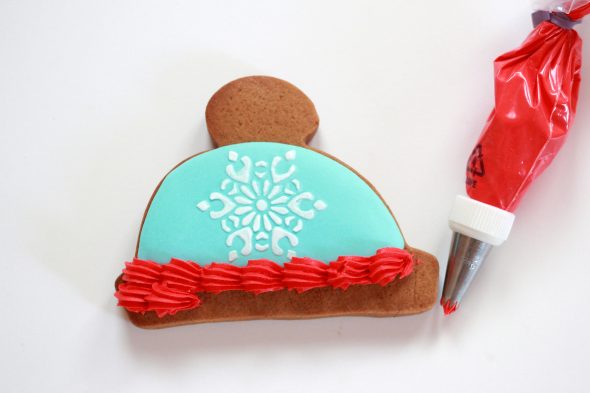
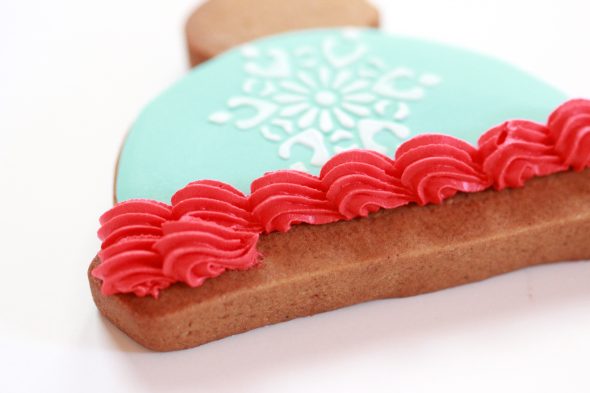
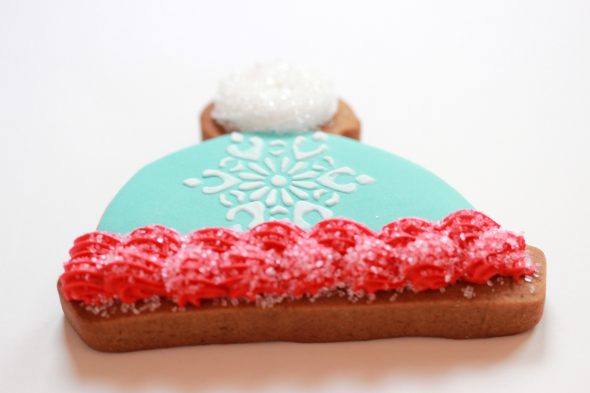
Using your buttercream icing in a piping bag fitted with an #18 star tip, pipe a few shells for the rim of the hat. Sprinkle on some sanding sugar if you like.
To pipe a basic shell, hold the piping bag at about a 45-degree angle, at the 6:00 o’clock position, with the tip slightly above the surface of your cookie. Squeeze the icing out of your piping bag, then relax the pressure and pull the piping tip towards the surface of your cookie. Let go of the pressure completely, lift the piping bag away and repeat.
Step Six:
Using a #18 star tip, pipe a swirl of icing for the pom pom of the hat.
Step Seven:
Sprinkle on some sanding sugar if you like, and let your cookie dry for 6-12 hours before packaging.
Follow the same basic decorating instructions to make mittens too.
There are so many decorating options – have fun with your designs!
If you’d like to try marbling (as in the mittens above), you can find a detailed tutorial here.
Happy decorating!
xo,
Marian






I adore these so much! I love the use of royal and buttercream together. Beautiful.
What brand/color(s) did you use to make that shade of blue icing? It’s perfect!
Hi there! I used Americolor sky blue.
Loooooove the color combo!
So cute! The blue and red is gorgeous together.
Does the buttercream dry hard enough for packaging?
Somewhat, yes, Luanne, but it’s still a bit sensitive. I would try to puff out the cellophane bag a bit, and avoid stacking them if I could.
Beautiful colours and photo’s and I love how simple you make this cookie seem. The stencil is cute!
Ohhhhh dear,
the cutest!!
I could not eat these at all…
oh my Marian, you just made me smile big time <3
Love this tutorial!
Thanks so much for sharing.
XOXO,
niner 🙂
oh my, how beautiful..I love your colors you picked.
Thank you for sharing all your hard work with us. There is no end to your talents!!!!
ML
oh so cute!
these are SO cute!! always Amazing Marian!
These are so cute!
Too cute!
Cute cute cute!!! Always love your gorgeous cookie designs!!
These mitten and hat cookies are just beautiful! One of my favorite things about visiting Sweetopia are the sweet colors. Merry Christmas! 🙂
Love this set of cookies. How did you get the white buttercream with sugar on the gloves to look like real cotton? Thanks.
Hi Kathy,
I used a star tip and sprinkled sanding sugar on the wet icing.
Also where did you get that cute blue suitcase that you put the cookies in? Thanks again.
Hi Kathy,
I got them in a store in Toronto called Red Letter.
Very VERY cute 🙂 Love ’em in the lunchbox!
Dear Marian, when I use my stencils, every time I lift them from thecookie, the icing smears all over theplace. I usually use quite thick and firm icing for this (the type you recomend) but I suspect the problem is my stencils are not of very good type… Maybe I need to let the icing dry a bit before lifting? Do you do this or do you lift straight away? Thank you!
Hi Tesei,
Here’s a video for you:
https://sweetopia.net/2012/02/video-how-to-stencil-on-cookies/
Oh my gosh, so cute!! The sanding sugar really makes it look like real wool!!! Merry Christmas!
These are absolutely precious!!
Love these. Cookie designs but I can’t use royal icing due to egg allergy – any suggestion for alternatives?
Hi Lisa,
Here’s a post for you:
https://sweetopia.net/2012/10/can-you-use-anything-besides-egg-whites-or-meringue-powder-in-royal-icing/
Definitely check out the comment section too!
Just stunning, my talented friend. I am loving your colour palettes this season.
Thanks for the sweet comments everyone!
My compliments to you! Your entire blog is adorable and sweet. I never really was into cookie decorating because I thought it was too difficult. After trying your gingerbread house tutorial and playing with royal icing, it has been nonstop cookies at our house. I have been shopping and shopping for cookie cutters. I specifically had my eye out for a winter hat, mitten, and polar bear kind (teehee) just so I could try this with your chocolate shortbread cookie recipe. Scrumptious recipe by the way. I did leave out a 1/2 cup of sugar considering the layers of icing decorating the face. I added two teaspoons of baking soda and followed your tutorial on how to stop cookies from spreading (rolled it as thin as I could handle them without breaking to minimize spreading, chilled them, and put them in a hot oven with a good quality cookie sheet ). I totally failed at stenciling, but just saw you have a tutorial for that too; next time I will rock at stenciling. Also, thank you for commenting on my gingerbread house on Facebook. I was so proud of myself that I wanted to share it with you lol. I have learned so much from you. Thanks a bunch!! Oh, and, I cannot wait to get the enamelware set of bowls you recommended.
Peace,
B. Anna M.
Hi Anna,
That is so wonderful! Your message brought me such a happy feeling – thank you for sharing your story, and I’m so glad you’re enthusiastic about cookie decorating! I loved your gingerbread house too!
Have fun decorating!
Oh, and I’m sure you’ll love those bowls – they’re so gorgeous in person too!
When you leave your cookies to dry after icing them do you put them in an airtight container or leave them out in open air??
Hi Emily,
I leave them on my baking sheet at room temperature. Maybe this video post will be helpful for you:
https://sweetopia.net/2012/01/video-how-to-dry-cookies-decorated-with-royal-icing/
OHHHH My God these cookies are so wonderful. I am love with these cookies and are best for any any occasion and children goes crazy !!!!!!!!!