
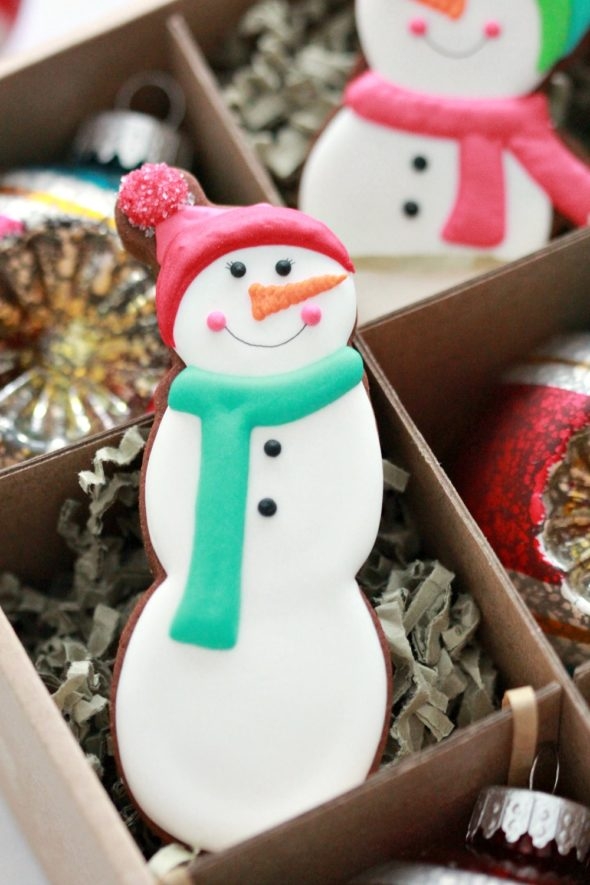
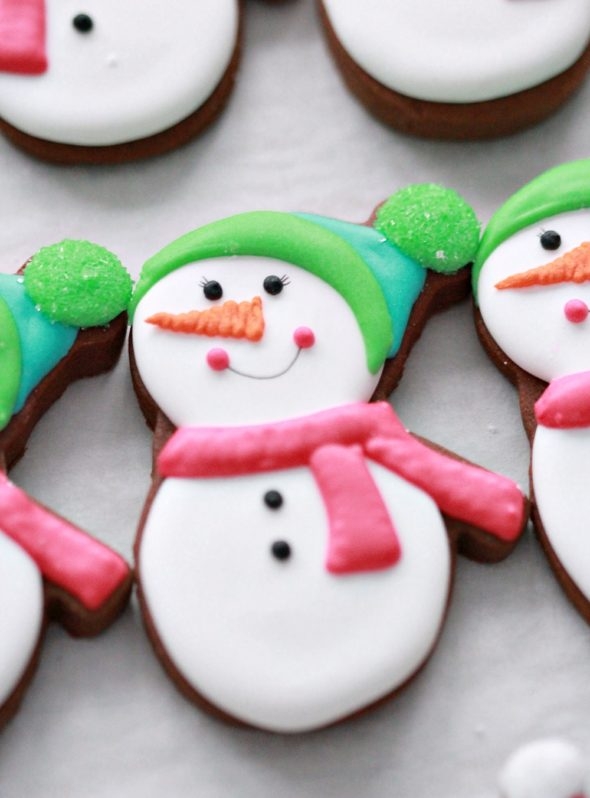
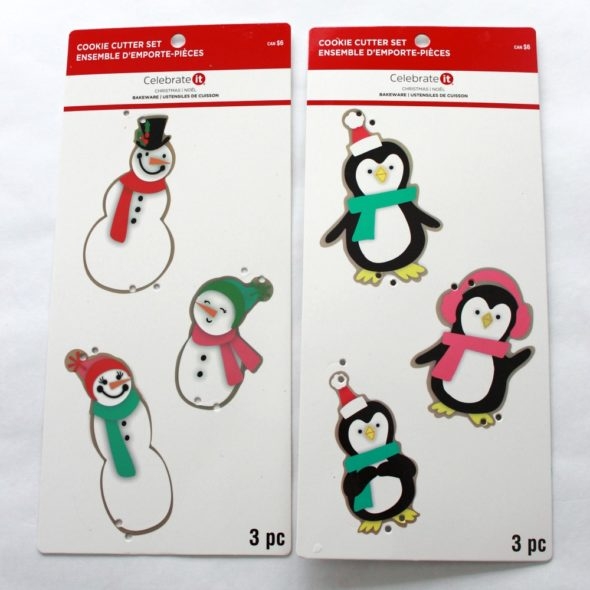
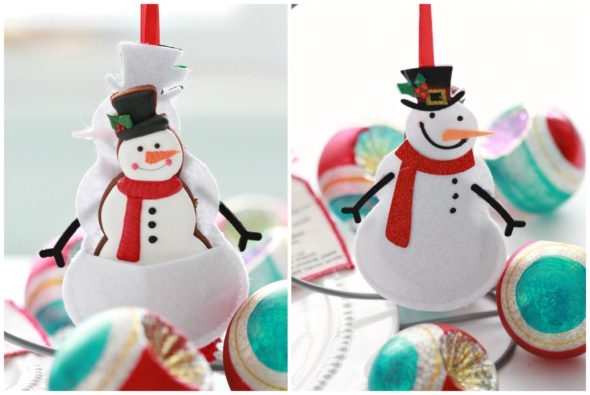
Happy Thanksgiving to those of you celebrating this weekend! These cookie shapes don’t fit the Thanksgiving theme, but I’m slowly getting ready for Christmas and couldn’t resist trying these cookie cutters when I saw them at Michael’s Craft Store. Simple and sweet, the shapes are easy to decorate and are perfect little holiday gifts.
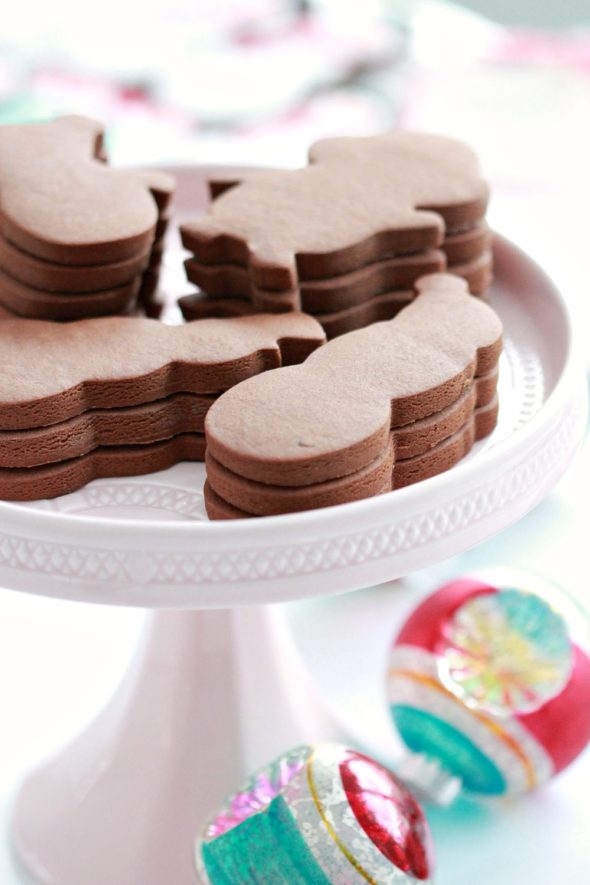
A twist on a Christmas favorite, these are chocolate gingerbread cut out cookies, a combination of my chocolate cut out cookie recipe and gingerbread cookies. I hope you enjoy them too!
Just a few notes on the baking and decorating process before I share the recipe:
If you’d like to get a head start on your baking, the beautiful thing about cookies is that they freeze really well. If you’d like to start baking and decorating early, click on the links to find posts on freezing cookies, thawing cookies and the shelf life of cookies.

In order to make decorating a large number of cookies (for me) manageable, I break up the process a bit. If you’re interested, here is a cookie decorating schedule, 3 day or 6 day, depending on what suits you best.
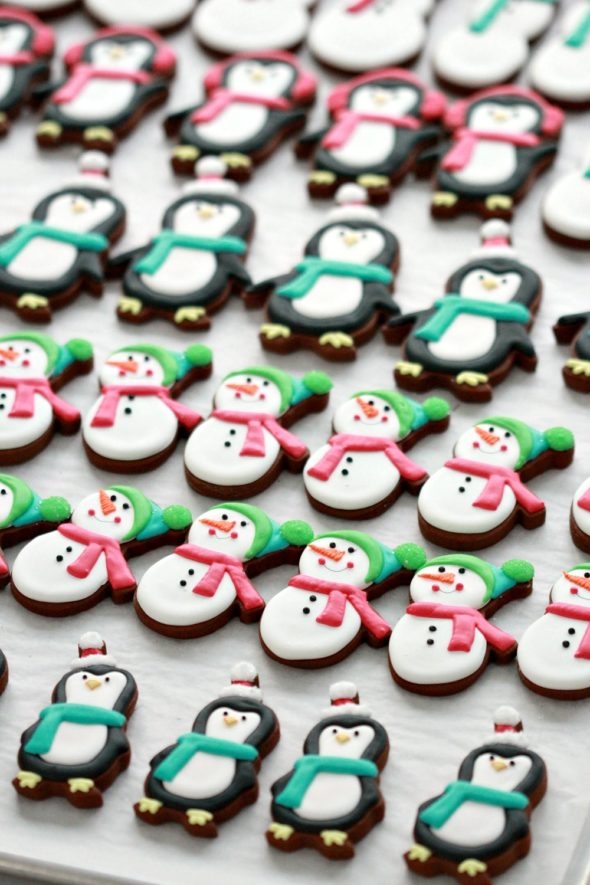
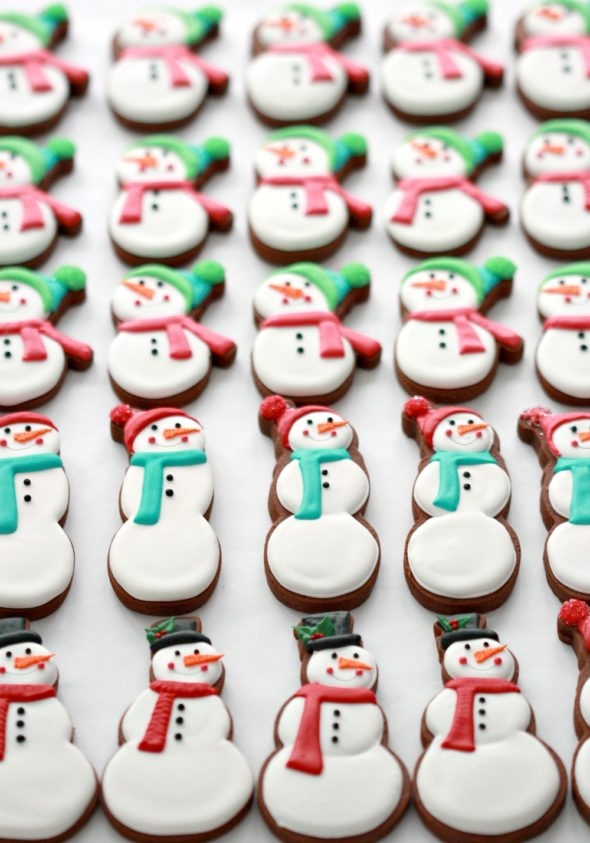
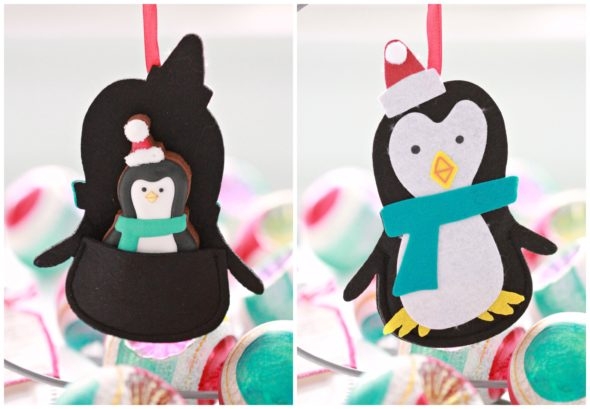
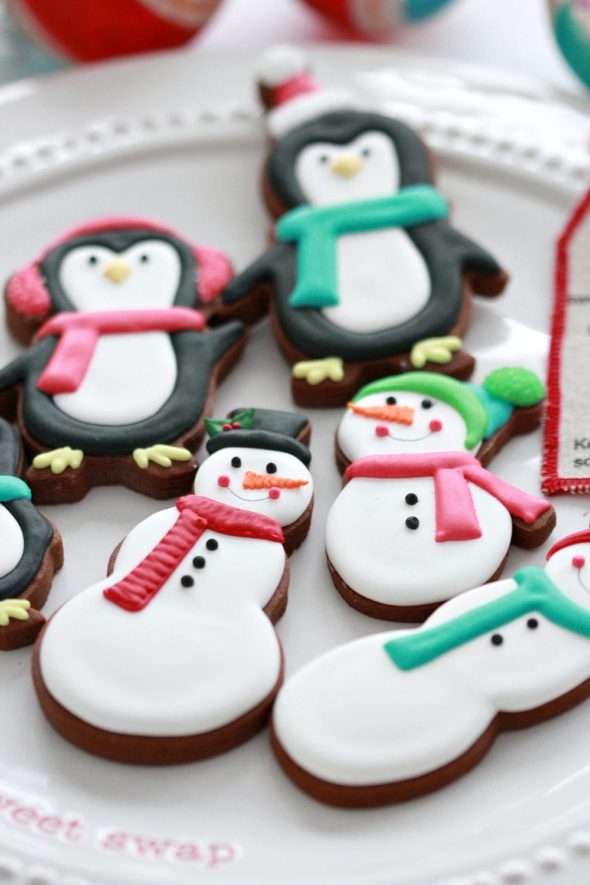
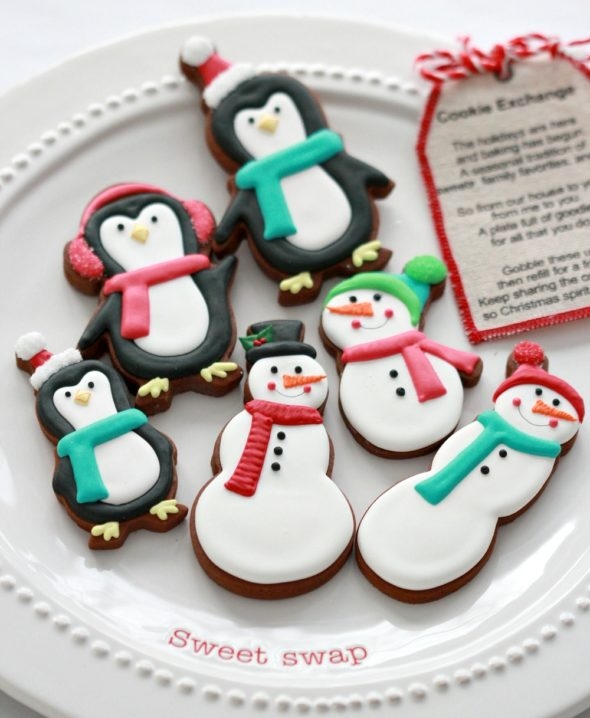
I’ve made a video showing how I decorated similar penguin and snowman cookies, which you can find in this post here.

I’ll share my basic tips in case you’re new to decorating, otherwise please feel free to ask me any questions in the comment section below.
Royal Icing Consistency
The consistency of icing is key for easy decorating. Click here to see a YouTube video on finding the right icing thickness for basic flooding and decorating. Here is a link to the royal icing recipe as well.
Decorating Items
What you’ll need (Any Amazon links in this post are affiliate links):
- Piping Tips – PME #1.5, PME #2 and PME #3
- Piping Bags
- Couplers
- Gel paste colors
- Scribe Tool or Toothpicks
- Sanding Sugar
How-To Videos
Here is a playlist of how-to videos I’ve made about cookie decorating basics (tools, how to outline and flood etc.). I’ve made a video showing how I decorated similar penguin and snowman cookies, which you can find in this post here.
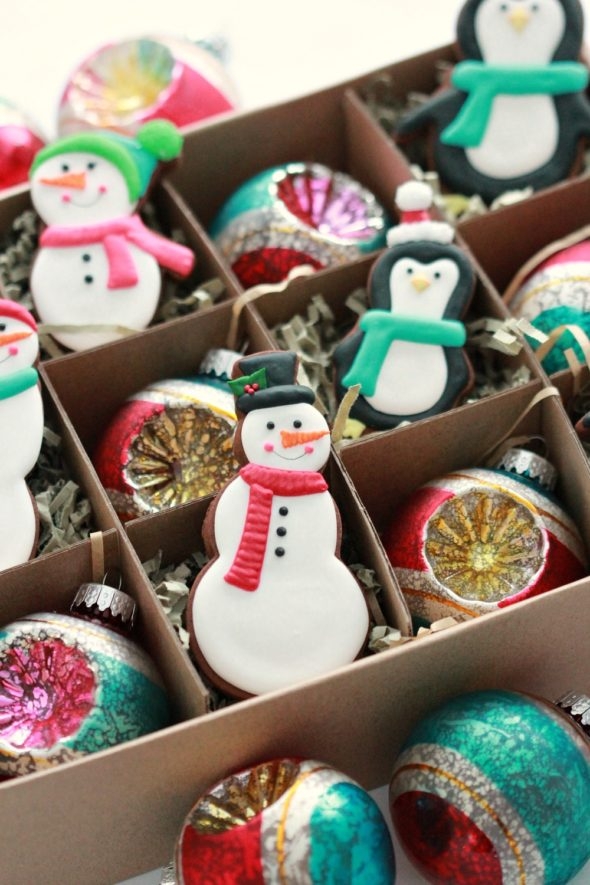
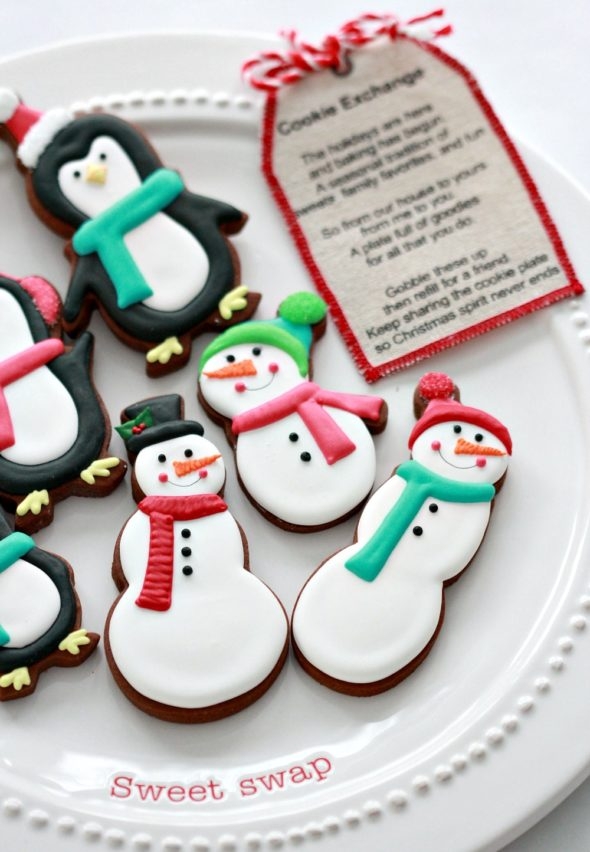
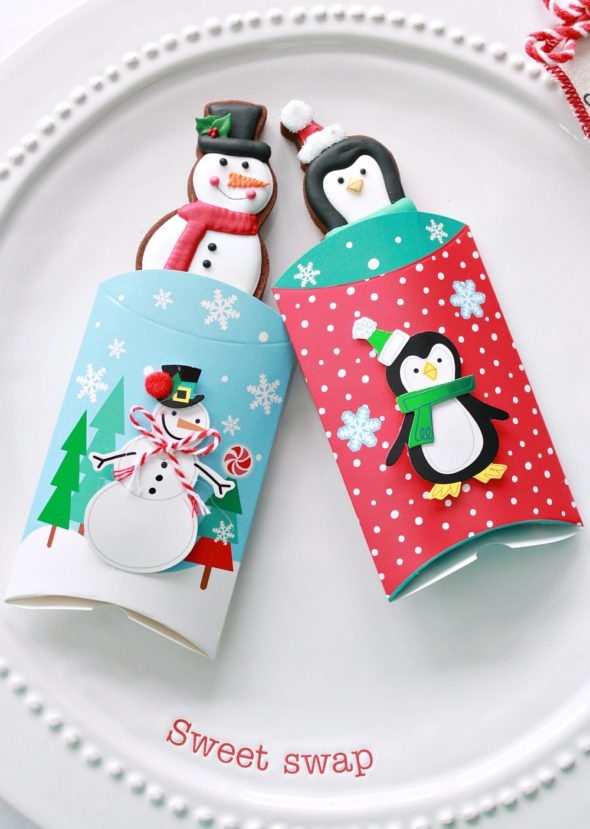
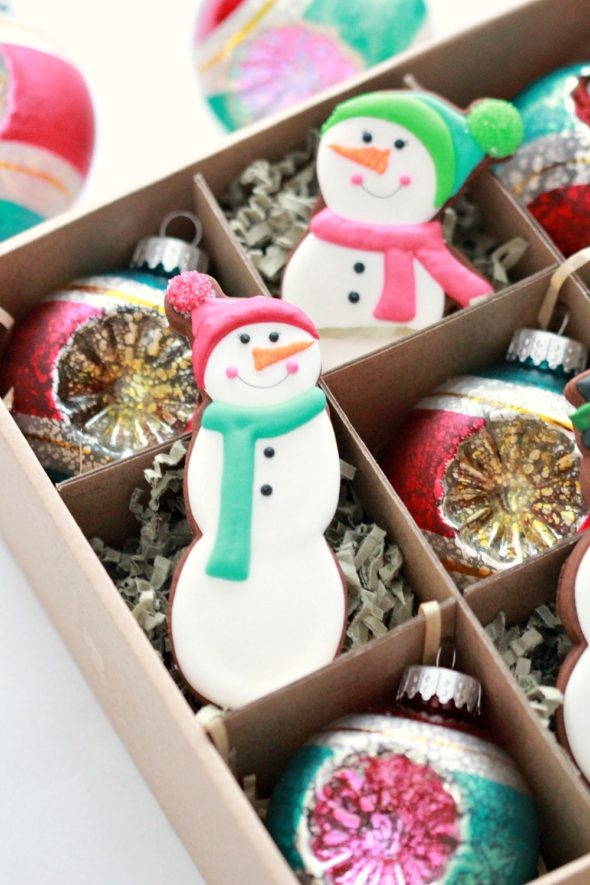
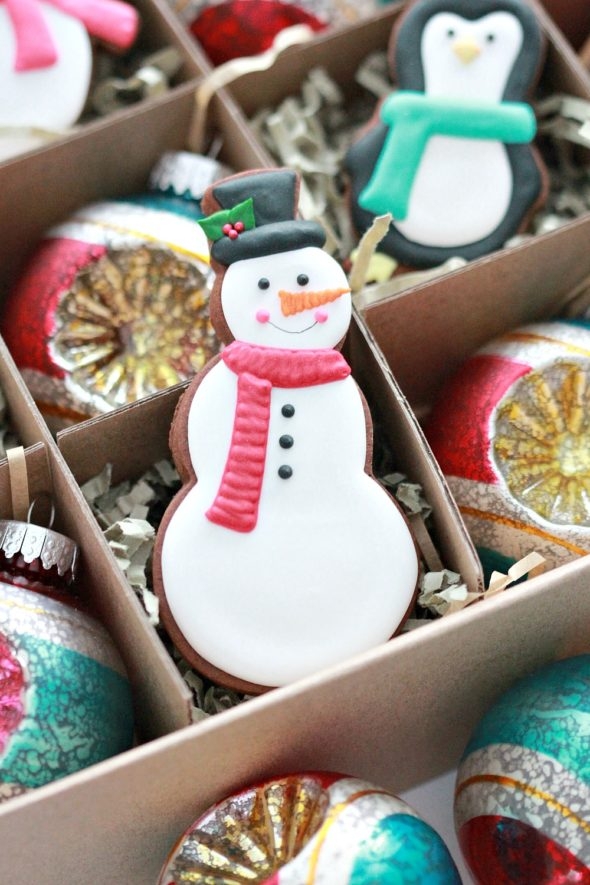
As mentioned earlier, I found these cookie cutters at Michael’s Craft Store, and then was delighted to find matching gift card packs and ornaments at the check-out.
Of course, I couldn’t resist.
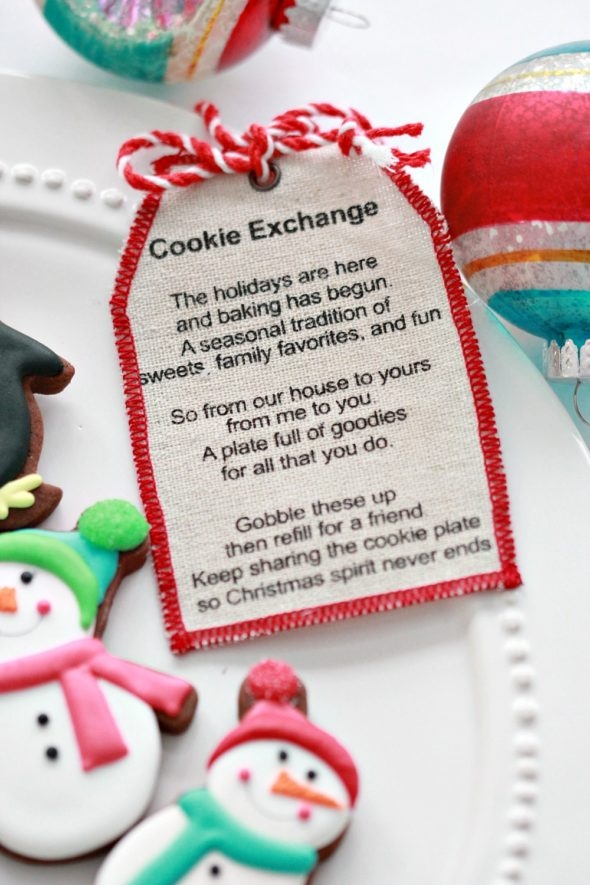
There are little pockets at the back, meant for a gift card…
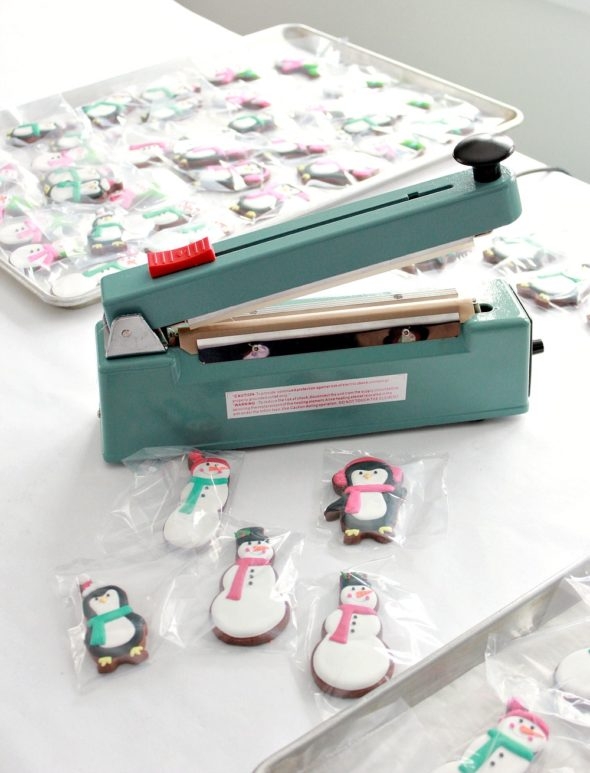
I’ve already given them away to some friends, and packaged the cookies in small cellophane bags first.
This heat sealer (below), makes sealing the cookies in bags much quicker than ribbon. I love it! Although ribbon is pretty, if I have more than 10 cookies to bag, I use it. Such a time saver!
Onto the recipe!
Chocolate Gingerbread Cut Out Cookie Recipe
Choclate Gingerbread Cut Out Cookie Recipe
Ingredients
- 2 cups unsalted butter, room temperature
- 1 cup granulated sugar
- 1 cup brown sugar
- 2 large eggs, room temperature
- 1/3 cup molasses
- 1/4 cup milk chocolate chips, melted
- 6 cups all-purpose flour
- 1 1/2 cups cocoa powder
- 1 tbsp ground ginger
- 1 tbsp ground cinnamon
- 1 tsp salt
Instructions
- Cream the butter and two sugars together in the bowl of an electric mixer on low to medium speed. (Use the paddle attachment). Mix until thoroughly incorporated - for about one minute. Scrape down the sides of the bowl with a plastic spatula and mix again for a few seconds more. Over mixing the butter and sugars in this step will cause too much air to be incorporated into the dough. If you'd like a light and fluffy cookie, that's ideal, however the dough will spread more during baking; not ideal if you'd like the cookie to hold its shape.
- Add eggs slowly and mix. Scrape down the bowl with your spatula at least once and mix again.
- Add molasses and mix.
- Add your melted chocolate and mix.
- Sift your dry ingredients together. (Flour, cocoa powder, ginger, cinnamon and salt).
- Add all of the flour mixture to the bowl. Place a large tea towel between the edge of the bowl and the electric mixer so that the flour won't escape. Mix on low speed for 30 seconds. Remove the tea towels and observe the dough mixing; mix until the dough clumps around the paddle attachment. The dough should peel away from the sides of the mixer and clump around the paddle attachment. You can also test the dough by pinching it between your thumb and index finger. If it’s soft but not sticky, it’s just right. If it’s too sticky when you pinch it between your fingers, add flour, ¼ cup at a time, and mix until you’re happy with the texture. There are various reasons why a dough can be too dry or too wet, ranging from humidity in the environment, to what kind of flour you use, the fat content of the butter etc., however, there are ways to fix the issues if you run into them. Already mentioned, add flour if your dough is too sticky, and if it’s too dry, make sure you’ve mixed it as best as you can first, and if it’s still too dry, add a little water or milk until your dough comes together.
- Roll the dough out between 2 large pieces of parchment paper. Place on a baking sheet and into the fridge or freezer for a minimum of 1 hour.
- Cut out cookie shapes. Place on parchment paper-lined baking sheets. Re-roll scraps and repeat. If your dough gets too soft to work with, place in the fridge or freezer periodically to firm up again.
- Once all cut out, put cookie dough shapes back into the fridge or freezer for 10 minutes to 1 hour to chill again. They will then hold their shape better when baked.
- Preheat your oven to 350°F or 176°C.
- Bake cookies for 7-12 minutes or until the center of the cookie no longer looks wet. The baking time will depend on the size and thickness of your cookie.
- Let cookies cool to room temperature and decorate if you like!
Notes
Please feel free to ask any questions below and thanks for visiting me here!
Happy baking and decorating!
xo,
Marian
p.s. Sorry about all the photos, I had a little fun photographing them and didn’t know which ones to choose!


these are adorable. Looking forward to trying them
Thanks and have fun Donna!
Wow! I love these and what great ideas to give them away! Your photos are beautiful! Thank you for sharing!
Thank youuuu Barb! Have a sweet day! xo
I started doing candy bar wrappers back in 1998 and then ventured into other types of party favors including cookies in the early 2000s. I too used KopyKake. When I found you I started to follow you then. Life happened…divorce kids etc…so I had to stop. But here I go again restarting my cookie business and still I love everything you do. I did see these at Michaels and wanted to give it a try and here you are. I did bake vanilla sugar cookies as that seemed to be more popular in my area. You are such an inspiration to me and I thank you for that! I do have a question. I do not use any cream of tarter in my royal icing but seems very tasty not too sweet. I do like a lot of vanilla. What is the difference with adding the cream of tarter? Thank you.
Hi Mercedes,
I’m glad you’re back to cookie decorating, it’s so rewarding, isn’t it! About the cream of tartar, it helps the royal icing set/dry. I’ve been using Wilton’s meringue powder which has cream of tartar in it, and have found lately that the royal icing has been fine without adding the extra cream of tartar in. If I’m making a gingerbread house, I will add more cream of tartar in… I like my gingerbread icing to set quickly. Hope that helps!
Very beautiful decorated cookies. Love everyone, so many details on each one of them! I love your recipe, which I have to try! Love your blog! You’re so talented!
ML
Thanks so much Maria! xo
Marion
Did you get the cute cookie exchange tags at michaels as well?
thanks for the recipe! Tryiing it today!
Hi Vicki,
No I got the tags from here; http://longwayhomedecor.ca/
Have fun baking and decorating!
Hi Marian,
Yes indeed!!! It is very rewarding. Did you use your 10 second icing for everything on the snowmen and penguins? Do you normally use the 10 second icing for the majority of your cookies?
Hi Mercedes, yes, everything except for the leaves on the snowman’s black hat. I do use the 10 second icing most of the time. Happpppy decorating!
I love, love, love these, Marian!!
Seeing them all together makes me happy. You make people happy with your incredible talent.
These are perfect as gifts, it would lighten anyones mood 🙂
God bless you.
Deine Niner <3
Thank you Niner! xo
Hi Marian, I made the recipe ready to bake. Also your pumpkin recipe .I made some cream cheese flavored royaling. Do you think the icing will go with the gingerbread cookies. I’m sure it will go good with the pumpkin cookies. If not could you recommend a flavor for the gingerbread
Thanks carol
Hi Carol,
I’m not sure if the cream cheese icing will go well with the chocolate gingerbread; might be too many strong flavours, but I’d try one and see what you think. Please let me know how it goes. As a go-to, I’d recommend regular (vanilla) royal icing. The cream cheese icing will likely go great with the pumpkin cookies, agreed! Happy decorating!
Thank you so much for sharing this recipe, I can’t wait to try it! I know the recipe calls for milk chocolate chips (melted). Do you think it would be okay if I used semi-sweet chocolate instead? I was thinking that this would make the cookie taste a bit darker, but I was hoping that the royal icing would help in making the cookie a bit sweeter. What are your thoughts?
Hi Keala,
Absolutely you can use semi-sweet instead! I think most bakers would use semi-sweet, but I’m such a fan of milk chocolate, I wanted to incorporate them. You could use dark chocolate as an option too! And yes, the royal icing adds sweetness to the cookie. Please let me know how it goes when you get a chance!
Hi
I’m a bit confused with the amount of choc chips – 6oz is 3/4 cup, the recipe says 1/4cup. Which one is it?
Thank you
Hi Katerina,
Thank you for noticing and my apologies! It is 1/4 cup and I just weighed them out again, that comes to about 1/5 ounces. I probably forgot to tare the bowl! Thanks again!
p.s. I’ve just updated the recipe.
OMG, these gingerbread cookies look so adorable…Thanks for sharing this one 🙂
Hi Marian
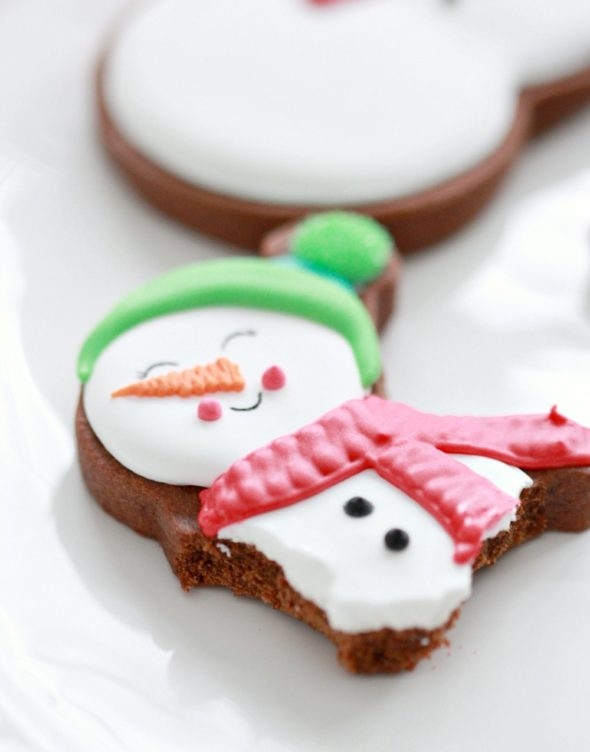
I love your Christmas cookies this year. I noticed the snowmen have very fine lined smiles as well as the tiny eyelashes. I am assuming you used a fine lined edible marker. I hope that was right. If so, can you tell me what kind you use. I am having trouble finding something so fine. I live in Ontario and was going to check at Golda’s today. But I am not certain I will find anything. Thank you and Happy Holidays ❤️
Hi Cherry,
Thanks! Yes, here is the pen, the fine side:
https://www.amazon.com/Professional-Edible-Food-Decorating-Regular/dp/B076D469DV/ref=sr_1_2?ie=UTF8&qid=1545156630&sr=8-2&keywords=fine%2Btip%2Bedible%2Bpen&th=1