Happy Monday! Hope you had a great Saturday and Sunday! I’ve been meaning to make gluten-free cupcakes and was happy to finally get down to it this past weekend. I also had a chance to experiment with making royal icing shiny. You may have seen me chat about it in the comment section of my cookie decorating tutorial or other posts. Royal icing is glimmery and glossy when you first apply it, {and in fact some of my photos are taken while the icing is wet}, but it dries to a matte finish. I don’t actually mind the matte look, but the good news is, for those of you who prefer a shinier finish, there are options.
Okay, first to the gluten-free cupcakes!
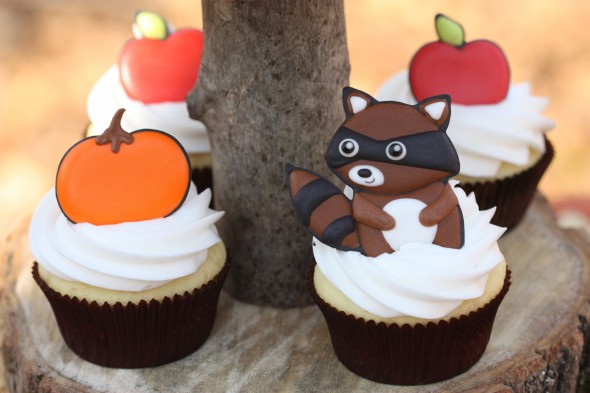
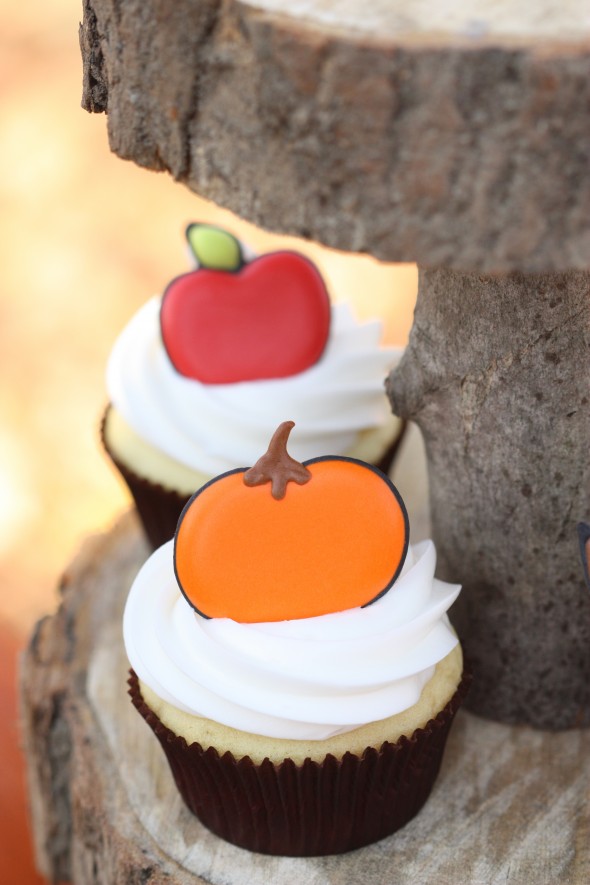
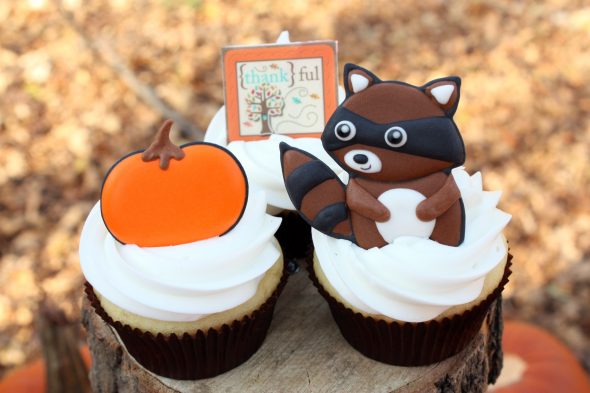
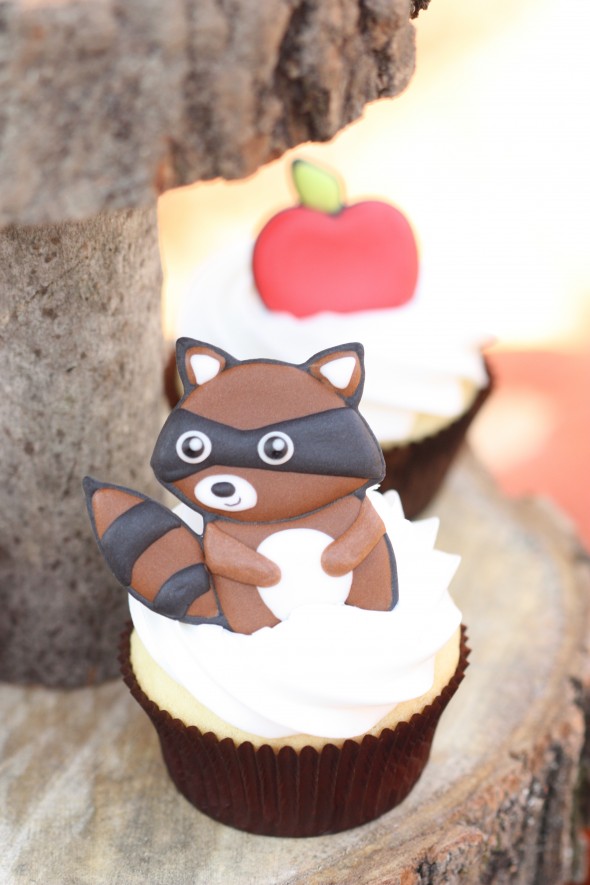
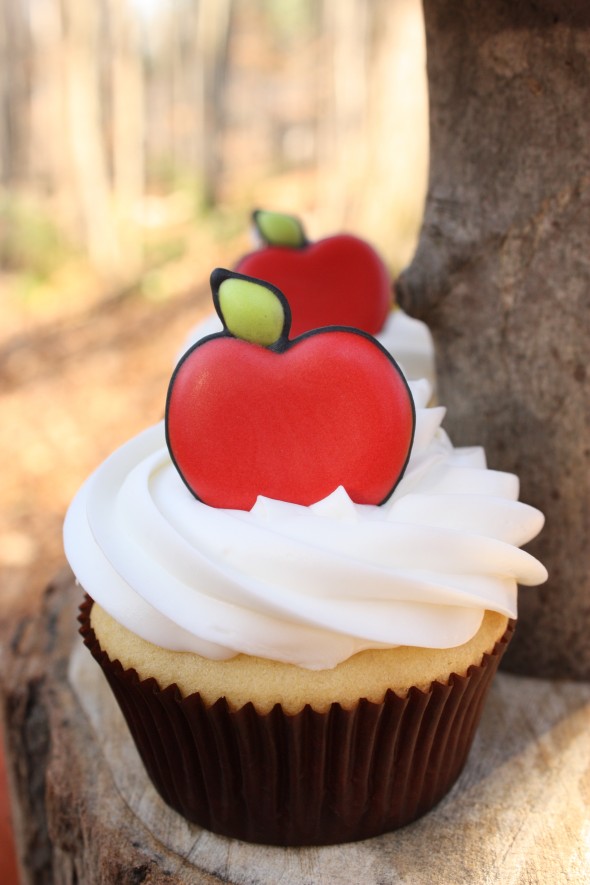
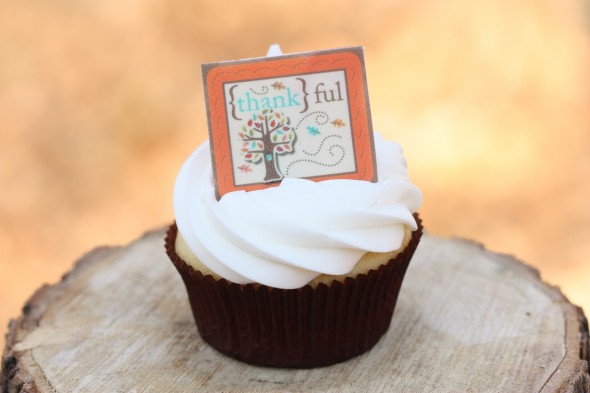
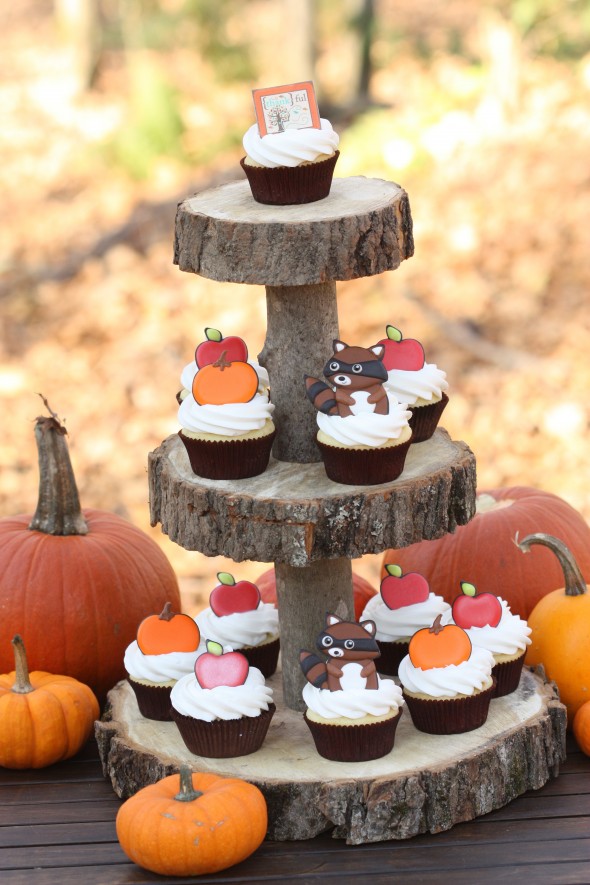
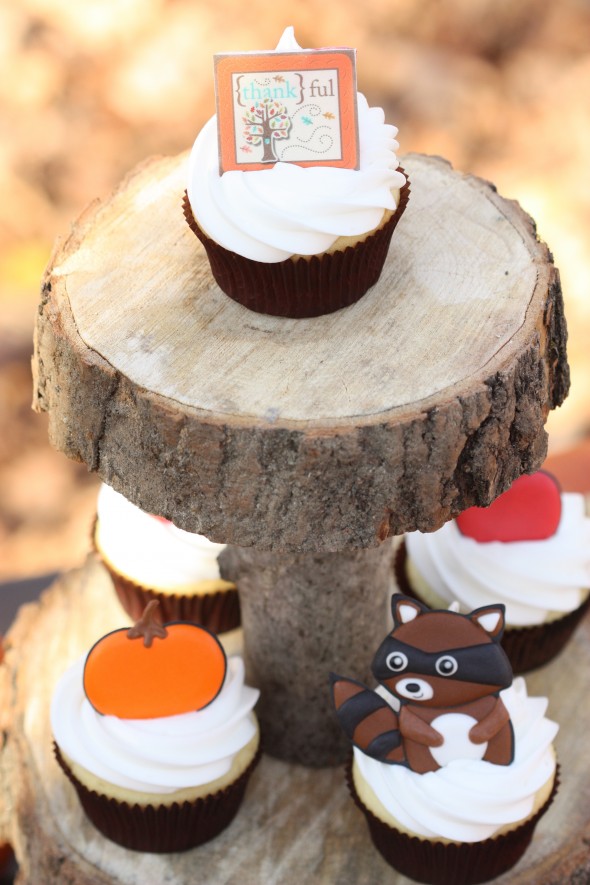
These are gluten-free coconut cupcakes with coconut frosting. The cupcake toppers are royal icing transfers copied from Apple Cider Thanksgiving stickers. I’m so happy with how they turned out! Rich flavour but light texture, coconuty sweetness and scrumptious smooth vanilla coconut frosting. OH my! The recipes are courtesy of Taylor, who has worked in a Gluten-Free bakery and cooks and bakes gluten-free at home. I’m so grateful she shared some simple recipes with me, one of which I’ll share with you today. She happens to be the lovely counterpart to my web designer Arthur, and I’m so thankful to both of them, I decided to make these cupcakes for them and their daughter Joyce, with a bit of a thankful theme in the royal icing cupcake toppers. Perfect for you at this time of the year too, if you live in the United States and would like to try making them for the upcoming Thanksgiving holiday.
Taylor shared an easy-to-make recipe from The Cake Doctor Bakes Gluten-Free recipe book, which mostly uses gluten-free prepackaged cake bases (which can be found at most local grocers now in the baking aisle. i.e: Betty Crocker), but still adds different ingredients to bring out favourite cake/cupcake flavours! If you’d like to try the royal icing transfers, click on this link to see a tutorial.
The cupcakes are made with cake mix base and pre-made frosting, and although I usually make everything from scratch, they were useful for my busy schedule this weekend, and really ended up tasting very nice! Taylor has lots of from-scratch gluten free recipes that she’s generously offered to share with me in the future too (yay!).
Here are the recipes for the cupcakes pictured here:
Gluten-Free Coconut Cupcakes with Coconut Frosting
{Click here for a printable version}
For the Cupcakes
1 package (15 ounces) of yellow or white Gluten-Free cake mix (I used Betty Crocker)
2/3 cup of coconut milk (must be full fat/regular)
1/2 cup butter flavoured vegetable shortening sticks (regular is fine if you can’t find butter flavoured)
3 large eggs
1 teaspoon coconut extract
*Preheat oven to 325 degrees Fahrenheit
**Place cake mix, coconut milk, vegetable shortening, eggs and coconut extract in a large bowl and mix/beat on alternating low and medium speeds.
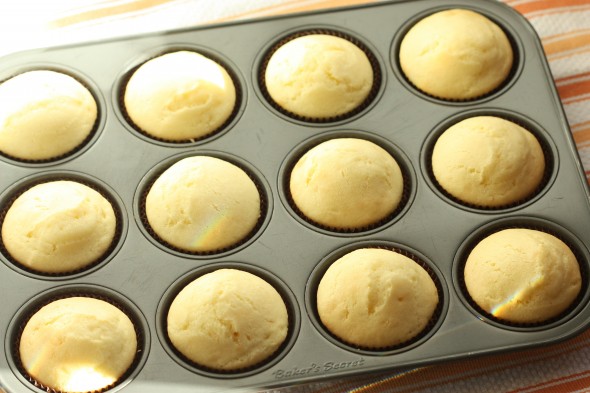
***Fill each liner (makes approx 14-16) 3/4 full
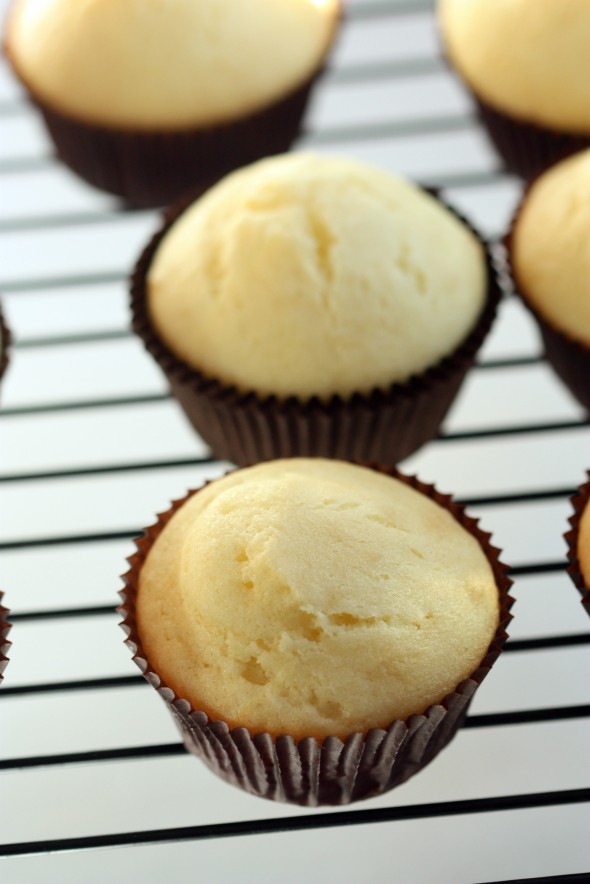
****Bake for 18-20 minutes, or until a toothpick comes out clean
*****Make frosting as cupcakes bake
For the Frosting
2 containers (459 g) of Duncan Hines Whipped Frosting (read fine print to find gluten free)
2 tsp coconut extract
**you can also try a coconut flavoured buttercream by adding the coconut extract to your favorite buttercream recipe
Another Option – Pineapple Frosting
1 container (8 ounces) of frozen whipped topping
1 cup of finely chopped pineapple
**allow topping to thaw and then continue to mix pineapple, keep in fridge until ready to serve
**note that royal icing transfers would be affected by the moisture in the frozen topping – eventually bleeding and/or disintegrating
**for other garnishes you can top with toasted coconut or a pineapple slice
More tips:
- For consistency in cupcake size, use an ice cream scoop (level the amount in scoop) for filling the cupcake liners
- To turn a cupcake recipe into a cake, be sure to have at least 3 1/2 cups of batter.
- Lowering your oven temperature and baking longer will allow for evenly baked cupcakes/cakes and often times allows for a more desirable eating texture
Okay, now on to making royal icing shiny!
I have to say, this really was an exercise in icing experimentation. I don’t usually take the steps needed to result in shiny royal icing… I do like the dried matte finish, and either way enjoy the soft crunch of the icing and the sweet sugary taste on a cookie. While taking a class at the Bonnie Gordon College years ago, I learned that there are ingredients you can add to the icing to help result in a shinier surface, and although I knew it, I never really used the information. Now I’m finally putting the knowledge to the test, and will be sharing the results of my experiment here.
So let’s get to it!
How can you make royal icing shiny?
There are three ingredients that have been said to add that little bit of shine to royal icing when it dries. They aren’t meant to be added together into the icing, each one on its own in the icing is said to add that slight gleam.
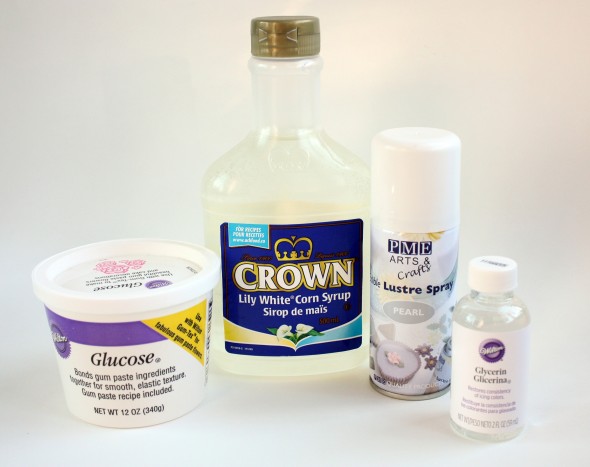
They are corn syrup, glycerin (specifically for confections not craft glycerin), and glucose. If you’re interested in knowing a little bit more about what each item is, or what it is made of, you can check them out in my glossary here.
Here’s a photo of all the items, so you can see which brand etc. I used. I’d love to hear if you have a different result than mine with different brands. The PME lustre spray I’ll talk about near the end of the post – that gets sprayed on when the icing is dry.
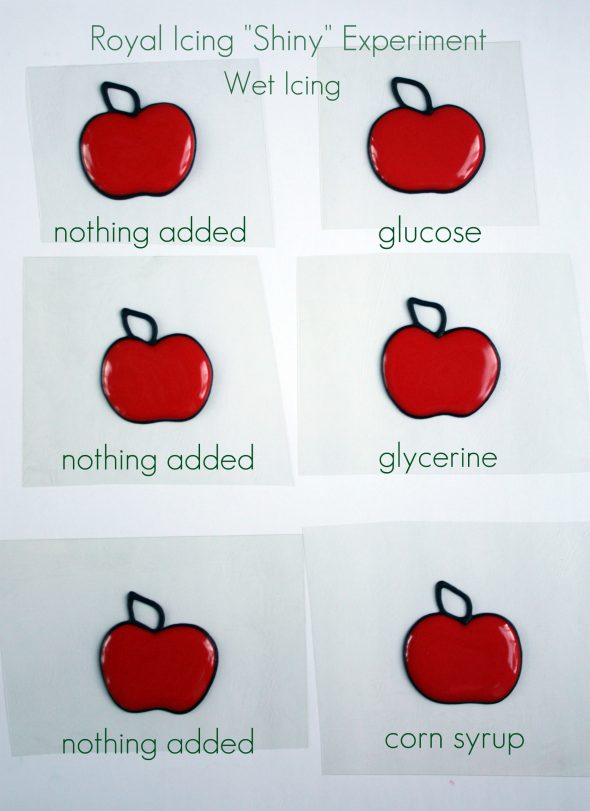
I thought I’d try each one individually and compare the results. I added 60 g of corn syrup to the royal icing recipe I use {click here for the recipe}, 60 g of glycerin to another batch and 60 g of glucose to the last batch. It’s the same measurement ratio as recommended in the Bonnie Gordon recipe, so I thought I’d stick to a similar amount. If you’ve used more or less and have different results than I’m about to share, I’d love to hear from you in the comment section below. (*Please excuse the spelling mistake in the following photos. Glycerine should say glycerin).
Sweet and simple apples piped with royal icing seemed to be the best bet to compare the shininess of the icings. Here they are just after the outlines have been flooded with the various batches.
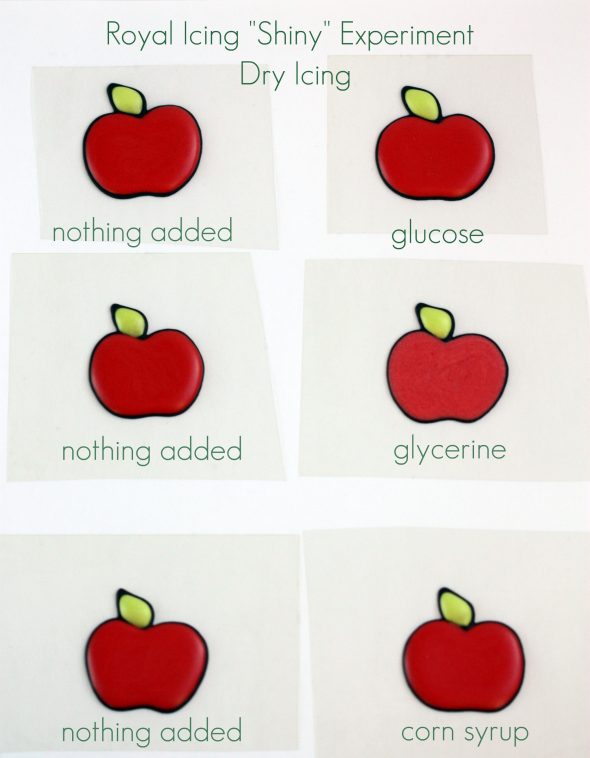
And 24 hours later:
Results:
Interestingly, when dry, the icing with nothing added to it (to help make it shine), looked like the icing which had the glucose and corn syrup added to it. The icing with the glycerin in it actually looked even duller, although when put in the sun, seemed to have extra sparkle. Overall, the added ingredients didn’t really seem to make a difference in adding shine.
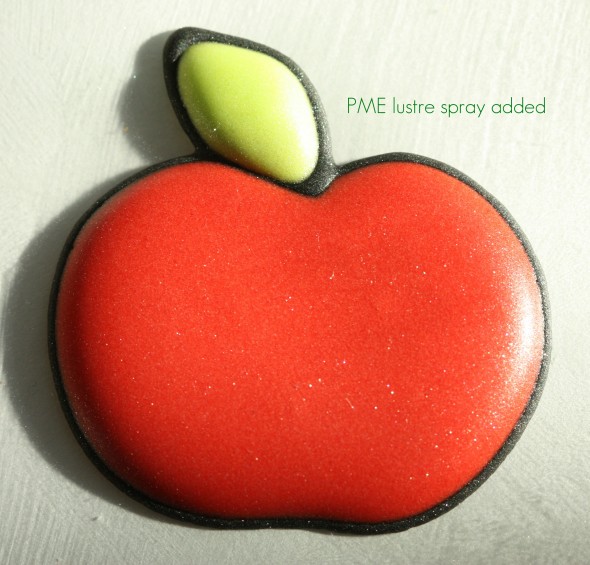
There are a few other options to consider if you’d like your royal icing to have a little more shine. PME pearl lustre spray can be lightly sprayed on after the icing is dry. Here’s an example of what it looks like:
I’d love to hear from you if you had ‘shinier’ results with your royal icing. Maybe more of each item (glucose, glycerin or corn syrup) needed to be added?
Others have had greater success than I had here, saying that added corn syrup or glucose really does make the icing look shinier, although the icing doesn’t necessarily dry 100% (as the ingredients themselves never ‘dry’ 100%).
One other option to consider, which I didn’t try, is to dry the icing under a heat lamp. Have you tried it? I would love to hear about the results!
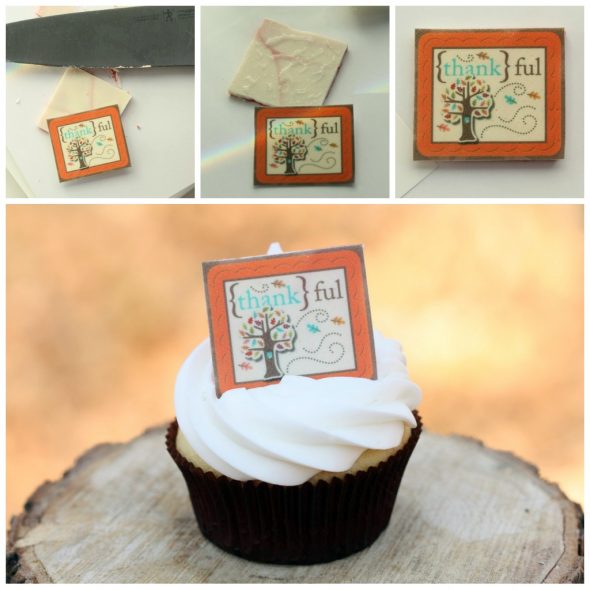
Gluten-Free Chocolate Topper & Edible Icing Image
Aside from the icing experiment, I did try something new with royal icing transfers. This one (below) is on gluten-free chocolate.
To make these, first melt your chocolate and using a bench scraper, spread the melted chocolate out on a baking sheet lined with parchment paper. I used two colours, red and white, and smoothed them together so it ended up looking like swirls. Let the chocolate cool and cut shapes as desired.
Then spread a thin layer of corn syrup on the chocolate with a paintbrush used only for food purposes. Lightly press your edible ink image onto the chocolate and you’re done! For a more detailed tutorial on edible ink images, click here.
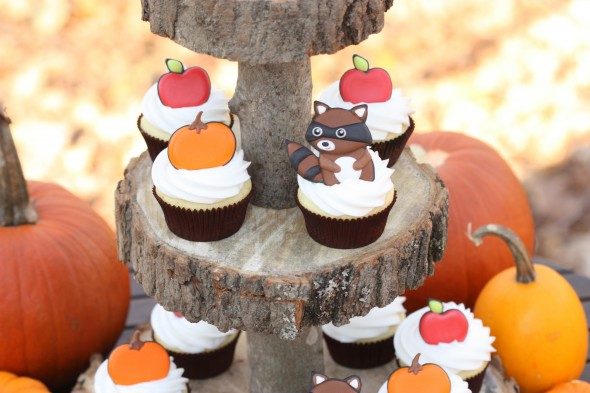
A couple of other things I wanted to mention. What do you think of the rustic cake tier? I saw it on Pinterest a few months ago and was instantly smitten! {If you follow me on Pinterest you may have already seen it pinned to my ‘Cake Tier Obsession’ board. Anyways, the tier costs next to nothing – even better! It has managed to turn into something sentimental for me as well, as two wonderful people in my life, my husband and my father, had a hand in making it. Dad, thanks for picking out and cutting the wood, and DH, thank you for putting it together on Sunday {with a one day notice!}.
If you have any questions or comments please feel free to drop me a line in the comment section below, on Facebook or twitter.
Happy gluten-free, shiny icing, thankful baking and decorating to you!
xo,
Marian
p.s. You can find a video on how to make the cupcake swirl here.



@ Marta: No problem! Here is a post with a picture of the tip, the name(s) of the tip and a link:
https://sweetopia.net/2011/01/valentines-love-cupcakes/
@ marian:
Thank you so much! 🙂
Great post as always, Marian! I love the royal icing toppers. Never thought about making royal icing shiny, so that is food for thought! 🙂 And I love your rustic tiers, your dad and hubby did a great job! Thanks for sharing!
I have found that the shine of the icing depends greatly on the weather. If it is very dry out, the icing dries very shiny. If it’s humid, it dries dull, and sometimes even with a weird texture. If I use a fan pointed at the cookies, they dry very shiny as well. I use glycerine in my royal icing, and have noticed it makes the icing easier to manipulate. Also I use cream of tartar. That might make the icing shiny too. Do you ever use cream of tartar?’
A couple of weeks ago I flooded a batch of cookies in the afternoon and left them on my kitchen table to dry with the fan on. Now I don’t know if it’s coincidence or not but the cookies dried with the afternoon sun shining directly on them and they came up really ultra shiny.
@ Precious Pie Cookies:
Thank you SO much for your feedback!!! Xo
@ Kelley Hart: Oops I forgot to answer your question! I do use cream of tartar in my icing all the time. Great point to mention. =)
Can you tell me your recipie for royal icing please
@ marian:
i’m studiing photography and i really like your pictures!
nice greets from vienna
WOW! You have an amazing work, now Im your mexican fan!!! 😉
I’ve traversed quite a few baking websites in my time. But your site is BY FAR the best! And I don’t mean that out of simple half-hearted flattery. I mean it, like, overwhelmingly mean it.
This is amazing. You’ve explained it all so perfectly. And you’ve given tips and ideas I would have never thought about.
Thank you so much.
You’re also really pretty, on top of being super fab and talented.~ You need a magazine and TV show. Right now!
Love your website. I have just started decorating cookies so I am definitely a novice. I usually frost them with confectioner’s sugar, a tiny bit of butter,vanilla and water. The finish is shiny and sleek and they taste delicious. What is the reason for doing royal icing if it is not the best tasting? Is it because you can do multiple colors and it doesn’t run?
@ skye:
hi dear ilike your cakes work peles sand your resapy. tanks
Hi Marian! I got inspired by your gluten free cupcakes and after checking out the Cake Dr website I ended up with rhubarb – raspberry cake! The cake is a trial run for birthday cupcakes later this month. I think they will be a big hit with the gluten free group and hopefully everyone else!
Hi @ skye: Sorry it’s been so long! I missed yours and other comments here! The recipe for royal icing is in my recipe section at the top of the site, under Icing.
Thanks! @ Katharina
Hello in Mexico, @ Cecy! Gracias!
Oh my goodness, @ Treece! Now that’s a compliment and a half! Thank you so much for your sweet words! xoxo
@ Gloria: I like the taste and texture of royal icing.
HI @ maryam: The recipes are in the Recipe section at the top of the site.
Cool, @ Janice! Let us know how it goes!
OI EU QUERO MUITO APRENDER A FAZER cookies MAS EU NÃO SEI E NEIM ENTENDO NADA SOBRE ESSA COSTRA DE GELO ME AJUDE POR FAVOR POIS EU QUERO APRENDER OBRIGADA BEIJOS…
Hi Marion
Too funny I should read this now as I just made an icing and added corny syrup to it – BUT it’s not royal icing. I had emailed you asking if you have ever used a non-egg icing and you said you hadn’t (I did try the websites you directed me to). But instead, I mixed 2 cups SIFTED icing sugar, 2-3 (or more depending on consistency you desire), 1-2 tablespoons of corn syrup and 1 tsp vanilla. I beat with a hand held mixer on low until it was shiny. I have used Royal Icing for years (but now have an egg allergy in family) and this comes VERY close.. I actually dipped.. it’s hardened now and still shiny and hard to the touch. I like my cookie to be not so sweet (yes egg free!) and the icing to be slightly crunchy and I am pleased on both accounts.
Thought I would share with your readers for anyone who has egg allergy. 🙂
Thanks for all your blogging!!
Kristen
@ Kristen:
Oops.. 2-3 Tablespoons of MILK 🙂
@ Kristen: *Thank you* for sharing that valuable information! xo
Hi Marian..
thank you for your replied on “Royal Icing” page..
I’ve tried to put 1tsp of warm water to my royal icing.. and the result is, when it dried the royal icing looks more shiny than when i didn’t put warm water..
i use white eggs instead of meringe powder btw..
🙂
Thanks so much, @ Irin Pandjaitan!
Hi Marian! Love this site and all you do! One question – these royal icing cupcake toppers are stuck right into the icing… won’t they break down because of the grease in the cupcake icing? I make toppers that I decorate onto sticks/toothpicks, so they won’t break down, but I would love to alter it occasionally by sticking them into the icing. Any tips are SO appreciated! 🙂 Thank you! – Jessica
@ Jessica:
Sorry – I do see that you noted that in your instructions. Thanks!
thank you for the reply Marian…but it wasn’t actually the shine that I was going for but the texture. I find that adding a little bit of corn syrup to the royal makes the icing less crunchy, it hardens, but there is more of a “soft bite” to it…I think I prefer that better but that is JMHO…m
Hi @ Jessica: Absolutely, hope you found all the info. you needed.
@ Maria in NJ: It makes sense that it would, thanks for sharing!
Hi Marian you make my day happy happy. What a beautiful toppers!!!
I tried this over the weekend for my daughter and her friends and they loved it!! They were so fascinated with the design and the taste of the icing.
Thank you so very much!!
I’m instantly smitten by your Your rustic cup cake stand!!
Whoops, couldn’t find your cake tier obsession page on pinterest!
check out Bridget’s Blog http://bakeat350.blogspot.com/2013/09/how-to-make-royal-icing-shiny.html She also did an experiment which I also agree is much easier. Use a fan to dry the cookies. I also found if I used Wilton’s White Pearl dust normally used on cake. It also makes the “Dry” royal icing shiny. I used a brush to put it on the cookie I was making Bridget’s cookie tutorial http://bakeat350.blogspot.com/2011/12/tis-season.html to make a ring cookie for my jeweler. Didn’t have silver luster dust, so I used the “White Pearl Dust” and it worked!
Hi, does the cookie get wet from the frosting? For how long can they stay in contact with the buttercream? Thank you!!
I too use corn syrup, half and half (in place of milk) & powered sugar and extract. I am found of lemon. I have found it tastes better dries hard and I do not have the worry of eggs. The shine comes when the cookies are slightly warmed i.e. 150 in the oven or in a dehydrator. Fan on a hot dry day works too. I live in California so it is dry here but still in the winter it is harder to get shine on my cookies. Pearl luster dust works well. I have never used the spray. The only problem with luster dust it changes the color just a bit. Happy baking