
Hi! Hope you’re enjoying your summer (or winter), wherever you are.
I’m excited to finally be doing another giveaway!
It has something to do with the tip I’m going to share with you about fixing your cookie edges, a little bit to do with cupcake fun and even some cake decorating.
A veritable smorgasbord of sweetness for you.
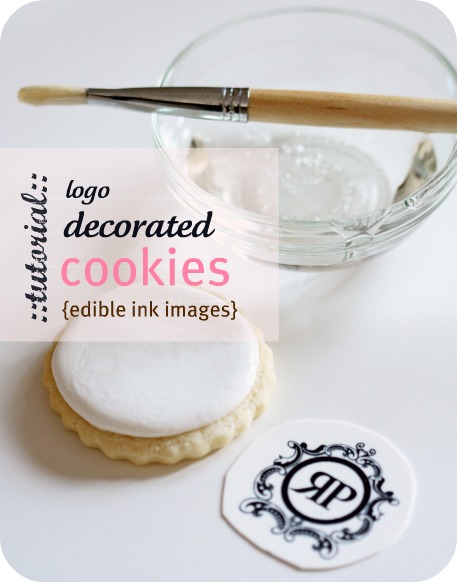
But first, a little tutorial on making logo cookies.
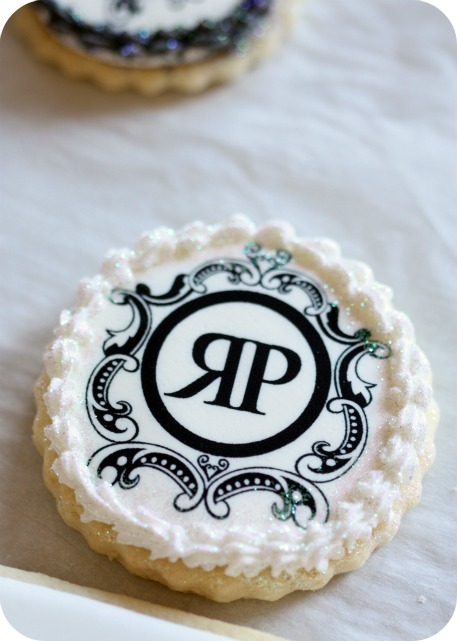
Erika and Ryan of Rowell Photography know how to take fantastic photos, and as a part of my thank you to them for taking lovely photos such as these here and here, I made edible ink cookies of their photography business logo.
*
How to Make Logo Cookies
There are a few ways I make edible ink logo cookies. Both involve using frosting sheets but the difference is in how they’re applied.
Putting the frosting sheets onto wet icing is one fast technique, but I find it a little less neat than my second method, which I’ll be sharing in this post, and have also shown here.
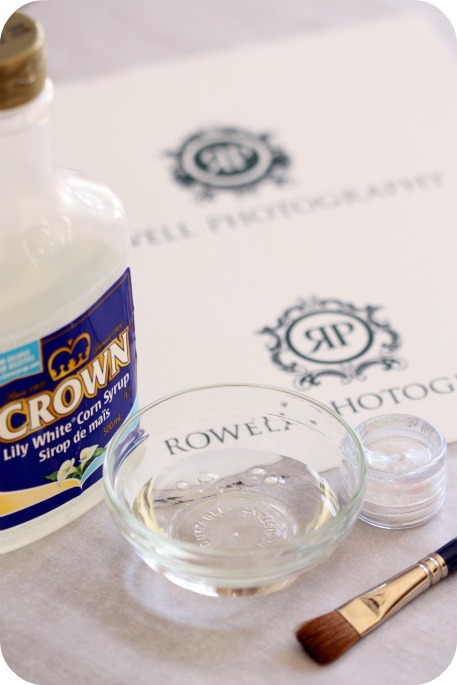
If you’d like to make logo cookies too, you’ll need:
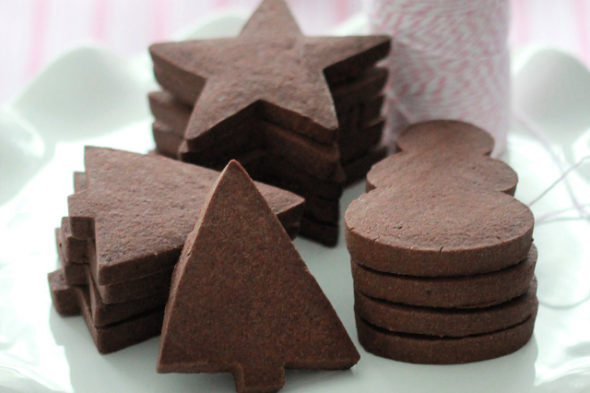
- Sugar Cookie Recipe here or Gingerbread Recipe here.
- Royal Icing Recipe here. *White is the best colour to tint your icing. Any other colour as the base tends to cloud the image when applied to the cookie.
- Edible Frosting Sheets
- Edible Ink Printer
and Food Coloring Cartridges
- Edible Marker
- Clear Corn Syrup
- Paintbrush or Foam Brush
- Piping Tips (#2, star tip #14)
- Coupler
- Piping Bag
- White Gel Colouring
- Optional – Disco dust

*
Instructions
Before decorating:
- You’ll need to print your image onto frosting sheets using an edible ink printer
- Cut cookie shapes according to image size & shape.
*
Ready to decorate:
Step One: Flood your cookie with tinted white royal icing and let it dry for 12-24 hours. The length of time depends on the humidity of your area. Have a test cookie so you can ‘taste-test’ or ‘poke-test’ to see when your cookie is dry.
If you’d like more flooding instructions please check out my youtube channel here.
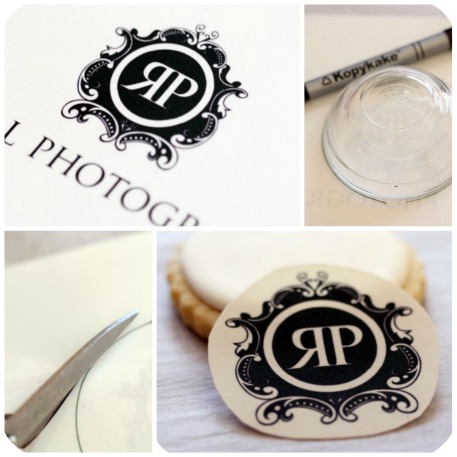
Step Two: Gently cut out wafer paper image. I used a small bowl and an edible ink marker to draw the outline of the shape I needed to cut out. You could make your own template, or even trace the cookie cutter you’re planning on using.
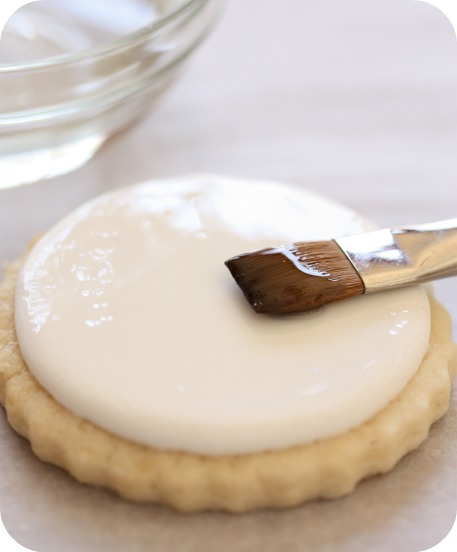
Step Three: Apply clear corn syrup to the back of the wafer paper or onto the dried royal icing with a ‘food-only’ paintbrush.
Apply image, gently smoothing over the surface all the way to the edges with clean, dry fingers. Have a damp & dry cloth nearby to wipe your hands as they can get sticky.
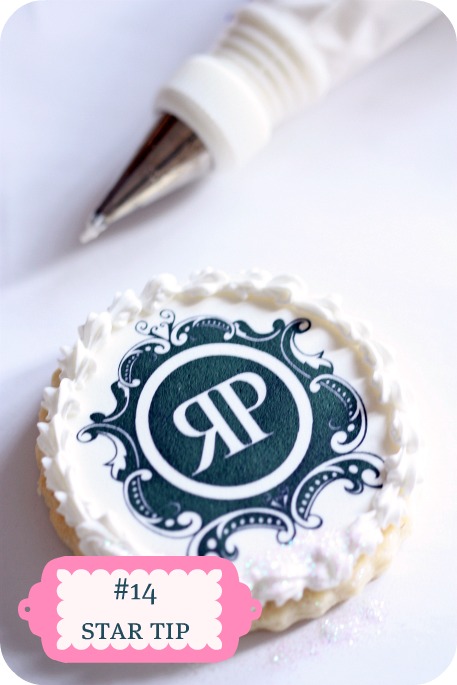
Step Four: Using a #14 star piping tip, pipe a scalloped edge around the borders with thick royal icing. If you’d like to add a little bit of glittery bling, sprinkle disco dust on the edges while the icing is wet. (Update: A note about disco dust for you – Although it hasn’t been always labelled as so, it is now labelled as non-toxic and for decorative use only (depending on which brand you buy, one or both may be listed). If you’d like to use disco dust, perhaps use it on a royal icing transfer or other removable item (gumpaste flowers etc.), and make sure your recipients know about it, or check your bakery supply store for sparkly “food-safe” items. I haven’t personally tried any other products yet, so can’t comment, but I will definitely be experimenting in the future, and will share with you on the blog!).
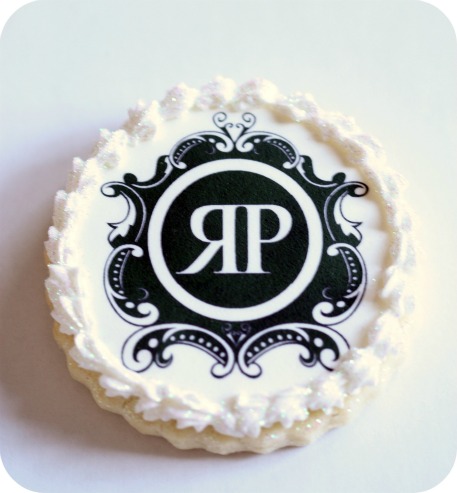
And you’re done!
There’s one step that I didn’t mention, because I only used it for this rectangular cookie:
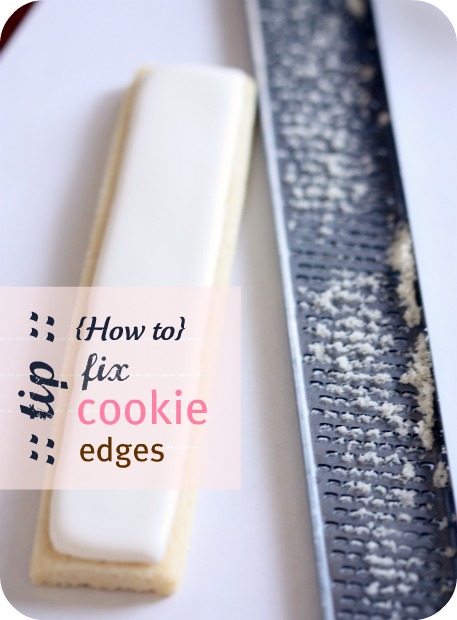
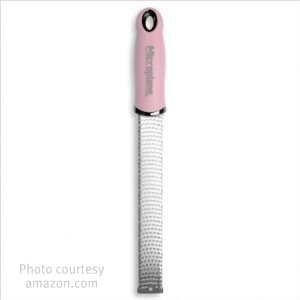
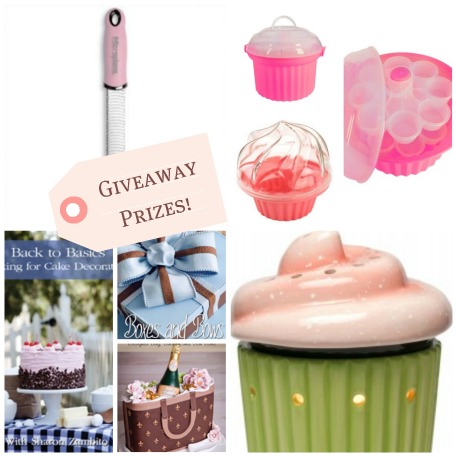
I think you can tell from the photo what my tip is… I love using a microplane rasp zester to file down the edges of a cookie if the edges aren’t so crisp. A neat little idea I have to thank my husband for!
*
GIVEAWAY! CLOSED
And, I’m giving a pink one away to you! (A rasp zester or Oprah-esque giveaway? Hmm, which would you prefer? Lol).
There is more though.
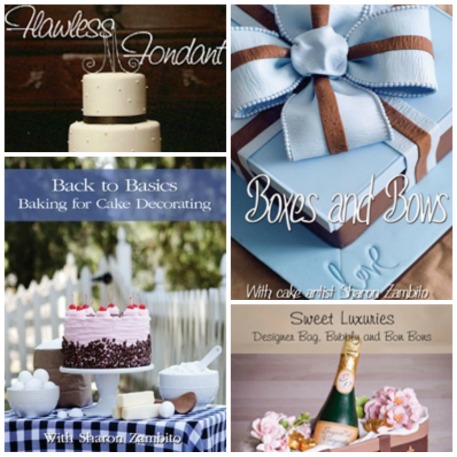
I’m so excited to be hosting this giveaway for THREE Sharon Zambito DVD’s of your choice! If you haven’t heard of her, Sharon is the talented sugar artist behind Sugar Ed Productions, a cake decorating resource for the beginner or professional.
You may have noticed I mainly make cookies and cupcakes, and am still getting my cake decorating feet wet, but after watching several of Sharon’s educational DVD’s, I feel confident about starting my next cake!
Hop on over to Sharon’s site where she has been so kind as to offer free shipping on orders over $25.00 to USA and Canada, from now until Saturday, July 23rd, 2011. Just use the coupon code sweetopia when filling out your order.
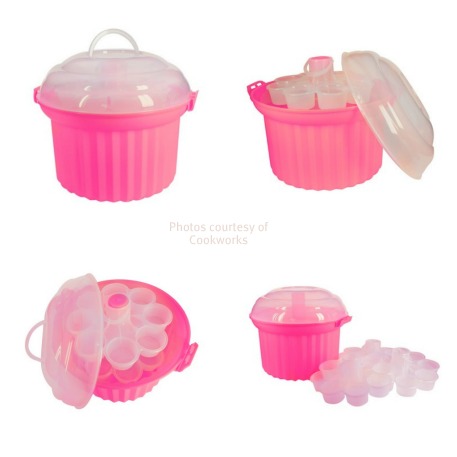
When I discovered this sturdy cupcake carrier (actually called the Cupcake Carousel
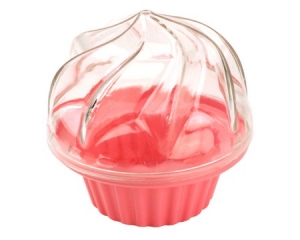
And what if you’d just like to pack up one tasty little cupcake? Here you go, the next giveaway item. This sweet little cupcake carrier. In pink, of course.
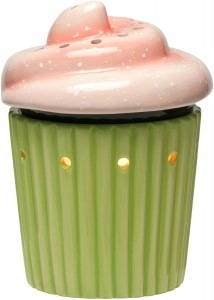
And last, but not least, this cupcake candle warmer from Scentsy. It smells like sweet cupcake heaven!
One person will be winning all these prizes!
How to Enter the Giveaway CLOSED
It’s easy. Four possible ways of winning:





This contest is open to U.S. and Canadian residents (sorry international readers!), and the winner will be chosen randomly at www.random.org. The contest closes at 7pm on Wednesday, July 27th, 2011.
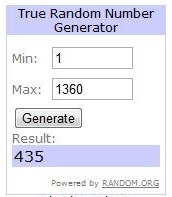
Congratulations to Christina, comment #435 for winning! I will be emailing you shortly to find out where all your prizes will be sent to.
 Thank you to everyone who entered! Your comments made me laugh, smile and just plain feel good! I’m so lucky to have such lovely readers!
xo,
Marian


can i win this pretty please???
i want to win 🙂 thanks for the giveaway!
i had already liked you on FB 🙂
i liked a video on youtube 🙂 and i subscribed 😉
tweet tweet read all about it!!! just re-tweeted 😉
I’d love to win these beautiful pink goodies!!
Yay! Thank you for the giveaway, I want to win!
I would love to win! Your site rocks!
I’m loving the Boxes and Bows dvd!!!! So cute!
I “Liked” you on Facebook!
I would love to win!!!
I would love to win these items!
I love pink and cupcake stuff, I’d love to win this!
I wanna win….so many great things!
I want this giveaway soo badly, totally crazzzzzzzzy for cupcakes!
I would LOVE to win. I have “liked” your FB page, tweeted, and “liked” a video on you tube!
I would LOVE to win!!!
Oooh these are SO cute…I’d love to win!!
I Liked you on Facebook! 🙂
…tweeted too!!
Liked the video too!! 🙂
I’d love to win – thanks for the giveaway!
I like you on FB!
I retweeted this post!
My favorite of your videos is the marbling RI – my friends think I’m amazing and creative with this technique! (Learned from you, thank you.)
I’d love to win!! Love your blog!
I would love to win this great giveaway.!!!
i love cupcakes!!
Thanks for an opportunity to WIN!
Melissa from Naches, WA
I’d love to win this fabulous giveaway…
I “like” you on FB
What a fabulous giveaway!! I would love to win this one for sure!
Yes, I would love to win this giveaway!
if there was a LOVE button i would have clicked on it 😉
would love 2 win !
I liked on facebook…retweeted…liked on youtube and would love to win!
I would love to win this giveaway!!!
I would love to win!!!
cupcake carousel ! ah ! answer to all my problems ! i’d love to win this giveaway 🙂
I would love to win 🙂
And I am a facebook fan!!
AND I “liked” your youtube tutorial on marbled royal icing 🙂
Wow what a give-away. You are the sweetest blogger I read. I would love to have these items. Thanks so much for your generosity and your wonderful, inspiring blog. Karen R
I’d LOVE to win the giveaway!
I liked you on Face Book!
I liked your youtube channel and subscribed to it. I watched your :How to make Cookie Pops tutorial and loed it!
Great tips Marian! I would love to win 🙂
I like you on FB.
I tweeted this.
I liked a video on your channel!
Thanks for sharing your knowledge!
i liked you on facebook!
I would love love love to win this giveaway!!
Love your tutorials and blog. Your website is so helpful, thank you. Yes! I would love to WIN this fantastic give-away. Wonderful tools for a any baker!