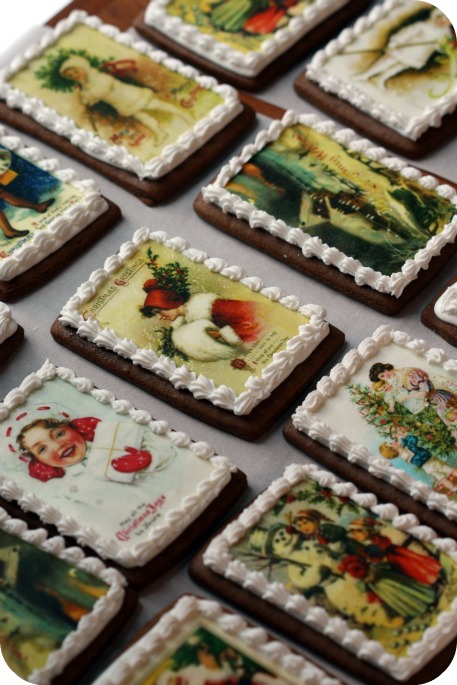
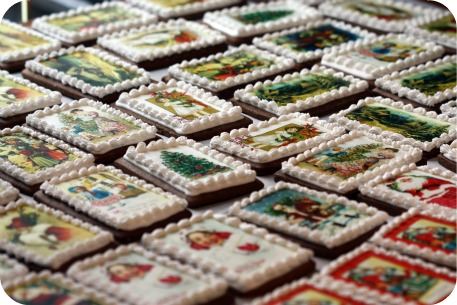
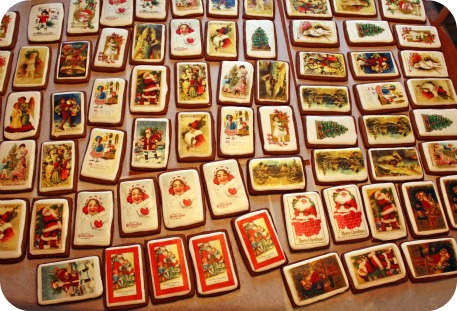
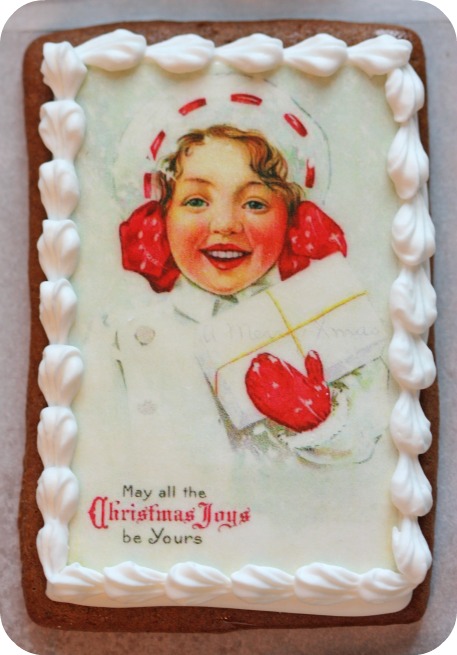
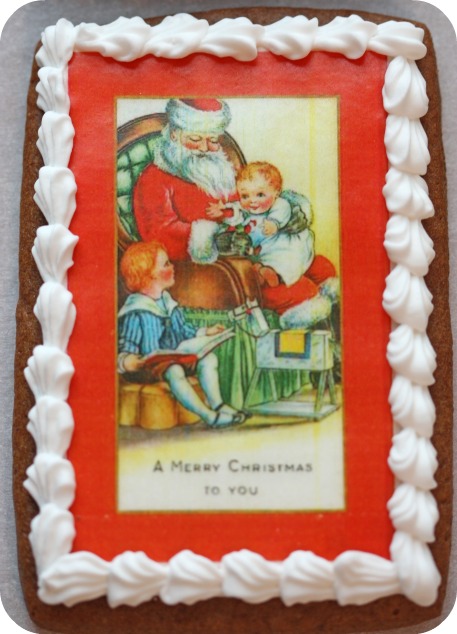
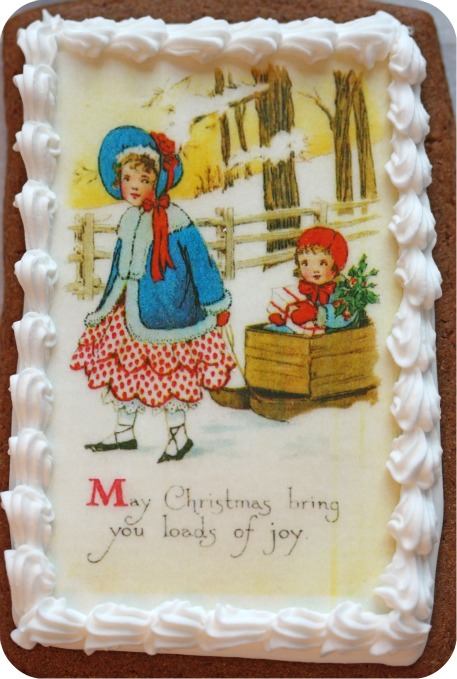
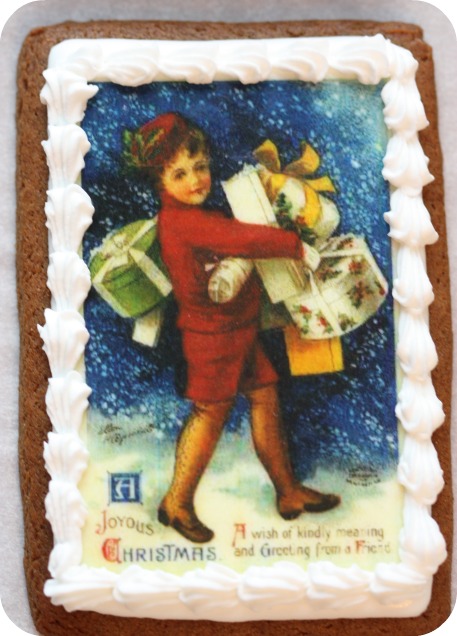
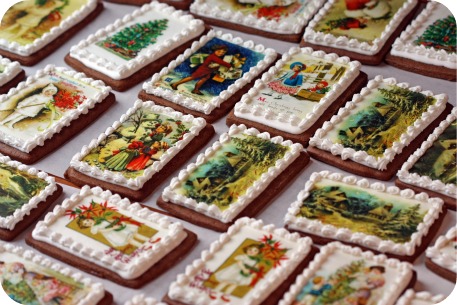
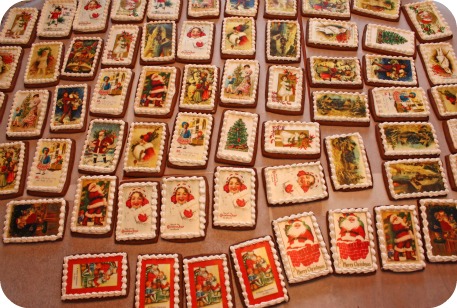
I made these last year but was too tired to post about them before Christmas, so here they finally are. (Thank you snow days for giving me time!). I’ll be showing you a visual step-by-step later.
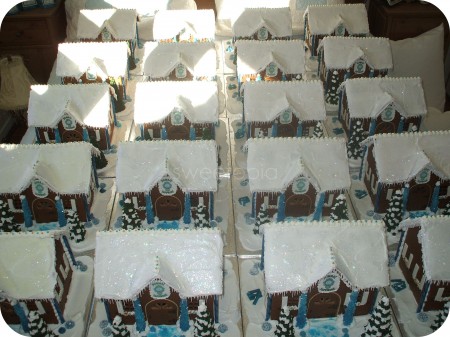
First I have to say that I really don’t normally do orders; mainly cookies for family and friends. The one person I have a hard time saying no to is my future sis-in-law; she’s asked me to make some things for her company the past few Christmases, like the edible ink Christmas cookies in this post, and these 20 gingerbread houses.
*
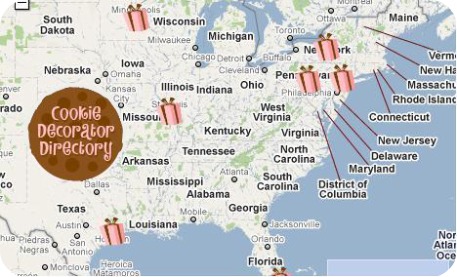
Cookie Decorating Directory and Map
I really don’t have time for orders though, so have set up a Cookie Decorating Directory to help those of you looking to order cookies, to find a decorator. Click here or on the chocolate chip cookie at the top right hand corner of the blog to see the directory.
For those of you looking to get on the directory & map, complete the registration form here (It’s really easy!). I turn away orders on a consistent basis and would love to recommend decorators to my readers.
As for how to make edible ink decorated cookies, I’ve got another post about it but will show a basic step-by-step here as well.
*
How to Make Edible Ink Image Christmas Cookies
Before decorating:
- Sugar cookie recipe here. Gingerbread recipe here.
- Edible ink images printed on wafer paper are from Fancy Flours.
- Cut cookie shapes according to image size & shape. I used a rectangular cutter from Fancy Flours.
*
Ready to decorate:
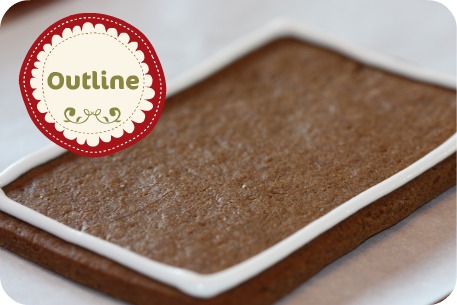
1. Outline your cookie in white royal icing. (Piping tips #3 or #4 for larger cookies). Recipe for icing here.
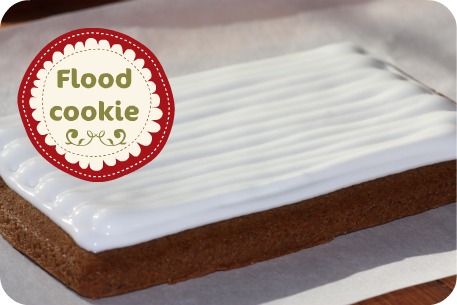
2. Flood cookie.
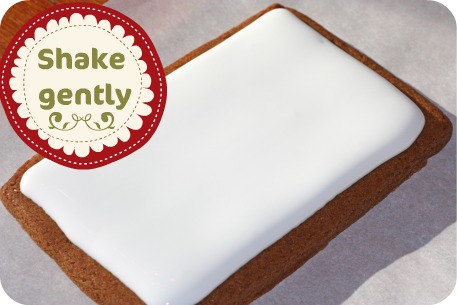
3. Shake gently.
Shhh! Here’s a secret. I don’t worry about how neat my edges are too much because I know I’m going to cover them with an icing border.
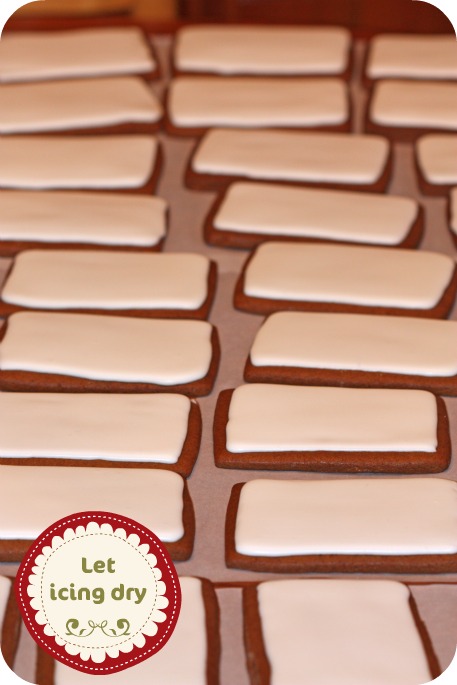
4. Let dry. The best way to see if they’re completely dry is to put an extra cookie aside which you can test by biting into the cookie or pressing with the tip of your finger.
*{Note: You can apply the wafer paper or frosting sheets to wet icing as well. This method is quicker and not as sticky, however, sometimes the edges curl up a bit. Buuut, if you’re doing a nice thick icing border that may cover the curling up}.
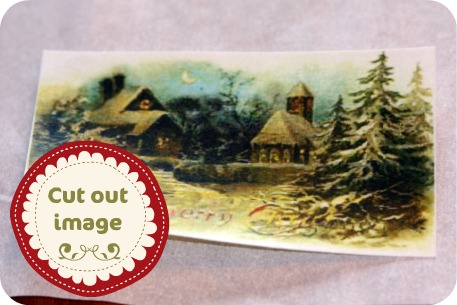
5. Gently cut out wafer paper image.
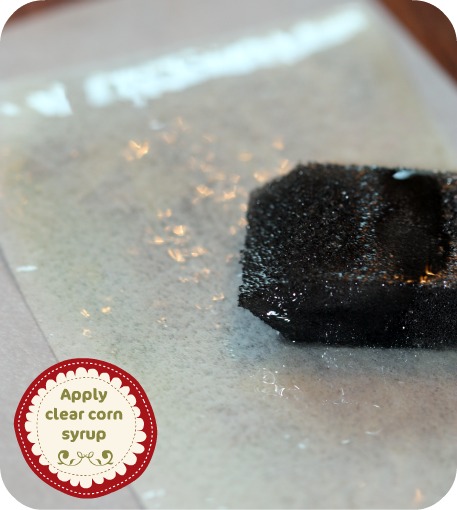
6. Apply clear corn syrup to the back of the wafer paper. I like using a foam brush Have a damp cloth nearby to wipe your hands as they can get sticky.
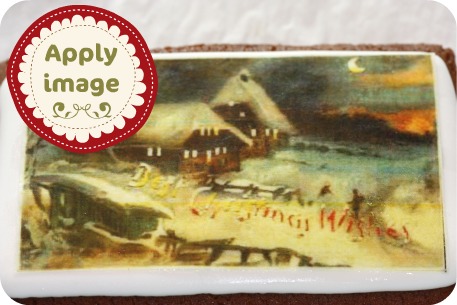
7. Apply image, gently smoothing over the surface all the way to the edges with clean, dry fingers.
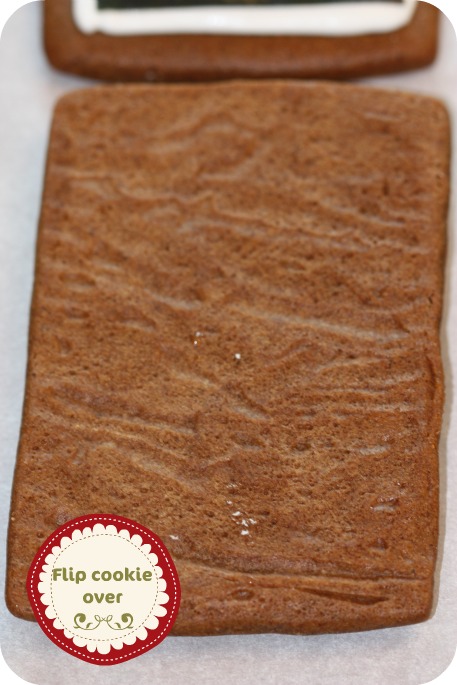
8. Flip cookie over unto clean parchment paper for 15 minutes, to help image set.
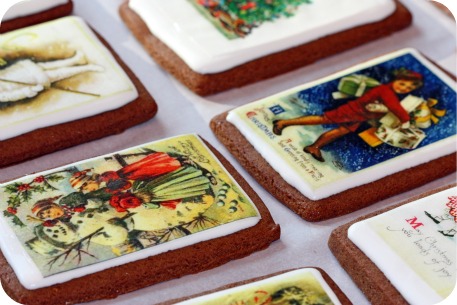
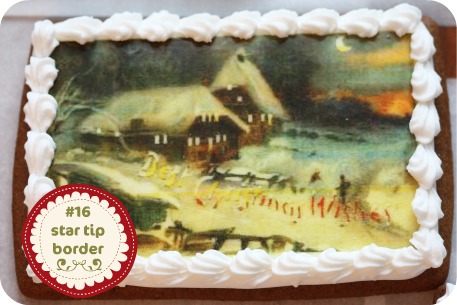
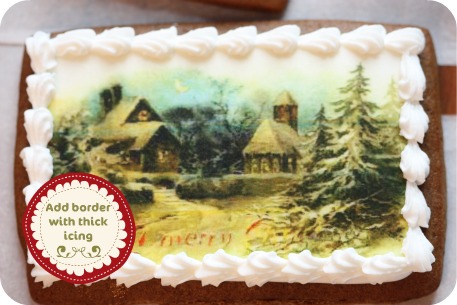
9. Using a #14-18 star tip (your preference), pipe a scalloped edge around the borders with thick royal icing.
All done!
You’re welcome to leave comments below if you’d like to share some tips and ideas and I’d love to see some of your edible ink image cookies if you’d like to share pics on my facebook page here.
Happy decorating!
xo,
Marian



These are beautiful. Thank ou for sharing the photos!
Wow! These are pretty cookies! Too pretty to eat, actually. =) Thanks for the tutorial. Love the gingerbread houses too! That must be a lot of work! =)
And again! BEAUTIFUL! (I always repeat myself in these comments, next time I’ll better use ‘copy’ and ‘passte’ I guess 😉
I Love the pictures, where did you find those? Lovely!
they look spectacular!! I’ve been trying to print similar royalty free images at home and keep blowing it!! I’m getting a little frustrated. Any tips on scanning the image, tiling it ( not sure if that’s a term) and getting it to fit on the edible paper would be much appreciated.
p.s. I have the Cake Pops book by Bakerella it’s brilliant!
Those cookies are amazing! Is wafferpaper the same as ricepaper (we call it “ouwel”) we printed a few times on those, but placing that on the cookies was a disaster! Clear cornsirup is not availlable here, do you know anything else that might work? (since laying it in the wet icing is not an option)
this is the most beautiful & creative of posts!
you are amazing, so gifted & your generosity of spirit knows no bounds!
a HUGE THANK YOU for sharing & inspiring!!
marian, wishing you a very happy & joyous holiday season!
Thanks for the comments!
@ evelyn:
Under the heading, “Before Decorating” there’s a link to where I got the images.
@ nikki:
I’m still doing a lot of experimenting with the edible ink images so all I can advise is to clean the print heads a few times. These images were purchased so I didn’t have to print my own.
@ Martine (koekiekoekie):
Why was it a disaster? Is that what you mean about not putting it on wet icing? I was going to recommend that you place your image on when the icing is wet.
I believe rice and wafer paper are the same thing. Frosting sheets are a bit different (made from frosting obviously, and slightly less fragile).
@Marian, placing on the wet icing was the problem, curling, bobbling and even smearing out the image. Placing up side down helped a bit, we are thinking of using clear piping gell to place the image and maybe to give the image a bit shine too (place it on top) never used piping gell tho, so not sure if it dries hard
@ Martine (koekiekoekie):
Ah, I see. I’ve found that the curling does happen withe the wet icing too. The edible frosting sheets seem to do better with wet icing.
Piping gel sounds like a fantastic idea! I don’t think it dries, but at least it will be between your royal icing and the image.
Please let us know how it works out!
Your cookies are stunning! No wonder you were too tired last year to post this. I think that these cookies would make beautiful Christmas Cards to give to people instead of paper ones. You could even use an edible food writing to sign your name in a corner!
Absolutely gorgeous!
I love these! Thanks so much for the tutorial. And my goodness, all of those gingerbread houses make me dizzy. How did you manage to do so many?
Marian,
these are absolutely stunning!
And the directory is such a wonderful idea, thank you:)
wow spectacular coockies!!!!
These are so enchanting! Wonderful job!
Wow wow wow these r amazingly GORGEOUS cookies! Marian you are really amazing!
Regards and Best wishes
So darling, Marian!!!
this is truly fabulous! I just love it!
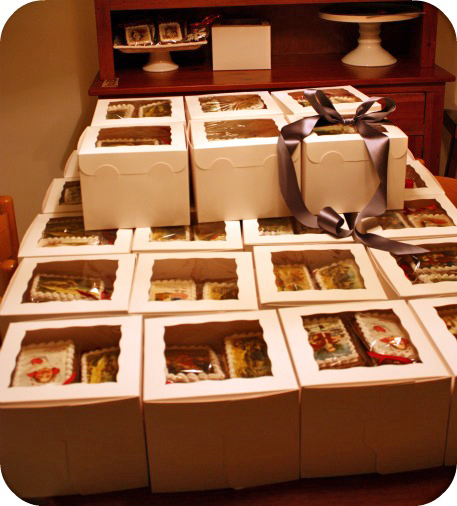
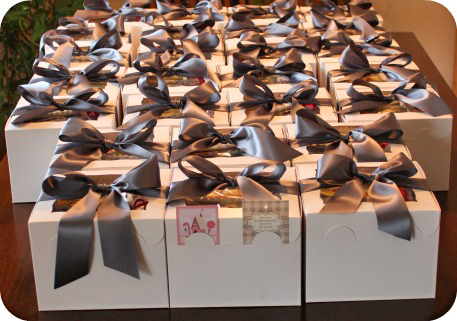
When you stacked them in the boxes for giving out, did you layer paper or something? Does it affect the lower cookies’ piped edge or printed design?
Thanks for taking the time to put all this info together!
Hi Terri,
Thanks, they were each packed in cellophane bags and stacked on top of each other. The bottom of each box had tissue paper to cushion the whole load, but you do have to deliver them carefully. i.e. If you’re shipping them they’d need to be wrapped with bubble wrap. I’ve got a post on shipping cookies here: https://sweetopia.net/2009/12/how-to-ship-decorated-cookies-and-cookie-craft-giveaway/
I am new in cookie decorating,thanks you for posting step-by-step tutorial, Your website always inspires me!
I love your special idees and your artistic work.
I enjoy spending time on your website!
ML
Stunning cookies! Just gorgeous!
WOW Marian!!! I’m going to have to look into Fancy Flours! These are AMAZING cookies. Your future Sis-in-Law is one lucky woman for sure 🙂 How long did it take to make all those? You are very talented.
Merry Christmas, I’m so glad I have found your blog and fb page, and I will follow you on twitter too!
Carrie
Awesome cookies!!!!!!!
These cookies are absolutely fabulous!To stunning to eat. You sold me on the printer…purchased one today. Where do you get your photos to print for the cookies? The scenes are wonderful.Thank you so much for posting all the info.
Thanks Marnie; I’m sure yours will look fabulous too!
These edible ink images were bought already done. There’s a link to the store underneath the title; ‘Before Decorating’.
If you’re looking for your own, maybe vintage-style Christmas cards or prints at antique stores?
Enjoy your printer!
I am so in love with these cookies, they look just amazing. Now that I see them I am wishing next Christmas wasn’t so far away as I can’t wait to try them out. You are so talented and so kind to share your talent with all of us. I went to fancy flours and these images are currently half price! I called and they said as long as they don’t get wet they will last indefinitely so I am buying up a bunch for next Christmas for gifts for my childrens teachers/neighbors/mailman etc. Thanks so much!
Thanks Karen!
It’s a long way away; but definitely something to look forward to!
thank you for your wonderful tips I love your work.
I would love to be on your cookie order map you can see my cookies on our blog
Birdieblings.blogspot.com I am located in Mesa arizona.
Thank you,
cheryl
This must surely be the most beautiful cookies I have ever seen and the gingerbread houses are amazing. What a pity that they have to be eaten.
Thank you for the tutorial and great photos. One never is too old to learn new techniques.
hi, this is a beautiful work, but my question is the quality of the paper and the ink
Thanks
Thanks Diana.
Would you be able to be more specific please?
I was wondering if you know any local places (within the GTA area) that sell printed wafer papers such as these? I know there is the US store but wondering if there is anywhere else closer that I can go to to purchase these.
Holly, I’ve been ordering them on-line so I’m not sure. Try calling Golda’s Kitchen, McCall’s, Bonnie Gordon’s College or Creative Cutters.
Hi! I love your website, and your tutorials are great! I was wondering, do you know of anywhere that will ship wafer paper and disco dust to Canada? Amazon won’t. 🙁
Hi Evelyn,
I (luckily) have a sis-in-law with a P.O. box in the States so I don’t run into shipping problems, but if you don’t have that option… Try KopyKake.com or IcingImages.com for the wafer paper. For the disco dust, try Sunflowersugarartusa.com or call the Bonnie Gordon School in Toronto and see if they’ll sell you some and ship it (I’m not sure if they do, but they have some in their store).
Hope that helps!
I think these cakes are amazing, you definitely have a passion and are so creative.
I don’t think I’ve ever seen such lovely Christmas cookies! They are so unique! I love vintage and the images are so beautiful and Christmassy!! How do you get the images onto wafer? Can they be ordered? Amazing, truely amazing! I love them!
Lisa
Hi Holly, I live in Toronto. Petra International does them on fondant paper for 10.00 per sheet. Mc Calls does them on Marshmallow Sheets for 12.00/sheet. golda’s is a great little store in mississauga but a bit more pricy than the others.@ Holly Roberts:
Hi Holly, I live in Toronto. Petra International does them on fondant paper for 10.00 per sheet. Mc Calls does them on Marshmallow Sheets for 12.00/sheet. golda’s is a great little store in mississauga but a bit more pricy than the others.
Hi Evelyn, there is a few places in toronto that sells disco dust.. all different kinds. Petra International in Mississauga (dixie/401) sells them( 6.00 ) and another at steeles and dufferin called LM Bakers Supply Company who sell for I think, 5.50.
Hope this helps!!
Laura
I have ordered custom edible images from Edible Printing in the US. It costs about $25 to ship via UPS and he turns them around in just a couple of days. I have ordered twice – sending custom graphics each time and have been very satisfied with the qualty and care. He needs a JPG file. I have sent PDF and he can covert f necessary. They were featured on Martha Stewart website which is how I found them.
Hey Marian!
Do you have any experience using your printer at home to print images/text on wafer paper or frosting paper using edible ink? I would love to give this a try sometime but am having trouble finding any tutorials online! Any tips or links would be much appreciated! Your cookies are stunning 🙂 xoxo, -Amber
@ Amber: I sure do! Here you go:
https://sweetopia.net/2010/03/edible-ink-images-decorated-love-cookies/
@ Laura Taylor, @ Libby: Thanks for sharing! =)
@ Libby:
As a follow up to my last comment- I recently finished cookies which we used for place cards at my daughters wedding. I found thro experimentation the method I preferred for attaching the icing sheets to the cookie was to allow the royal icing to harden then I used a thinned solution of royal icing with water – thinned to a paint consistency and applied this to the royal icicng with a foam craft brush (clean of course). I found this dried quickly and smooth and was easier to work with than the corn syrup.
Hi Marian,
I really love all of your cookies deco.. It is very pretty and unique! I hope you’ll share more of your wonderful creations here… 🙂
Love,
Kelly~
Hello
I love your cookies. I am making 200 cookies for a 80th bday party next weekend and I was wondering how far in advance I could make/decorate the cookies. I am using images I purchased through Tastyfotoart.com. I wanted to get majority of the work done today, but was in fear of the cookie becoming stale. I could use some helpful tips. I don’t want to be baking these at the 9th hour and something goes crazy. I am also using a sugar cookie recipe. I have never tried this before.
@ Kelly: Thank you!
@ Adrienne: Begin today for sure – the cookies will be fine. It’s a moist dough so you will need to chill here and there while rolling them out. The cookies holds up nicely over time though.
Have you seen the cookie decorating schedules I posted? The 3-day one may work for you:
https://sweetopia.net/2011/11/cookie-making-schedule-free-printables-ballet-tutu-cookies/
I have to say, 200 cookies for the first time may be a bit of a challenge for you. Have heart, I’m sure you can do it, but please feel free to message me if you have questions or concerns. Good luck! xo
The cookies are beautiful! I’m wondering how these cookies would do if frozen. I’d like to make them a couple weeks before Christmas and put them in the freezer until Christmas. What do you think?
@ Brenda: A couple of weeks isn’t bad – as long as they’re kept in air-tight cellophane bags.
I don’t have a lot of experience with freezing ‘decorated’ cookies, so wrote a post on the topic, asking for help, here:
https://sweetopia.net/2011/03/freezing-decorated-cookies/
Many people left valuable comments which will help you.
Happy decorating!
xo