I’ve had an edible ink printer since November and have finally got around to using it. I was feeling kind of intimindated, but it’s actually pretty easy – hook your computer up to the printer or scan your image in, and print. The possibilities are endless!
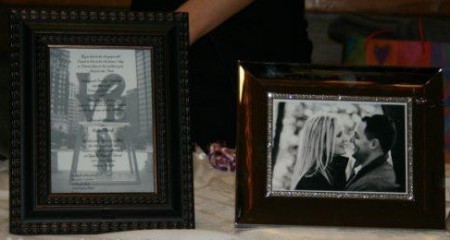
I can’t wait to use it for these two:
My brother Norm proposed to my future sister-in-law Stefanie last week! Yay! I’m so happy and proud of you both! CONGRATULATIONS!!
Stefanie’s sister Jenny is getting married in May, so I’m of course delighted to be making cookies for her wedding and made cookies a few weeks ago for her shower.
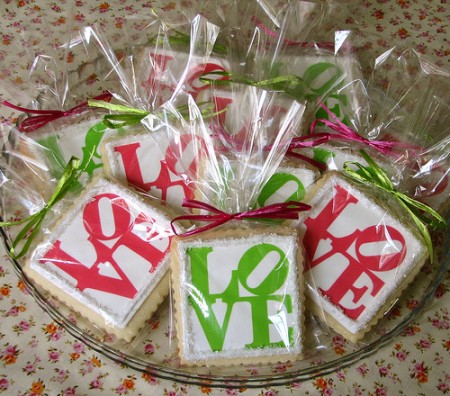
Her overall them is love (Mais oui, of course!), and she completely fell for a line of LOVE cookies (below) by Zoë Lukas of the Whipped Bakeshop. You should see her cakes, cupcakes and cookies – they’re all absolutely stunning!
A huge thank you to Zoë for granting me permission to use her signature image for Jenny’s cookies.
The LOVE graphic can be printed as an edible image. For an explanation of what edible ink and edible paper are, see Sweetopia’s Sugarcrafting Glossary here.
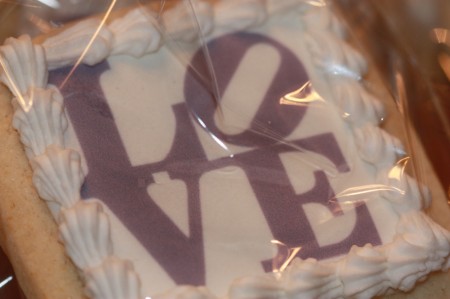
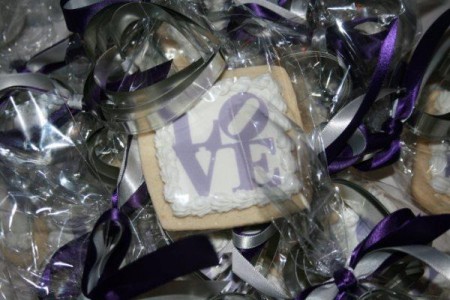
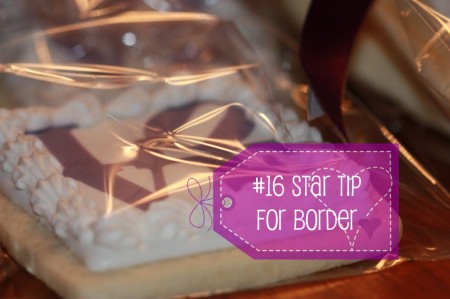
Jenny’s wedding colours are silver, white and plum, so, here are the results… Not as well-executed as Zoë’s, and please excuse the poor quality photos; these were taken at night.
If you’d like to make edible image cookies, you can; {a} visit a bakery in your area which has and Edible Ink Printer and pay per page or {b} you can buy the whole kit-and-kaboodle yourself.
If you’re going to do it infrequently, definitely choose option {a}.
Buying everything is kind of expensive. In the past I’ve gone to our local grocery store, Sobey’s, and paid $10.00 per page. (Even that is pricey, I know, but the ink and wafer paper costs a pretty penny… annnnd I didn’t really have a choice).
Option {b}.
I went for it! I bought the Canon PIXMA MP560 Wireless Inkjet All-In-One Photo Printer (3747B002) (what a mouthful, but there you have it if you’re interested), as well as the frosting sheets and edible ink cartridges from Icing Images.
The neat thing is that you can buy almost any Canon or Epson printer (of course, never using it with real ink), and just use the edible ink cartridges and frosting paper.
Rice or Wafer Paper can be used with it as well.
The people at Icing Images can help you figure out what you need, depending on which printer you buy.
*
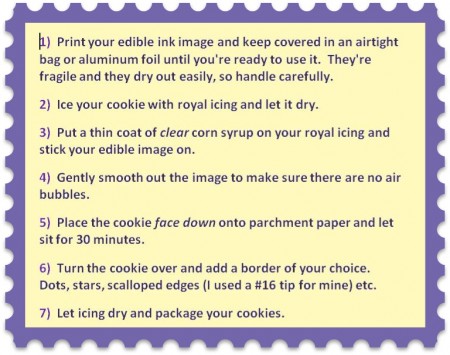
There are a few ways to apply an edible ink image to a cookie though. You can put it on the icing when it’s wet, and in the case of royal icing, you can also add it when it’s dry. I prefer this method because the image seems to go on smoother and the edges don’t curl up.
If you’d like to try this way out, here’s the recipe I use for Royal Icing.
And my Sugar Cookie Recipe.
Here’s the way I do it:*
*
How to Put an Edible Ink Image onto a Cookie:
I wasn’t exactly thinking about writing this post when I made Jenny’s cookies, so I don’t have step by step pics of that, but I can demonstrate next time.
Happy decorating!
xo,
Marian








Can you freeze cookies with an edible image on them?
That’s a good question, Linda. I haven’t tried freezing those, and would be hesitant to bank on it because of the possibility of the edible ink bleeding. Would you be able to do a test run and see?
Mariam What brand sugar paper did you use?
I did try freezing the images and it did not work well. Once thawed the images were soggy and didn’t dry.
I used Icing Images sheets, not sure if any other brand would freeze better.