
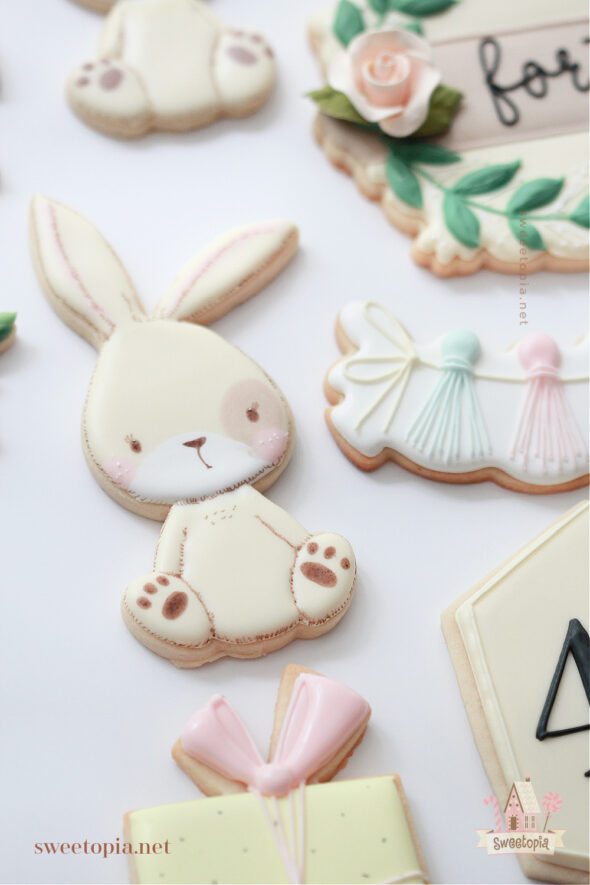
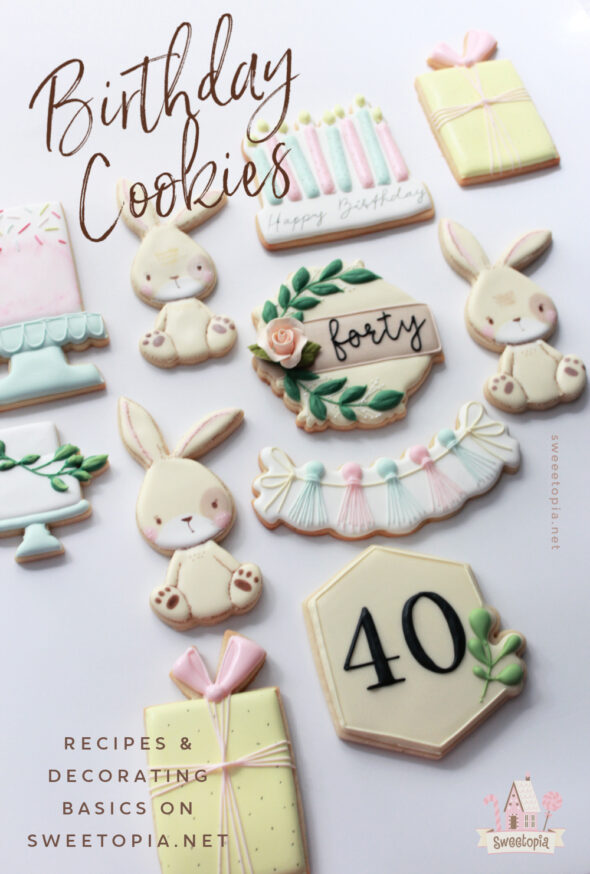
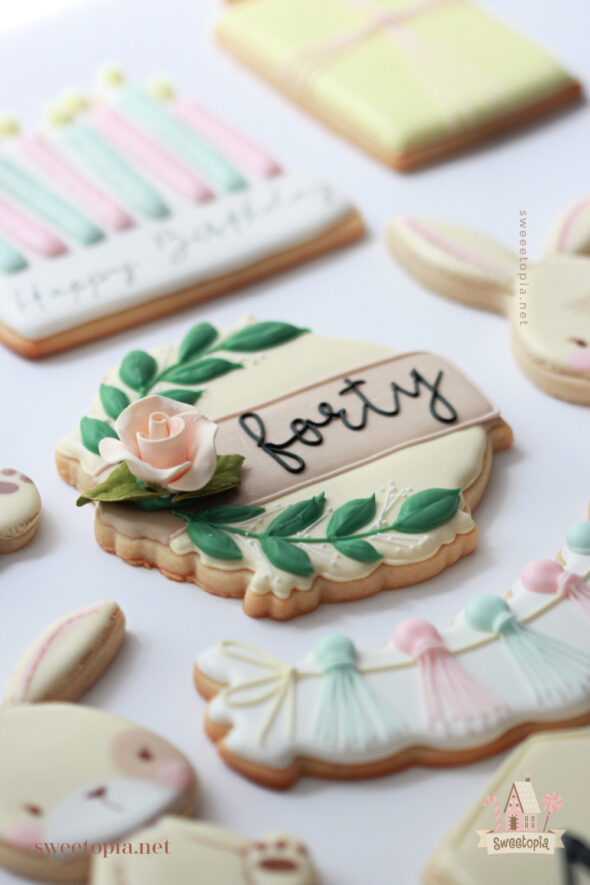
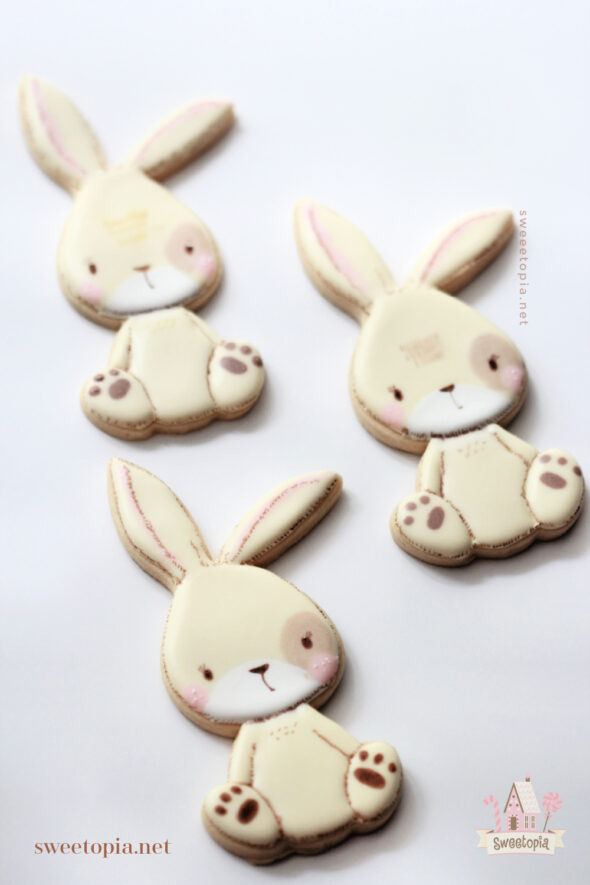
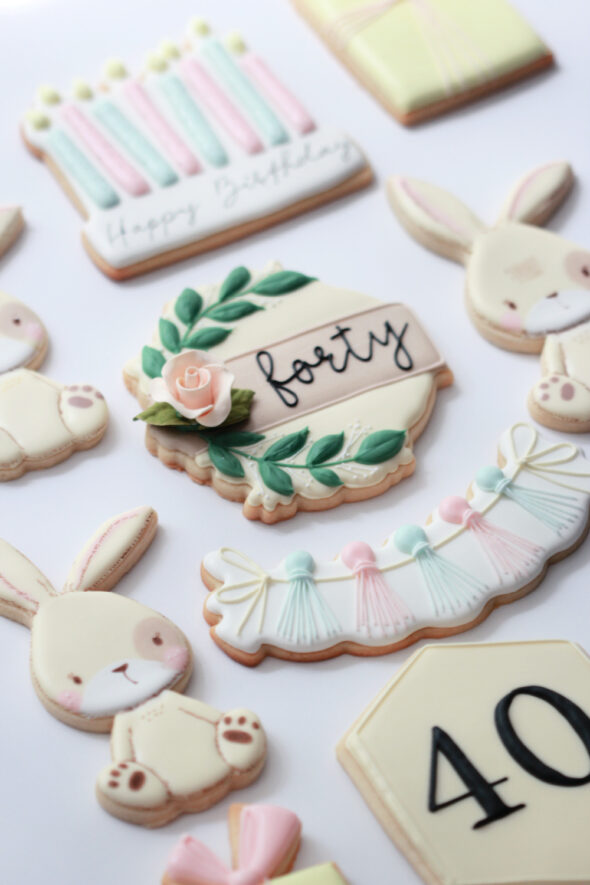
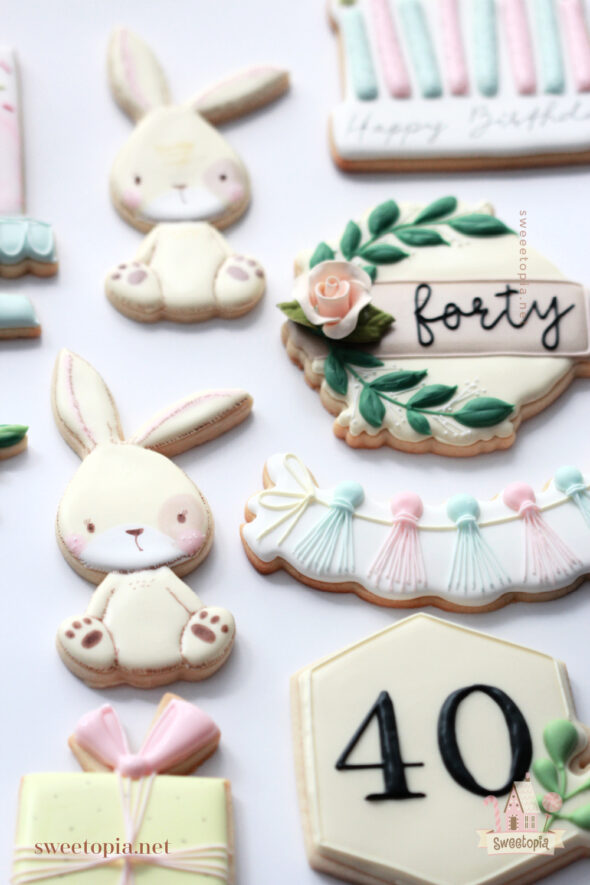
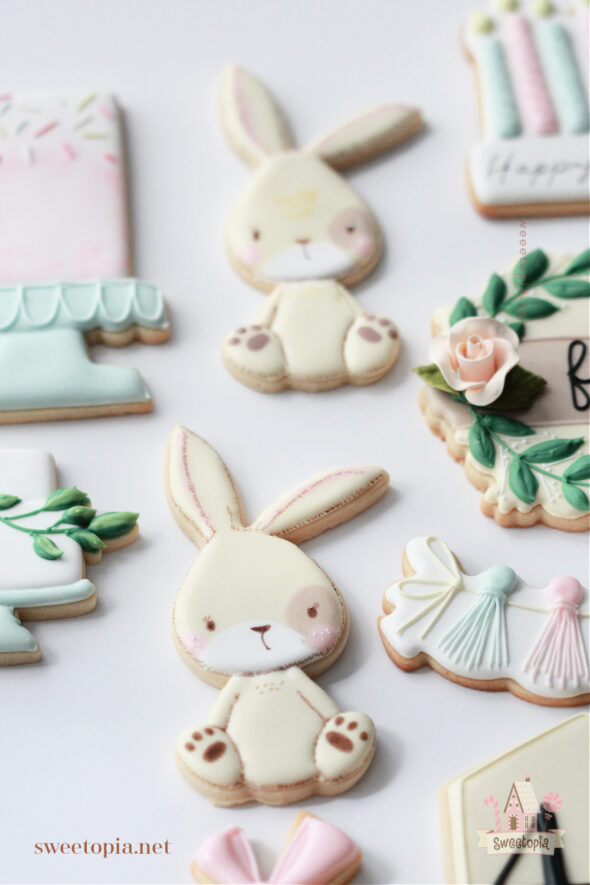
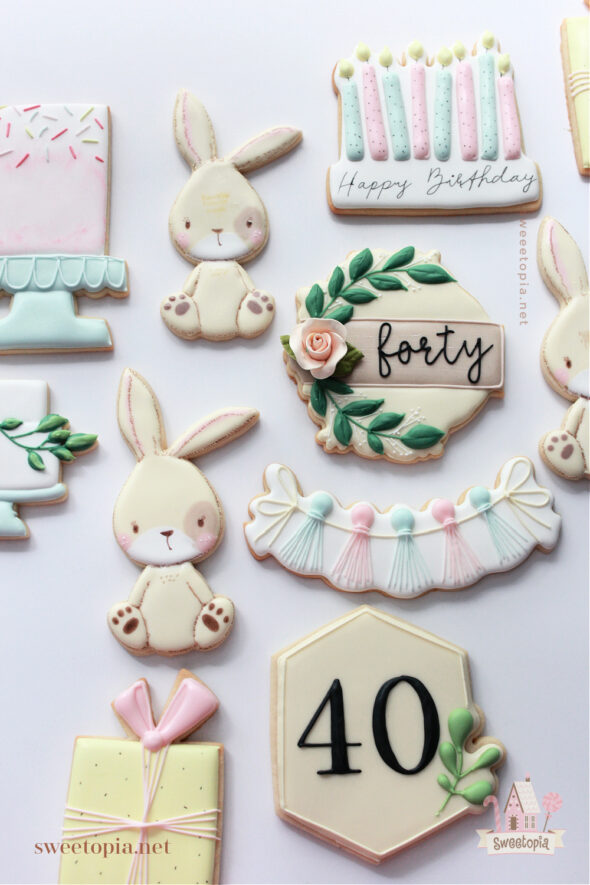
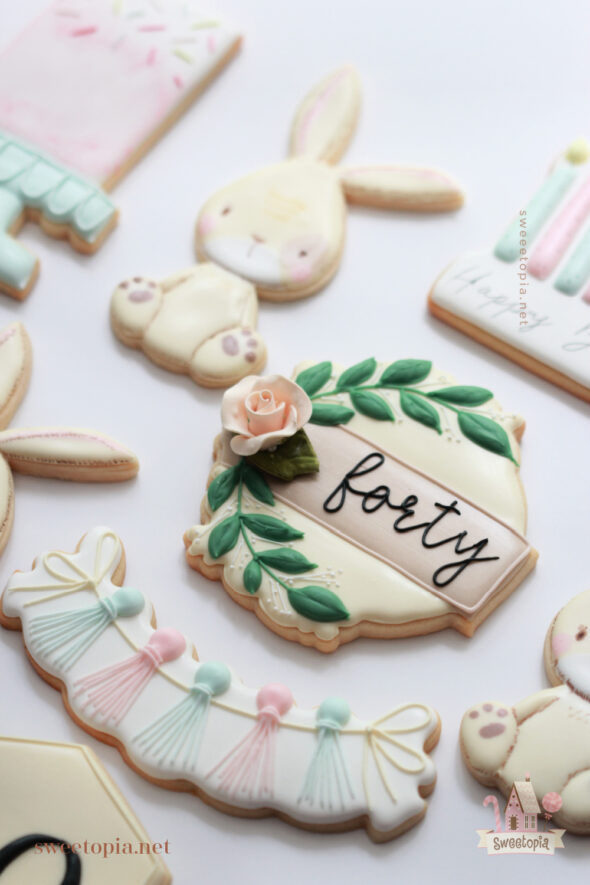
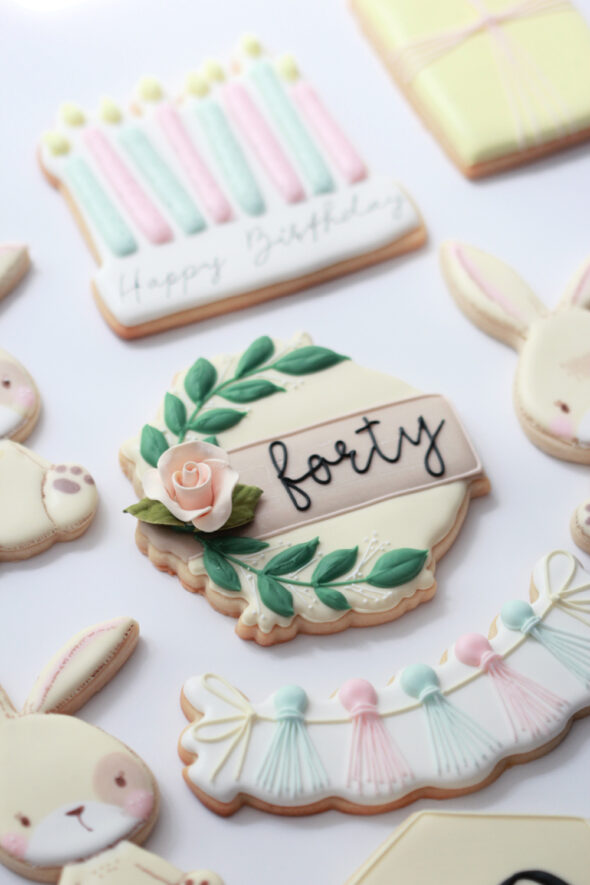
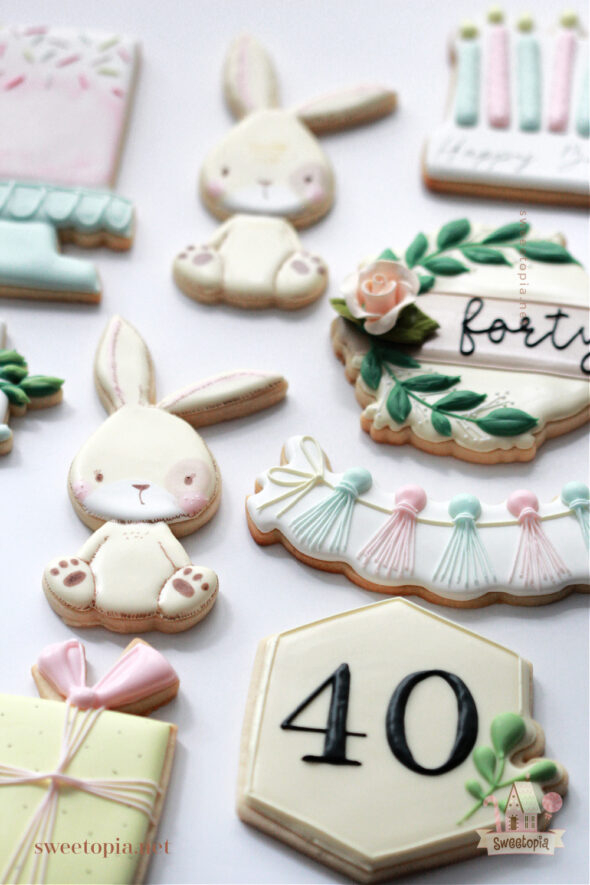
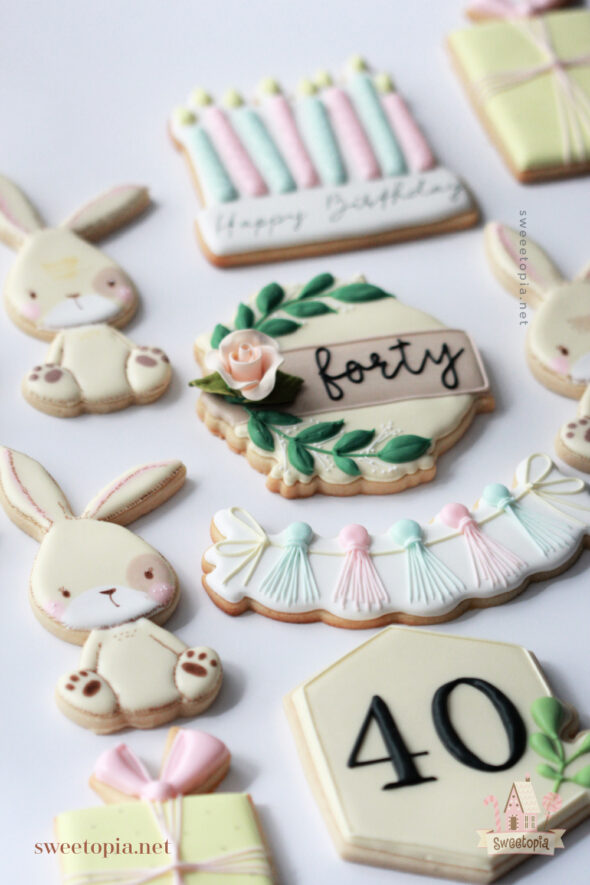
Hoppy summer! Or, Hoppy Birthday! These cookies were for my brother’s and sister-in-law’s 40th birthday party.
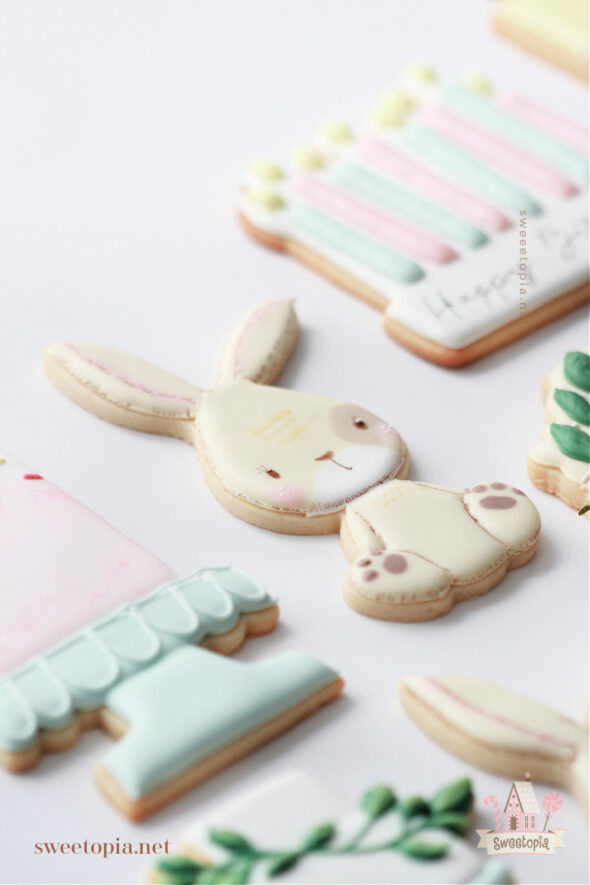
The bunny could easily be incorporated into many themes, I know I’ll be using this design and cutter much more.
The design is from Pretty Little Lines on Creative Market. You can find the bunny graphic HERE.
Thank you to Sherry of How Sweet is That? for making the custom bunny cookie cutter for me! You can find it in her shop HERE.
Decorating the Bunny Cookie – Video
I’ve shared a short video of decorating the bunny cookie with royal icing in a few places on social media. You can find the video on:
YouTube Shorts (Short Video)
For the other cookies, I’ll share a few notes about the cutter sources and designs below.
Cookie Cutters
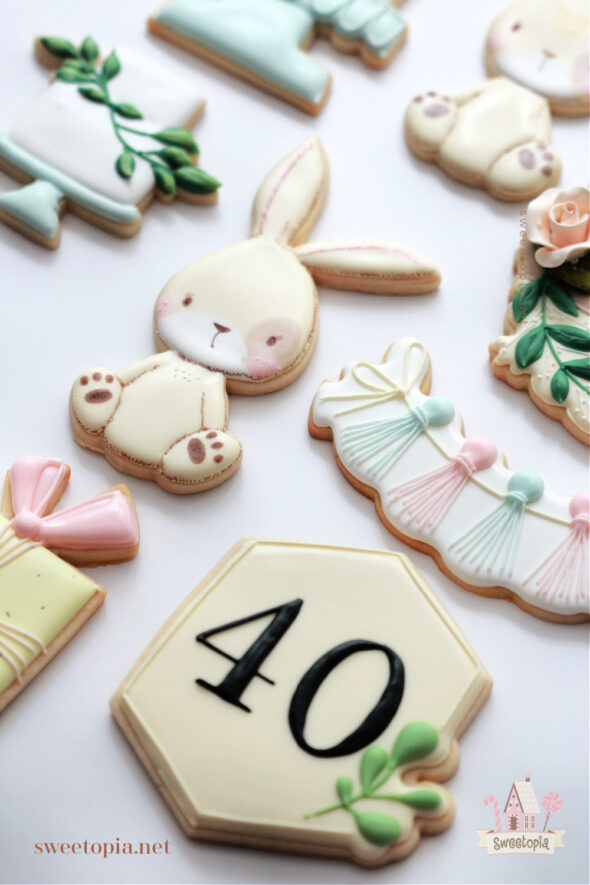
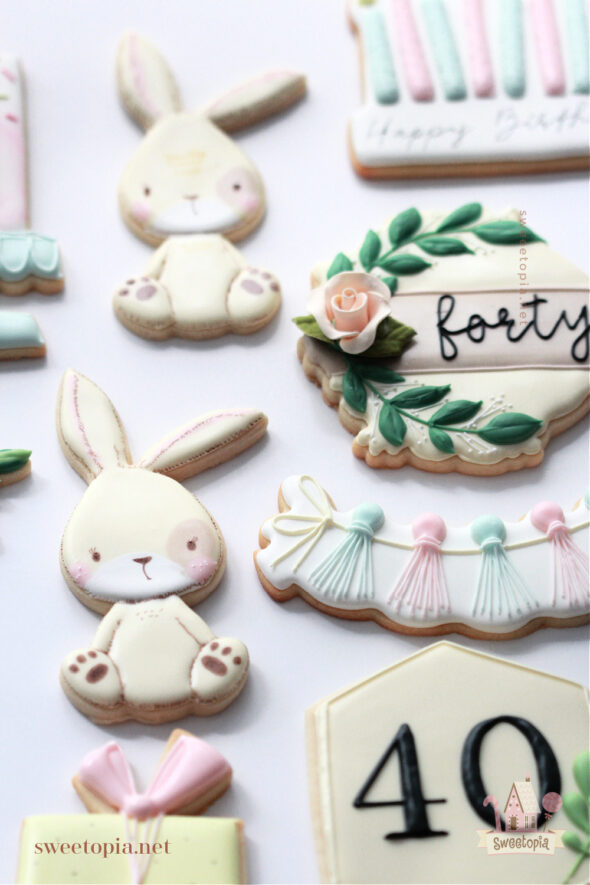
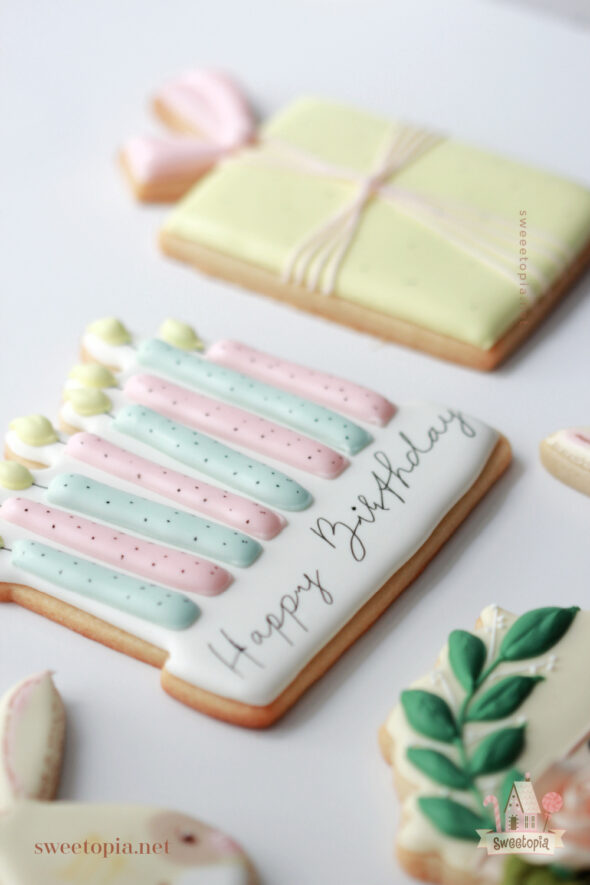
Besides the custom bunny cutter from How Sweet is That?, and the small cake cutter from Sweet Leigh Printed, the rest of the cookie cutters are from The Cookiery, designed by The Millers Wife Custom Cookies. I love and used her designs for the following shapes:
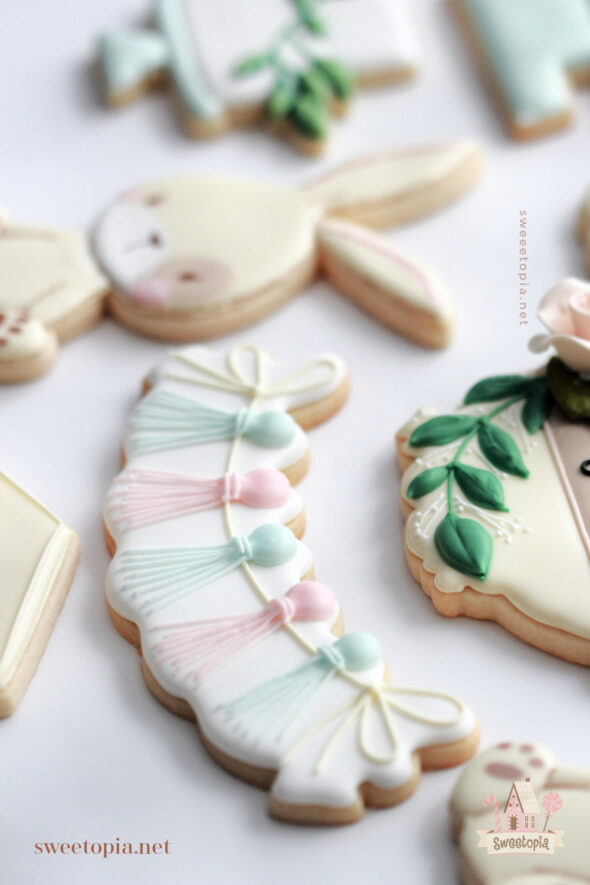
- Bunting Cutter
- Gift Box Cutter
- Birthday Candles Cutter
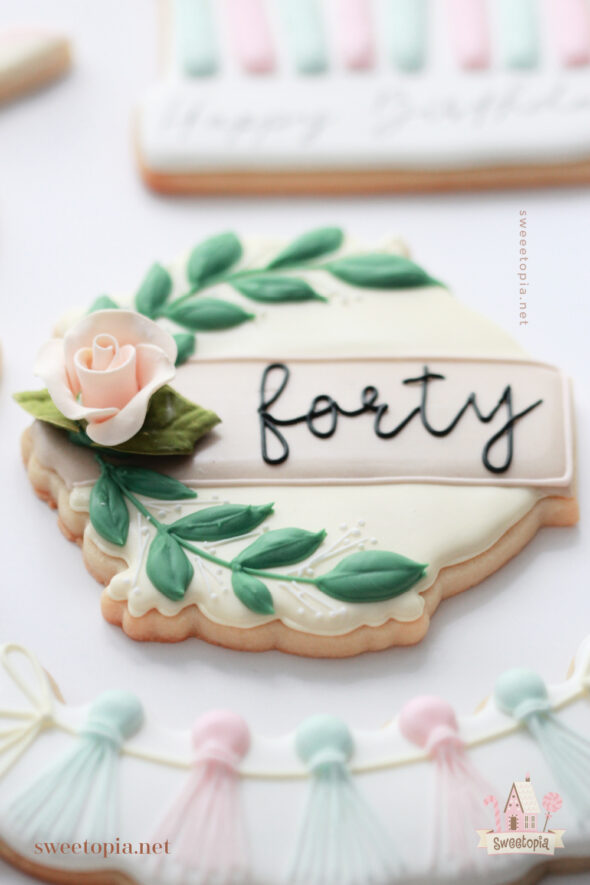
- Floral Forty Plaque Cutter
- Numerical 40 Plaque Cutter
Projector for Tracing on Cookies
The decorating techniques might be easy for those talented at drawing, but since I’m not the best at it, I like using a projector to help with the design. If you’d like to try the projector for this or other projects, my tutorial is HERE.
Royal Icing Recipe and Icing Consistencies
You can find my favorite royal icing recipe here. The consistency of icing is key for easy decorating. Click here to see a YouTube video on finding the right icing thickness.
Complete Guide to Royal Icing PDF
You can find my Complete Guide to Royal Icing Consistency here.
Cookie Recipe
I used my Sugar Cookie Recipe for these. If you’d like to try a different cookie base, other recipes can be found here.
Cookie Designs Icing Consistencies
All the icing consistencies are medium, unless mentioned otherwise. You can find my Complete Guide to Royal Icing Consistency here.
Cookie Decorating Basics
Here are some posts which take you through cookie decorating basics. If you’re a beginner, you can use these videos as a guide to basic decorating. I’ll mention details unique to each cookie in each cookie section below:
{Video} Cookie Decorating Tools & How to Fill a Piping Bag
{Video} How to Outline and Flood Cookies with Royal Icing
{Video} How to Dry Cookies Decorated with Royal Icing
Decorating Tools
What you’ll need (The Amazon links are affiliate links):
- Piping Tips 1.5
- Piping Tips 4-6
- Piping Bags
- Tipless Piping Bags
- Couplers
- Americolor Gel Colors; Ivory, Espresso
- Wilton Gel Colors; Pink, White
- Scribe Tool or Toothpicks
- Rainbow Dust Edible Ink Food Coloring Pens, brown and yellow
- Pico Projector or Magnasonic Projector
- Arkon Remarkable Creators Phone and Tablet Stand (20% off with coupon code sweetopia)
Piping Bags
In terms of piping bags, I mainly used tipless piping bags for very fine details and PME 1.5 piping tips for most piping, and larger piping tips such as 4 to 6 to flood larger surfaces.
Puffy Royal Icing
If you’d like some tips and tricks on how to get that puffy royal icing look, I have a Digital Download Tutorial in my shop.
Bunny Cookie Notes:
Besides the basics to decorating which I’ve shared above, here are a few notes about the the bunny cookies:
Let the base dry for at least a few hours before adding the edible ink pen details.
I played around with using brown or yellow for the fur on the bunny’s forehead, and ended up preferring no detail there.
I think those are all the basics! Please feel free to ask me any questions in the comment section or on social media. You can find me on Facebook, Instagram, Pinterest, Twitter and YouTube.
xo,
Marian


Add some edible glitter to these cute bunnies! 🙂 https://www.thesugarart.com/