

Besides knowing about little tips and tricks to help improve piping, having the right cookie baking and decorating tools have made a big difference for me over the years. It’s in the little details, you know? Over time, I have figured out what works best, what I like best, and what improves my cookie designs and makes everything more efficient – from the making of the dough, baking the cookies to the decorating itself.

I’m most excited to share the newest little hack, probably because I’m dumbfounded I didn’t do it earlier and it’s something new I’ve never shared with anyone but my friend Jo-Ann (Also an avid cookie decorator – I would never subject a non-cookier friend to it 😀). I had had the thought about it here and there, usually while decorating, and would promptly forget about it once I was done.
Just a warning, I think it might seem silly to you, buuut there’s also a chance you might fall in love with the tip too!

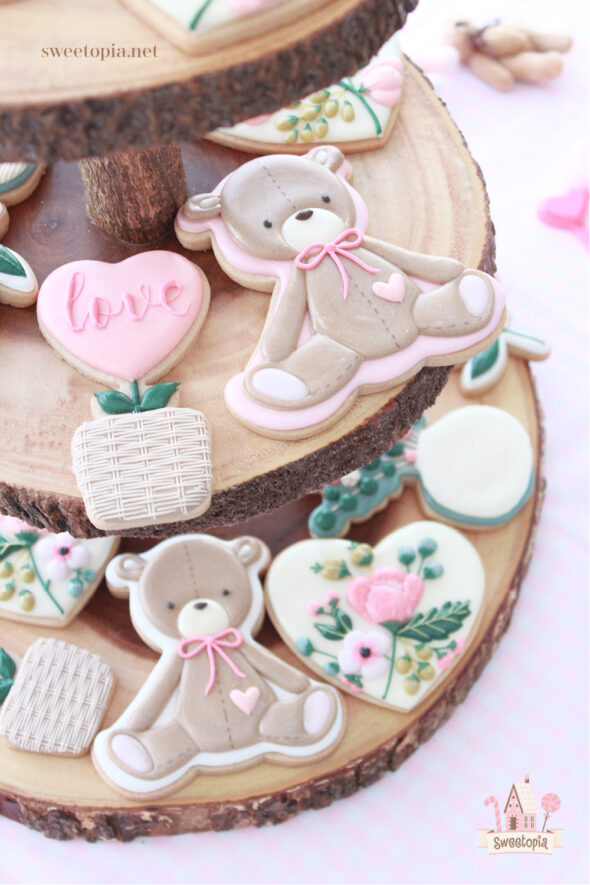
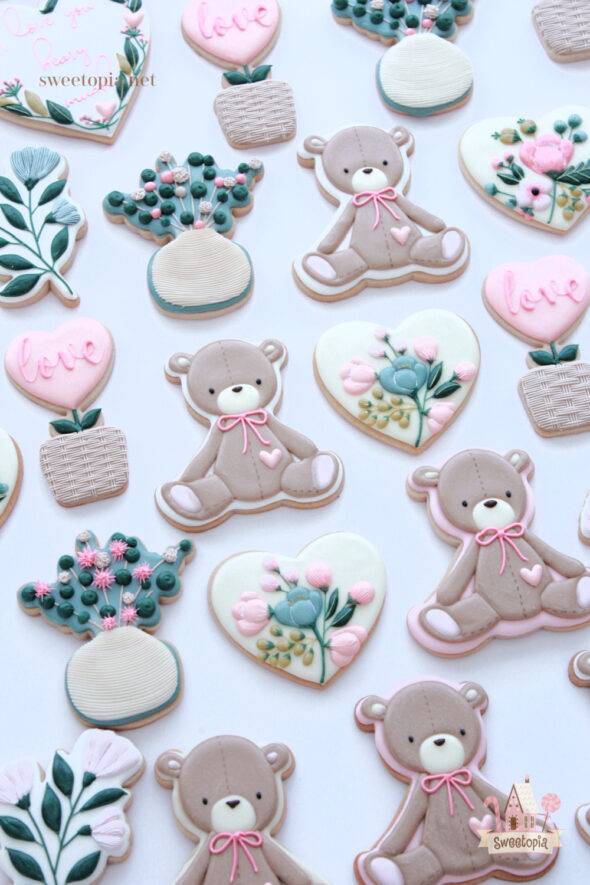
A quick note about these Valentine cookies first… I’ll be sharing the how-to tutorial for each, along with decorating videos, as soon as I can get them all done.

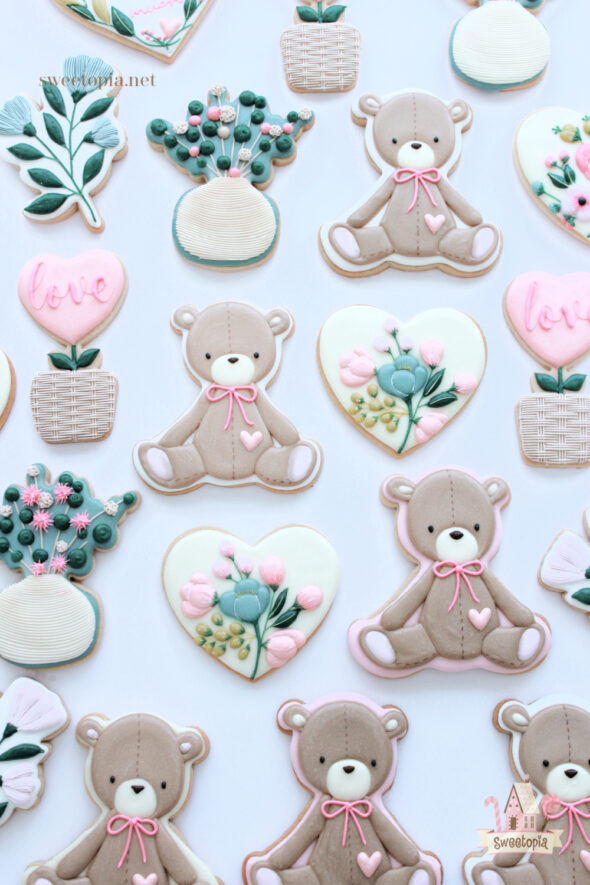
In case you’d like to make these cookies and would like to order the cookie cutters before I post my tutorial, below are the cookie design inspiration and cutter sources. Thank you to The Cookiery, The Millers Wife Custom Cookies, 6 Bittersweets and Rifle Paper Co. for the beautiful and cute designs! (Amazon links in this post are affiliate links).
Cookie Design Ideas and Cutter Sources
- Teddy Bear Cutter and Design by The Cookiery
- Heart Flower Cookie Cutter by The Cookiery
- Vase with Flowers Cutter by The Cookiery, design by The Millers Wife Custom Cookies
- Flower Branch Cookie Cutter and Design by 6 Bittersweets
- Heart Cutter by Wilton
- Floral Design Bunting by Rifle Paper Co.

I created the “I love you beary much” tags, and will share the PDF in the upcoming tutorial post.
So without further ado, I’m sharing my favorite cookie things and would love to hear about your favorites, hacks, tips and tricks too!
Favorite Cookie Baking and Decorating Tools
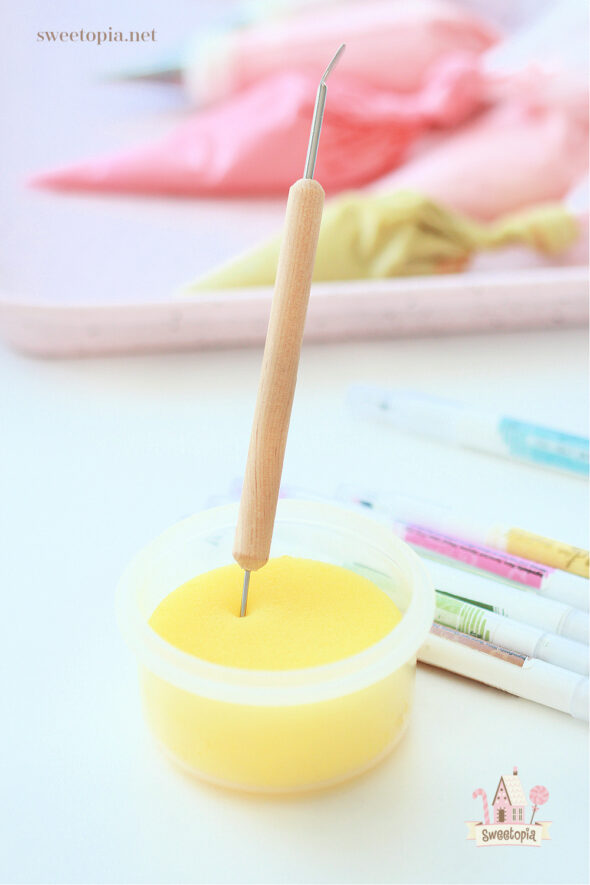
- The first one is the newest and possibly silliest one. It’s a small, dampened sponge, set in a small plastic container, perfect for holding my scribe tool! (Photo above). I use my scribe tool to pat down royal icing peaks or dots all the time, and used to keep the scribe tool on a damp cloth so that it was just a tad wet, in order to not stick to the icing. A somewhat damp scribe tool pats the peaks down better. The cloth is a bit cumbersome and messy though… The sponge sits neatly aside, acts as a little holder as well, and can be easily rinsed and dried. It cleans off the tip of the scribe every time I set it into the sponge – it’s perfect!

Once I’ve cleaned the sponge and it has dried, I place the lid on the container to keep it dust-free.
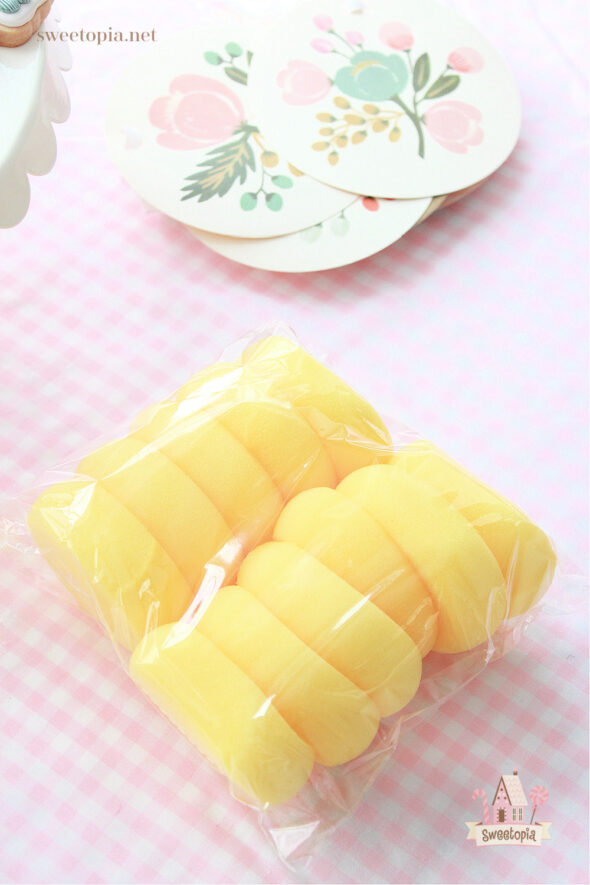
The whole pack cost me approximately $6.00 on Amazon, and I’m sure will last me for years!
2. In tandem with the sponge, my favorite scribe tool is from a clay tool set. Although I have other pretty scribe tools with bead grips, which I do like too, I do tend to reach for the plain clay tool scribe. It is quite long and has a scraper (boo-boo stick) on the other end, perfect for fixing mistakes. Instead of having to reach for another tool to fix mistakes, I just flip my clay scribe tool around.
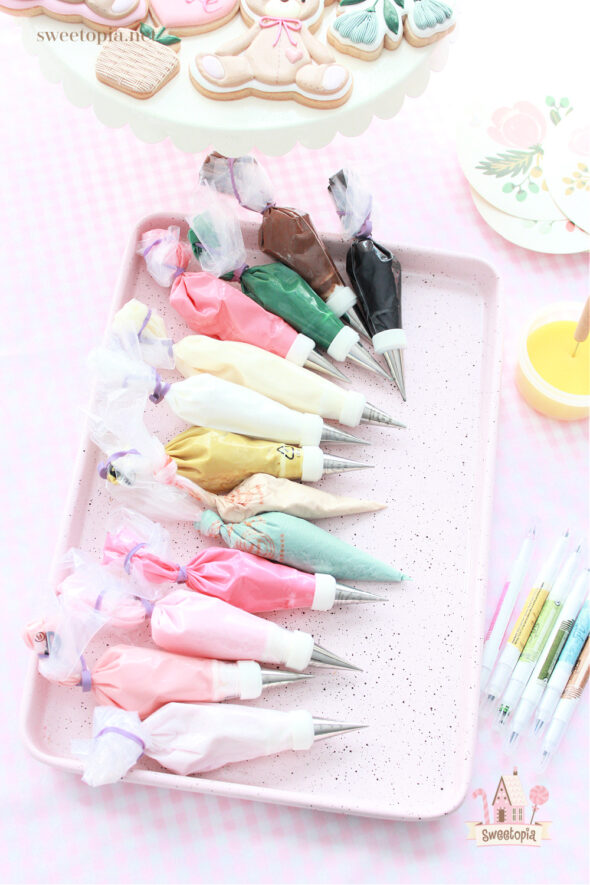
3) Next… Love them, love them – PME piping tips! The icing seems to flow out nicer than other piping tips… The PMEs are longer, stainless steel and have 0.5 sizes.
4) For teensy tiny piping, especially very fine lines, I like the tipless piping bags.
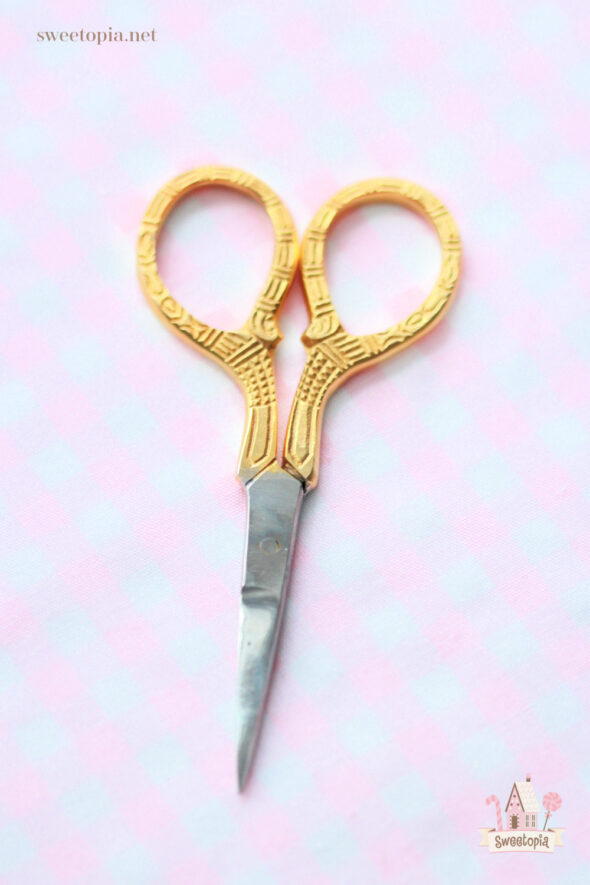
5) And to cut tipless piping bags, it helps to have very sharp and fine sewing scissors.
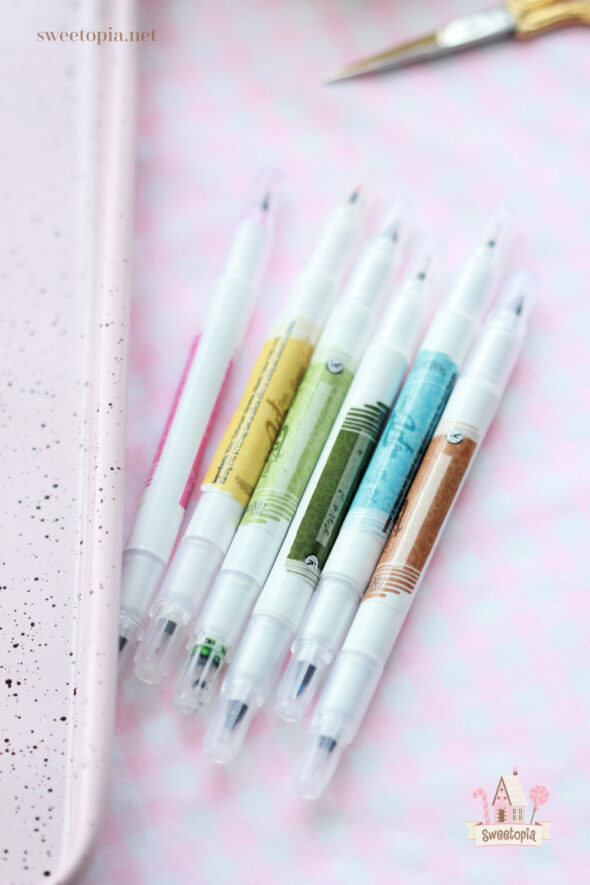
6) Edible Ink Food Coloring Pens have been a lifesaver when it comes to drawing on dry cookie icing, especially for tiny details, and if I’d like to trace on my cookie from my projector. Currently, my favorite brand is Rainbow Dust.
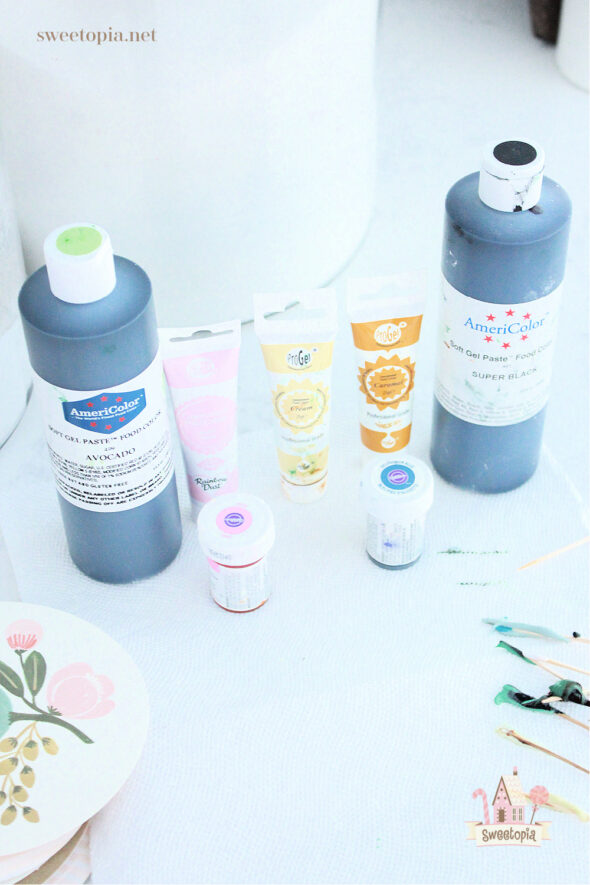
7) There are so many wonderful food coloring brands out there, I do use many and find my favorites for each color and shade over time, but I tend to reach for these 3 brands the most; Americolor, Wilton and Rainbow Dust ProGel.
8) The Pico Projector and Magnasonic Projector – I need help in the drawing department! The projector helps immensely. I’ve got a detailed tutorial on that here if you’d like to know more.

Onto a few favorite baking tools:
9) Rasp zester – Great for fixing cookie edges if need be! I have more detail on that in this post.
10) Large rolling pin – And do I mean huge! It makes rolling out dough so much faster and easier. Mine is 18 inches long.
And lastly, one bonus favorite:
11) Clay ball tool – for poking the dough out of tight cookie cutter spaces when cutting out cookie shapes.
Hope you enjoyed those! Please feel free to leave me a comment below sharing your favorite tools and tips too!
Also feel free to drop me a line below social media. You can find me on Facebook, Instagram, Pinterest, Twitter and YouTube.
Happy decorating!
xo,
Marian


GAHHHHHHH….the sponge in the plastic container…..BRILLIANT! Beautiful work as always Marian!! Much love to you :). Love all the other tips and tools are so helpful.
Awwww thank you Tina!! You get it… It’s definitely the simple things…
Hi Marian,
Excellent hints to use the best tools to make life easier to do a great deco project! Love the sponge idea!
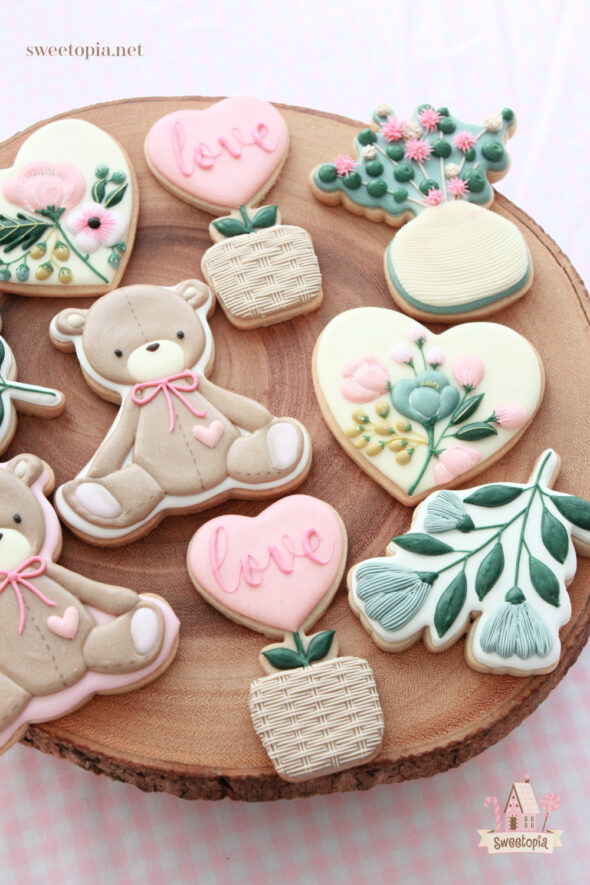
Your cookies are always gorgeous, love the bear, the beautiful flower bouquet is a favorite!
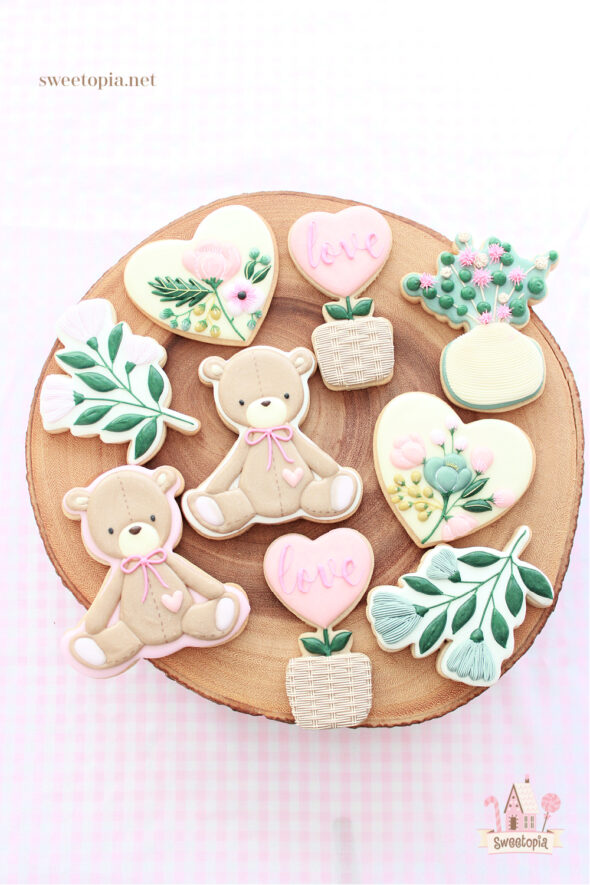
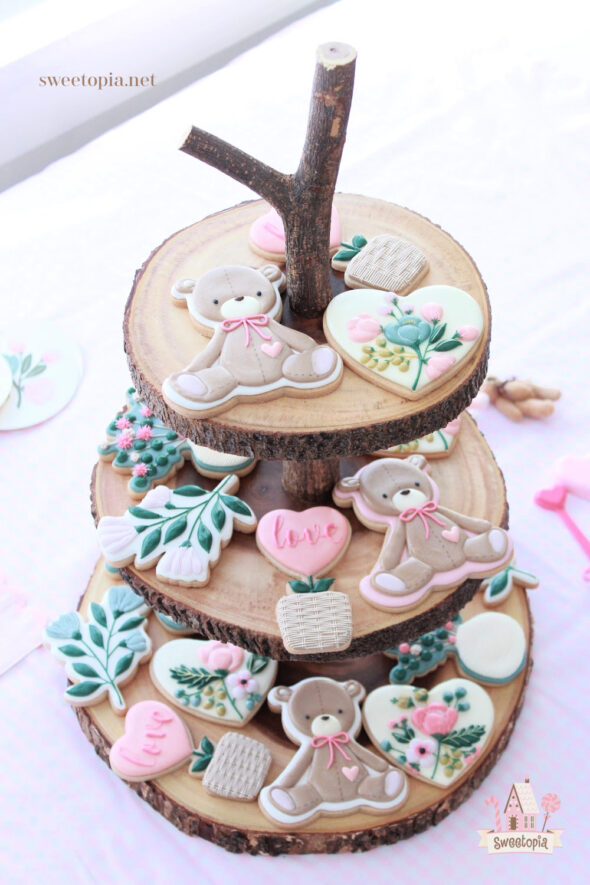
Love how you display the valentine’s theam on the wooden stand.
Amazing talented lady you are!
ML
Thank you so so much Maria for your lovely comments! xo
Clay tools for cookie decorating takes thinking outside the box to a new level! The wooden stand is perfect!
Aww thanks so much Jo-Ann… it’s the simple things you know.
Love the cookie set. Thanks for the ball tool tip!
Thanks Harriet, I’m glad you like the ball tool tip!
I never thought of using a ball tip tool, perfect!
Where did you find the beautiful three tiered wooden stand?
Thanks Linda!
I found the cake stand at Home Sense.