
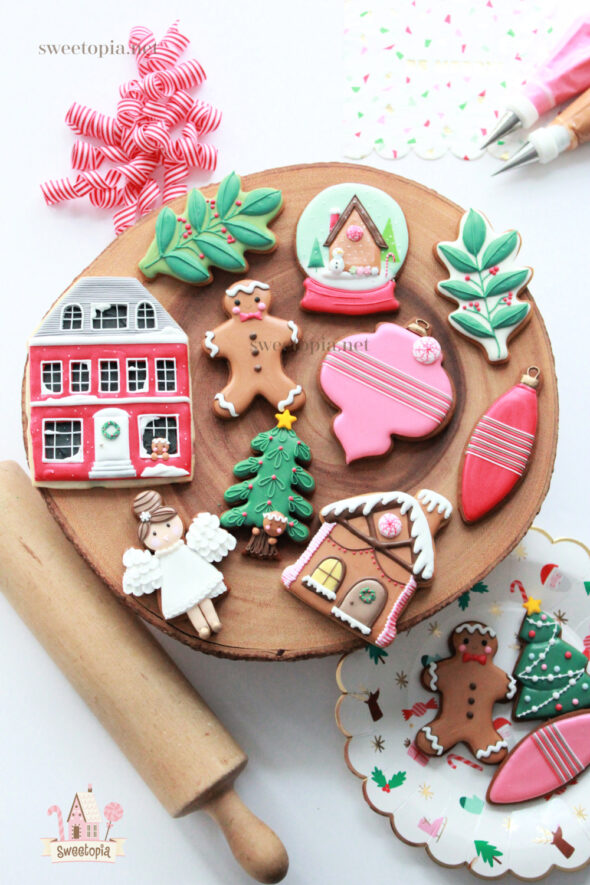
There’s nothing like baking and decorating cookies and giving them away for Christmas. (Oh of course, eating some too!). It’s such a nice feeling and the recipients are generally so charmed by the homemade sweets. I do have to say that I generally prefer decorating simple designs… once in a while I’ll be in the mood to create something a little more detailed, like the red house pictured here, but, if you’d like to make them too – whether you’re a beginner or a seasoned decorator – the techniques are all the same, they just take a little longer to make. Speaking of making these, I’m going to jump right in and share all the recipes, tools and tips for each cookie pictured in this post. You can also see more photos of them HERE.

Video – Decorating Christmas Cookies with Royal Icing
I have the full video on YouTube HERE, as well as vertical videos on my Pinterest and Instagram pages.
Royal Icing Recipe and Icing Consistencies
You can find my favorite royal icing recipe here. The consistency of icing is key for easy decorating. Click here to see a YouTube video on finding the right icing thickness.
Complete Guide to Royal Icing PDF
You can also find my Complete Guide to Royal Icing Consistency here.
Piping Bags
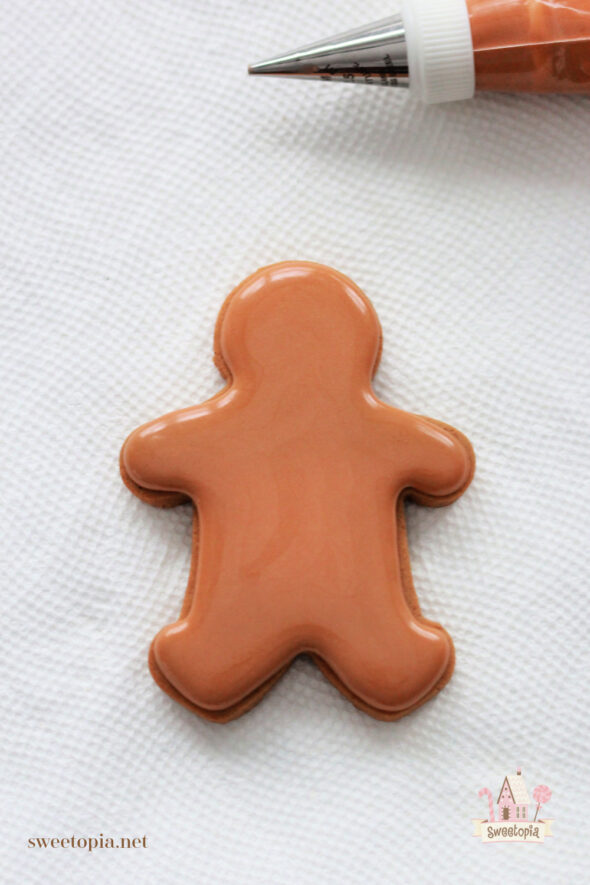
In terms of piping bags, I mainly used tipless piping bags for very fine details and PME 1.5 piping tips for most piping, and larger piping tips such as 4 to 6 to flood larger surfaces.
Cookie Recipe
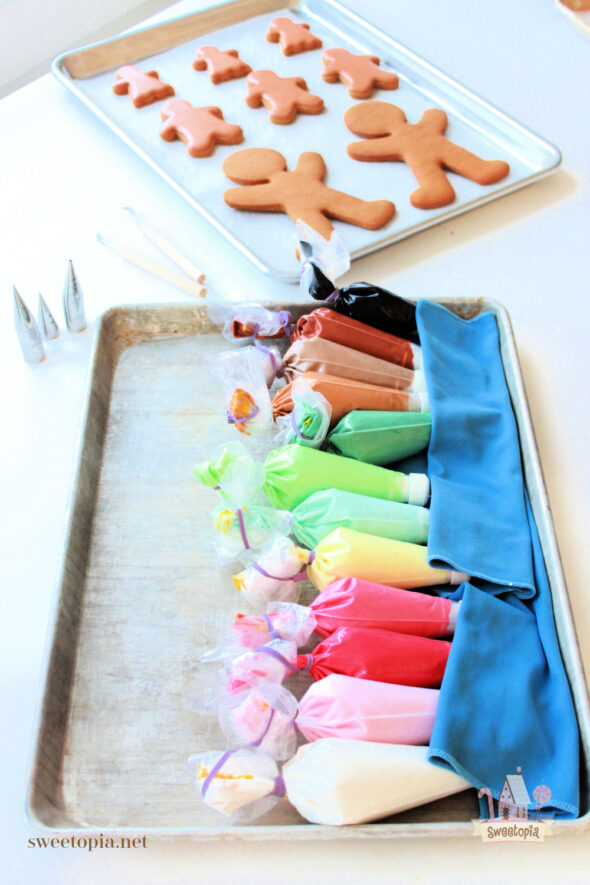
I used my classic gingerbread cookie recipe for these, which you can find here. If you’d like to try a different cookie base, other recipes can be found here.

Cookie Designs
All the icing consistencies are medium, unless mentioned otherwise. You can find my Complete Guide to Royal Icing Consistency here.

Cookie Decorating Basics
Here are some posts which take you through cookie decorating basics. If you’re a beginner, you can use these videos as a guide to basic decorating. I’ll mention details unique to each cookie in each cookie section below:
{Video} Cookie Decorating Tools & How to Fill a Piping Bag
{Video} How to Outline and Flood Cookies with Royal Icing
{Video} How to Dry Cookies Decorated with Royal Icing
Decorating Tools
What you’ll need (The Amazon links are affiliate links). I will go into more specific detail for each cookie below:
- Piping Tips 1.5
- Piping Tips 4-6
- Piping Tip 101
- Piping Bags
- Tipless Piping Bags
- Couplers
- Americolor Gel Colors
- Scribe Tool or Toothpicks
- Pico Projector
- Black Food Coloring Pen
- Silver Dragées
- White Sprinkles
- White Sugar Pearls

Red House Cookie
The design for the house came from this Christmas card I got last year from a friend:

I used my Pico Projector to trace the cookie design as I’m not the best at drawing. Here is a tutorial on using the mini projector.

I forgot to video making the little gingerbread man. He’s a royal icing transfer or flood work. Flood work, also known as runouts, transfers, color flow (by Wilton), or run sugar, is basically the piping of a runny royal icing onto parchment paper or acetate paper into an outlined shape. When the shape dries, you have an icing design which you can use for a multitude of decorating purposes; on cakes, cookies, gingerbread houses, cupcakes etc. You can also pipe onto wires, toothpicks, skewers etc. so that your design can be ‘free-standing’.
If you’d like to try it, here are some tips as to how to do your own floodwork:
How to do royal icing floodwork:
- If you’re using a transparency, make sure you lightly smear it with shortening so your icing doesn’t stick.
- Make multiples of your decoration as flood work breaks easily.
- Let your first layer dry for 24 hours before you add more details.
- After your final details have been piped, again let your decorations dry for 24 hours. How long it takes to dry does depend on the size of the decoration and the amount of humidity in the air, however, I find 24 hours seems to be a safe time.
- Peel your dry royal icing runout gently away from its’ backing by using a metal spatula or palette knife or peel the parchment or transparency away from the design by putting it near the edge of the table and gently pulling the ‘paper’ away.
- Put a small dab of royal icing on the back of your flood work decoration and delicately place onto your desired surface.

For the gingerbread man, I piped circle of brown icing onto a transparency sheet, let that completely dry, then piped the face details. The mouth is made using a black food coloring pen.
The door knob is a Cookie Inspiration
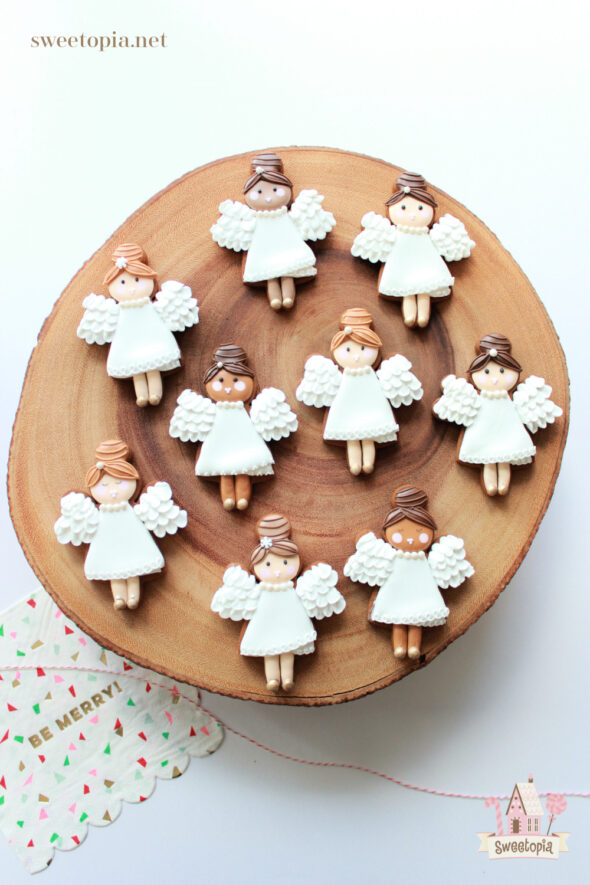
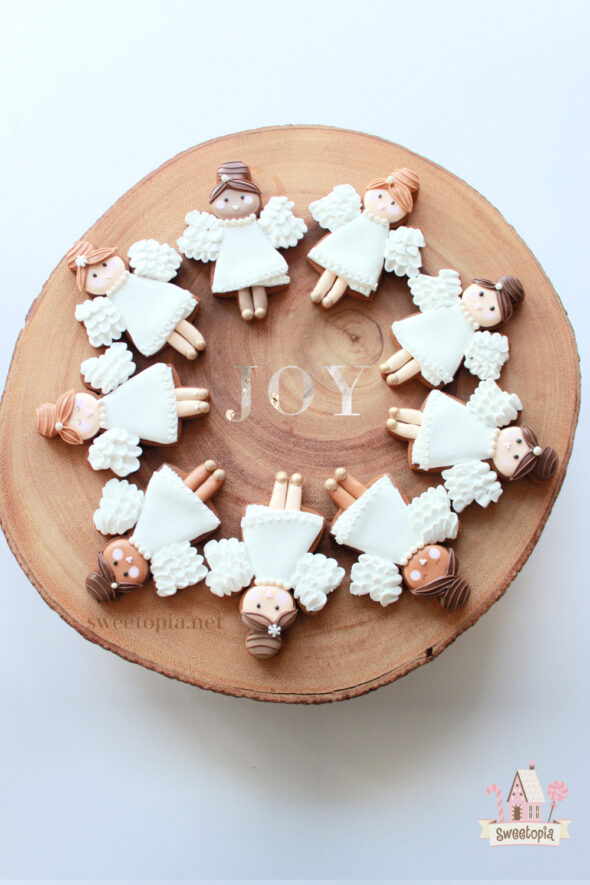
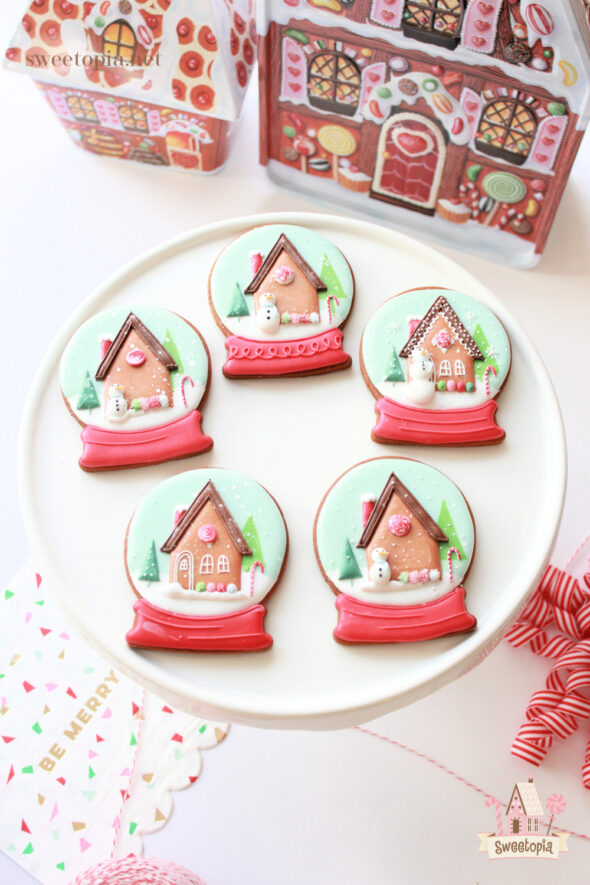
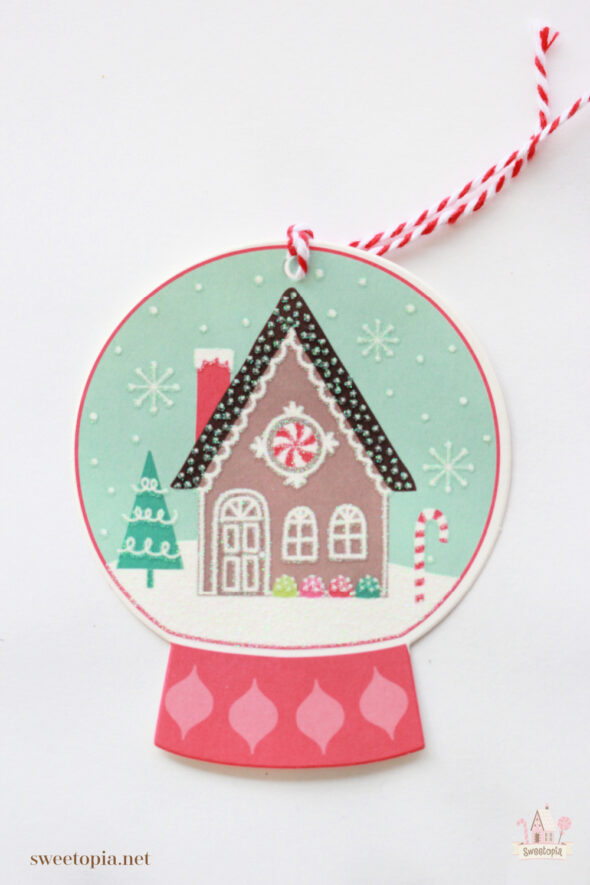
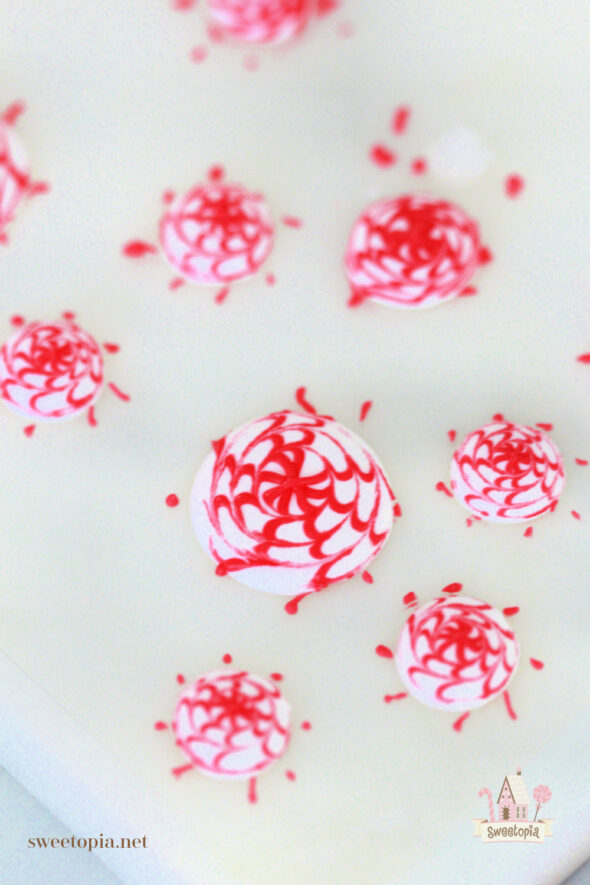
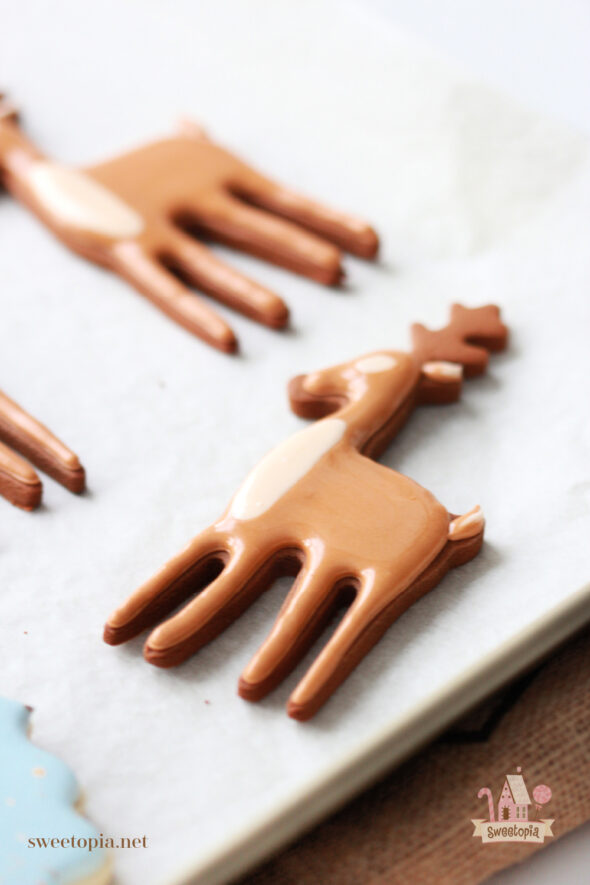
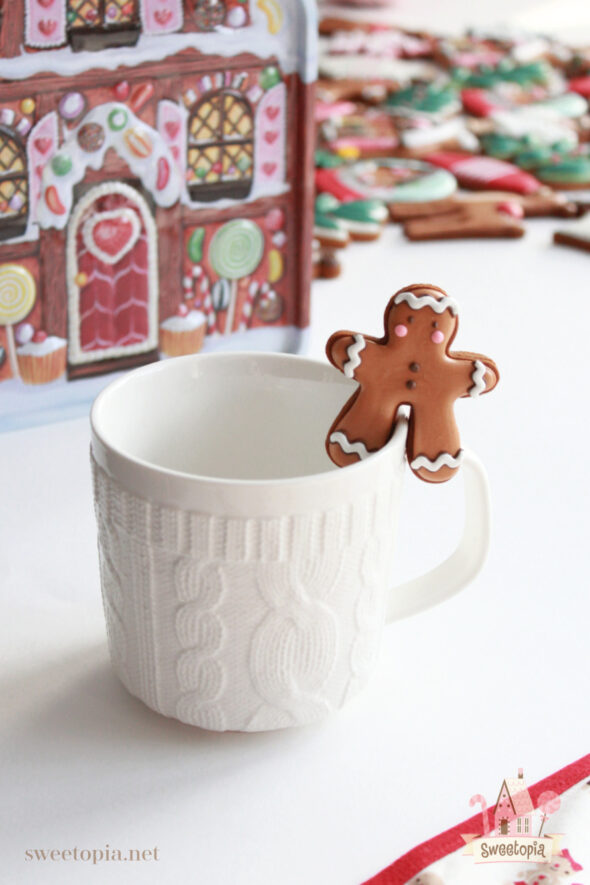
Thank you to Shiori of Fiocco Cookies for the angel and tree with gingerbread man cookie design inspiration! I love all her adorable designs. You can find her cutters at How Sweet is That? The brown tree stump was piped using thick icing. The star is a sugar star. I can’t find them online anymore, but you could substitute with star sprinkles or make a royal icing transfer. The gingerbread man is pretty straightforward to create, please let me know if you have any questions. I’ve shared how to pipe royal icing lines HERE. The ornaments have a base of flooding, I let that dry, pipe the lines and added a royal icing peppermint transfer. (More on that under the snow globe cookie). I’ve shared how to make these leaf cookies and all my tips and tricks and making royal icing puffy in my Digital Download HERE. Thank you again to Shiori of Fiocco Cookies for the angel and tree with gingerbread man cookie design inspiration! I love all her adorable designs. You can find her cutters at How Sweet is That? I had fun playing around with different sprinkles for the angel’s hair. The wings are piped using tip #101. The shoes are painted with edible gold luster dust. I used white sugar pearls for the collar. The snow globe design is from a gift tag by Design Focus. I wasn’t able to find it online. I bought it at Home Sense a few years ago. I played around with a few different designs (you can see them in the video). For the peppermint swirl options they were both royal icing transfers. The peppermint swirls pictured above can be seen being made in the video in the gingerbread house section. For the second type of swirl, I put both red and white icing in a piping bag fitted with a number 1.5 tip, and piped spirals onto a transparency sheet. The gingerbread house cookie is fairly straightforward besides perhaps the side of the house. For the “peppermint sides”, I put both red and white icing in a piping bag fitted with a number 1.5 tip. To make the actual gingerbread reindeer cookie cut outs, I had to dip the cutter in flour to help the skinny legs not stick. If I were to redo the reindeer icing, I would make it a tad thinner so the legs would look smoother. This little gingerbread man mug hugger was so fun and easy to decorate. The design is again straightforward but please feel free to let me know if you have any questions. The cutter was a dollar store purchase last Christmas season! And that’s it! If you have any questions or comments please feel free to drop me a line below in the comment section or on social media. You can find me on Facebook, Instagram, Pinterest, Twitter and YouTube. Merry decorating! xo, MarianChristmas Tree Cookie
Gingerbread Man Cookie
Lined Ornament Cookie
Winter Foliage or Leaf Cookies
Angel Cookies
Snow Globe Cookie
Gingerbread House Cookie
Reindeer Cookies
Mug Hugger Gingerbread Man Cookie























Leave a Reply