
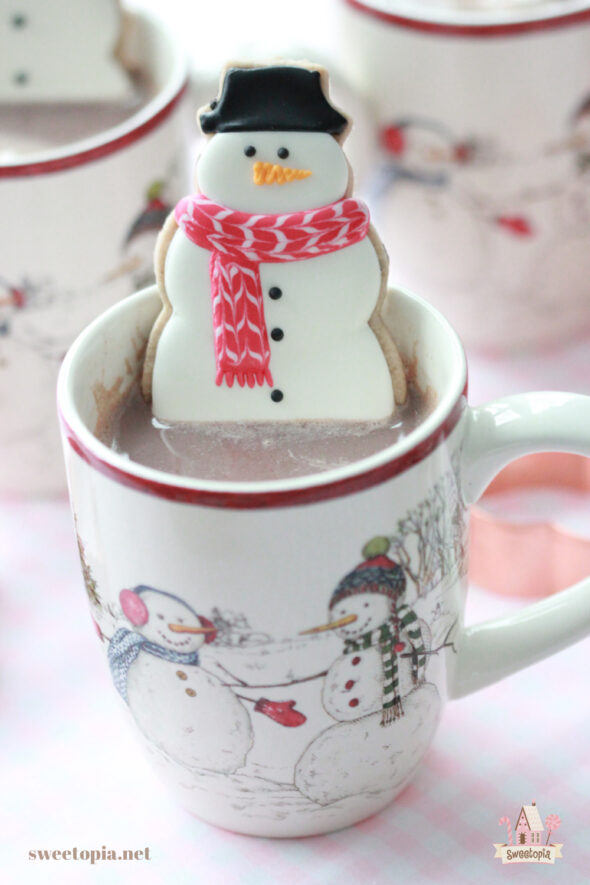
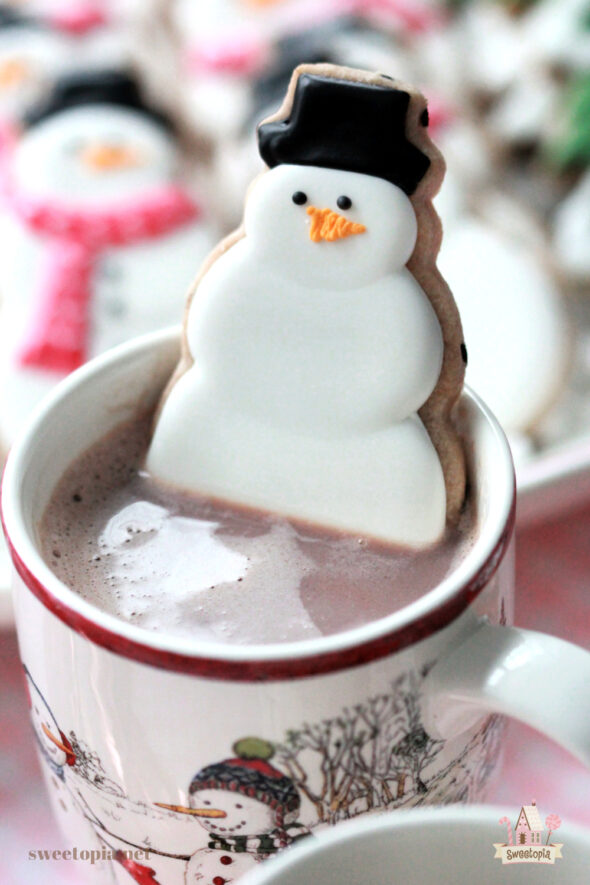
Williams Sonoma has items for anyone on your list and the perfect necessities for a cozy night at home this season! Fill your mug with some hot chocolate and hot chocolate cookies, cuddle up with a blanket and cook a favourite dish to warm you up!
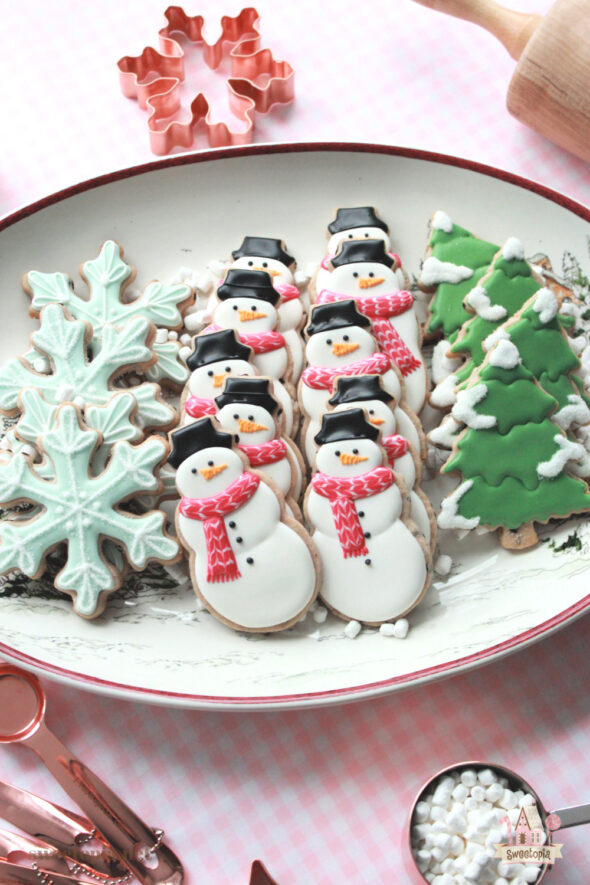
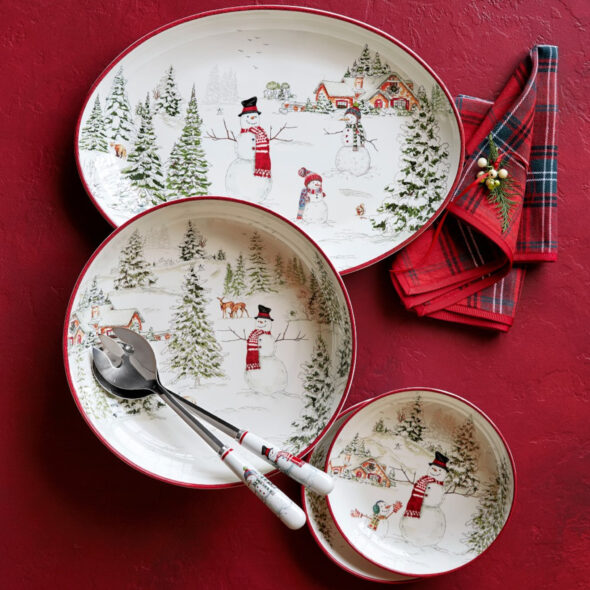
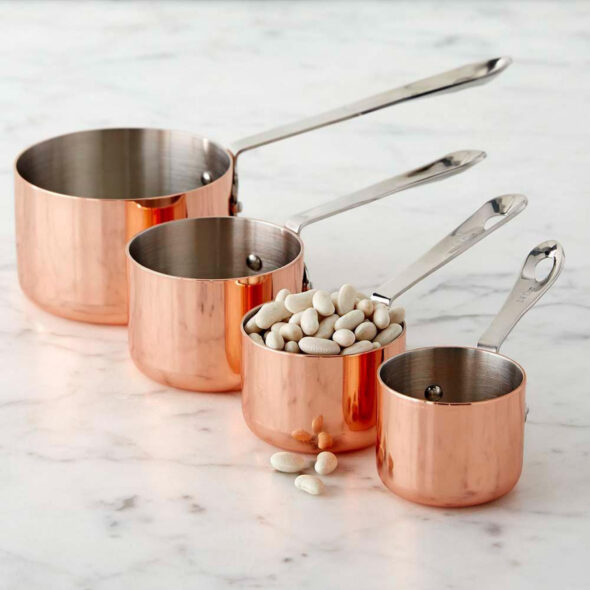
It’s no secret that I love good bakeware and Williams Sonoma is one of my go-to places for getting gorgeous and durable items for my kitchen. Thank you to them for sponsoring this post and sharing the beautiful copper cookie cutters, measuring spoons, cups and the festive and jolly snowman mugs and platter. I’ll be sharing links to all of them below.
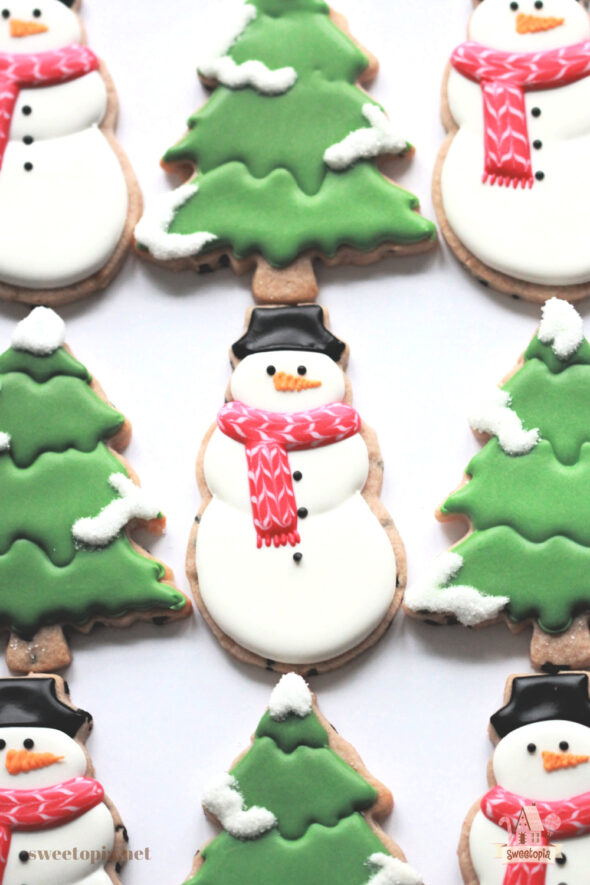
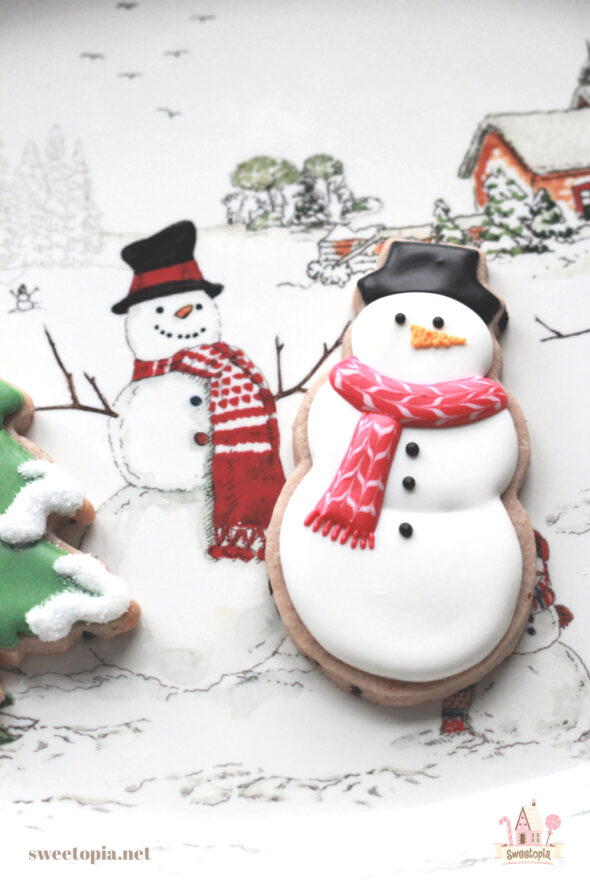
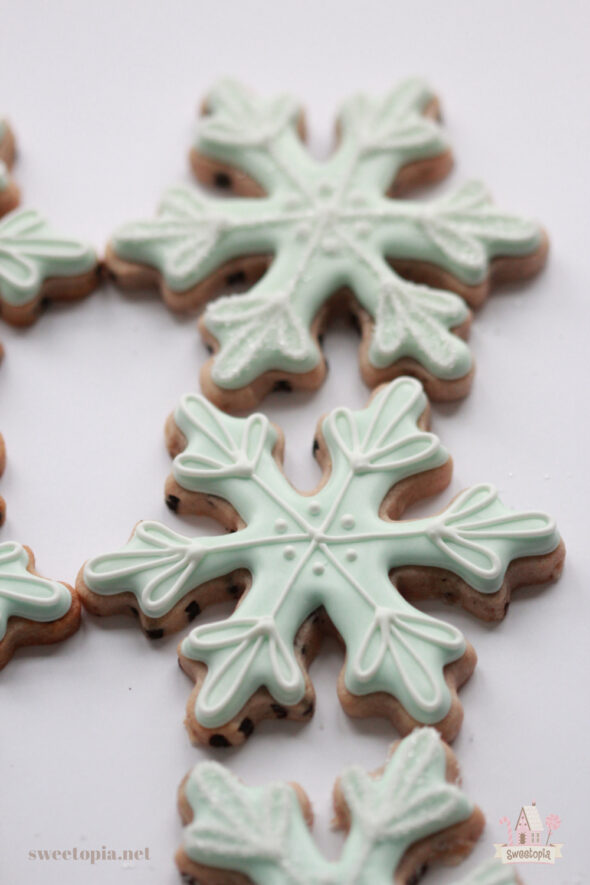
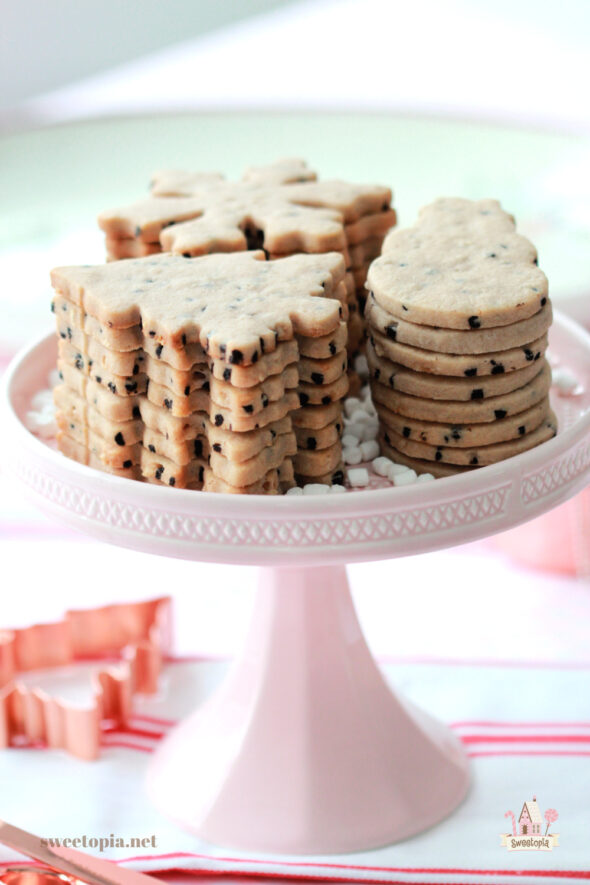
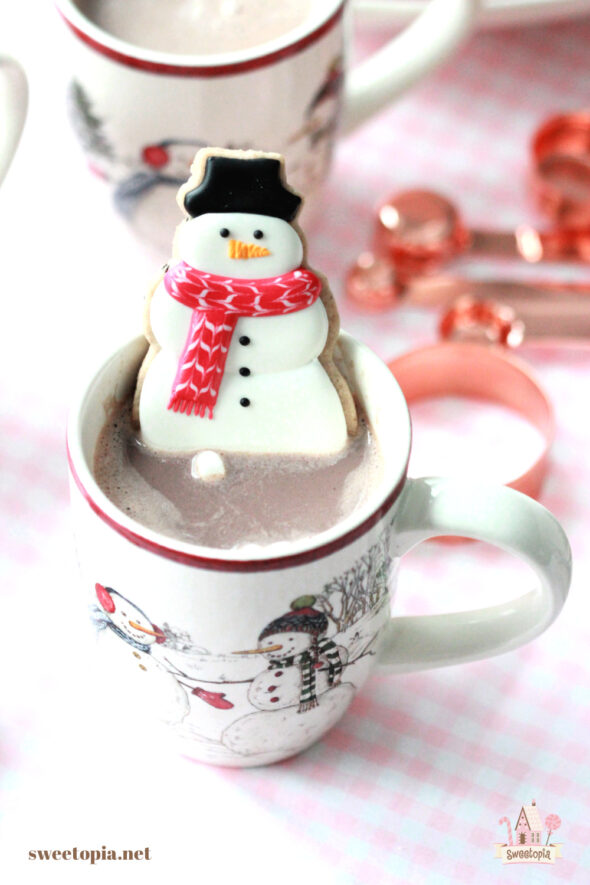
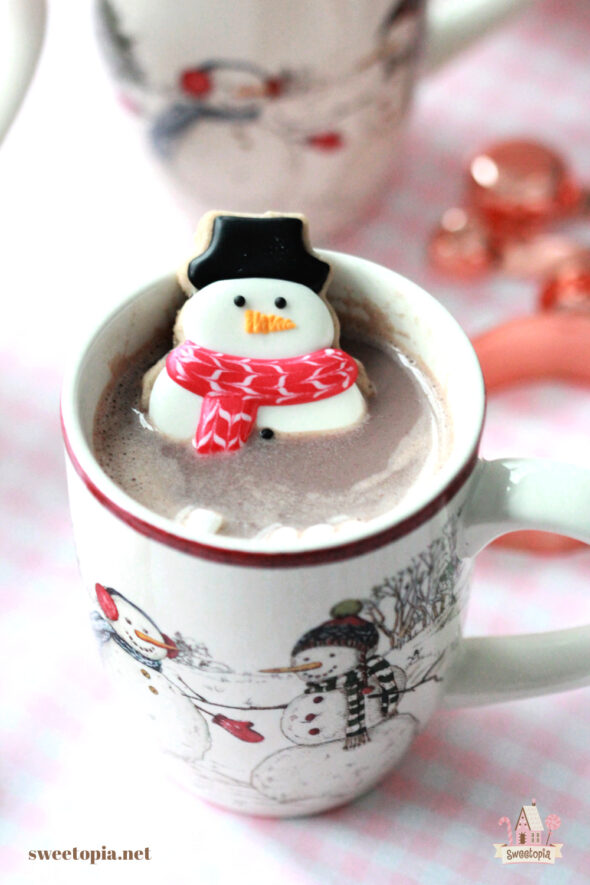
If you live in the colder climates, and maybe even if not, cozying-up with a warm cup of hot chocolate after coming in from the frigid outdoors , is one of the best feelings. And so, being as obsessed with cookies as I am, I’ve created another little twist on the usual holiday cut-out cookie, Hot Chocolate Rollout Cookies. They pair nicely with vanilla royal icing and are ideal for decorating and gifting.
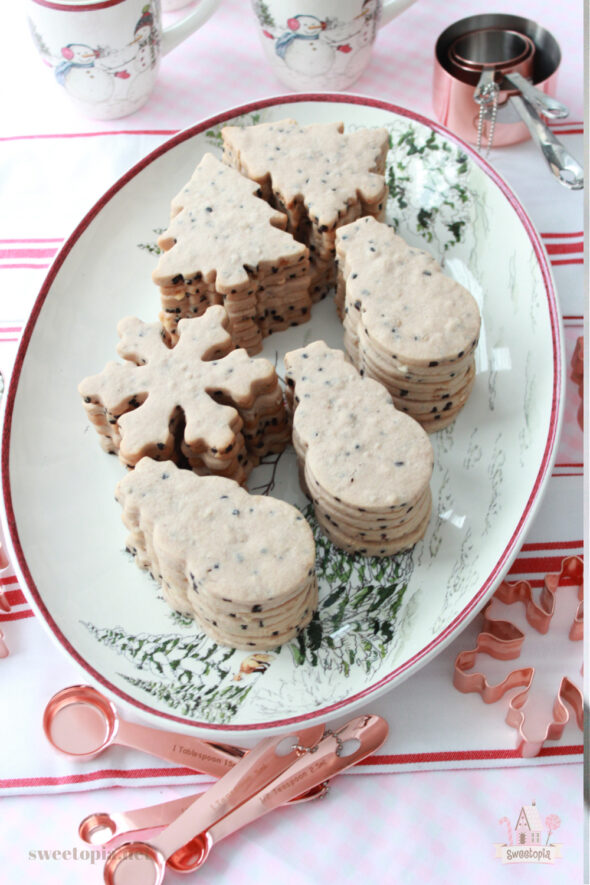
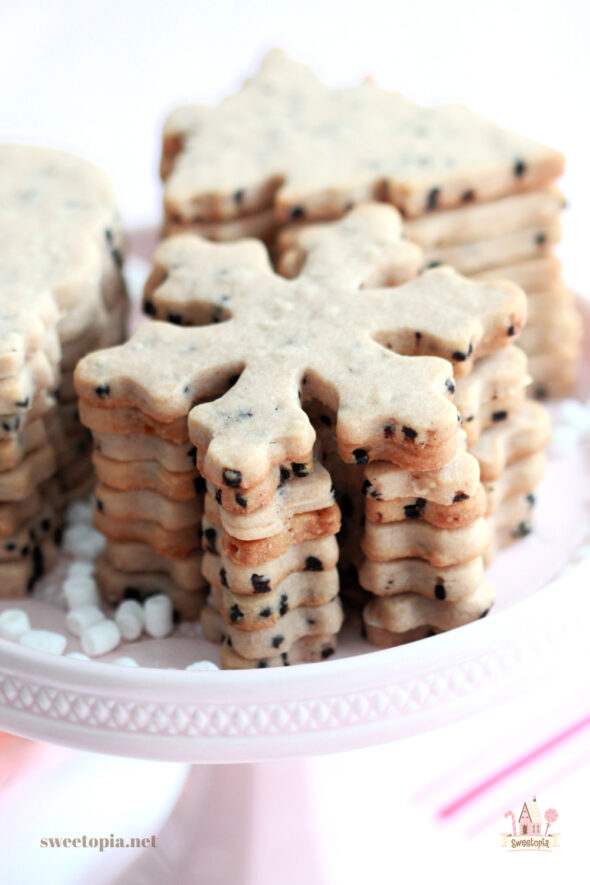
Delicious undecorated as well, enjoy them with your own hot cup of cocoa or coffee.
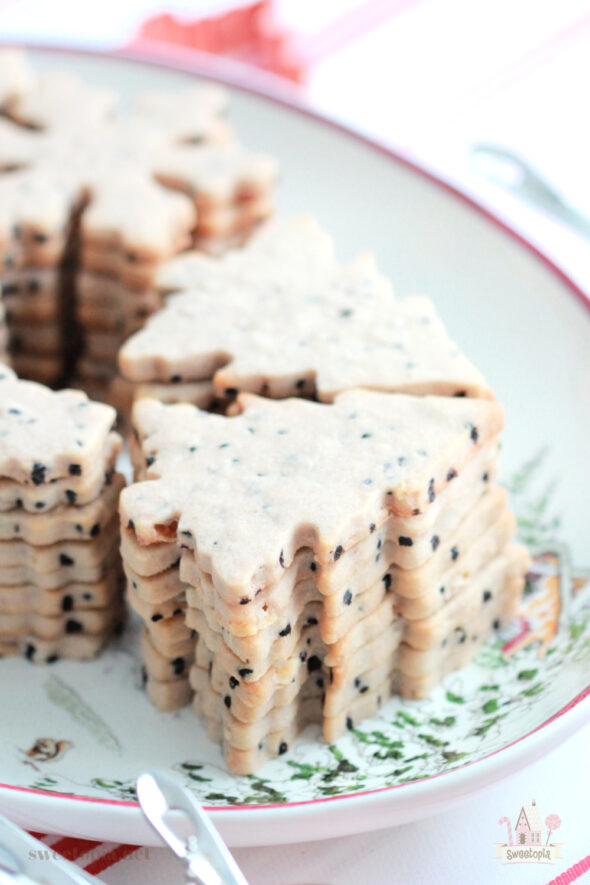
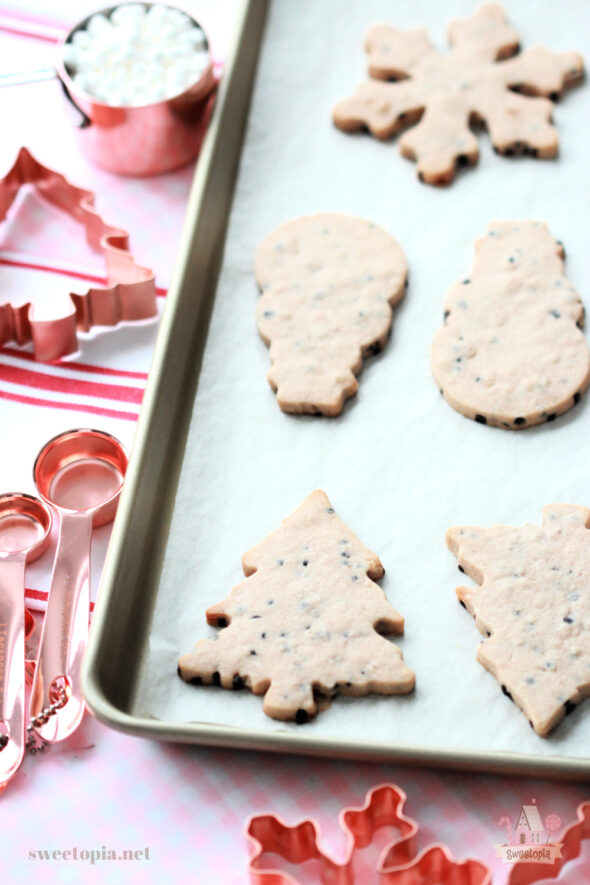
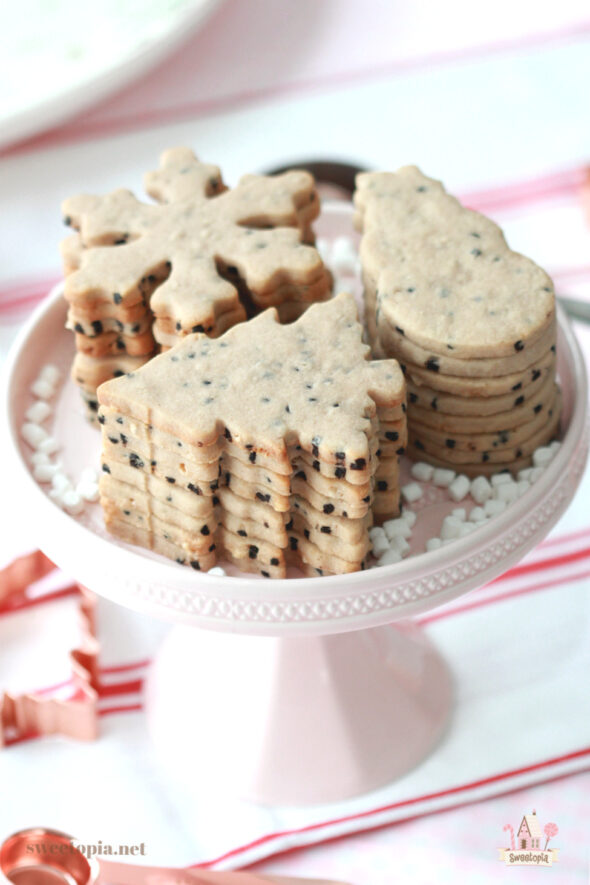
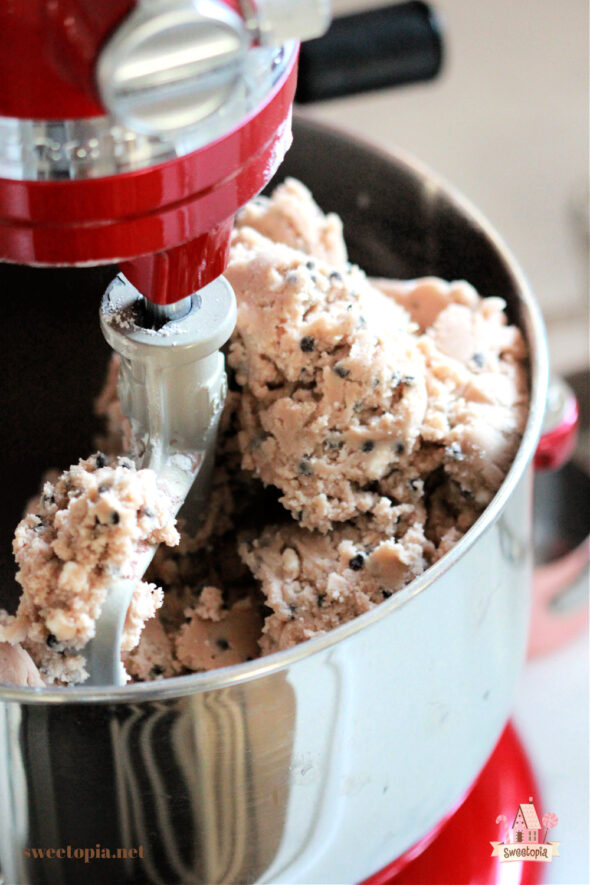
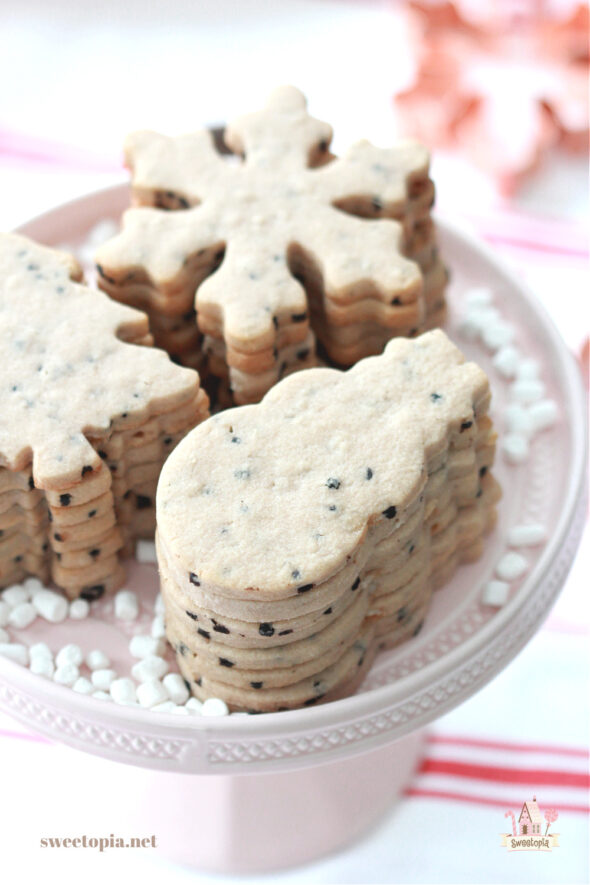
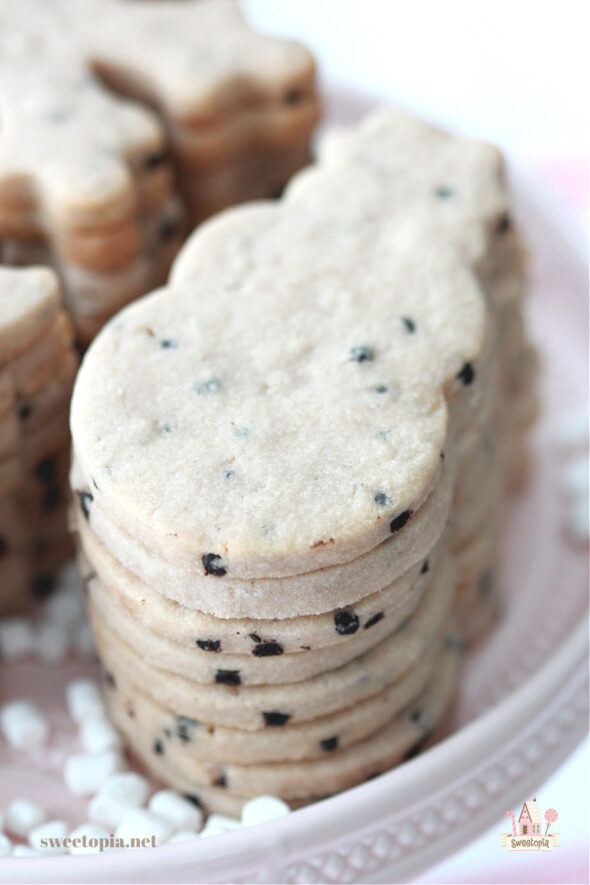
These cookies are flavored with hot chocolate, mini marshmallows and chocolate cookie bits, to give you that nostalgic hot chocolate taste with a satisfying crunch and texture.

The surface of the cookie is a little bit bumpy, but it doesn’t affect how the royal icing settles on the cookie. If you prefer a smooth surface, you can leave out the mini marshmallows and cookie bits and still enjoy the cocoa flavor with the hot chocolate powder.
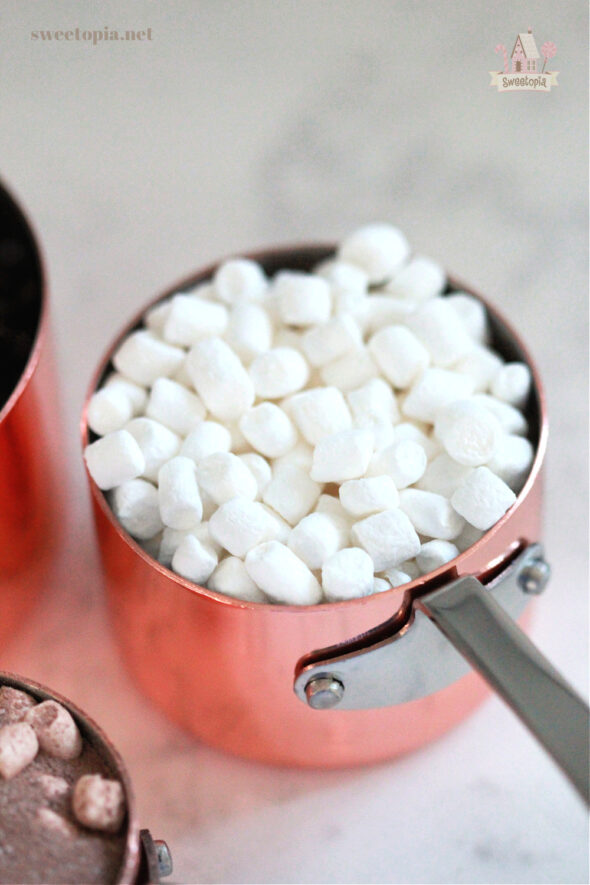
I happened to find a hot chocolate mix with mini marshmallows incorporated into it, and added extra mini marshmallows as well.

You can find the mini marshmallows on line here and the cookie crumbs here. (Please note that Amazon links are affiliate links, I make a tiny percentage of the sale, at no cost to you).
If you’d like to make and decorate these cookies too, I’ll be sharing the basics below the recipe.
Onto the recipe!
Hot Chocolate Cut Out Cookie Recipe
Hot Chocolate Cut Out Cookie Recipe
Ingredients
- 2 cups salted butter, room temperature
- 2 cups granulated sugar
- 1 cup chocolate cookie crumbs
- 1/2 cup mini dehydrated marshmallows
- 1/3 cup hot chocolate powder
- 2 large eggs
- 1 tsp vanilla extract
- 5 cups all-purpose flour
Instructions
- Cream the butter and sugars together in the bowl of an electric mixer on low speed. (Use the paddle attachment). Mix until thoroughly incorporated – for about one minute. Scrape down the sides of the bowl with a plastic spatula and mix again for a few seconds more. Over mixing the butter and sugar in this step will cause too much air to be incorporated into the dough. If you'd like a light and fluffy cookie, that's ideal, however the dough will spread more during baking; not ideal if you'd like the cookie to hold its shape.
- Add the chocolate cookie crumbs, mini dehydrated marshmallows, hot chocolate powder and mix.
- Add eggs slowly and mix. Scrape down the bowl with your spatula at least once and mix again. Add vanilla extract and mix.
- Add the flour in 2 or 3 stages to the bowl and mix on low speed for about 30 seconds to 1 minute, and observe the dough mixing. When it starts to come together and the dough clumps around the paddle attachment and peels away from the sides of the mixer, it should be the right texture. You can also test the dough by pinching it between your thumb and index finger. If it’s soft but not sticky, it’s just right. If it’s too sticky when you pinch it between your fingers, add flour, ¼ cup at a time, and mix until you’re happy with the texture.
- Roll the dough out between 2 large pieces of parchment paper. Place on a baking sheet and into the fridge or freezer for a minimum of 1 hour.
- Cut out cookie shapes. Place on parchment paper-lined baking sheets. Re-roll scraps and repeat. If your dough gets too soft to work with, place in the fridge or freezer periodically to firm up again.
- Once all cut out, put cookie dough shapes back into the fridge or freezer for 10 minutes to 1 hour to chill again. They will then hold their shape better when baked.
- Preheat your oven to 350°F or 176°C.
- Bake cookies for 8-12 minutes or until the edges become golden brown. The baking time will depend on the size of your cookie.
- Let cookies cool to room temperature and decorate if you like! If you’re new to decorating cookies, I have basic cookie decorating tutorials with everything you’ll need to know to begin on my blog. Have fun!
Notes

Cookie Decorating Basics
Here are some posts which take you through cookie decorating basics:
{Video} Cookie Decorating Tools & How to Fill a Piping Bag
{Video} How to Outline and Flood Cookies with Royal Icing
{Video} How to Dry Cookies Decorated with Royal Icing
Royal Icing
You can find my favorite royal icing recipe here. The consistency of icing is key for easy decorating. Click here to see a YouTube video on finding the right icing thickness.
Complete Guide to Royal Icing PDF
You can also find my Complete Guide to Royal Icing Consistency here.
Decorating Items
What you’ll need (These are Amazon affiliate links):
- Piping Tips – PME #1.5, PME tip 2.5
- Piping Bags
- Couplers
- Americolor Gel Colors
- Scribe Tool or Toothpicks
- White Sanding Sugar
- Coffee Filter

If you have any questions about the decorating process for these cookies, please feel free to leave a comment below.
Williams Sonoma Kitchenware

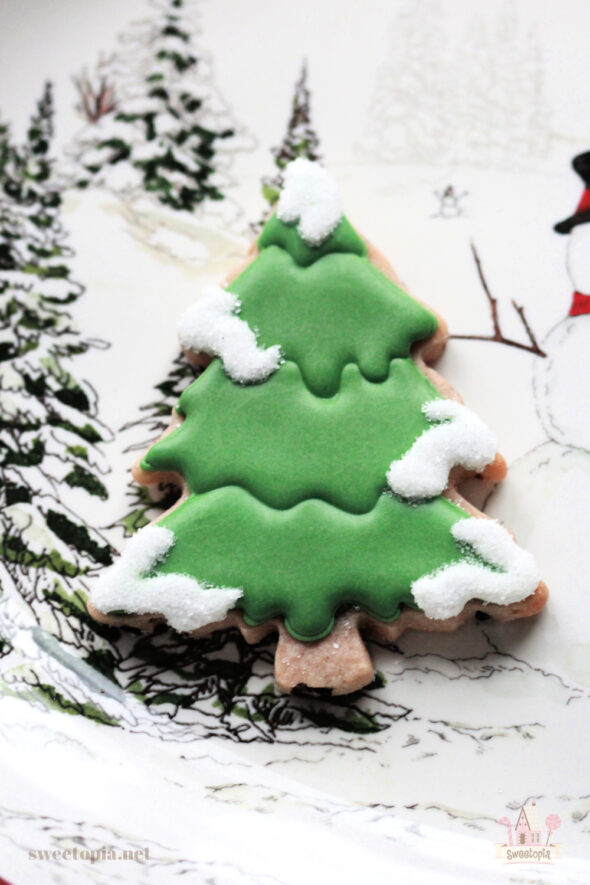
- Tree Cookie Cutter
- Snowman Cookie Cutter
- The exact snowflake cutter I have is not longer listed, but here is an alternative.
Such a simple recipe to make and the perfect palette for sweet cookie designs – have fun making these too! Please feel free to reach out with questions or comments in the comment section below, or you can find me on Instagram, Facebook, Pinterest, YouTube and Twitter.
Happy baking!
xo,
Marian
p.s. As usual, please pardon the zillions of photos… 😀


Hi Marian,
beautiful cookies like always. Like the cookie cutters from William Sonoma. Lovely how you decorated the snowman tree and snowflake. I must try this recipe! Thank you for sharing your recipe. The Christmas mug, plate and service dish is beautiful. I got to check them out in the store!
Happy baking, looking forward to your next post!
ML
My cookies came out more brown in color than yours. It’s not from being baked too long what could it be? Did you leave the white center of the chocolate cookie? White hot chocolate? Just curious what I may have done wrong. Otherwise they taste great as cook up lovely. Thank you!
Hi Shannon, it could be the type of cookie crumb used and how long the dough was mixed. xo
Made the cookies last week and absolutely delicious. Mine came out much darker as well. Used Ghiradelli double chocolate hot cocoa and Oreo caking crumbs which look much finer than in the picture. Is it possible to put Canadian links for products?
Hi Marian I am living in Australia can you please tell your dry ingredients in grams some times we are using different cups bit not sure thanks
Hi Anushka,
Here are my conversions:
https://sweetopia.net/2014/11/baking-conversions/
Hi,
This recipe looks delicious! I’m just wondering if I could replace the dehydrated mini marshmallow with the regular mini marshmallows? or skip them?
What type of chocolate cookie crumbs do you prefer?