

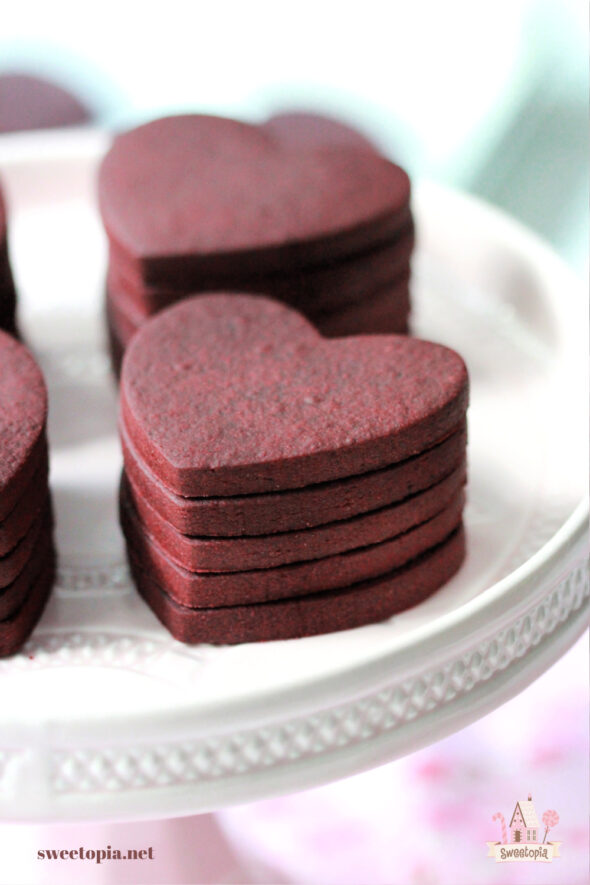
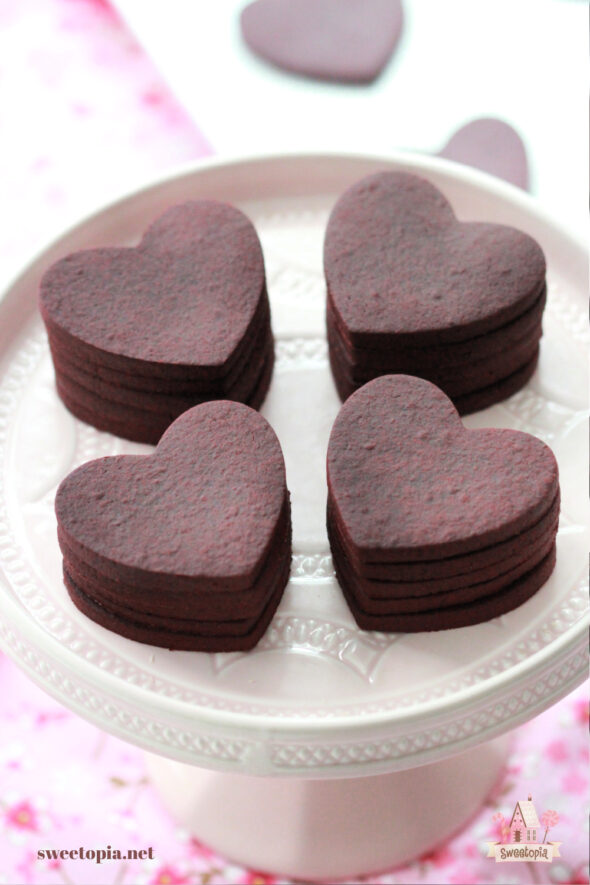
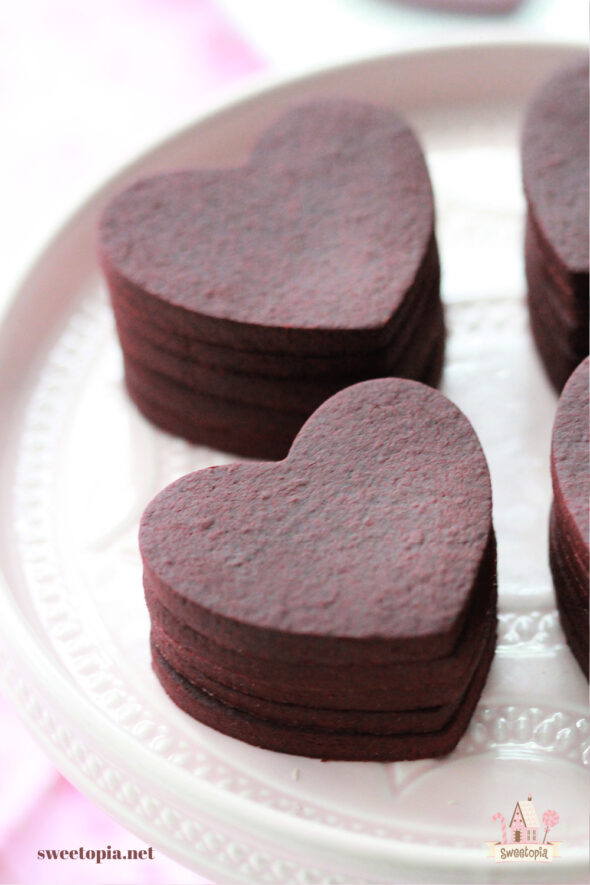
Fall is in the air, and just like many of you, I’m getting more and more into the swing of baking and decorating! These red velvet cookies have the perfect chocolaty reddish autumn color and feel like the food equivalent of a warm hug.
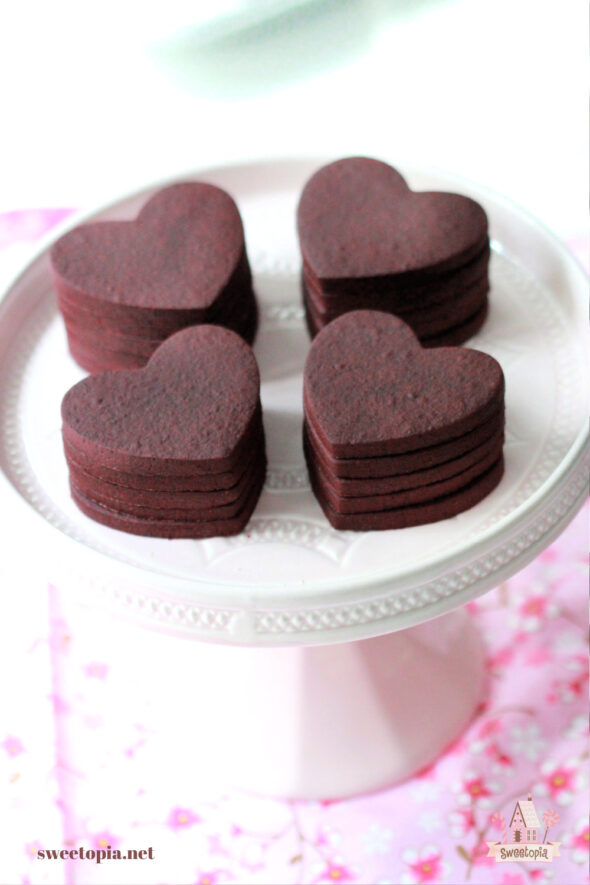
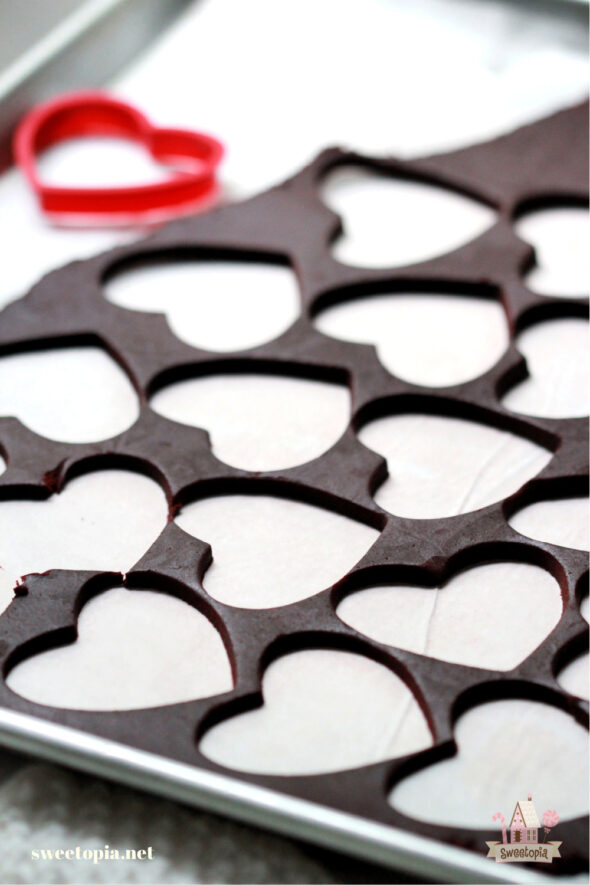
These chocolaty goodness roll out cookies keep their shape beautifully and freeze nicely for future decorating (or snacking!).
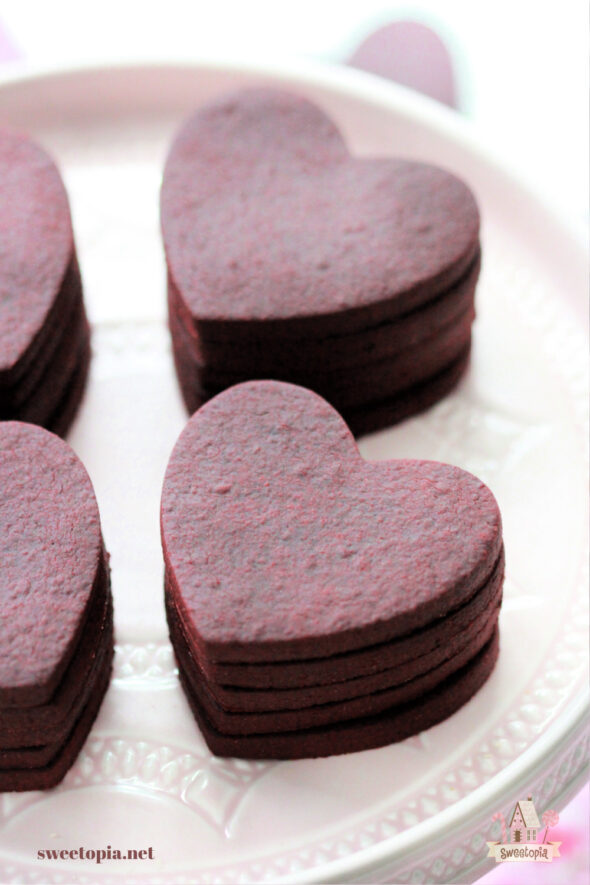
The original recipe is my chocolate cut out sugar cookie recipe, with just an added cocoa, red velvet emulsion twist. They’re easy to make and are crowd favorites – lovely on their own or paired with royal icing or buttercream frosting.
If you’d like to make them too, below is the recipe. Enjoy!
Red Velvet Cut Out Cookie Recipe

Red Velvet Cut Out Sugar Cookie Recipe
Ingredients
- 2 cups unsalted butter (at room temperature)
- 2 cups granulated sugar
- 2 large large eggs
- 2 tsp vanilla extract
- 1 tbsp LorAnn Red Velvet Emulsion
- 1 tbsp red food paste coloring *not red food coloring liquid
- 5 cups all-purpose flour
- 1 1/2 cups cocoa powder
- 1 tsp salt
Instructions
- Cream the butter and sugar together in the bowl of an electric mixer on low to medium speed (Use a paddle attachment). Mix until incorporated. Scrape down the sides of the bowl with a plastic spatula and mix again for a few seconds more. Over mixing the butter and sugar in this step will cause too much air to be incorporated into the dough. If you’d like a light and fluffy cookie, that’s ideal, however the dough will spread more during baking; not ideal if you’d like the cookie to hold its shape.
- Add eggs slowly and mix. Scrape down the bowl with your spatula at least once and mix again.
- Add liquid vanilla extract, the LorAnn Red Velvet emulsion and food food paste coloring. Mix.
- Sift your dry ingredients together. (Flour, cocoa powder and salt).
- Add the flour in 2 or 3 stages to the bowl and mix on low speed for about 30 seconds to 1 minute, and observe the dough mixing. When it starts to come together and the dough clumps around the paddle attachment and peels away from the sides of the mixer, it should be the right texture. You can also test the dough by pinching it between your thumb and index finger. If it’s soft but not sticky, it’s just right. If it’s too sticky when you pinch it between your fingers, add flour, ¼ cup at a time, and mix until you’re happy with the texture. (Different factors can affect the moisture of the dough, from the temperature of the butter you used, to water content of the butter, the actual ingredient brands you used etc.).
- Roll the dough out between 2 large pieces of parchment paper. Place on a baking sheet and into the fridge for a minimum of 1 hour.
- Roll out the dough further if you need to, and cut out cookie shapes. Place on parchment paper-lined baking sheet. Re-roll scraps and repeat.
- Put cookie dough shapes back into the fridge for 10 minutes to 1 hour to chill again. They will then hold their shape better when baked.
- Preheat your oven to 350°F or 176°C.
- Bake cookies for 8-12 minutes or until the center of the cookie no longer looks wet. The baking time will depend on the size of your cookie.
- Let cookies cool to room temperature and decorate!
Notes

Please feel free to reach out with questions or comments in the comment section below, or you can find me on Instagram, Facebook, Pinterest, YouTube and Twitter.
Happy decorating!
xo,
Marian


Thanks so much for the recipe! What brand and type of cocoa powder do you recomnend?
Thanks
Hi Chris,
Depends on where you live, but Hershey’s is nice… really any cocoa powder you generally enjoy the flavour of will work. Happy baking!
Thanks so much for your recipe. What exactly is red food paste coloring? Is there a brand you prefer?
can we do this recipe without the red velvet emulsion? I know it could alter the taste but its hard to find in australia any other options?
thank you
This recipe seems off. Are you sure it’s not 2 sticks of butter (1 cup)? Your recipe says 2 cups which would be 4 sticks of butter.
Hi Jacqueline,
Yes, I use a lot of butter in my cookies. 1 whole pound, 454 grams or 2 cups. It makes a lot of cookies though and is quite tasty in my biased opinion. 😀
I do use a few tricks to help me with making sure the cookies hold their shape, which might be of interest to you:
https://sweetopia.net/2011/04/top-8-tips-on-preventing-cookies-from-spreading/
Happy baking!
Do you use a specific royal icing for your Red Velvet Cut Out Cookie recipe?
Hi Mayra,
I use this recipe:
https://sweetopia.net/2012/01/royal-icing-recipe-free-illustrated-recipe/
What kind of red food paste do you use?
HI Alyce,
I use Americolor or Wilton.
Would you recommend a royal icing flavored with cream cheese or the basic royal icing with vanilla and almond extract?
Hi Mylisa,
Honestly, it’s taste preference, sorry I can’t give you a definitive answer.
Could I use meringue sticks instead of butter?
Would you happen to have a vegan version of the red velvet cookies?
Hi Tina, I’m sorry, I don’t have one yet. All the best finding one and happy holidays!
Can you use food coloring gel or it has to be paste
Hi Samantha, You can use gels or pastes.
Hi Samantha, the food gel is fine.