The Basics of Royal Icing Consistency for Cookie Decorating
You’ve made your icing, using this royal icing recipe and colored it, you’re ready to decorate right? Almost, but not quite. The icing consistency needs to be adjusted for different decorating techniques. It’s key to achieving the results you want with your cookies, and was definitely one of the most frustrating and perplexing things during my early cookie decorating days, so hopefully I can help alleviate that for you from what I’ve learned over time. It definitely is easier with a few key tips!
You will find your favorite consistencies with practice (uses for different consistencies can overlap), but these simple basics should help you get a feel for what you need. I posted my first video on how to find royal icing consistency in February of 2011, please feel free to check it out here (So dated, please be gentle with me, lol). In that video I introduce icing consistency and show the 10-second rule test; essentially dragging the tip of your knife through the surface of your icing and counting the seconds until the icing smoothes over. My favorite consistency to use for multiple decorating purposes at the time was 10 second icing, and today I’m going to briefly go over more icing consistencies and their uses.
It will be a basic overview to get you started, if you’re interested in a more detailed version, I have a digital download with video and notes, here.
How to Figure Out Royal Icing Consistencies
Before I describe the different royal icing consistencies, I’ll mention the basics on thinning and thickening icing quickly first.
Thinning Royal Icing
If you’ve used my royal icing recipe, you will notice that it’s thick once made. You’ll likely need to thin some of it out for various decorating needs. Separate your icing into containers which have lids, according to the colors and amounts you’ll need. If you think you’ll need more or less of one icing, put more or less in that container. Make sure the icing you’re not working with is covered with a lid, plastic wrap or damp towel.
To thin icing, add small amounts of water (about a teaspoon at a time), and mix, to reach your desired consistency. Don’t worry if your icing isn’t perfect right away, you can easily make adjustments at any time during decorating. If you want flood consistency, you’ll notice it takes quite a bit of water to thin it down. Don’t be afraid to add 1/4 cup of water or more to a whole batch in order to get that flood consistency. (But do add small amounts at a time and test, until you reach your desired consistency).
How to Thicken Royal Icing
Add a little bit of thick icing or sifted powdered sugar (about a Tablespoon), to your royal icing, mix and test. Continue adding more until you reach the consistency you’d like. Note that adding icing sugar will lighten the color so you may need to add a little more gel coloring.
Figuring Out the Correct Consistency – Timing Test
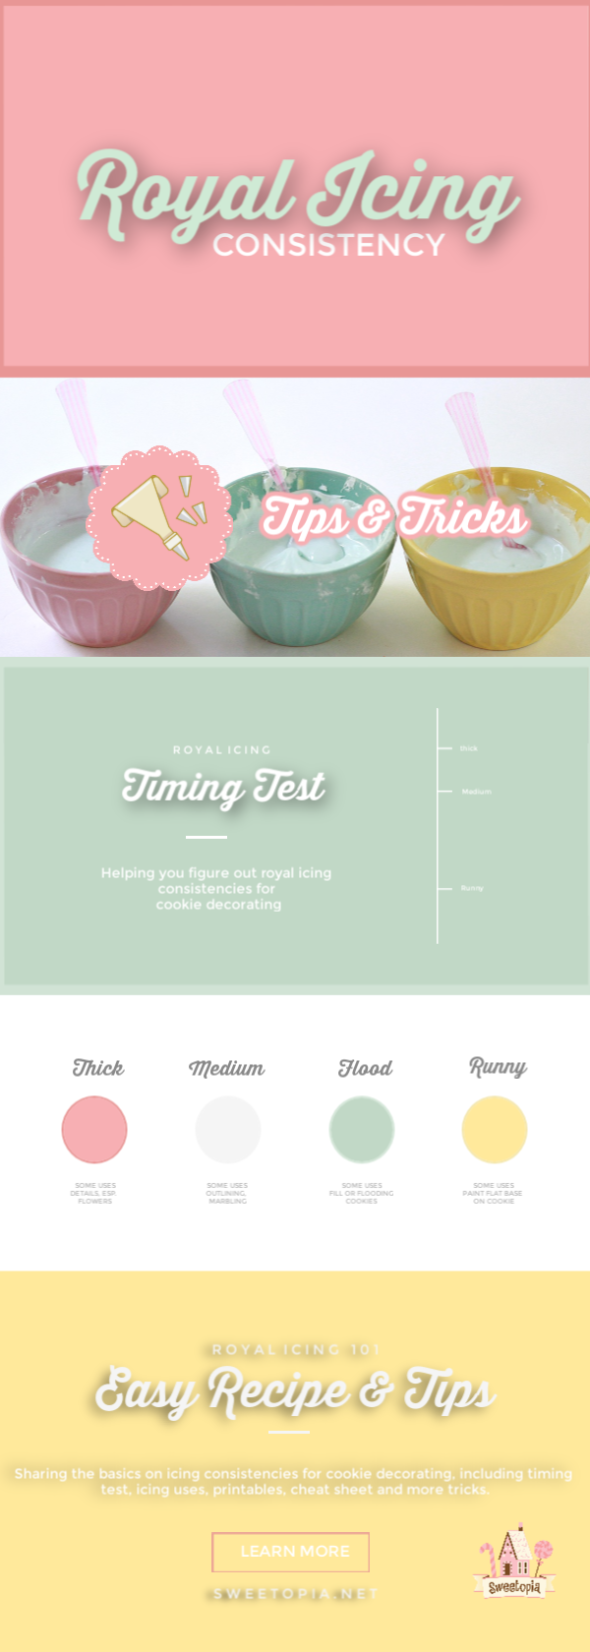
Using a timing test can help you figure out the correct consistency. Drag the tip of a butter knife through the surface of your icing, and see how long it takes for the lines to settle or smooth over or disappear. Or stir the icing with the spoon and let a few icing ribbons drop. Depending on how many seconds it takes for the icing’s surface to smooth over, is a way to categorize or explain the icing consistencies. The number of seconds is called the count for the icing. Every type of icing has its own icing count.
Icing Consistency Counts:
Extra Stiff or Extra Thick Icing: Icing doesn’t flow.
Stiff or Thick Icing: 20-25 seconds to smooth out. Lines will not totally disappear.
Medium Thick Icing: 18-19 seconds to mostly smooth over.
Medium Icing: 15 seconds to settle mainly flat.
Flood Icing: 10 seconds to settle flat.
Runny Icing: 4 seconds to completely disappear.
Royal Icing Consistency Uses
Here are the decorating uses for the different icing consistencies:
Extra Stiff Icing Uses – Flowers, leaves, hair, adhere gingerbread house pieces, 3D details
Thick Icing Uses – Dimension, details, outlining especially larger cookies, lettering, lines, eyes, borders, stencilling, brush embroidery
Medium Thick Icing Uses – puffy look, dimension, both outlining and flooding for medium or small cookies
Medium Uses – Outlining and flooding immediately (especially small to medium cookies), marbling, wet on wet, dots, puffiness, some dimension and details.
Flood Uses – Flooding (especially larger cookies), dipping, marbling, wet on wet, outlining and flooding immediately (especially smaller cookies).
Runny Uses – Brushing on a cookie surface if you want to “paint” a section and not have a puffy base.
Icing Consistency Summary or Cheat Sheet:
HERE IS A PRINTABLE VERSION of the quick reference guide below.
Extra Stiff or Extra Thick Icing: Icing doesn’t flow.
Extra Stiff Icing Uses: Flowers, leaves, hair, adhere gingerbread house pieces, 3D details
Stiff or Thick Icing: 20-25 seconds to smooth out. Lines will not totally disappear.
Stiff or Thick Icing Uses: Dimension, details, outlining especially larger cookies, lettering, lines, eyes, borders, stencilling, brush embroidery
Medium Thick Icing: 18-19 seconds to mostly smooth over.
Medium Thick Icing Uses: Puffy look, dimension, both outlining and flooding for medium or small cookies
Medium Icing: 15 seconds to settle mainly flat.
Medium Uses: Outlining and flooding immediately (especially small to medium cookies), marbling, wet on wet, dots, puffiness, some dimension and details.
Flood Icing: 10 seconds to settle flat.
Flood Uses: Flooding (especially larger cookies), dipping, marbling, wet on wet, outlining and flooding immediately (especially smaller cookies).
Runny Icing: 4 seconds to completely disappear.
Runny Uses: Brushing on a cookie surface if you want to “paint” a section and not have a puffy base.
Simplyfing Royal Icing Consistencies – Tips:
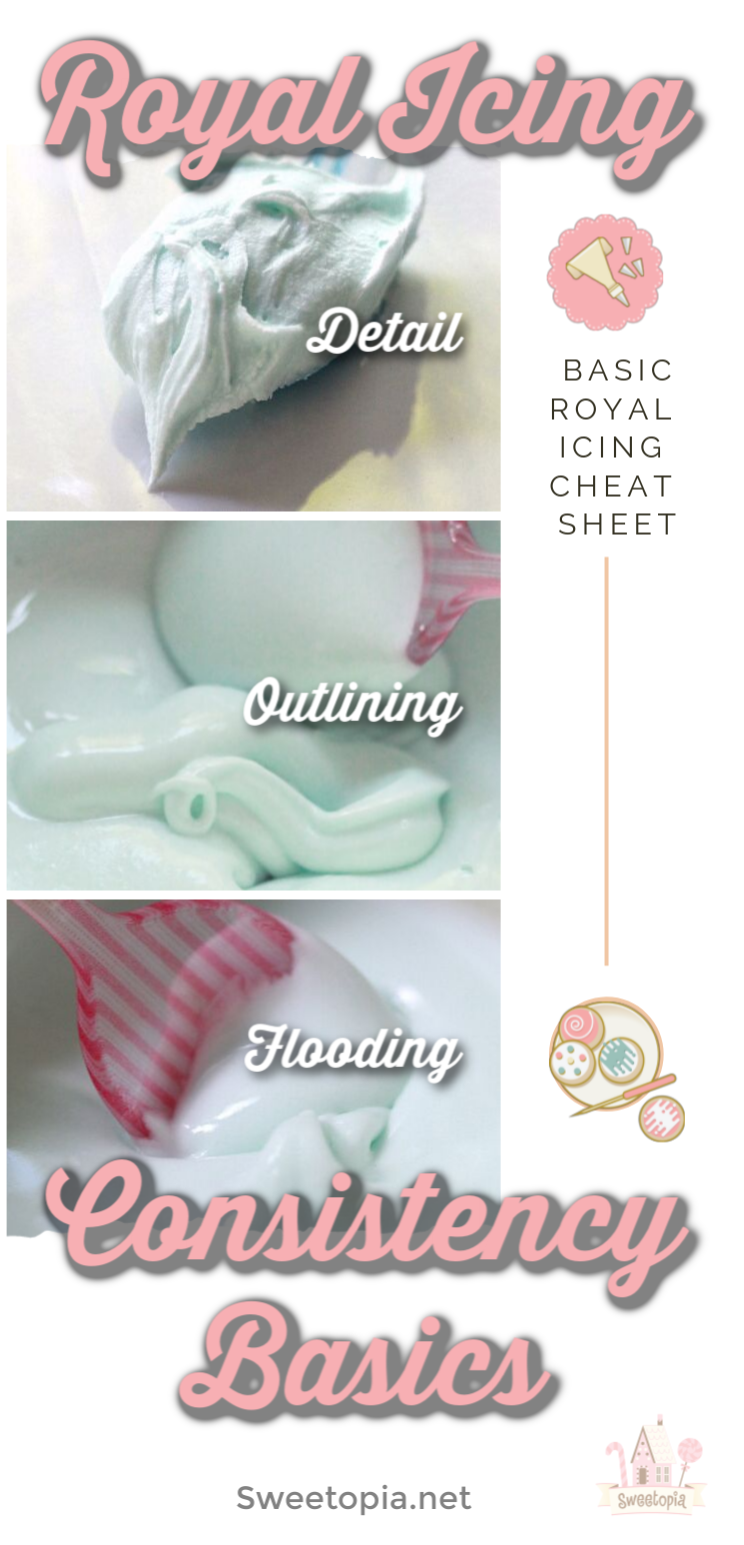
If those consistencies and uses feel confusing to you, using these 3 following consistencies should be more than enough to get you started, decorating almost any beginner to intermediate cookie designs:
- Stiff (Details)
- Medium – Thick (Outlining)
- Flood (Filling)
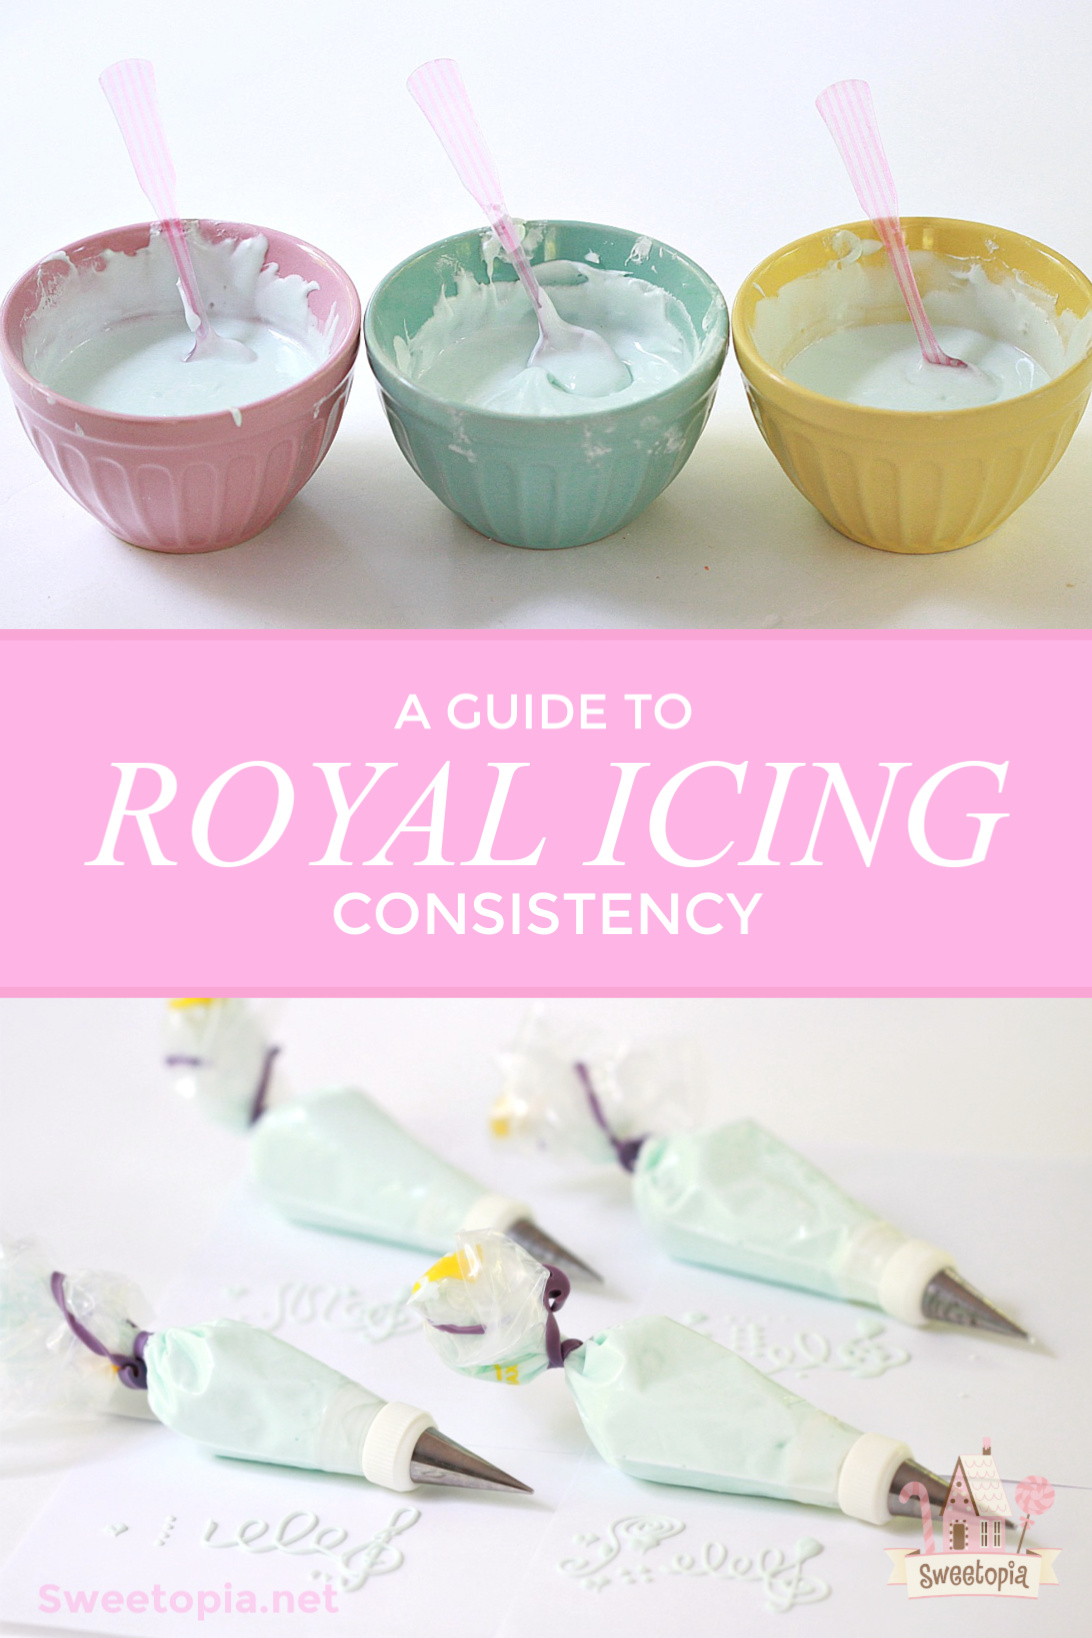
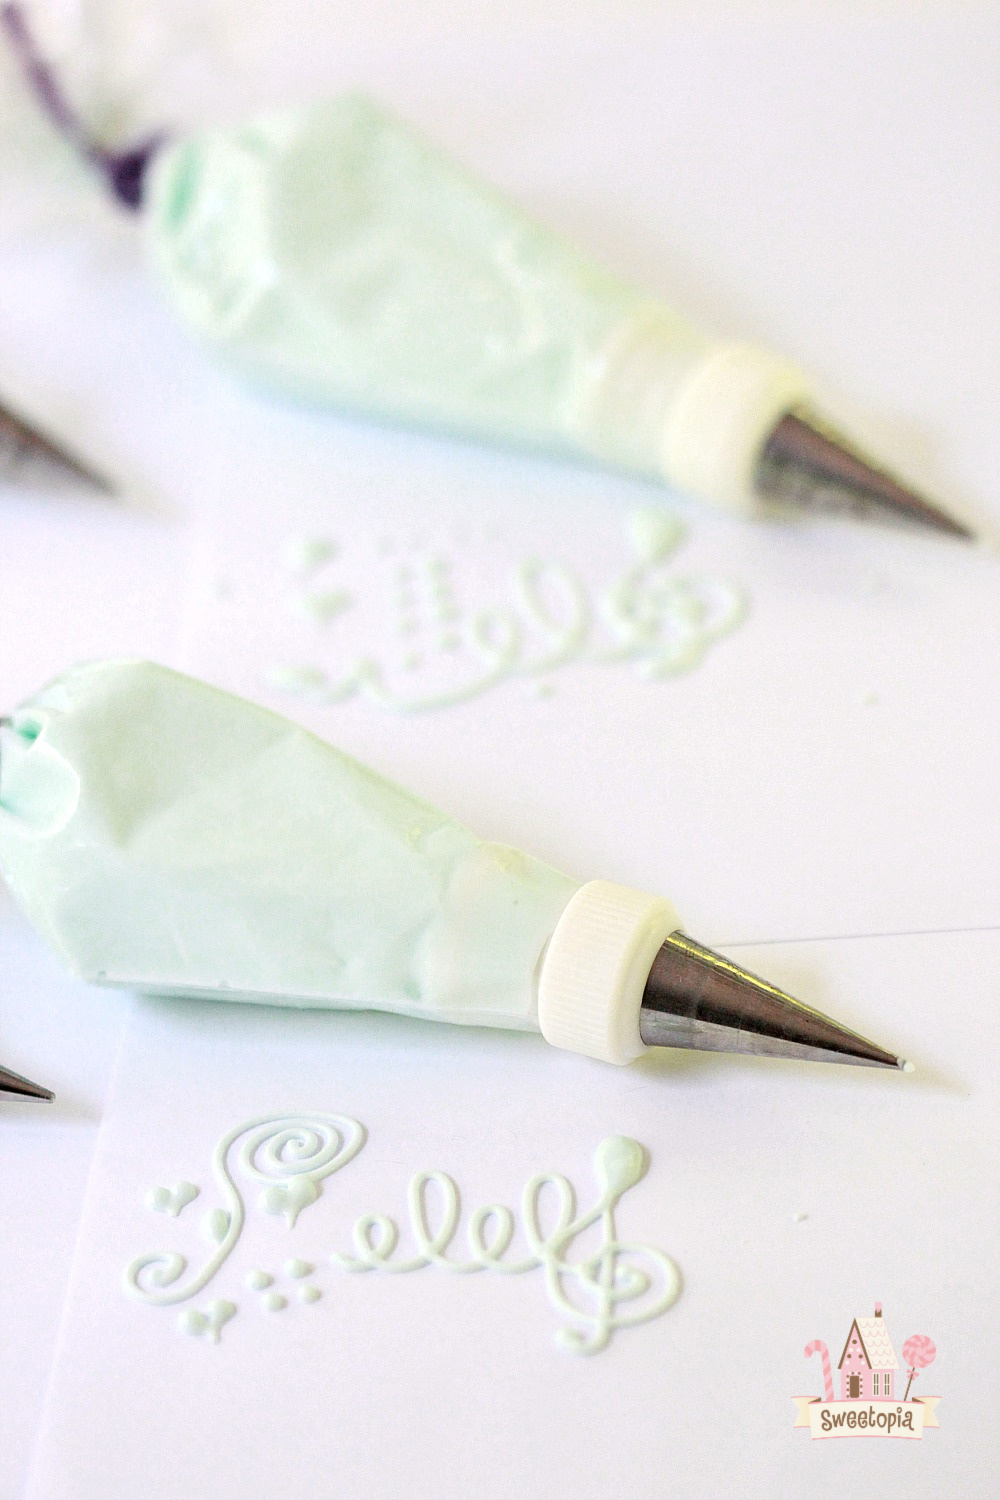
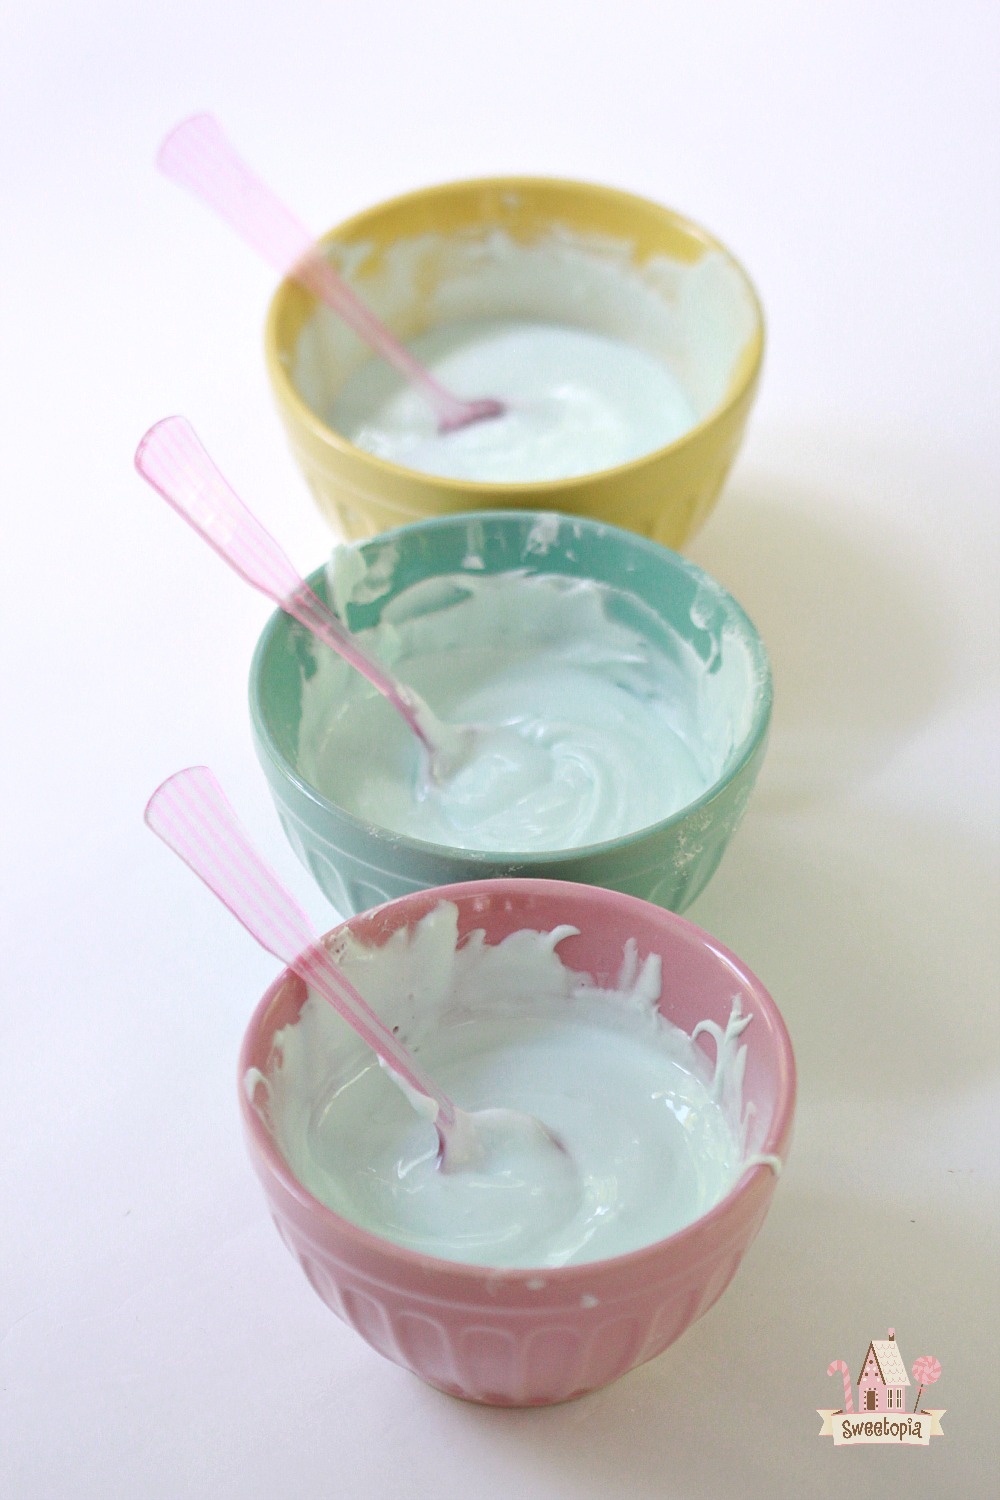
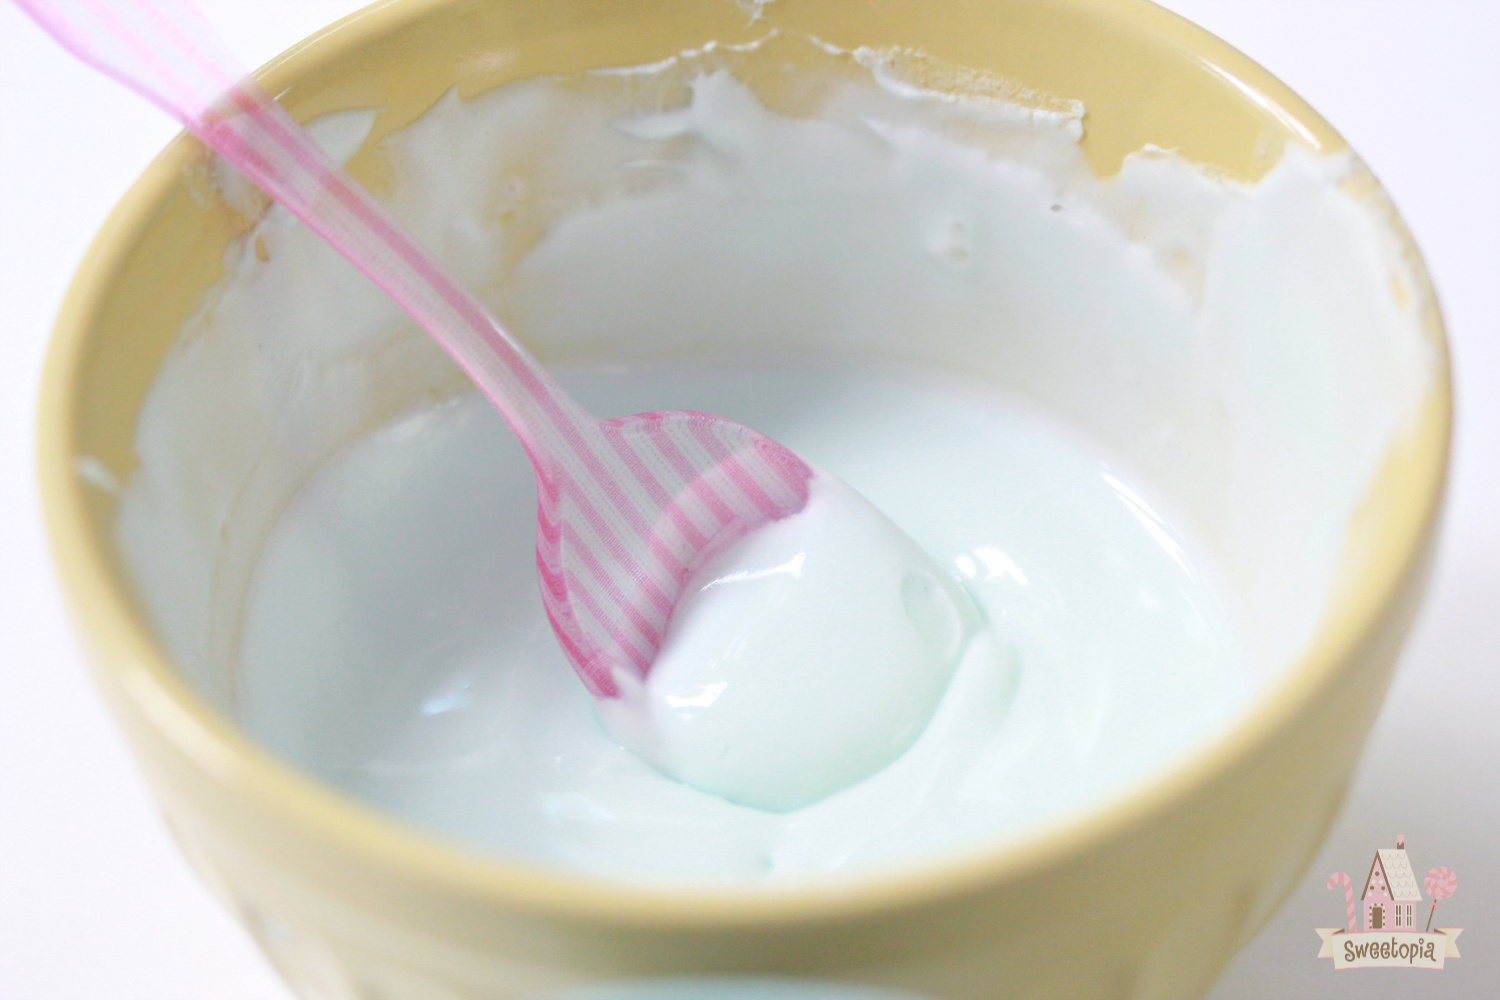
Here’s a little visual for you on the 3 basic royal icing consistencies:
If you don’t want to go too detailed, you could even just use 1 consistency – Medium. It’s great to outline and flood.
I hope you enjoyed this basic guide to royal icing consistency! If you’re interested in a more detailed version or learn best with video, I have a video and notes in a digital download here.
Please feel free to reach out if you have any questions or comments.
Have fun baking and decorating!
xo,
Marian
p.s. You might also be interested in:
Cookie Decorating Tools You’ll Need and How to Fill a Piping Bag



Great information.
Thanks Linda!!
hmmm nice information thanks for sharing with us
Thanks Vishnu!
Hi Marian! thank you for share your Royal Icing tips! I say Hello from Tijuana, México =)
Hi Magui,
Oh nice, thanks for sharing and hello from near Toronto, Canada! 😀
Hello Marian, excellent information, very clear explaination!
Thank you for sharing your knowledge!
ML
Hi Maria,
Thanks so much! xo
What is your recipe you use for the royal icing?
Thanks. Elaine
Hi Elaine,
Here it is; https://sweetopia.net/2012/01/royal-icing-recipe-free-illustrated-recipe/
Help mr Marian! When I fill my decorating bottle with 20 second icing (making sure all ingredients are at room temperature), by the time I’m done I dump the leftover in a container and it has become 5 second icing. It also gets runny as I’m using it. Any suggestions?
Hi Meg,
A few questions for you to help me get an idea of what’s happening:
– What royal icing recipe are you using?
– How long would it take to go from 20 second icing to 5 second icing? (You mentioned, by the time I’m done, but having a time frame might help). A runnier icing does separate over time; see the photo of the piping bag in this post; https://sweetopia.net/2011/01/how-do-you-store-royal-icing-and-how-long-can-you-keep-it/
– Do you always use decorator bottles? (I don’t use them, only piping bags).
– When you mentioned, it gets runny as I’m using it, another time questions… how fast does it get runny? Is that over the period of the day, almost immediately, a few hours etc.?
Thanks! That should help narrow it down a bit.
I always use decorating bottles…wondering if my hands are warming the frosting because I use small amounts. I use 4 cups PS, 5 T meringue powder, 2 tsp vanilla, and 1/2 cup water on med high on a Kitchenaid mixer for 5 minutes. Then I refrigerate until I need it (1-3 days), pull it out and let it come to room temp before coloring then thinning to right consistency. I used your consistency chart so 20 seconds turned into 5 seconds after 2 hours of use. There are other discussions online about this but no explanations or help that I can find!
Hi Meg,
Yes, that could definitely be happening. (The warmth of your hands). I wonder also if the icing separates more rapidly in a bottle due to the shape. The icing does separate over time no matter what, but two hours of use isn’t really long enough.
Are you seeing lots of air bubbles as well? You many not be able to tell through the bottle. I wondered if mixing on high made a difference, but you said you let it sit for 1-3 days, so a lot of the air should be rising to the surface. That being said, not all the air would be released. I always mix only on low, so as not to incorporate more air.
It would be interesting to me to see what happens if you used my RI recipe and switched to piping bags. I know it’s not easy to change once you get comfortable with doing it one way, but if you do try, please do come let me know what the results were. I hope you do! 😀
Maybe silly question – you said the icing could separate…how do you fix this? Put it back in the mixer for a while? Not sure how to recover. I had similar issue as Meg did, left the icing sit, covered, for an hour or so and when I returned it was noticeable runnier than when I left it.
Hi Scott,
Sorry for the delay, had a string of Christmas celebrations. Yes, the icing separates over time, here is a post where I mention it; https://sweetopia.net/2011/01/how-do-you-store-royal-icing-and-how-long-can-you-keep-it/
One of the best things you can do, if it has been sitting for a while, is put it back in a mixer and mix briefly. Ajust the consistency again if needed. You could use a spoon or spatula to mix as well, it just takes a little more elbow grease.
Merry Christmas!
I am definitely going to try your RI ! And, I love your decorating. Have already started using your edging technique instead of using dots ! Looking forward to finding more trick and tips watching your work ! Thanks
Thank you for your royal icing recipe (I used the one with meringue powder, cream of tartar and a tsp of clear vanilla). I’m new at this, my first time. I followed the illustrated recipe exactly. My icing in the mixer after 10 minutes was extremely fluffy and stiff. I tried adding water a bit at a time, but after 3 tbsp I thought I was stuck. Went ahead and filled the piping bags and tried to use. It was still extremely stiff and would not smooth out at all. Tried using a toothpick like you suggested, but could not get the icing to flood and become smooth. Did I mix too long? I mixed for the whole 10 minutes on the lowest speed. Should I have continued to add more water into the mixer to make it runnier? So confused. I have an anniversary party I’m helping soon to decorate cookies and would love your input. Thank you.
Hi Denise,
You got it, yes, you need to add more water until it reaches a smoother consistency. My icing is fluffy and stiff at first, you got that right too. I always water it down unless I need stiff icing for details, such as hair or flowers. Don’t be afraid to add more water, and please be encouraged, as this is your first time. 🙂 Happy to help if you have more questions.
Another question please. I enjoyed your video of the unicorn cookies. Is there a metallic gold gel food coloring that you can add to the royal icing, or do you have to buy the metallic gold food paint and paint on the metallic look once your icing is set? Thank you.
Hi Denise,
I paint on a food paint; I would recommend this one; https://amzn.to/2Mr5Ae6
Wait until the royal icing has completely dried before painting it on. There are also instructions in the description area on Amazon as to how to use it. Hope that helps!
Hi! First timer here 🙂 trying to make cookies for my daughter’s first birthday in a couple months… I made my first test batch the other day and found that the outline + flooding did not mix together. More specifically, you could tell that I had outlined it. I hope that makes sense. Any tips?
Hi there Kayleigh,
Did you use the same icing to outline and flood? If yes, try outlining and flooding immediately. The icing will have to be thick enough so that it holds its shape, instead of running off the sides of the cookie. This video may help; https://sweetopia.net/2012/02/video-how-to-outline-and-flood-cookies-with-royal-icing/
What a blessing to find this terrific tutorial. It is exactly what I have been hoping to understand and I’m just so grateful to you for it. ❤
Help. How do you get the icing on the piping bag without making a huge mess? Also how do you stop it from flowing out the tip?
Ate egg whites better than mergine powder? And does cream of tarter help?
I’m trying so hard and this frosting is driving me nuts.
Hi Staci,
Here is a video on how you can put the icing in the piping bag; https://sweetopia.net/2011/05/video-cookie-decorating-tools-how-to-fill-a-piping-bag/
Before you put icing in the bag, twist the bag just above the coupler, or, push some of the piping bag inside the coupler just long enough to fill it.
Once icing is in the bag and you’re RE-filling it, I just fill the bag above the icing container, to contain the flowing icing from the tip.
I like meringue powder better, personal preference. Cream of tartar helps stabilize the icing (makes it dry or set faster for example).
Hope that helps! xo
Great sharing… helps me a lot with the tips❤️
Thank you!