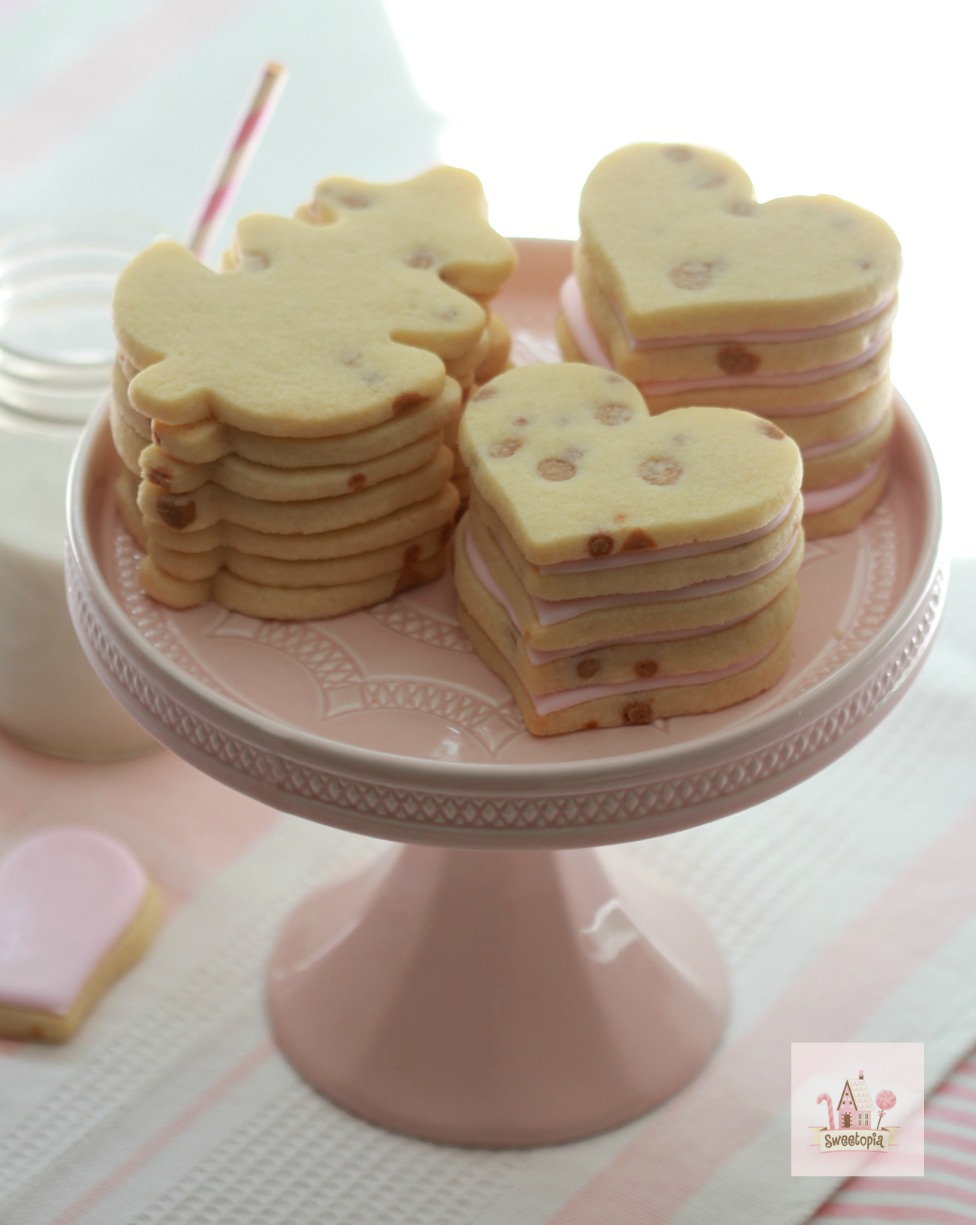
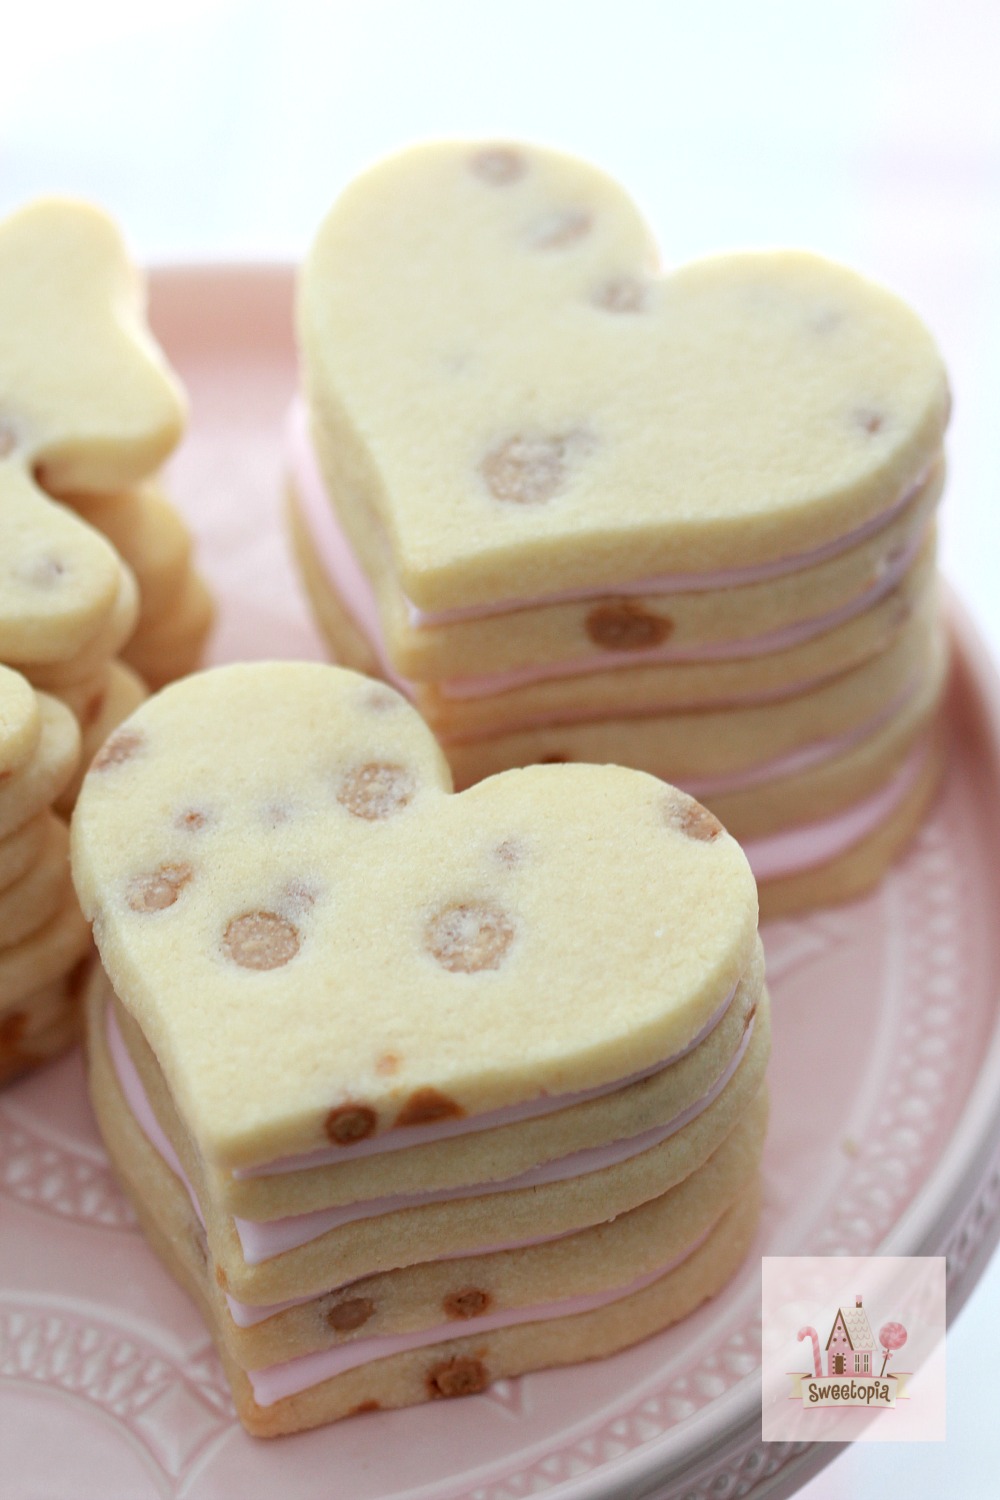
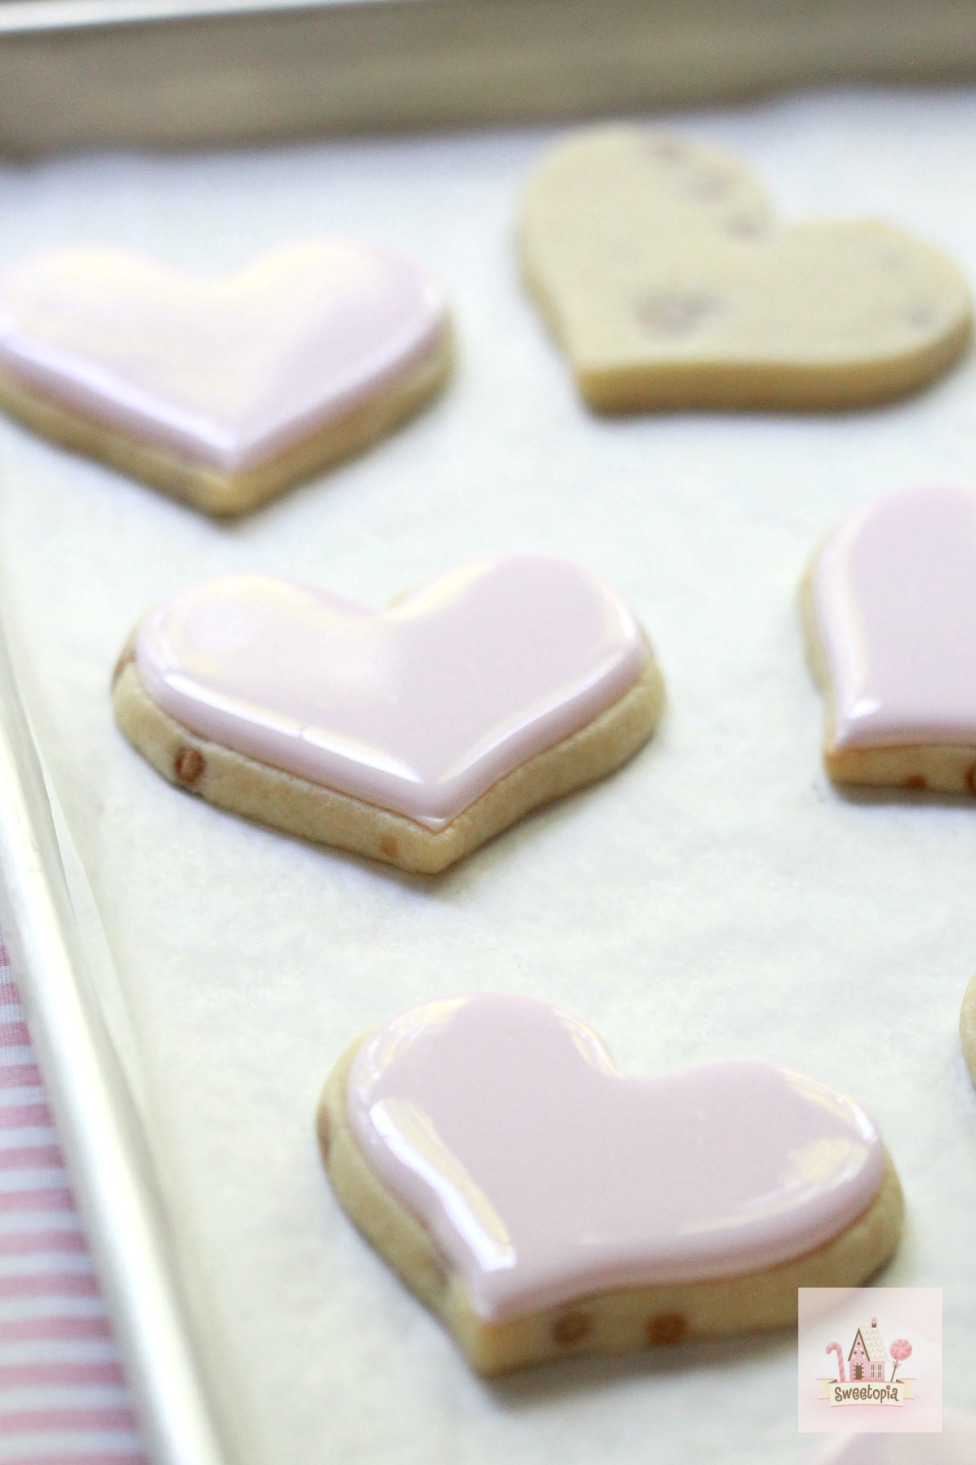
Oh my goodness, it was hard to stop snacking on these! They’re so delicious with a creamy caramel flavor and that hint of a sweet and salty combination. Yum! I would even go so far as to say that they’re my favorite roll out cookie recipe yet, with the classic sugar cookie and chocolate cut out cookies a tie for second. The lemon poppyseed and peanut butter cut outs are also close, depending on what mood I’m in. Enough of that though, on to what you’re here for, the recipe and the how-to video! I will say that I’ve shared some of my time-saving and cookie preparation secrets in the video process, I hope they help you! Happy baking!
Caramel Cut Out Cookie Recipe Video
Click here if you can’t see the video.
Caramel Cut Out Cookie Recipe
See notes at the bottom of the post regarding caramel crispearls and caramel oil.
Caramel Cut Out Cookie Recipe
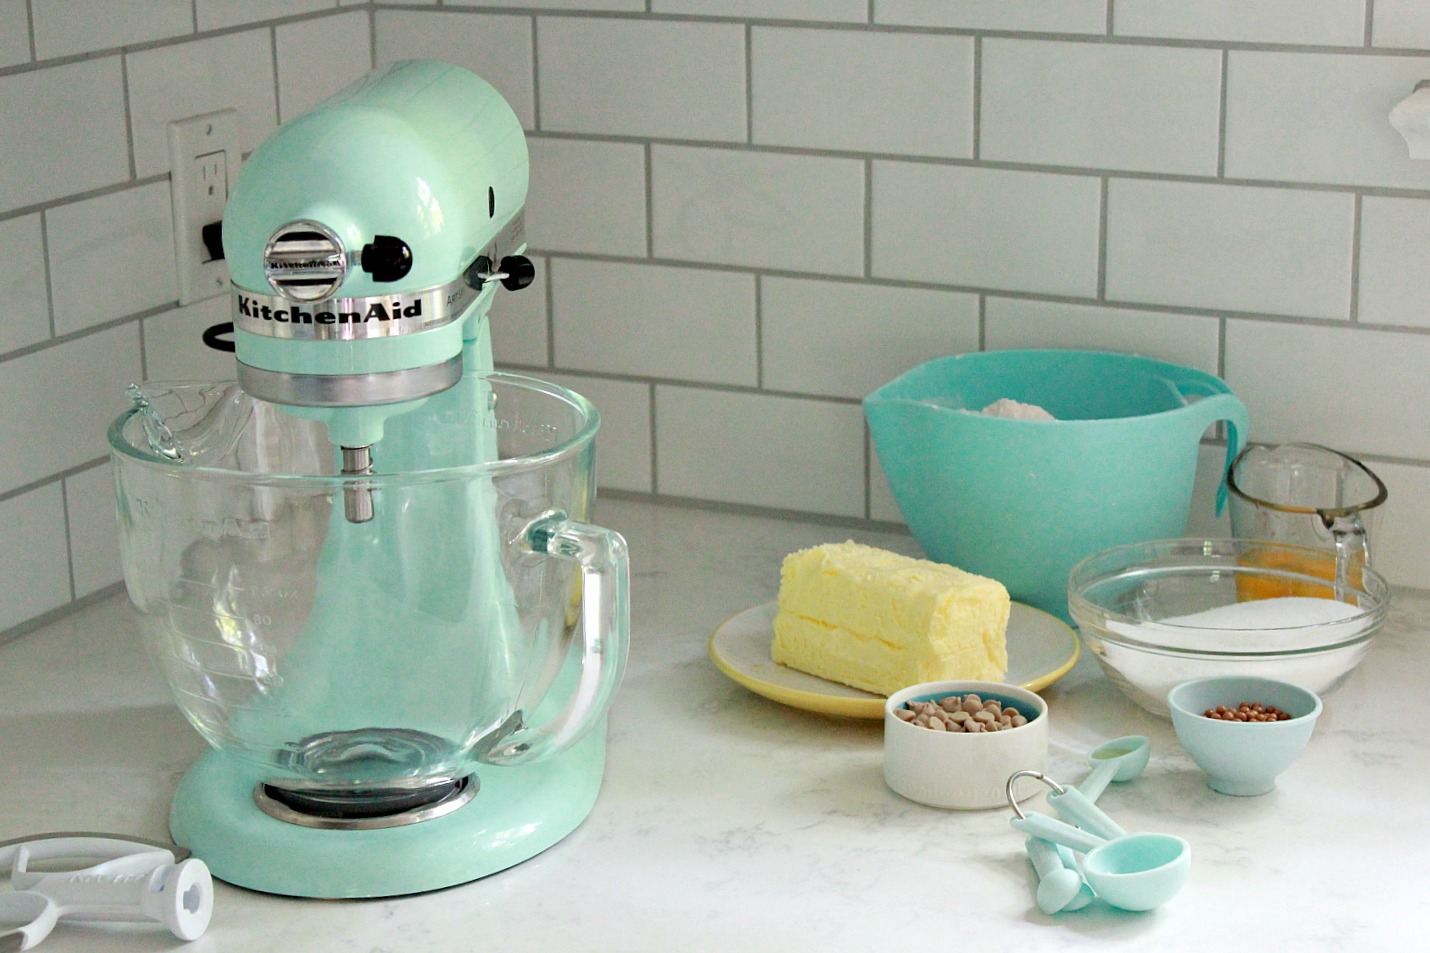
Ingredients
- 2 cups salted butter (at room temperature)
- 2 cups granulated sugar
- 2 large eggs
- 1 tsp caramel flavoring oil
- 5 cups all-purpose flour
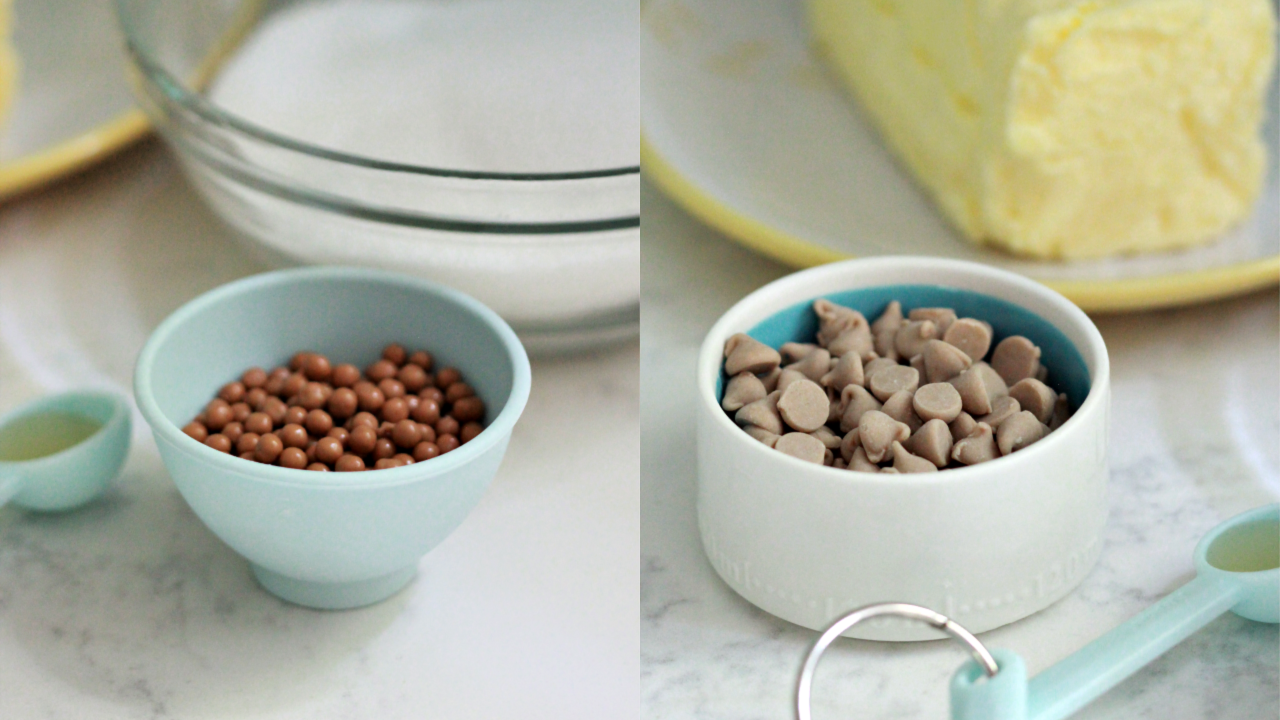
- 1/2 cup caramel chips
- 1/4 cup caramel crispearls
Instructions
- Cream the butter and sugar together in the bowl of an electric mixer on low speed. (Use the paddle attachment). Mix until incorporated - for about 30 seconds. Scrape down the sides of the bowl with a plastic spatula and mix again for a few seconds more. Over mixing the butter and sugar in this step will cause too much air to be incorporated into the dough. If you'd like a light and fluffy cookie, that's ideal, however the dough will spread more during baking; not ideal if you'd like the cookie to hold its shape.
- Add eggs and caramel flavoring slowly and mix. Scrape down the bowl with your spatula if needed and mix again.
- Add all of the flour to the bowl. Place a large tea towel between the edge of the bowl and the electric mixer so that the flour won't escape. Mix on low speed for 30 seconds. Remove the tea towel and observe the dough mixing; when it starts to come together add the caramel chips and caramel crispearls and mix until the dough clumps around the paddle attachment. The dough should peel away from the sides of the mixer and clump around the paddle attachment. You can also test the dough by pinching it between your thumb and index finger. If it’s soft but not sticky, it’s just right. If it’s too sticky when you pinch it between your fingers, add flour, ¼ cup at a time, and mix until you’re happy with the texture. There are various reasons why a dough can be too dry or too sticky, ranging from humidity in the environment, to what kind of flour you use, the fat content of the butter etc., however, there are ways to fix the issues if you run into them. Already mentioned, add flour if your dough is too sticky, and if it’s too dry, make sure you’ve mixed it as best as you can first, and if it’s still too dry, add a little water or milk until your dough comes together.
- Roll the dough out between 2 large pieces of parchment paper. Place on a baking sheet and into the fridge or freezer for a minimum of 1 hour.
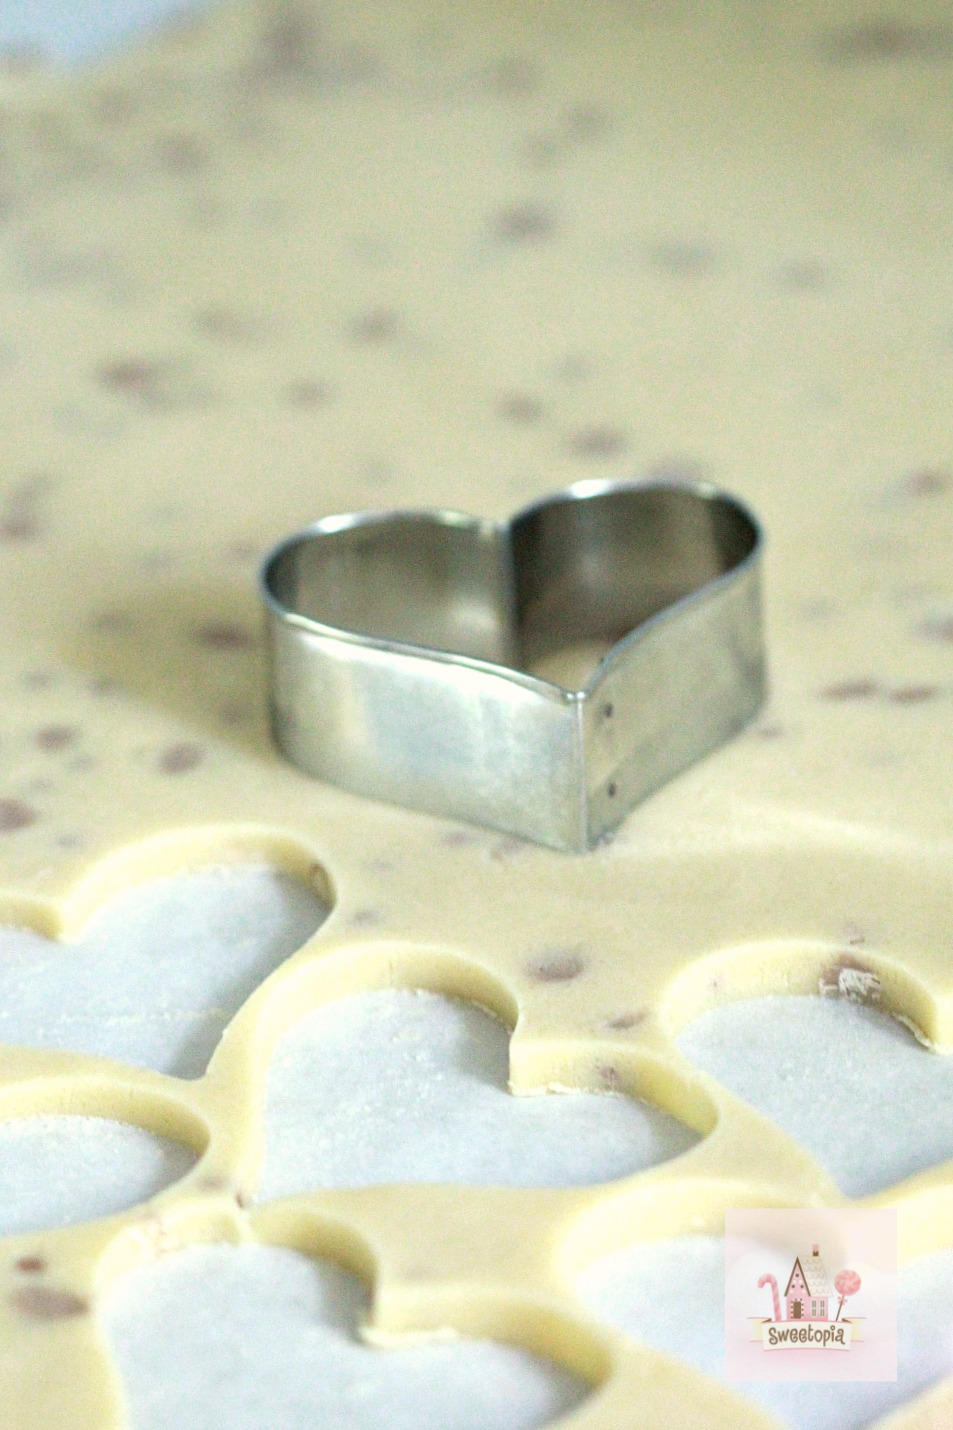
- Cut out cookie shapes. Place on parchment paper-lined baking sheets. Re-roll scraps and repeat. If your dough gets too soft to work with, place in the fridge or freezer periodically to firm up again.
- Once all cut out, put cookie dough shapes back into the fridge or freezer for 10 minutes to 1 hour to chill again. They will then hold their shape better when baked.
- Preheat your oven to 350°F or 176°C.
- Bake cookies for 8-12 minutes or until the edges become golden brown. The baking time will depend on the size of your cookie.
- Let cookies cool to room temperature and decorate if you like! If you’re new to decorating cookies, here is a cookie decorating tutorial with everything you’ll need to know to begin!
Notes
Tools Used:
As promised in the video, below is a list of all the tools I used (You should know I am an Amazon affiliate, which means I get a small percent of the sales made through my links, at no cost to you. Thank you for your support!):
- KitchenAid mixer
- glass KitchenAid mixing bowl
- paddle attachment
- spatula
- large sheets parchment paper (16 by 24 inches)
- rolling pin
- large baking sheet (18 by 24 inches)
- small baking sheet (9 by 13 inches)
- spacers or guides
- heart cookie cutter
- leaf cookie cutter (in photo)
- cookie spatula
Royal Icing Recipe
If you’d like to decorate your cookies with royal icing, here is my go-to recipe. You could also pair with caramel royal icing.
Notes:
If you can’t find the caramel crispearls, you can substitute with caramel chips. The crispearls are delicious, but are pricey. The recipe is still so yummy without them, not to worry if you don’t use them!
The caramel oil is important for the flavor, and you can add more if you’d like an enhanced caramel taste.
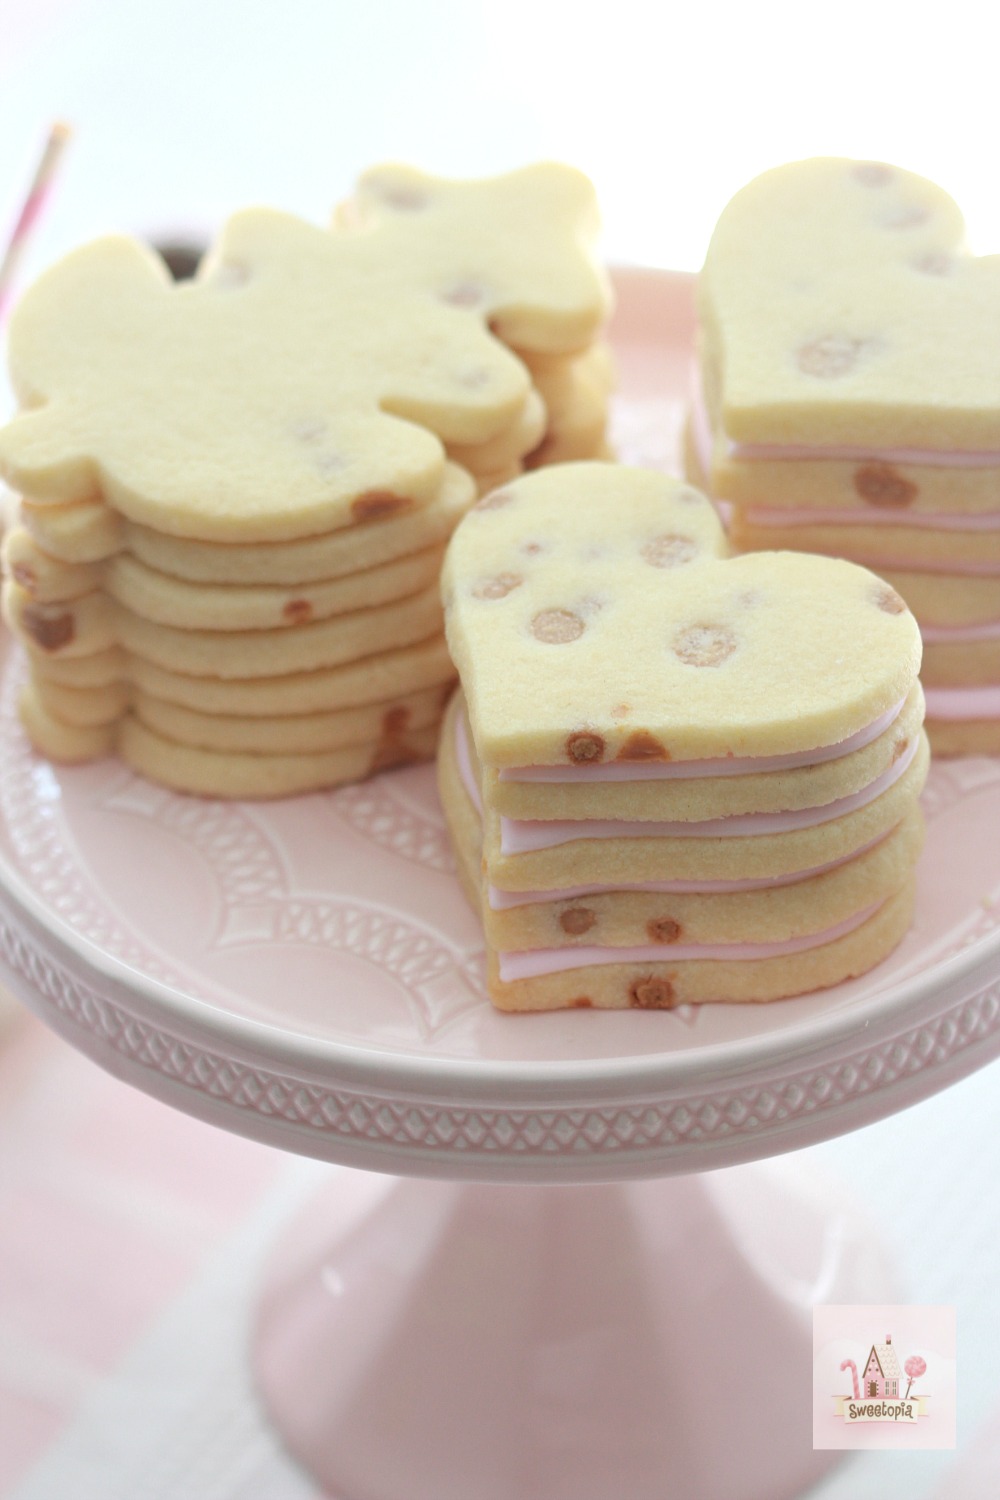
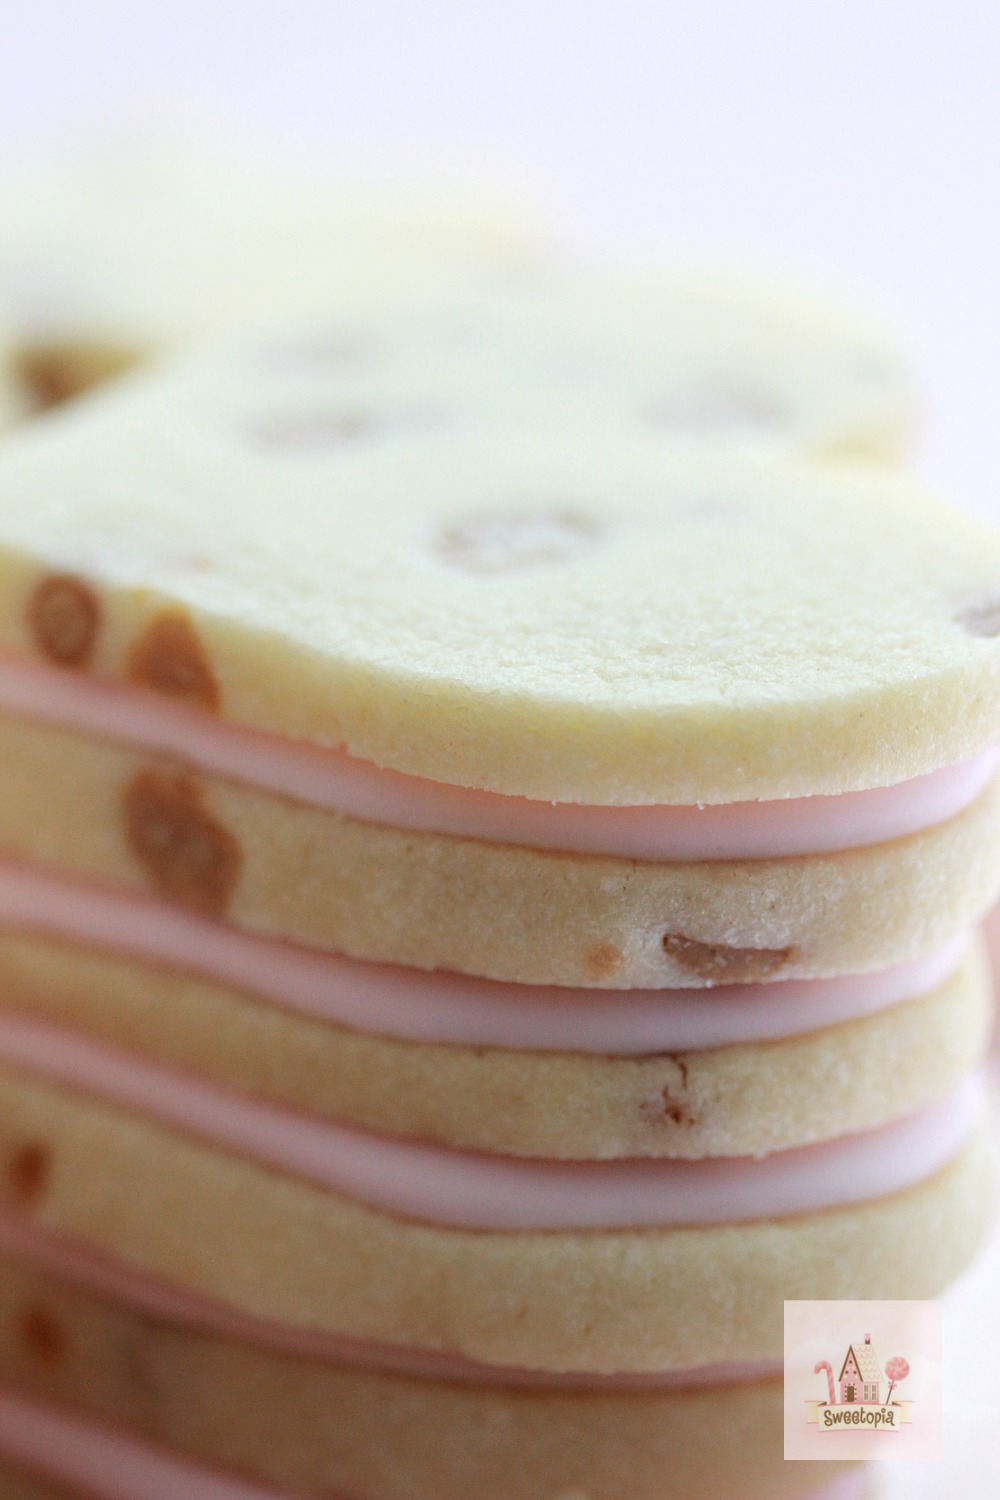
One thing I’ll note about rolling out the cookie dough in this video; I should have used rolling pin spacers or guides to make my dough perfectly even. You can tell in the photos that my cookies aren’t all the same thickness. Next time!
If you have any questions or comments please feel free to drop me a line below in the comment section or on social media. You can find me on Facebook, Instagram, Pinterest, Twitter and YouTube.
I also have a FAQ section here and a glossary of terms here in case you’re new to decorating.
Happy baking!
xo,
Marian



Can’t wait to try these! Very lovely video btw…the music was so relaxing I could have watched for hours!
Thanks Ema! Enjoy making these and would love to hear your feedback!
Dear Marian, very good explained video, must be a delicious recipe! Love how you teach and give away your talents and expertise! I will have to try making it myself!
Love your blog!
ML
Thank you!!! xoo
Happy Wednesday, Marian 🙂
I LOVE this STEP BY STEP Video!! It makes it much easier for people who are just starting out on cookie baking/decorating. Thank you for always being so detailed/accurate, for the good of others 🙂
Those cookies look very nomnom too 😀
Love,
Niner
Hi Niner,
Thank you for commenting and for your kind words!! xo
These were DELICIOUS. So glad I found this recipe on pinterest. I didn’t have the crispearls I just used caramel bits and instead of the icing I just put a bit of sea salt on top before baking but it’s so good even without that. I think we have a new addiction. My mom asked me this morning when I’m making more… I just made them last night! Thank you for sharing this tasty recipe!
I’m so glad to hear it Ricki, thanks for sharing!
Where did you get the caramel chips?
Hi Patt,
I’ve provided an amazon link but you can likely get them at the grocery store in the baking aisle.