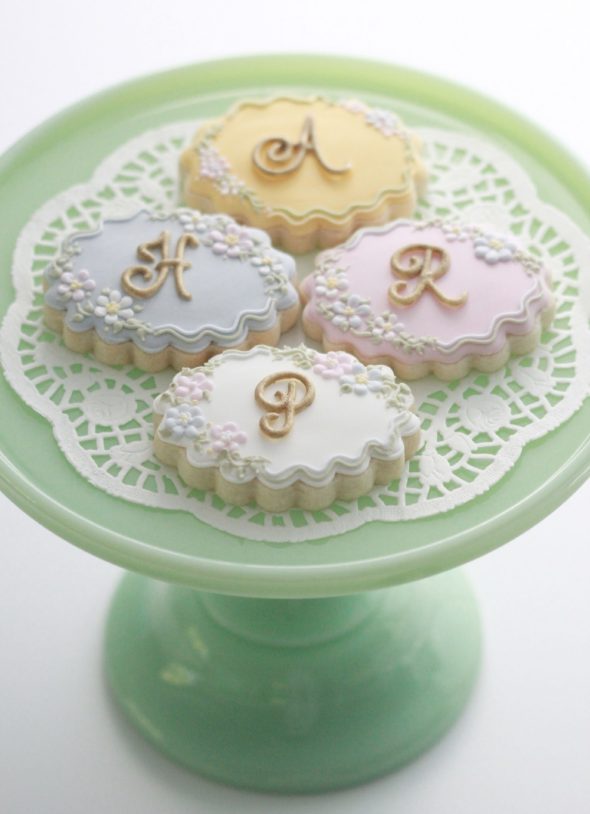
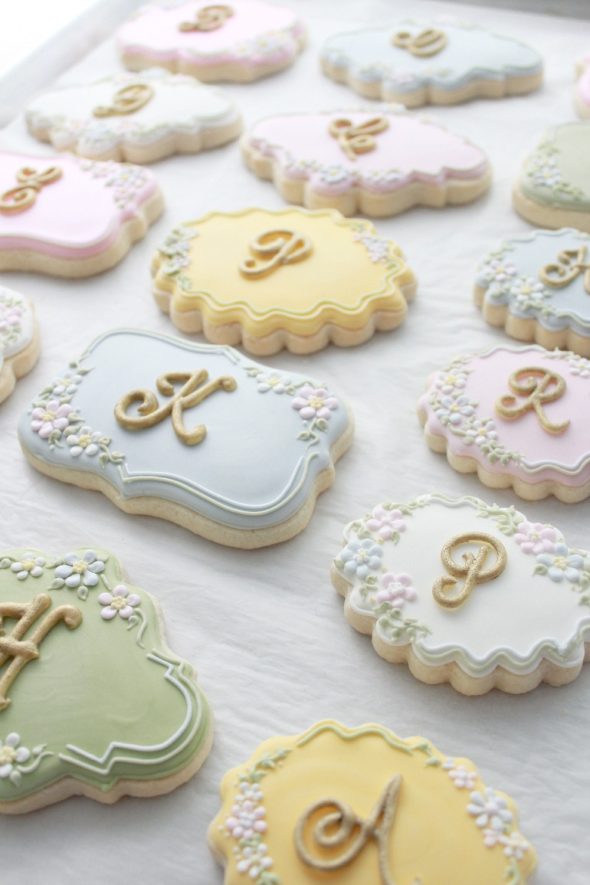
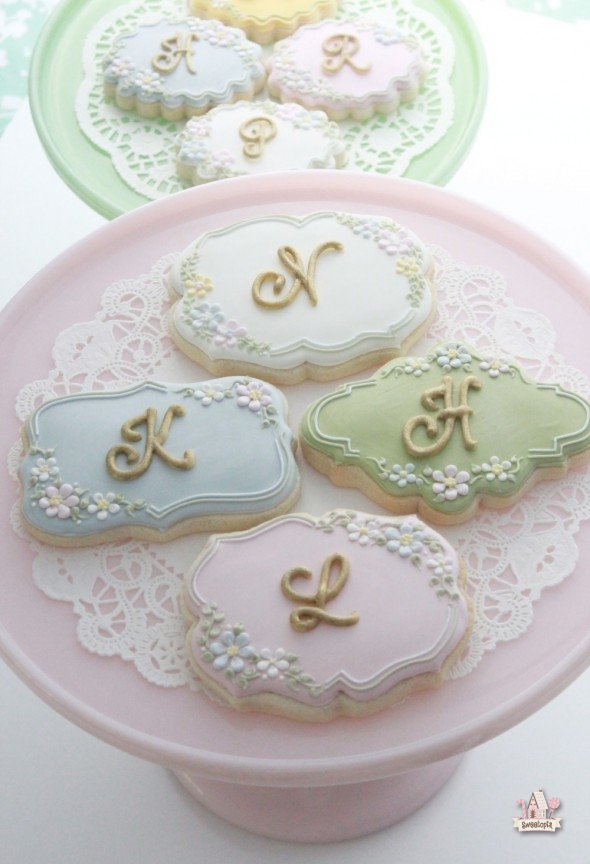
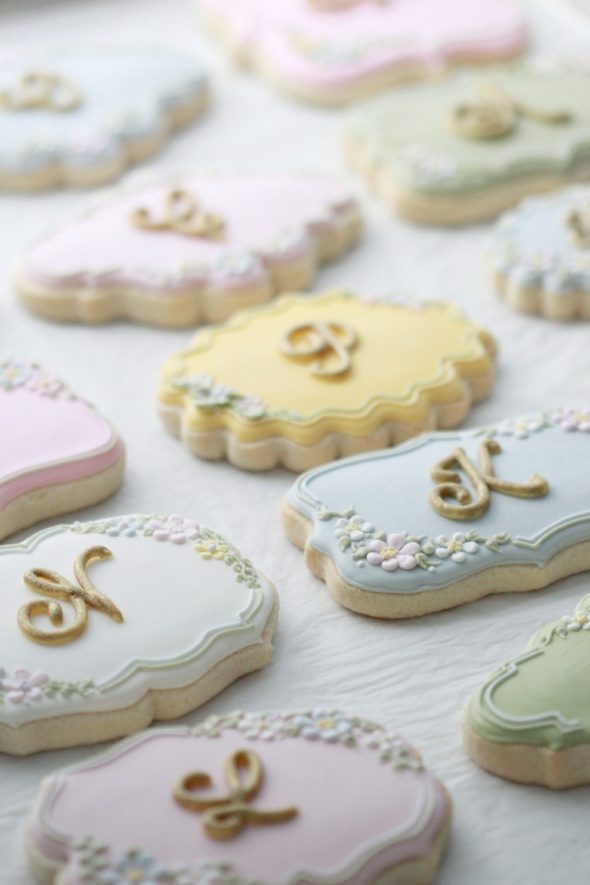
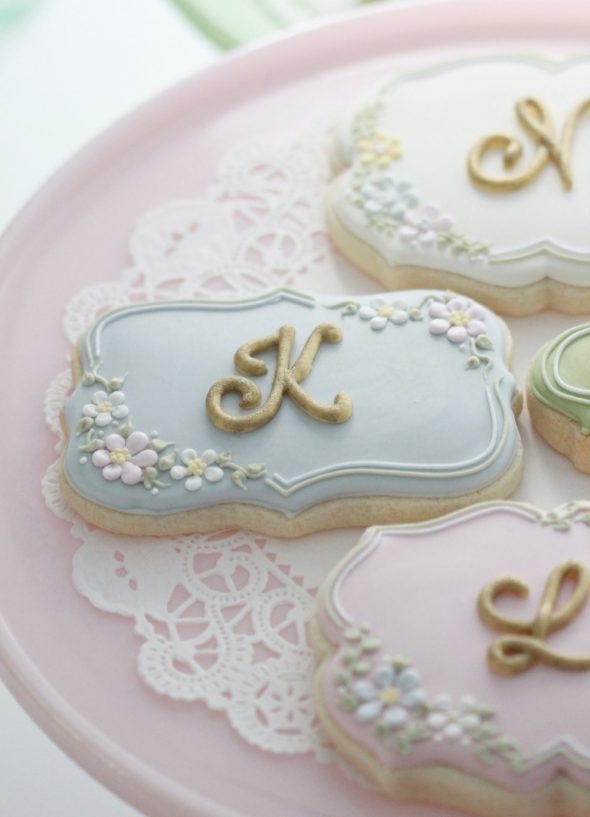
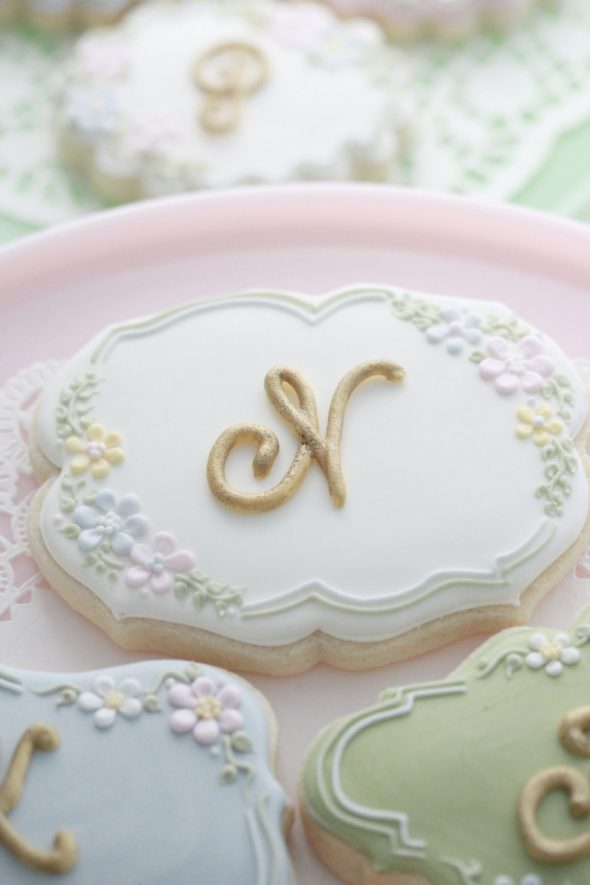
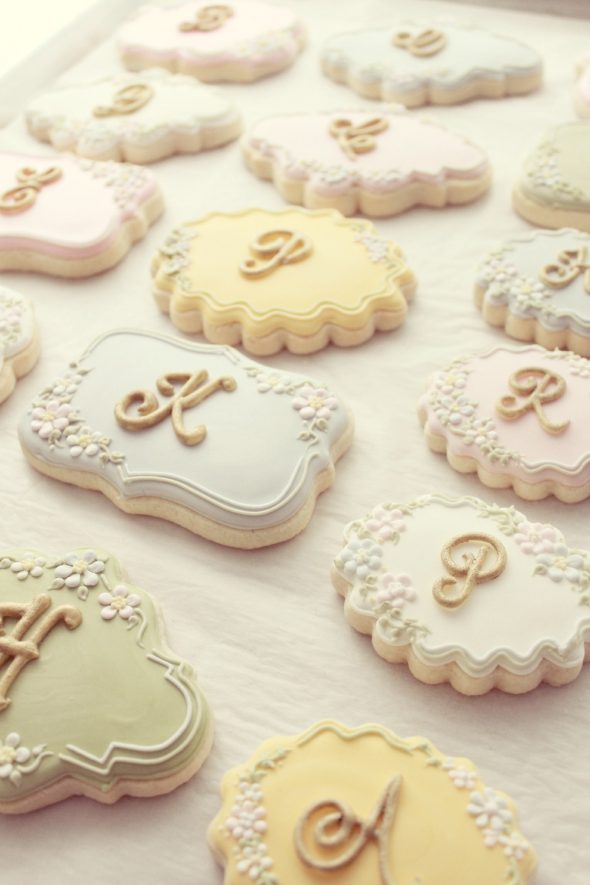
Happy Monday! Hope you had a great weekend enjoying the fall (spring for some of you) sunshine! I definitely made sure to get out even for a short while each day to enjoy the fall colors in the forest nearby – so magical! That combined with cookie decorating and some other commitments this weekend means the laundry didn’t get finished, but I’ll take that in order to get some cookie decorating in any weekend. I’m especially looking forward to this week because I’ll be secretly delivering these cookies to different people… leaving them in their mailboxes at work and popping a few in the neighbours mailboxes. None of these people follow me here (as far as I know), although a few will be able to put two and two together I think, but it’ll be random Monday surprises for them. As much enjoyment as I get from decorating the cookies it’s even more fun to give them away!
If you’d like to make these too, the techniques aren’t difficult, and I’ll share the how-to steps below.
It was these cookies by Icing Land (Instagram), which inspired me to attempt my own version. They ended up being almost copied, including a similar color scheme – I just loved their design so much! Please check them out on Facebook as well; their cookies are so creative and gorgeous!
*
How to Make Lettered Cookies
Sugar Cookie Dough
You can find the recipe for the dough here. If you’d like to try chocolate sugar cookies or another recipe, all my cookie recipes can be found here. The plaque cookie cutters are from Coppergifts.com.
Royal Icing
You can find my favorite royal icing recipe here. The consistency of icing is key for easy decorating. Click here to see a YouTube video on finding the right icing thickness. Here are more videos on outlining and flooding etc., if you need some tips on those basics.
What you’ll need:
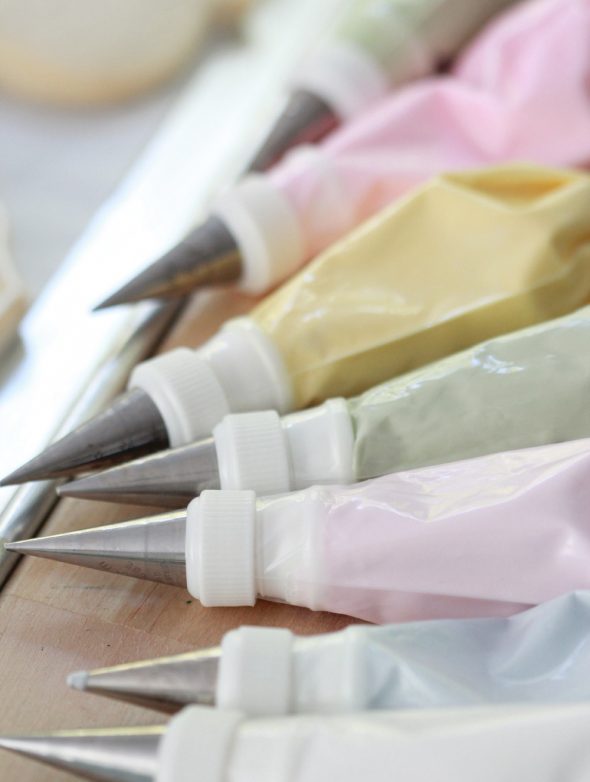
- Piping Tips
(#1.5, #2, #3)
- Piping Bags
- Couplers
- Gold Pearl Dust
(FDA approved)
- Paintbrush used for luster dust
- Gel paste colors – I used Wilton’s Buttercup Yellow, Delphinium Blue, Juniper, Aster Mauve
and Americolor Deep Pink
- Parchment Paper
or Transparency Sheets
- Shortening
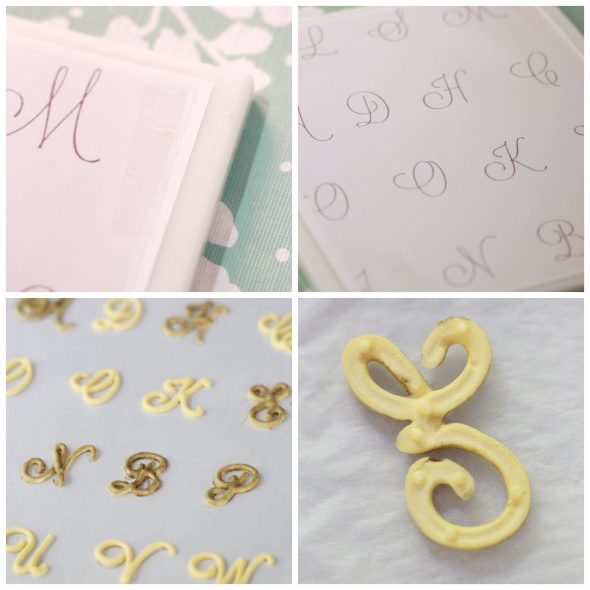
- Print caligraphy letters of your choice (I used Lavandaria)
Instructions:
Step One:
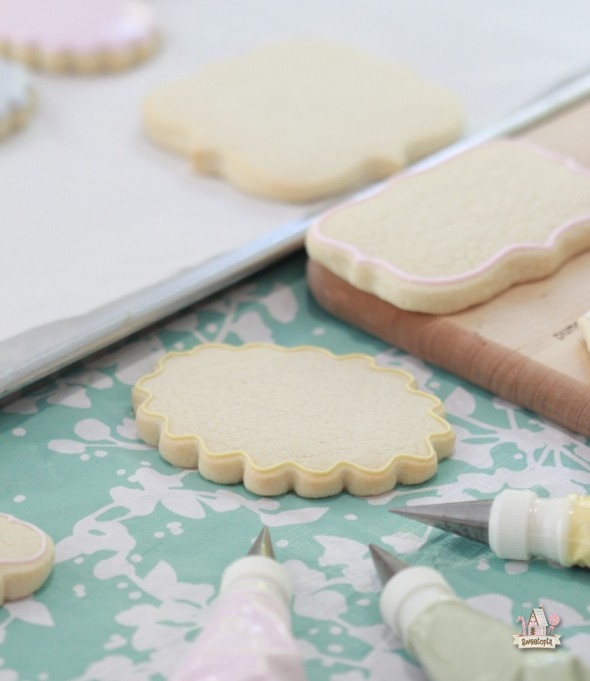
Using a #3 piping tip , outline the cookies shape with royal icing. For detailed decorating tips, this tutorial may be helpful for you.
Step Two:
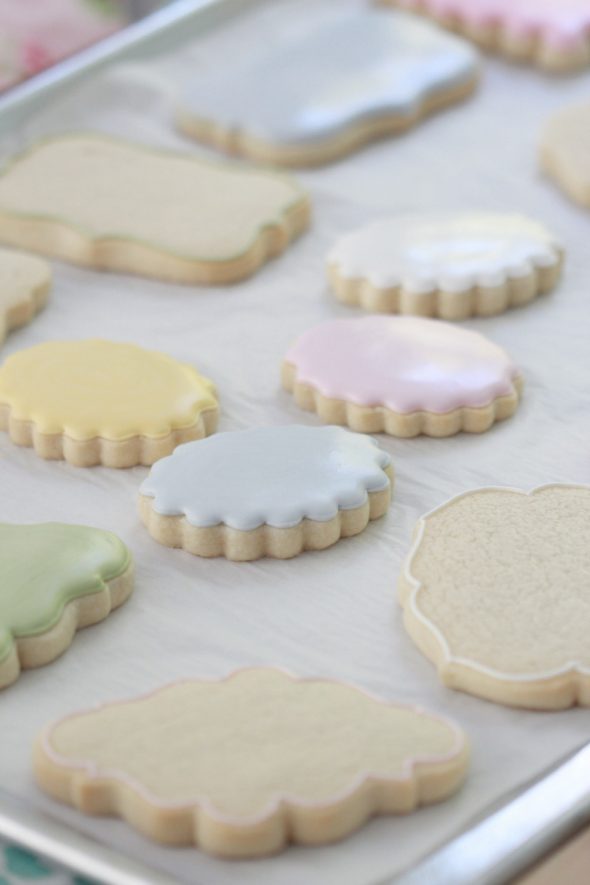
With the same icing, flood, or fill in your shape. I generally outline and flood right away, but these were larger cookies so needed a dry outline to hold all the icing in.
Step Three:
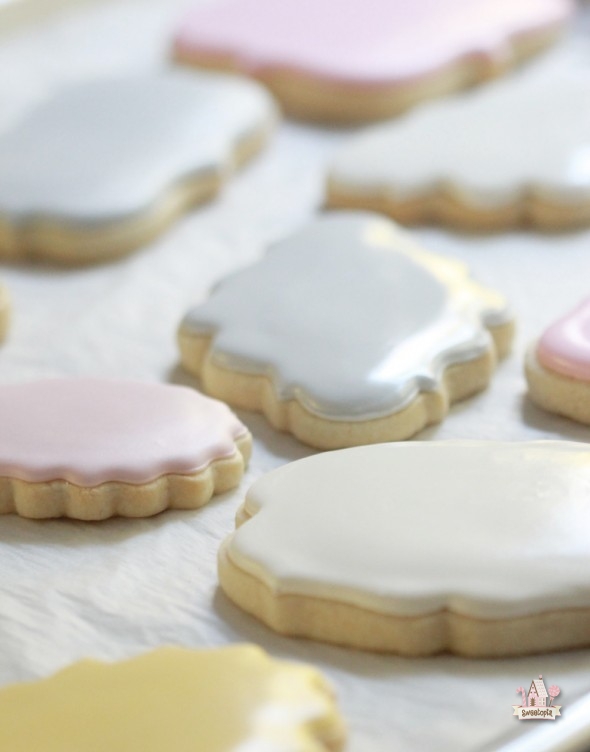
Let the base dry for at least 6-12 hours. While you’re letting the bases dry, make your royal icing letter transfers. You could also use a Kopykake Projector to project your letters and simply trace them onto your cookie. If you’re new to decorating cookies and don’t recognize some terms, like transfers or transparencies, I have a glossary for you here.
Step Four:
Make the royal icing transfers. To make these letters, simply pipe royal icing onto a transparency sheet (or parchment paper), lightly greased with shortening, and let the icing dry for 6-24 hours. Peel away carefully and you have a royal icing decoration.
Here are a few videos & tutorials where I’ve shown how to make royal icing transfers:
{Video} How to Make Daisy Cookies
How to Do Royal Icing Floodwork or Runouts
I’ve showed the beginning steps of the letters on Instagram below. I layered the icing to make thicker letters. A thin line of icing will break too easily once dry, so make your letters about as wide as you see pictured. After a few layered letters I changed the piping tip to a #3 to speed up the process. You might want to use a tip #2 if your cookies are smaller.
A few notes for you… I used double-sided tape to tape my paper down onto my gum paste board. Use a hard book if you don’t have this board. Because the letters are delicate make extras in case they break! Also, chose an icing color as your base which is similar to the luster dust color you’ll be using.
Step Five:
Let the letters dry for a minimum of 6-12 hours and then brush lightly with a mixture of gold luster dust and water. Try not to use too much water or tiny pits in the royal icing will form. I’m a little short on my gold luster dust so tried to stretch it a bit with more water so these letters aren’t a thick coat of gold.
Step Six:
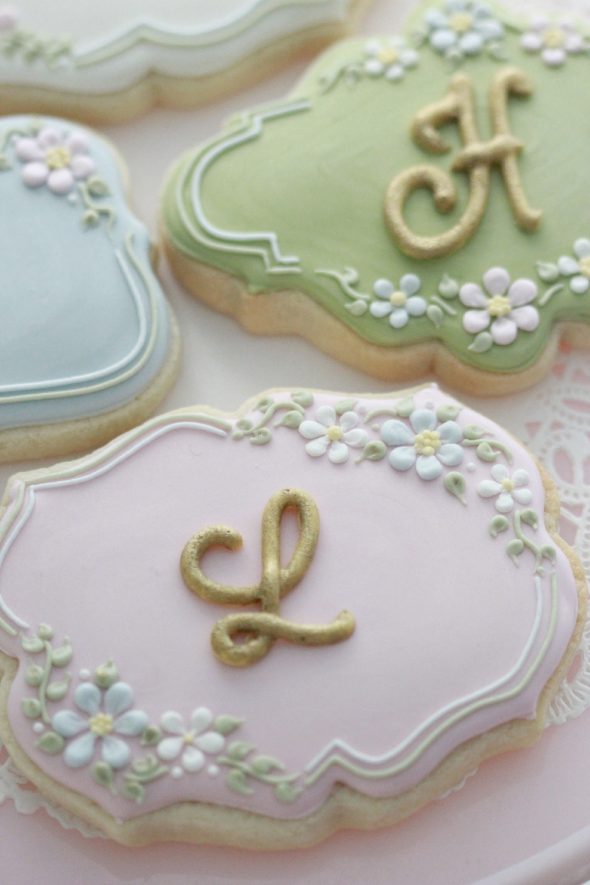
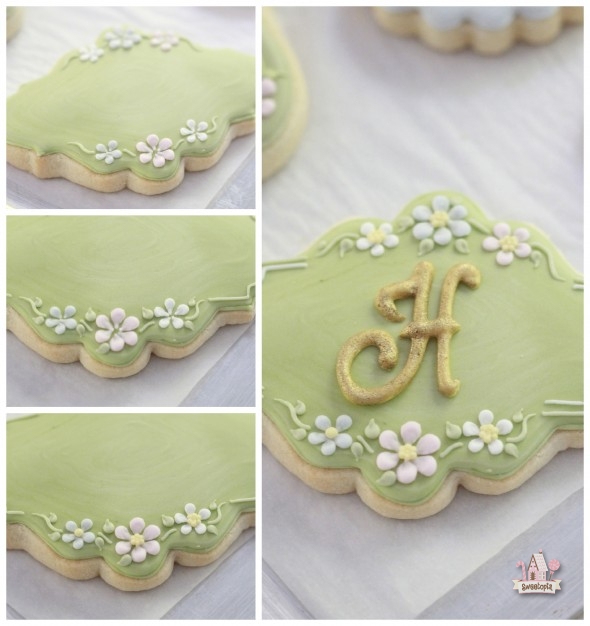
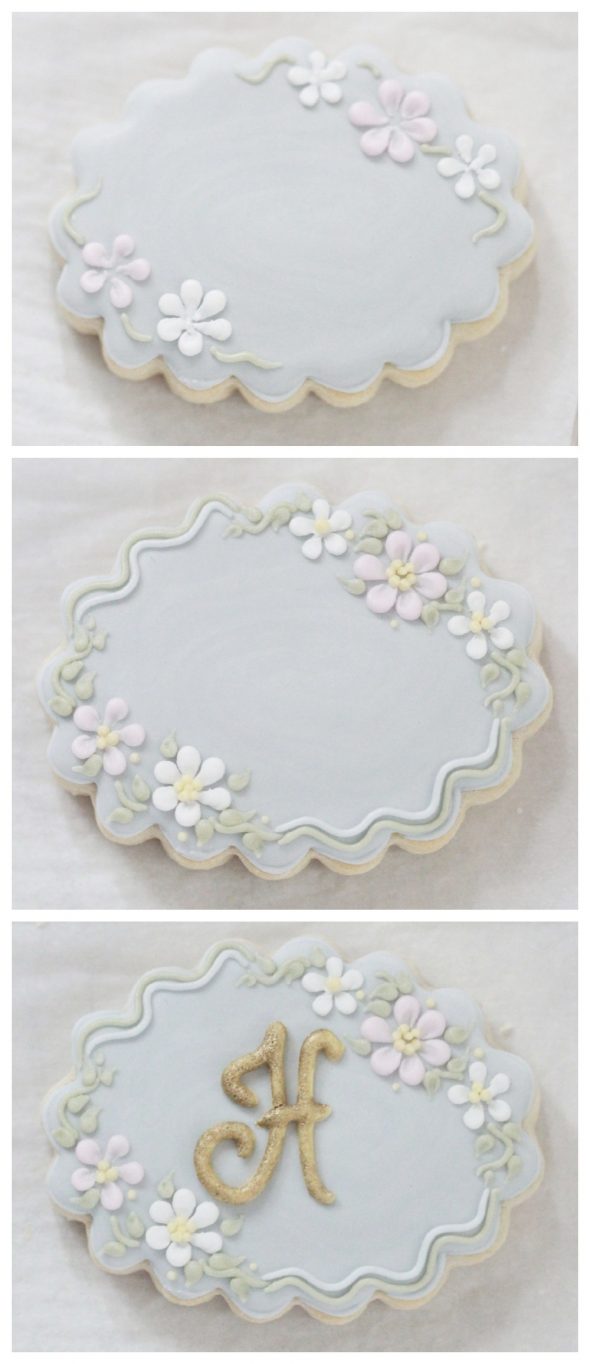
Thicken your royal icing colors with more powdered sugar, so that if you dip a spoon into the icing, it will stand straight up. Pipe royal icing flowers, vines and leaves onto your dried base. Adhere letter transfer to cookie with tiny dabs of icing (photo above).
Have fun playing around with different flower patterns and lines!
Let the flowers dry for a few hours and you’re done!
If you have any questions or comments please feel free to drop me a line below in the comment section or on social media. You can find me on Facebook, Google+, Instagram, Pinterest, Twitter and YouTube.
Thank you for your feedback on the woodland cookies from last week! I’ll be doing a tutorial on those soon.
Happy decorating!
xo,
Marian
p.s. I love playing around with photo filters… This one seems to suit this cookie theme… couldn’t resist adding it.



Wow, such beautiful cookies, Marian!! Love them all! I’m sure you are going to make happy a lot of people ^_^
Thank you so much! You comment here on my blog often, and I appreciate your visits! xoxo
Happy Monday, Marian!
Absolutely love that cookie theme, oh wow, this is totally my style, shapes, colors, etc.. PERFECT!
Like I already mentioned on Instagram, I love the name Icing Land, this is so cute and their work is amazing! I can definitely tell why these cookies caught your eye.
Awesome tutorial, sweetie!!
Thanks so much for this sweet, new blogpost. Can’t wait for more! <3
xoxo..
niner
Hi Niner,
I know, such a cute name (Icingland)! Thanks for commenting sweet girl. xo
As usual…beautiful! And I love that font…do you happen to have the name?
Thanks Elizabeth! I used the font Lavandaria, and have now added a link to it in the “Things you’ll need” section.
These are beautiful! I hope to try these for a dear friend’s 100th birthday in November.
Your friends are going to be delighted when they visit their mailboxes today! These are just beautiful.
hello, and thank you for all the amazing and beautiful tutorial you share with us, just one question please, which cookie cutter you use for this one?
What is a gumpaste board exactly??? Can you get them in the U.S.? Are they the same as the green gumpaste boards that are only sold in the U.K.? What is the difference between a gum paste board and a regular cutting board?
Thank you for your always wonderful tutorials and your generosity in sharing your wealth of knowledge with all of us. We so appreciate it.
Oh Marian, these are simply gorgeous! I love the colors, the letters, the flowers – just everything about them. Thank you for sharing your beautiful creations. You’re always such an inspiration!
wow…wonderful creative work. You have put so much time into it! They are gorgeous. Thank you for all your efforts, and sharing all your talents with us. Have a great Monday and a super week. Your friends are lucky to know you!
ML
Oh Marian, you are such an artist. You have elevated the simple to the sublime. Have I told you lately how much you make me smile?
Love, love, love! Will try to make these for my mother’s upcoming birthday. Thanks and have a great Monday!
Wow, these are spectacular! You make it sound so easy, but I know mine could never be so beautiful! 🙂 I love the filter, too.
I can’t tell you how much I enjoy your work! These are just beautiful! I also appreciate how you share your work and your willingness to teach so many of us! Thank you!
I also love how hearing how you enjoy giving away your cookies! I feel the same way! What a sweet joy!
Thank you!
Beeeeautiful!
Do you happen to have tutorial on those adorable lil flowers?
You’re a never ending source of inspiration.
Can’t wait to try these.
Hi Marian,
Nice work, missed you this year at the Baking and Sweets Show:)
Your cookies are so dainty and pretty. Would make a lovely gift. Thank you for sharing your amazing talent.
Thanks for sharing…these cookies are so beautiful and delicate.
I am very happy that I stumbled onto your site. I adore baking…it brings out my inner child. Food happens to be my language of love and I enjoy sharing treats with anyone who crosses my path. I plan on trying these cookies this weekend. I am not much of a decorator but I believe your shared knowledge will be extremely helpful…FINGERS CROSSED! Thank you for sharing your special talent!
Blessings to you! Ann
Marianna, I love all Your cookies. You are fantastic and I absolutely have to do these wonderful cookies. Thanks so much for Your tutorial
Marian, Not Marianna, sorry
Hi Marian,
I love the elegance of these cookies and have to make them, they are beautiful! I have a quesion about the letters, how many layers of icing did you use and rather than layer the icing can you just use a larger tip to pipe them? Also, which tip did you use for the flowers and leaves? Wishing you a happy 2015! Louise
Hi Louise,
Thanks for your comments! I forgot to mention that I changed my tip to a #3 after a while because the process was too slow (at first I thought a larger tip might not look neat but it turned out okay), but have added that into the tutorial now. For the flowers and leaves I believe I used tip #2 for the petals and 1.5 for the leaves, lines and flower centers.
Happy 2015 as well!
Hi Marian!
question: I am getting ready to get that royal icing out of the fridge and it just occurred to me! looking at your (WONDERFUL I might add!!!!!) photos above I see your bags appear to have about 1-1 1/2? cups in each?
I’m (going to try haha) trying to make these colors, oh it could just MARRY your cookies they are so adorable, but I digress. 😉
I just wondered how much I start with to outline and flood? I have about 15 cookies different sizes and they’re 1/4 inch thick. oh! and btw- I just LOVE how you just add a bit more powdered sugar to the first batch of icing to get that stiffer icing for the flowers and leaves!! so clever, only making “one bag of color” instead of two separate bags of stiff & flood! because I was getting SCARED thinking about how many bags I was gonna have in front of me until I reread through your post again and caught your trick! love it!
ok!!! how much you got in your bags to start?
thanks so much!!!! (hey- I didn’t proofread- don’t judge)
😉
Michele
Hi Michele,
I normally put 3 heaping spoonfuls in each piping bag. If I’m using a color which I know I’ll hardly need, I’ll put one spoonful in. I hope that helps and I hope you have lots of fun decorating!
Hi Marian. Sooo pretty! Question: doesn’t the water (mixed with luster dust) dissolve the RI letters?
Yes, it does if there is too much liquid. I try to make it quite a thick mixture so that the water doesn’t create water craters on the royal icing transfer.
Hi Marian:
These are beautiful. Any chance you if you are making them again to do a video. I would love to see how you form the flower petals etc. They must take a long time to decorate!
Hi Christine,
Thanks so much! I do have these on my video “to do” list. It’s a matter of time (I’m sorry it might take a while).
Hi Marian,
Your cookies are just beautiful. Can you explain how you made the flowers and leaves? Or do you have a tutorial? Also, your icing colors are perfect – I seem to have trouble making these shades. Mine become too dark too fast. Even with one drop from the Americolor bottles.
Thanks for sharing your talent!!
Victoria
These cookies are so beautiful as all you do. What is the fonts name you use, Ty
Lovely work…will become frequent here 🙂
Hi! Everytime i make these letters – they break coming off the wax paper. Out of a dozen i only one or two that stays intact. How do you get the letters to ‘hold’?
Hi Val,
Definitely, they are delicate. One thing which could help is making them thicker (maybe a #3 tip if you haven’t already). It could also be the way you’re removing them from the paper. Try bringing the parchment paper (or wax paper or acetate paper), to the edge of your table, and peel the paper away from the transfer instead of the transfer away from the paper, if that makes sense. I hope that helps!
Ohhhhh Its so.beautiful. Thank you for sharing. I love all you do. Lot of hugs…
Constanza
Marian – Thank you for replying! Yes, i used a #3 tip, in fact some of my letters where a very ‘thick’ font, just so that the letters would be easier to take off the wax paper. Yes i used the ‘edge’ of the table trick. I think i shall try to let them dry longer. Last time i waited at least 24 hours and they still cracked. 🙁
Hi Val,
Hmmm. Try putting a dehumidifier on in the room. Also, my favorite “base” is acetate or transparency sheets covered with a light coating of shortening… Here is a post with an example; https://sweetopia.net/2011/01/valentines-love-cupcakes/ and a video as well:
https://sweetopia.net/2011/04/video-how-to-make-daisy-cookies-with-a-little-help-from-a-kopykake-projector/
Let me know how it goes!
p.s. and yes a little bit longer would be good… make sure they’re bone dry! 😉
Hi Marian! I love all your work especially these lettered cookies. I want to make them exactly how you did… u love them exactly how they are!! Can you tell me which style plaque and size for each cookie cutters from copper gifts? And how do I use the LOST TYPE FONT Web sit, do I pay ??? Thank you!
Hello, might you please tell me what tips you used to make the tiny flowers on the monogram cookies? Thank you.
Que galletas más bonitas!!! Me han encantado.
Una duda, las flores las haces con glasa??
Es que quería hacerles unas galletas así para las bodas de oro de mis padres.
Muchas gracias y felicidades!!!
When I try to pipe small things with a size 1 or even 2, the icing does this “squiggly” move coming out of the tip and I can’t control it. Any tips?
Your work is beautiful!!
What a beautiful work ! I will try it ! Thank you for sharing. 🙂
Thanks a lot for sharing! God bless you!
In your video comments you said this is the first layer. How do you build it up from the thin layer in the video to what you show as your final letters?
Hi Pam,
Sorry which video do you mean? I haven’t done a video on lettered cookies. Thanks!
Thanks for the tips for having lettered cookies. It’s good to know that the letters would need to dry anywhere between 6 to 12 hours. I’m interested to learn if you should only wait 12 hours for bigger letters or something.
Hi Taylor,
Yes, the larger the letter the longer it would take to dry. Humidity in the air and the consistency of the icing also factor in. More humidity, takes longer to dry. Thinner consistency, takes longer to dry.
Absolutely beautiful! Can you tell me where zi can buy those cookie cutters?
Hi Barbara,
Thanks! I bought them from ecrandal.com
I am overjoyed to have found your website. I like baking because it brings out the kid in me. I love to give sweets to everyone I come across because food is my language of love. This weekend, I’m going to give these cookie boxes a shot. Although I don’t do much decorating, I think your shared expertise will be quite beneficial. CROSSING OUR FINGERS! I appreciate you sharing your unique talent.