It’s finally here!
The Fall & Winter issue of Weddingbells magazine!
Why am I excited? After all, I’ve already had my wedding.
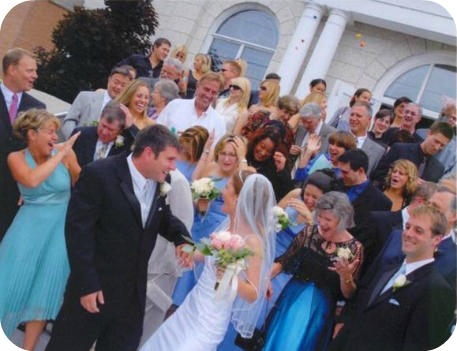
Speaking of which, here’s a photo I thought I’d share for fun. I love this one because it captured everyone’s expression as a few of my relatives from Switzerland surprised us all by throwing traditional Swiss ‘wedding candy’ into the crowd. If you’ve never seen it, each candy has a sweet saying for the couple inside, and the candy itself was actually kind of hard (It’s a bit bigger than a starburst), when it hit us. So funny to see everyone’s reaction!
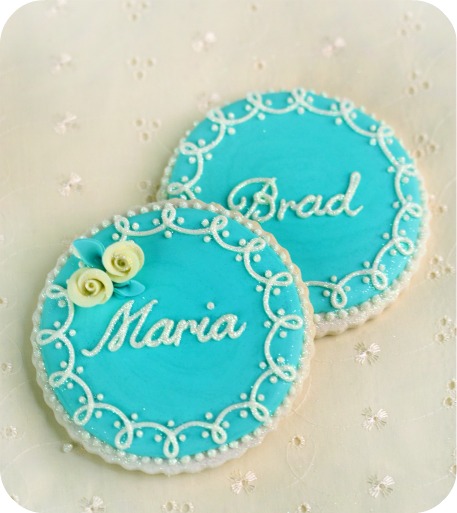
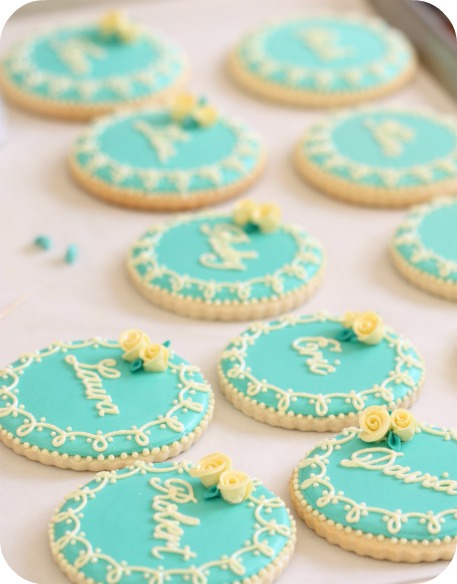
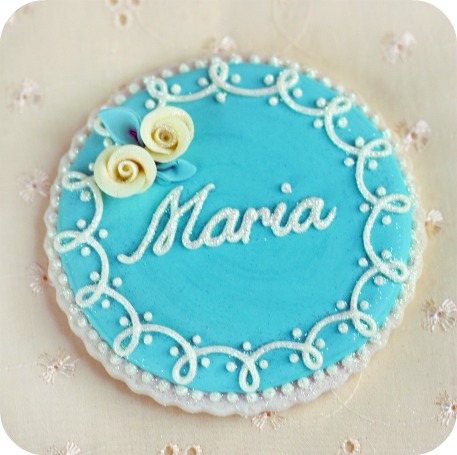
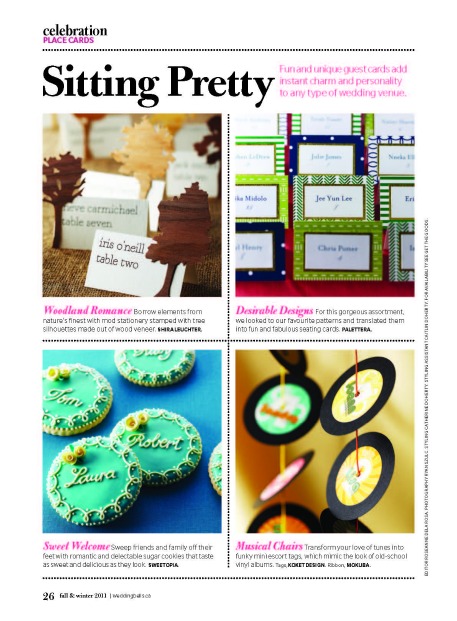
Anyways, as I was saying, I’m so thrilled to see the magazine, because I was asked to create place card cookies for this issue!
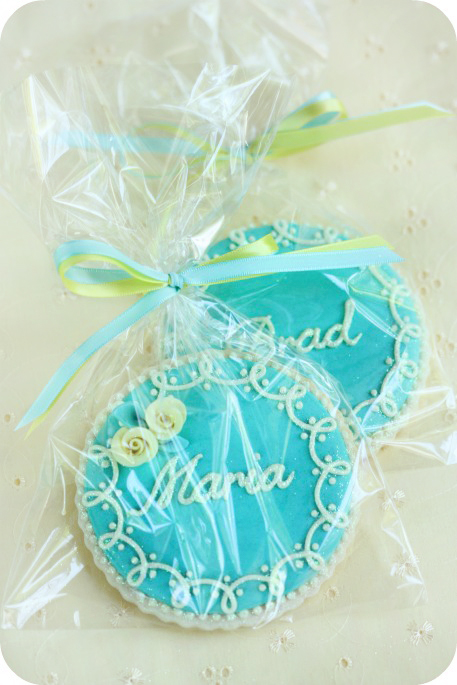
The nice thing about the place card setting cookies, is that they could double as a favor too.
If you’d like to try making them, here’s the ‘how-to’:
*
How to Make Place Card Cookies
If you’re making decorated cookies for the first time, I suggest you check out my Cookie Decorating Tutorial and Top 10 Cookie Decorating Tips here. If you like video, my YouTube channel here may be helpful for you as well.
*
For the Cookies, you’ll need:
- Sugar Cookie Dough (click here for recipe)
- Royal Icing (click here for recipe)
- Fluted Cookie Cutter
- Food Gel Coloring (Americolor Teal)
- Piping Tips (Size #2)
- Piping Bags
- Couplers
- Disco Dust (Rainbow or Pale Yellow)
- Paintbrush (Only used for food purposes)
- For a vlog on my favourite cookie decorating tools, click here
- Optional – border template from Peggy Porschen’s Cake Chic, a.k.a. Simply Spectacular Cakes
, p. 142
- Optional – Kopykake Projector
*
For the Roses and Leaves, you’ll need:
- Shortening
- Cornstarch
- Gumpaste
- Fondant Rolling Pin
- Wilton Leaf Cutter
- Food Gel Coloring (Yellow & Teal)
Instructions for Decorating:
Once you’ve made your cookies and they’re ready to decorate:
Step One: The Base
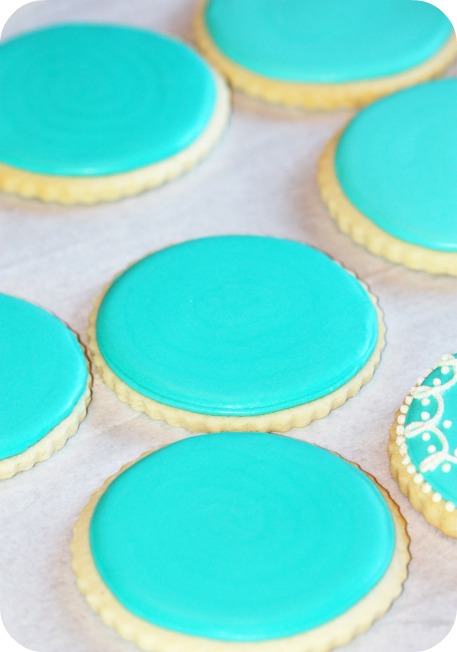
Make the base of the design by flooding the cookie with royal icing. Let dry for 24 hours. The icing acts as sealant for freshness, so it’s okay to let the cookie dry uncovered.
Step 2: Piping the Border
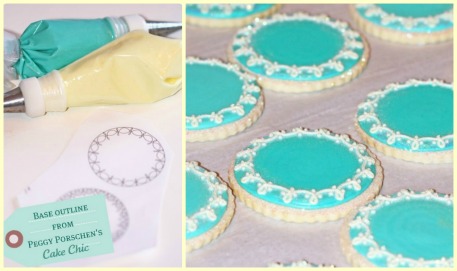
I used the base template from p. 142 of Peggy Porschen’s Cake Chic, a.k.a. Simply Spectacular Cakes and changed it up a bit:
Pipe the border and dots with a #2 piping tip, and let dry for approximately 3-6 hours.
I needed help to make sure my loops were even, so I used my Kopykake projector to trace the image onto the cookie. Click here to see how to use the projector and if you don’t own one, to see other possible options.
Keep in mind that even a simple border, such as dots around the perimeter, is also sweet (and faster too!).
*
Step 3: Adding the Name
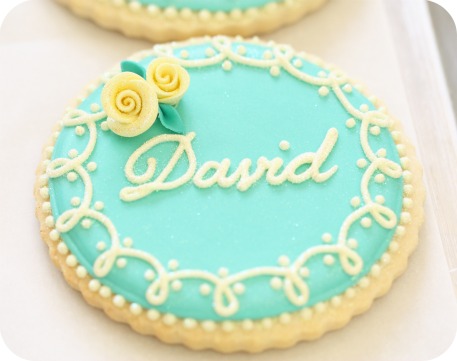
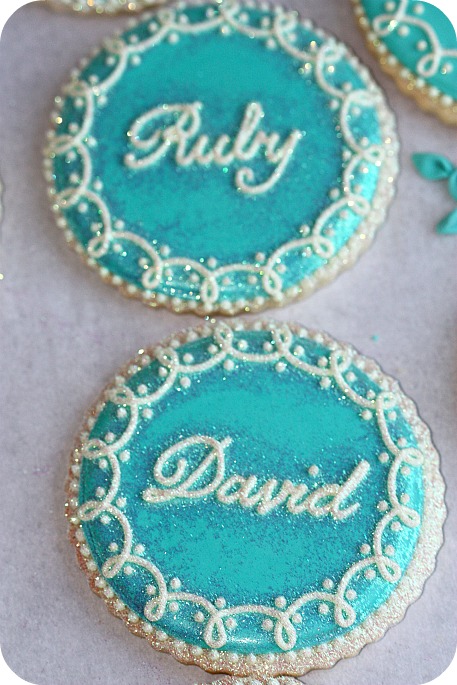
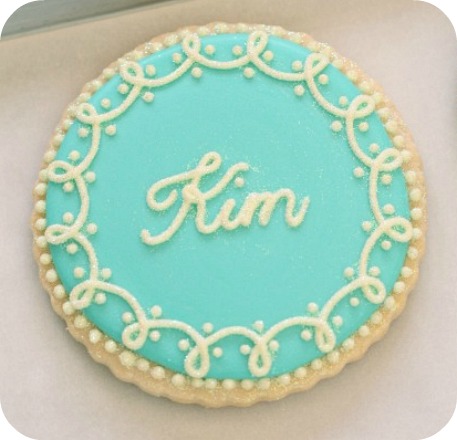
Option A: If you’re comfortable piping freehand, pipe the name right onto the cookie, sprinkle the cookie with disco dust and let dry.
Option B: If you’d prefer a template; chose a font you like (I used Nelly Script), print out the names you need, and project the name onto the cookie, so that you can just trace the icing on. Again, I used my Kopykake to help me project the image. If you need help using one, or if you’d like to see other options, click here.
Sprinkle the cookie with disco dust and let dry.
Let the icing dry for approximately 3-6 hours and then lightly dust off the excess disco dust with a paintbrush.
*
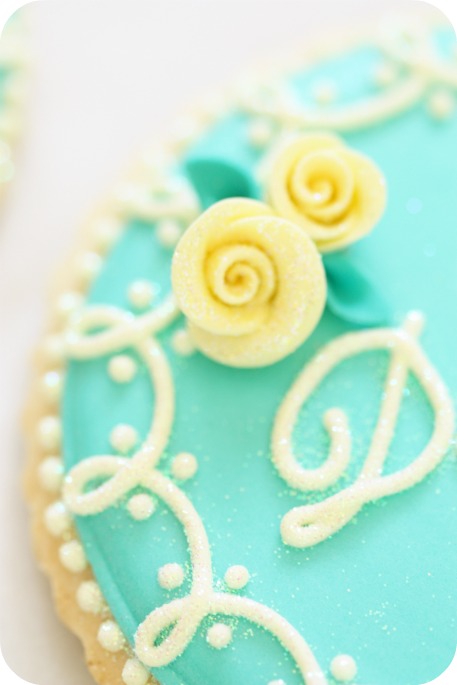
Step 4: Making the Roses
Depending on what look you like, the roses and leaves are an optional step. You could even decorate the female name tag cookies with roses, and the male ones, without.
To make the roses, I used Peggy Porschen’s method from her book, Cake Chic, a.k.a. Simply Spectacular Cakes, p. 62, which I can’t post here due to copyright infringements. I highly recommend any of her books (the small rose method is in each of them), and/or checking out YouTube for rose tutorials.
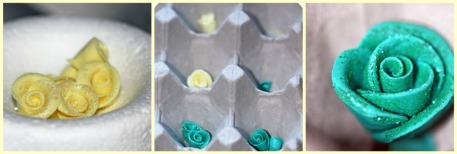
I dried these in egg cartons and Celformers.
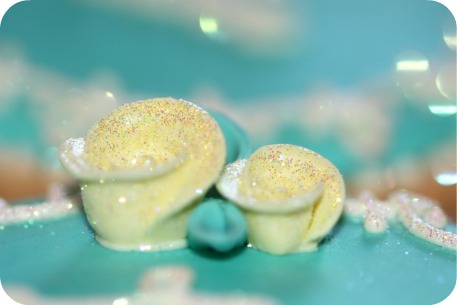
Dip the roses in disco dust if you’d like some added glimmer.
*
Step 5: Making the Leaves
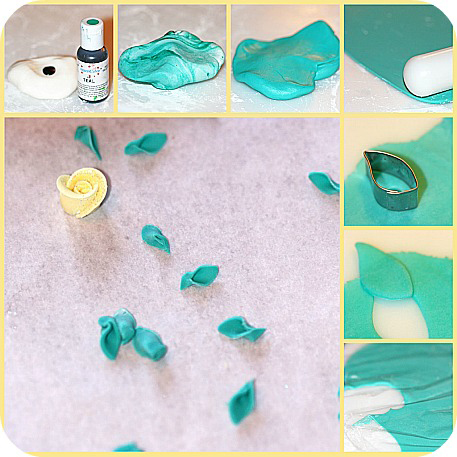
- Massage food gel colour into your gumpaste. If the gumpaste gets too sticky, add a little bit of shortening
- Sprinkle a light layer of cornstarch onto workspace
- Roll the gumpaste out using a small fondant rolling pin (Thickness is your choice. If you’d like finer roses, roll the gumpaste out thinner)
- Using the smallest Wilton leaf cutter, cut out a few leaves at a time, making sure the rest of your gumpaste is covered with saran wrap, to prevent it from drying out
- Pinch the base of the leaf together
- Let dry for 24 hours
For a more detailed explanation on making gumpaste leaves, click here.
*
Step 6: Adhering the Roses and Leaves
To prepare the roses for placement, trim off the bottom of each rose, by cutting with scissors, so that it will sit flat.
Squeeze some royal icing onto the base of the rose, and place it on your cookie.
Do the same for the leaves. Use tweezers if you need an easy way of handling them.
Voila! Finished!
If you’d like to package these, leave them at room temperature for 24 hours to dry. The icing acts as a sealant, and will keep the cookie tasting fresh.
Check out the Fall/Winter issue of Weddingbells and their website for creative, pretty and fun ideas!
If you have any questions or comments, please drop me a line below and come join me on facebook, twitter, or youtube.
Happy 4th of July to those of you in the USA! Hope you enjoy making these and have fun decorating!
xo,
Marian




@ Estibaliz: Thanks sweetie!
Oh my goodness!!!!! Congrats on the feature! You did a stunning job… really, truly beautiful. I love how they embody such sophistication, all the while remaining fun and playful! And that picture of you at your wedding… so sweet.
@ Brian @ A Thought For Food: Thank you! =)
@ marian:
Thank you, Marian, you are so sweet 😉
I hope you have a great summer!
Congrats on being featured in the magazine Marian! Your cookies are absolutely stunning and are a great idea! Thanks for sharing! 🙂
Amazing cookies! So beautiful and simple! I’ve been wondering what kind of disco dust to get, I think I’ll begin with these colors because they are so beautiful on your cookies! Congrats on being in the magazine 🙂
Beautiful!! beautiful
Thank you for all the lively comments!
Ooops, I meant lovely!
Congratulations on the feature. The place card cookies are stunning. Just beautiful.
We saw your article and thought the cookies looked so beautiful! We made a similiar version of your cookie for my daughters wedding in July and everyone loved them. Thank you so much for your very informative website. It was so helpful during the making of our cookies.
I LOVE these. You are so brilliant. Even though this is not my particular gift, I love to look and see what you do, it really inspires me; plus, I just love to see the perfection that is your work.
Hiya! How far in advance do you think you cn make them so they stay tasty and don’t go soggy? i.e. before wedding prep gets mad busy!! Thanks so much, they’re stunning! x
Hello
I love your cookies. I was wondering which dehydrator you purchased at Walmart?
I’m getting a lot of discoloration on my cookies, very frustrating lol
Thanking you for any advice
Maria
Hi Maria,
I’m away from home until Monday, so couldn’t tell you offhand, but will check when I get home.
Hi again Maria,
Back home… It is a Danby, Energy Star high efficiency dehumidifier.