It’s been over two years since I began this blog and I’m still learning so much about photography. Even something that looks pretty in person can look bland if you haven’t captured it just so with your camera.
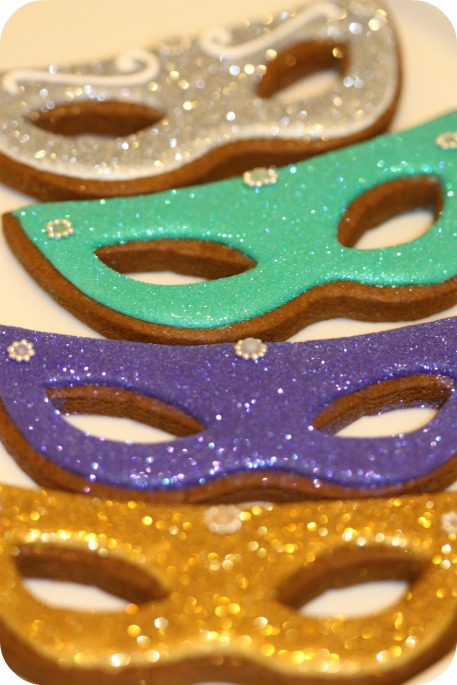
Like disco dust for example; it’s so sparkly as seen with the naked eye, but that brilliance can be hard to capture. With these princess & tea party cookies it seemed the brighter the lighting, the less the disco dust glittered, so I settled for dull lighting.
The camera settings I’ve since learned about (and shared below), seem to work fairly well with disco dust, but I’m always ready to learn new tips if you’ve got them!
I’m definitely not an expert, and still have tons to learn about lighting, settings, angles etc. It’s another craft in itself! I have discovered a few things which have at least helped me improve over time though, so I’ll share them here with you, and of course, I would be so happy to hear your tips and tricks too!
*
Food Photography Tips
Camera
First of all, the camera. I remember emailing Bakerella when I first began blogging, and she directed me to this post of hers. She takes such amazing photos, her photography tips and gear are a must see! I went ahead and bought the Canon Rebel XSi at her recommendation. The newest version is called the Canon Rebel T2i
, and also has the ability to capture video.
Settings
I took a wee little course through Henry’s camera store and learned the basics, but promptly forgot about details such as white balance, aperture etc. Still couldn’t tell you exactly what F-stop means or how to really properly use all the non-automatic camera settings.
On advice from one wonderful staff member at Henry’s though, I have learned that this portrait setting on my camera is great for taking food pics in natural lighting:
I have a little slip of paper in my camera bag with the settings written on it so I’ll never forget! If you purchase this camera, finding those settings are fairly easy. (If I can do it, I’m sure anyone can. Lol).
The good news about the Canon Rebel Xsi is that it takes fantastic photos on the automatic settings too. (Pfewf!)
*
Lens
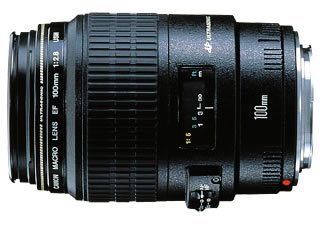
The Canon EF 100mm f/2.8L IS USM 1-to-1 Macro Lens was recommended to my by a friend of mine who studied photography, and although it cost a pretty penny, I love it! It has the ability to take photos extremely close to the object, and is able to pick up every detail. It’s also great for creating that blurred background, by just focusing on the foreground.
Lighting
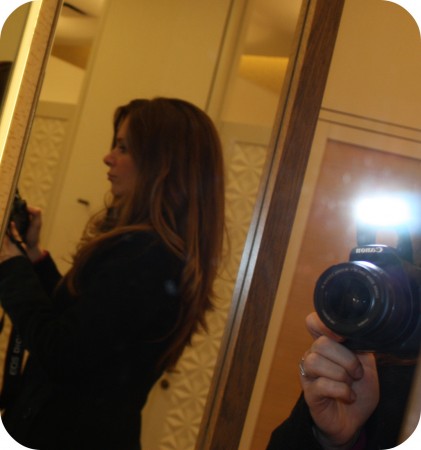
Use natural light as much as possible and avoid using a flash. (Unless you have one of those fancy schmancy huge flashes). Natural, indirect light seems to make the pics look the most appealing.
You’ll need to take them during the day of course, which sometimes presents a challenge when you’re making your sweets during the day, finishing them at night, and giving them away the next morning! I try to plan ahead so that I’m not forced to take pictures at night.
If you do need to take pics at night, Bakerella recommends the Ego Digital Imaging Light. Still on my wishlist!
*
Editing
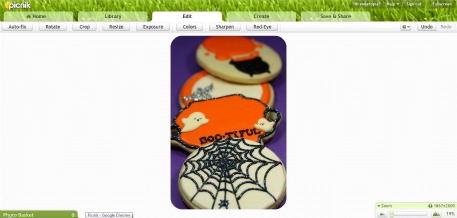
I like using picnik.com for my basic photo editing (Re-sizing, cropping etc.). In terms of lighting it doesn’t have the greatest options (just an auto-fix), but if the photos have been taken in good lighting you won’t even need it.
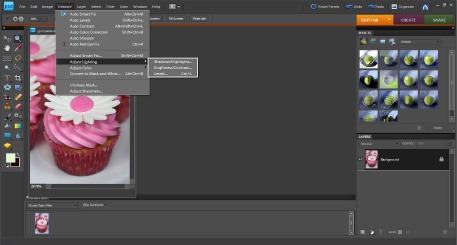
I try to avoid this next step because it takes more time, but if I’ve messed up and really need make an effort to fix my lighting, I’ll use Photoshop Elements for a few basic fixes. I’ll have to do a video tutorial on that one; it’s a bit too detailed to show here.
*
Miscellaneous Tips
- Take lots of pics with different angles etc. You never know which one will turn out!
- A Tripod
can really help if you’re working in low lighting. (Low light means manual settings are more sensitive to slight hand movements).
- Have an extra Battery. Avoid the frustration of not being able to take pics when your battery dies (and you really, really need to because it’s getting dark and you’re giving your cookies away in the morning. Can you tell I’ve been there?!)
- Add some interesting components besides the baked goods to the photo. I don’t always make the effort, but am learning to try different things.
- Use different backgrounds; I have used different kinds of wrapping paper, bristol boards, foam board and have a huge roll of white seamless paper
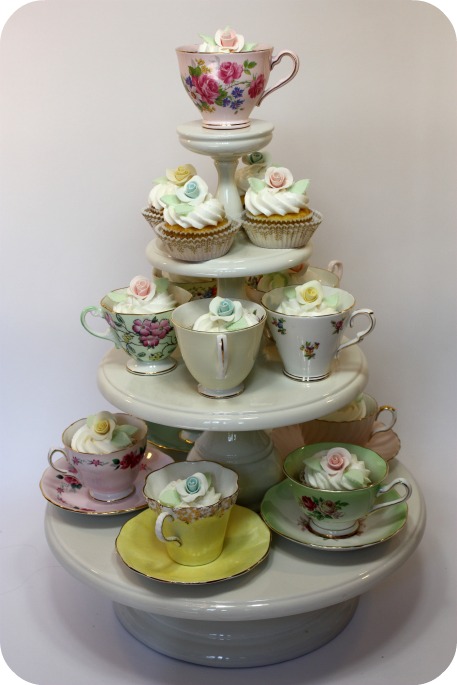
. Since it’s so large, I’m hesitant to take it out and set it up though – too much effort most of the time. 😉 I’m still learning about the white balance thing too, so when I did use it the white looked a bit too grey; as you can see in the pic below. (Albeit this was before I knew about the settings I mentioned earlier).
- Play around with the angles instead of just taking a picture ‘straight-on’.
- Most importantly, have fun!
Hopefully these tips have been helpful for you! I’d love to hear your feedback, comments, tips and tricks, if you’d like to drop me a line in the comment section below, on twitter, or my facebook page here.
xo,
Marian






Thank you so much for the tips. I find them invaluable. I really do love your site
amazing tips, thank you! I will save to buy this camera and start practicing
Not at all laughable. I get so frustrated when it comes time for pictures because I always end up taking far too long to tweak them on Photo Pos Pro. More often than not I finish during the evening and end up taking them in low light. Also my camera isnt as great as I’d like the photos are always grainy which means reducing the graininess and tweaking the color so it’s more accurate to how my cakes really looked. I found your info very useful and will use it when I go to buy my next camera and lighting system. Thanks for your willingness to help those of us out there who are clueless. Greatly appreciated
Good job. 🙂 I am in love with your blog and just ordered a projector; I can’t begin to imagine how much easier it will make things! I’m a (part time) professional photographer (www.jodywaugh.com) and just got into cakes and cookies about three years ago in an attempt not go back to work after my mat leave. Needless to say, I went back. But now I’m on my second mat leave, so we’ll see what happens this time around… 🙂
Fantastic advice, especially about getting the macro lens. I think I can defiantly carry the advice over when taking pictures of other things like our diaper cakes.
Thanks again! Great post.
Thank you so much for posting this, as I am re-doing a sweet shoot and want to gain the best quality images. Fingers crossed it goes well. 🙂
Love this! I included it in my latest “Massive List of Links” post (http://itsemmaelise.com/post/78652228099/massive-list-of-links-part-10). Thanks again for sharing!
♥emma
http://www.itsemmaelise.com