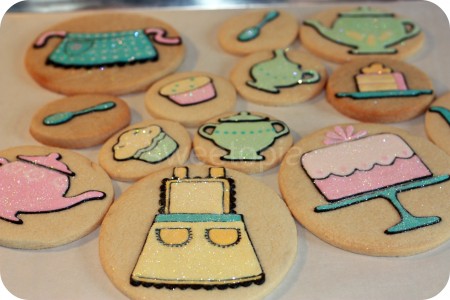
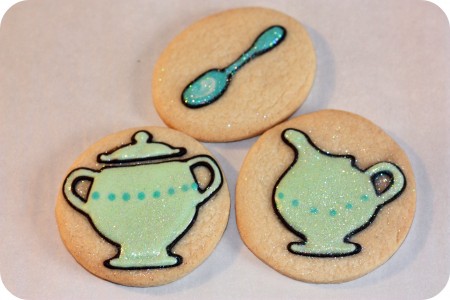
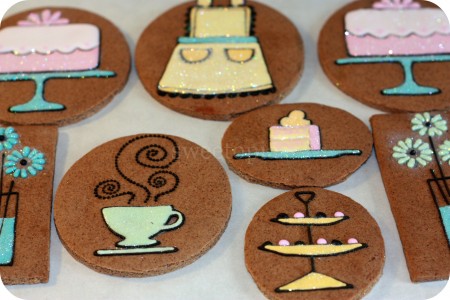
These cookies were a lot of fun to make! It might have to do with the sparkles…
Here’s a photo of some of them in artificial light. The first pic was actually in sunlight – and although it looks darker, the sparkles show up more. It was hard to capture the shimmer in a photo!
Resisting the urge to cover them in disco dust was futile; originally I was only going to cover parts of them in the edible glitter… You can see how that turned out.
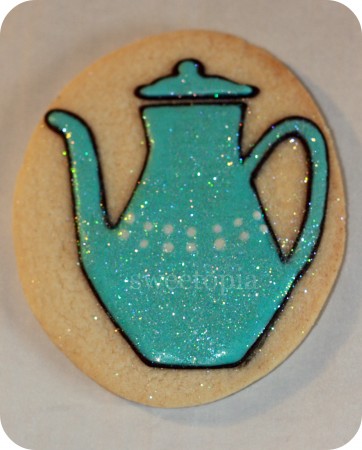
Coffee or tea?
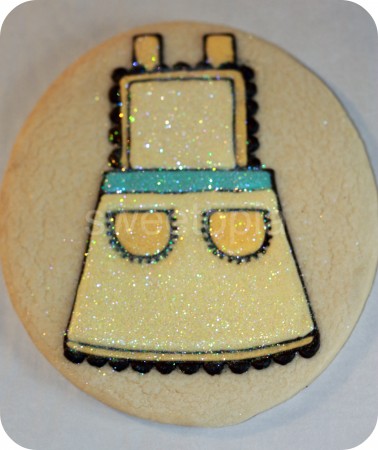
The cookie designs were made using scrapbooking paper and my kopykake projector.
I love the added glimmer disco dust gives to the royal icing. If you’d like to try it out you can find it here.
Gingerbread of course! Another batch of tea time.
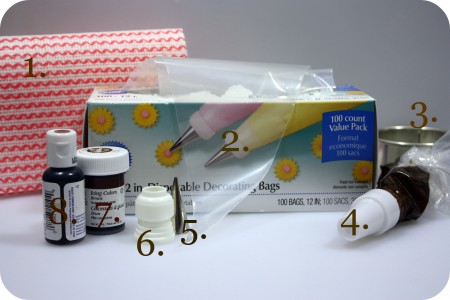
This is by no means a tutorial… but I’ll share with you a few tools and a recipe I used to make these cookies. Here are the tools:
Tools Used:
1. Cloth – a damp one nearby to keep the tips clean
2. Wilton Disposable Decorating Bags
4. Wilton Decorating Tip Cover , Set of 4 – These are not a must… You can keep your tips covered in a damp cloth.
5. Decorating Tip #2 – A bunch of these on hand for different colors is always helpful!
6. Couplers
7. Paste Colour – Brown – And other colors too of course!
8. Americolor Soft Gel Paste – I like Americolor best because I find the darker colors don’t bleed as much when I use it to color royal icing. I still do like to mix in Wilton colors if I need to achieve a certain hue.
*
I used Peggy Porschen’s sugar cookie and gingerbread recipe, and this time I used Antonia74’s royal icing recipe.
Antonia74’s Royal Icing Recipe
*
Ingredients:
6 oz (3/4 cup) of warm water
5 Tablespoons meringue powder
1 teaspoon cream of tartar
1 kilogram (2.25 lbs.) powdered icing sugar
*
Directions:
In mixer bowl, pour in the warm water and the meringue powder. Mix it with a whisk by hand until it is frothy and thickened…about 30 seconds.
Add the cream of tartar and mix for 30 seconds more.
Pour in all the icing sugar at once and place the bowl on the mixer.
Using the paddle attachment on the LOWEST speed, mix slowly for a full 10 minutes. Icing will get thick and creamy.
Cover the bowl with a dampened tea-towel to prevent crusting and drying.
Tint with food colourings or thin the icing with small amounts of warm water to reach the desired consistency.
*
Have fun creating!
xo,
Marian




Hello! Thanks for the post. I have a question, I made half of the recipe and at first it is smooth and everything’s all right but after I flood them I left them overnight and they dry as well but not smoothly they’re like porous and when I store them all the decorations like letters and some dots and lines they fall off. What am I doing wrong?