

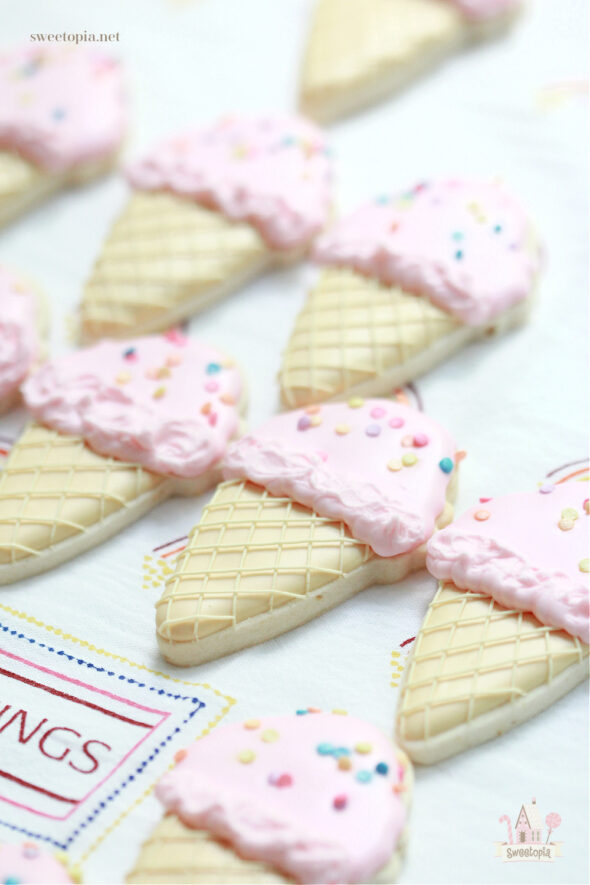
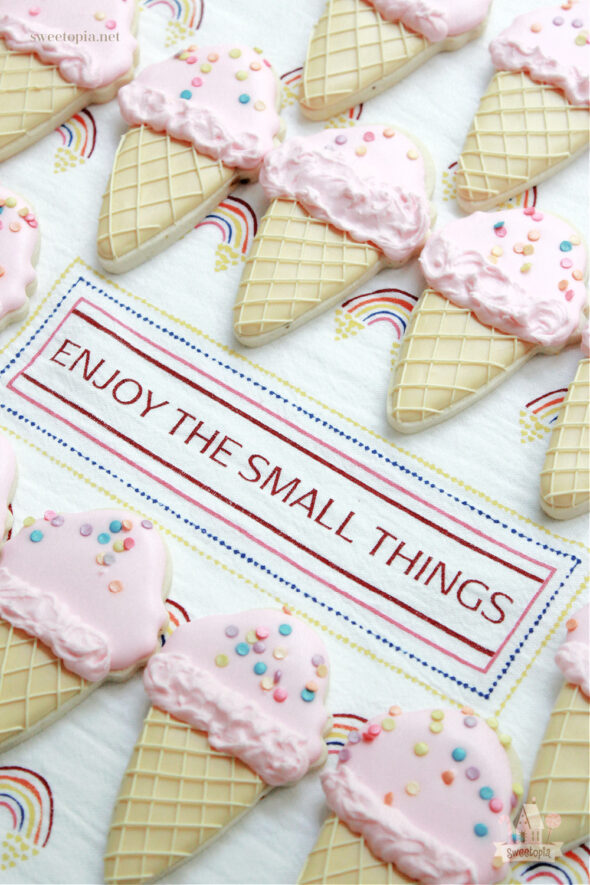
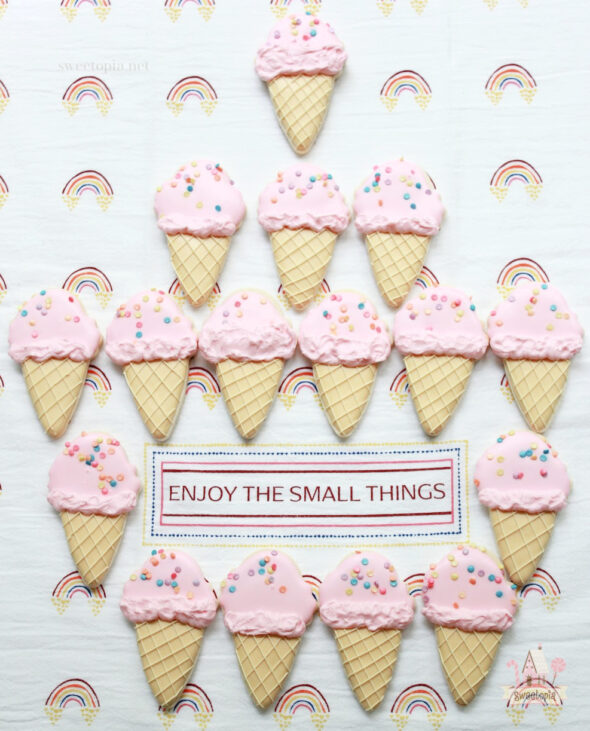
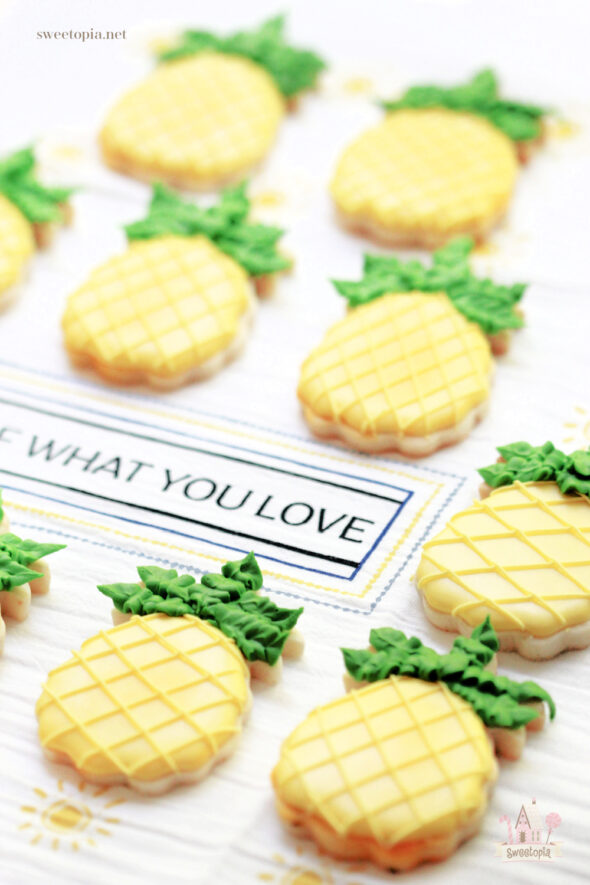
Happy summer! A few sweet and simple cookies to start your day… These designs were so fun to decorate and certainly delicious to eat!

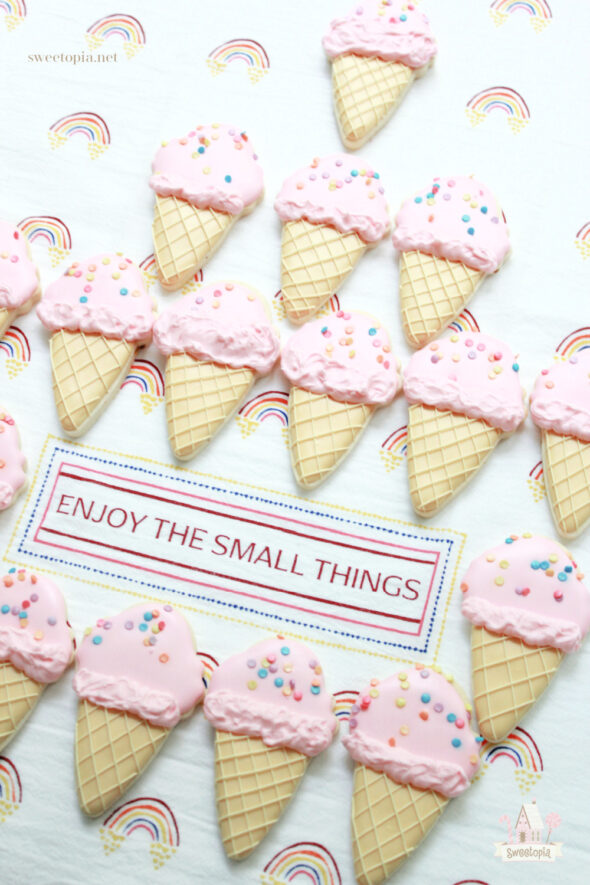
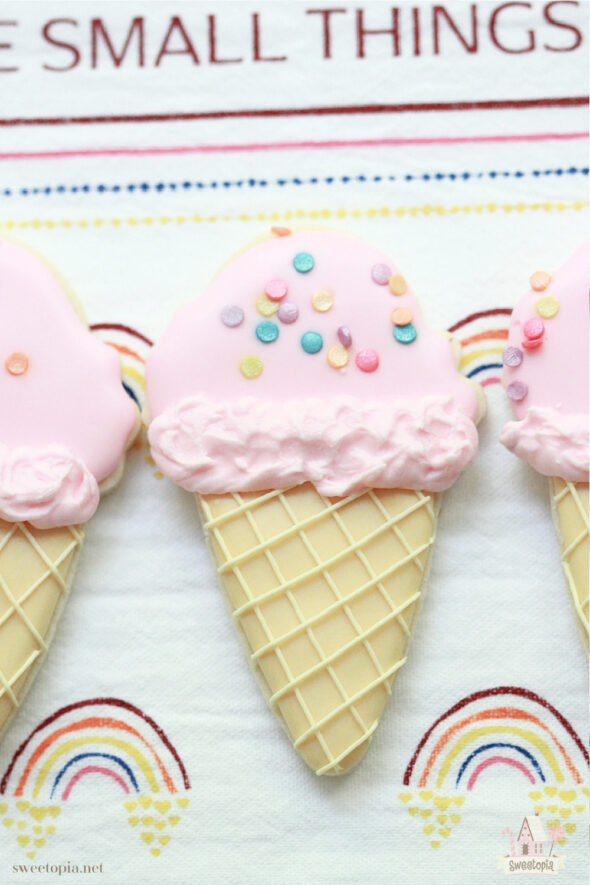
And aren’t these sentiment flour sack towels from Williams Sonoma adorable! What happy little messages to see every time I go to use them. So sweet and cheerful, perfect for summer or any time!

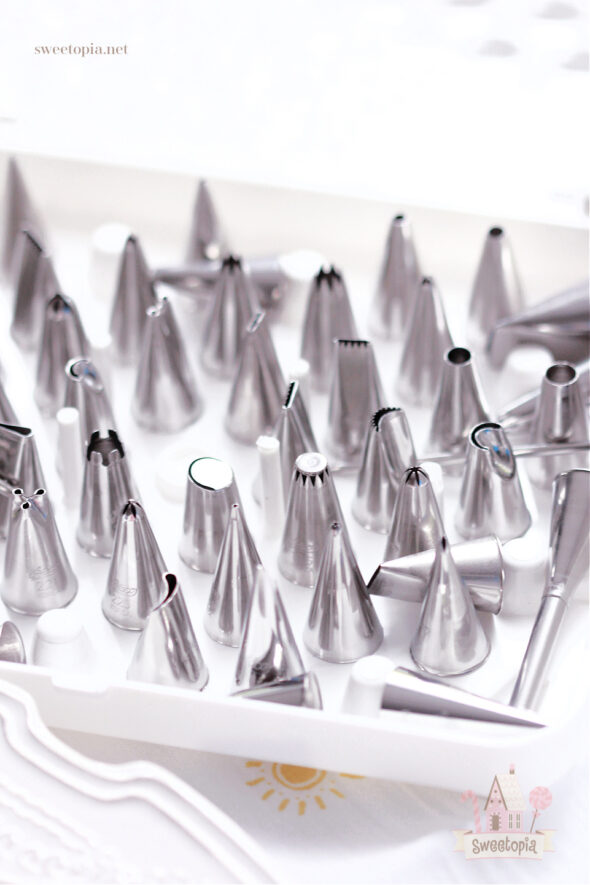
Thanks to Williams Sonoma Canada for the cookie cutters, the beautiful set of Ateco piping tips, and the durable Ateco disposable pastry bags used for creating and sponsoring this post! I only feature products I love and use myself, and Williams Sonoma consistently shares excellent quality products online and in stores. They are my go-to kitchen supply store – my wish list for items there is long!
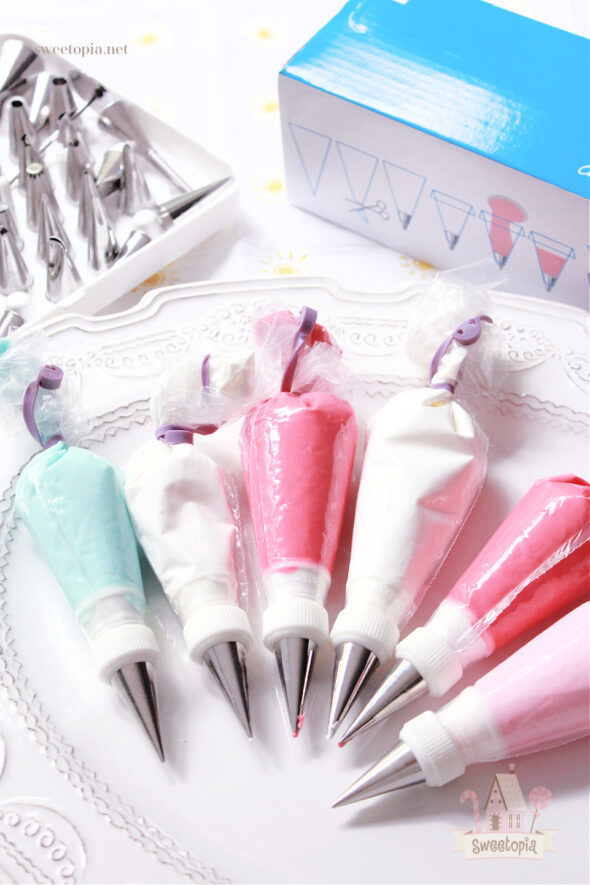
The Ateco pastry tips set is my favorite set of piping tips I own; it contains some unique new tips I’m looking forward to playing around with and the quality is second to none.
If you’d like to make these cookies too, I’ll be sharing all the basics, recipes and how-to’s for these cookies below.
Please feel free to leave a comment below or on Instagram, Facebook, YouTube, Pinterest or Twitter if you have any questions.
Happy decorating!
xo,
Marian
Cookie Decorating Basics
Here are some posts which take you through cookie decorating basics:
{Video} Cookie Decorating Tools & How to Fill a Piping Bag
{Video} How to Outline and Flood Cookies with Royal Icing
{Video} How to Dry Cookies Decorated with Royal Icing
Cookie Recipe
These are Lemon Pistachio Cut Out Cookies, and if you’d like a classic sugar cookie recipe or other flavours, you can find them here.
Royal Icing
You can find my favorite royal icing recipe here. The consistency of icing is key for easy decorating. Click here to see a YouTube video on finding the right icing thickness.
Complete Guide to Royal Icing PDF
You can also find my Complete Guide to Royal Icing Consistency here.
Cookie Designs
All the icing consistencies are medium, unless mentioned otherwise. You can find my Complete Guide to Royal Icing Consistency here.
Decorating Items
What you’ll need (The Amazon links are affiliate links):
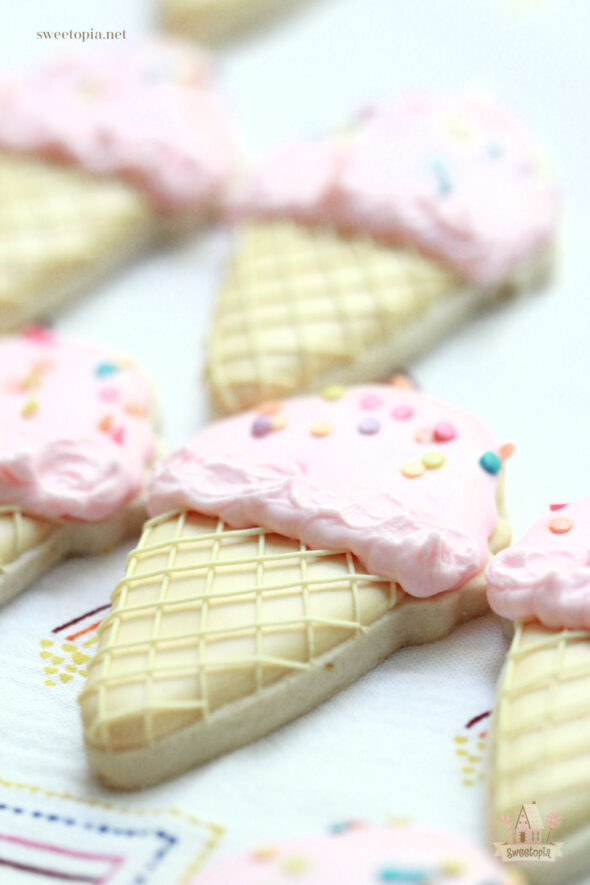
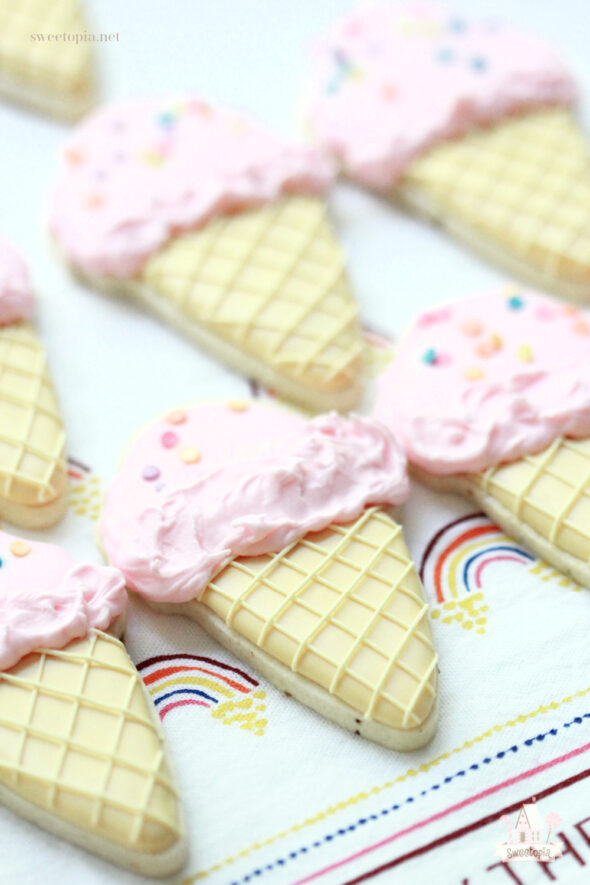
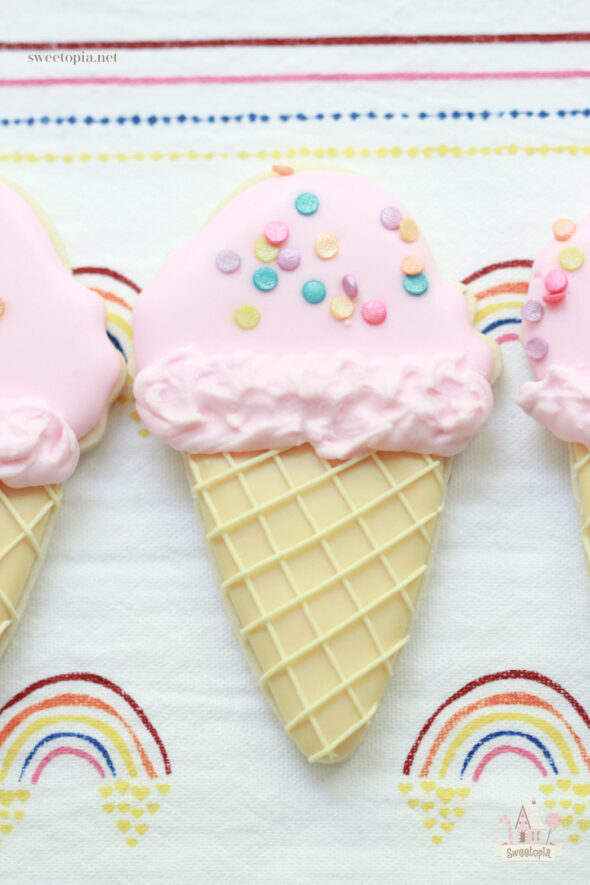
Ice Cream Cookie How-To
- Outline and fill in the ice cream cone base, using tip #1 and #3 respectively and let set for at least 15 minutes.
- Pipe cone base lines with tip #1.
- Pipe the ice cream base, place the cookie on a coffee filter and add sprinkles.
- Using thick icing and tip #2, pipe the outside of the ice cream and ruffle a bit with a small palette knife or toothpick.
Ice Cream Cookie Video
I’ve made a video of the ice cream cookie decorating process. You can find it on Pinterest, here.
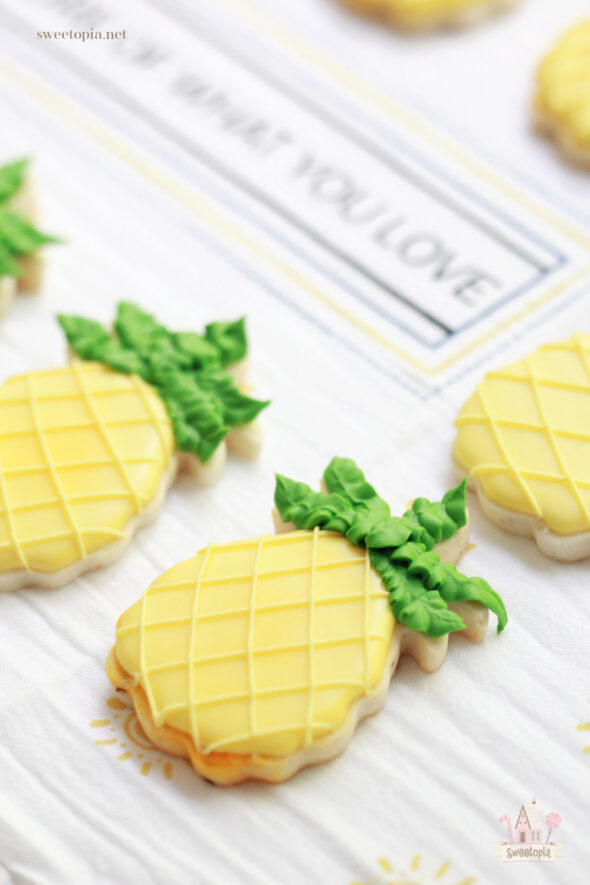
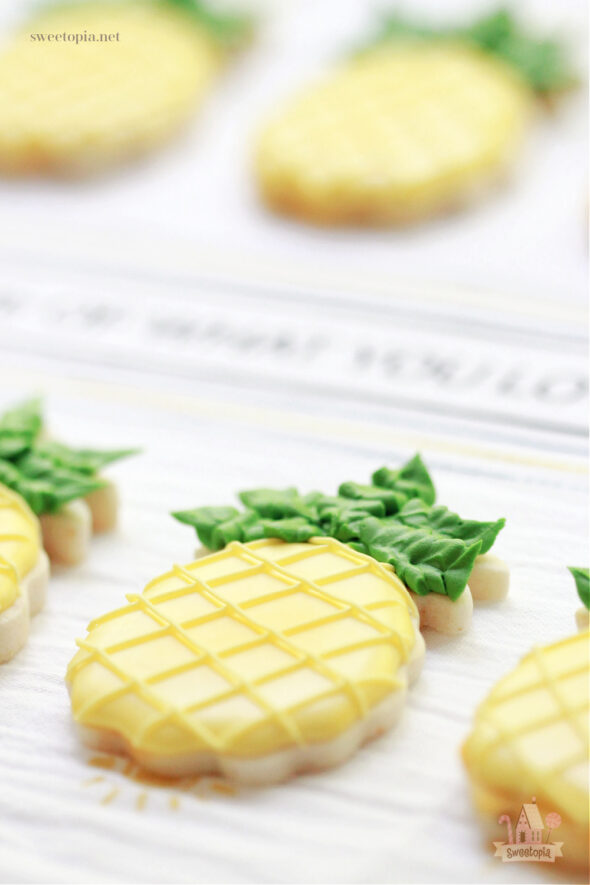
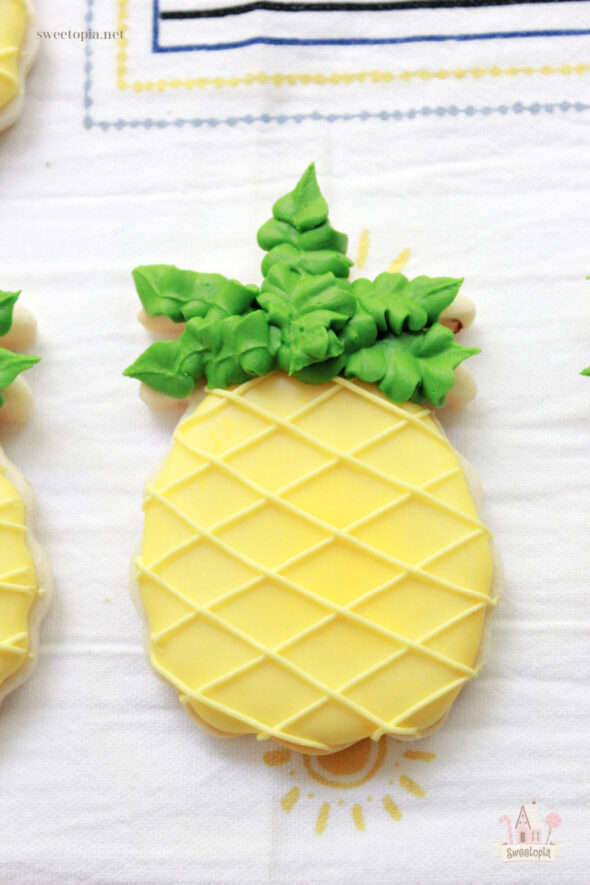
Pineapple Cookie How-To
- Outline and fill in the pineapple base, using tip #1 and #3 respectively and let set for at least 15 minutes.
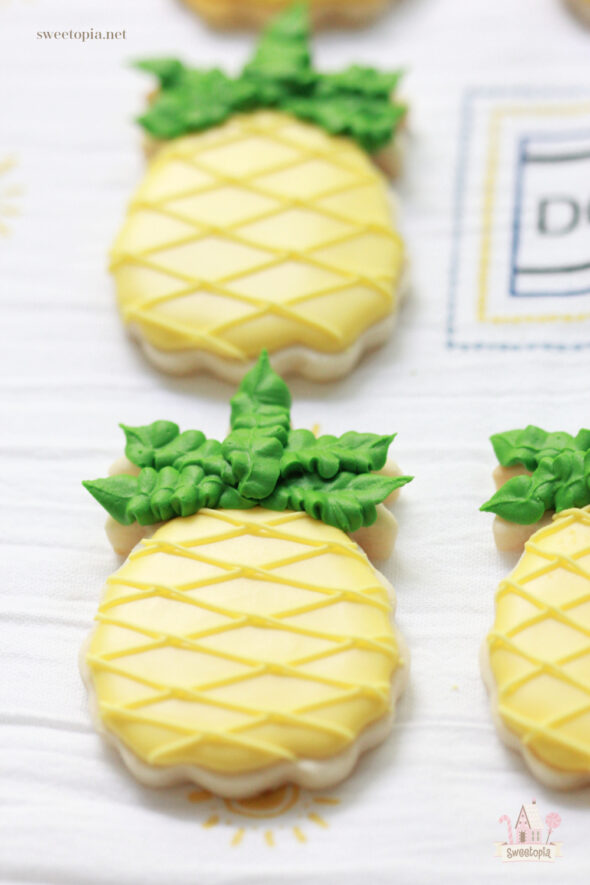
- Pipe base lines with tip #1.
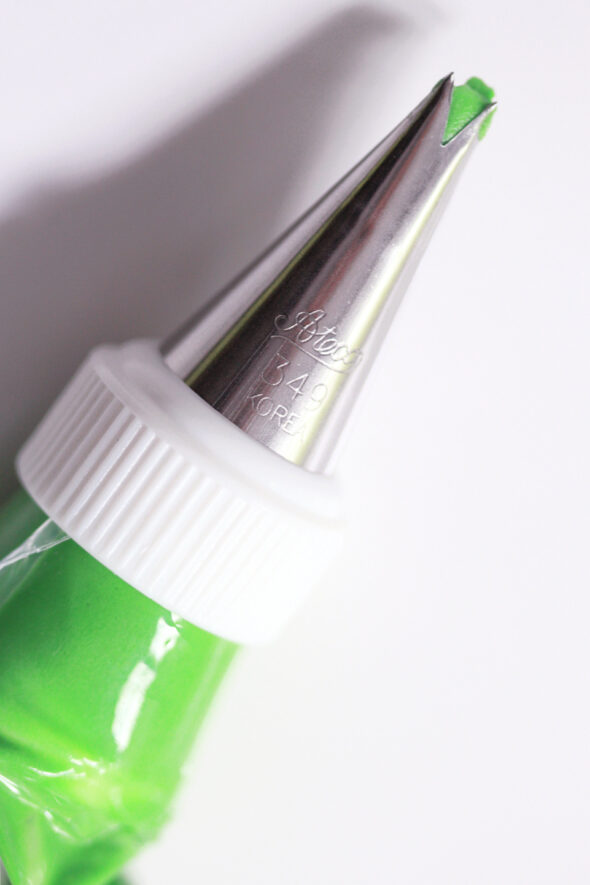
- Pipe the pineapple leaves, using thick green icing and piping tip #349.
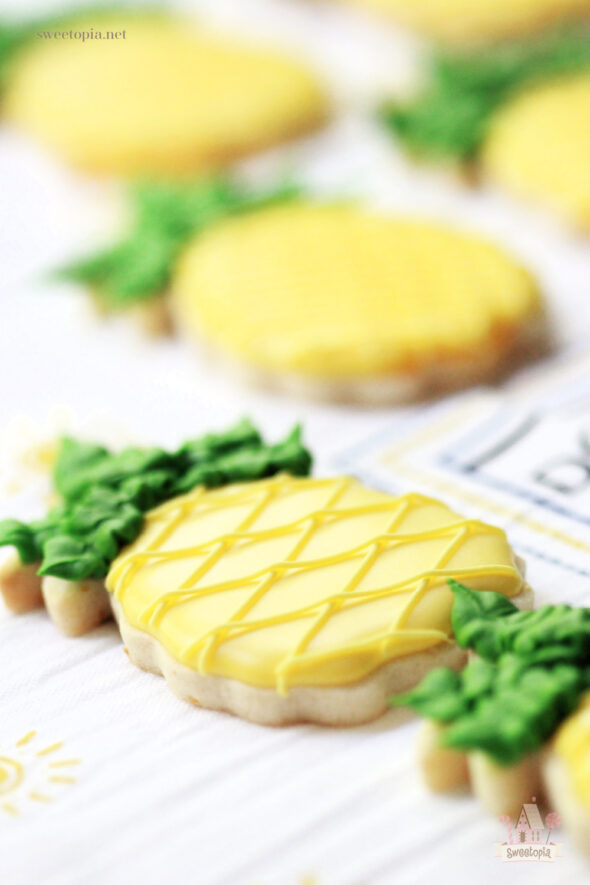
- Let cookies dry or serve immediately.
- Here is a video I’ve made on Pinterest decorating a pineapple cookie step by step.
Notes:
- Drying cookies decorated with royal icing may need a little extra care in humid environments. The summer months, where I live, can be especially humid, so I run a dehumidifier in the same room the cookies are drying. This post on avoiding spots on cookies may also be helpful.
- Here is a post on avoiding icing bleeding, also useful if decorating in a humid environment.
- Lastly, here is a video on the basics of drying cookies decorated with royal icing in case you need it. Happy decorating!


Good morning Marian,
What great summer cookies to enjoy! Great for a children’s birthday party!
Thank you for sharing and teach, how to do them.
Love to follow your special talents
M
Thank you Maria!