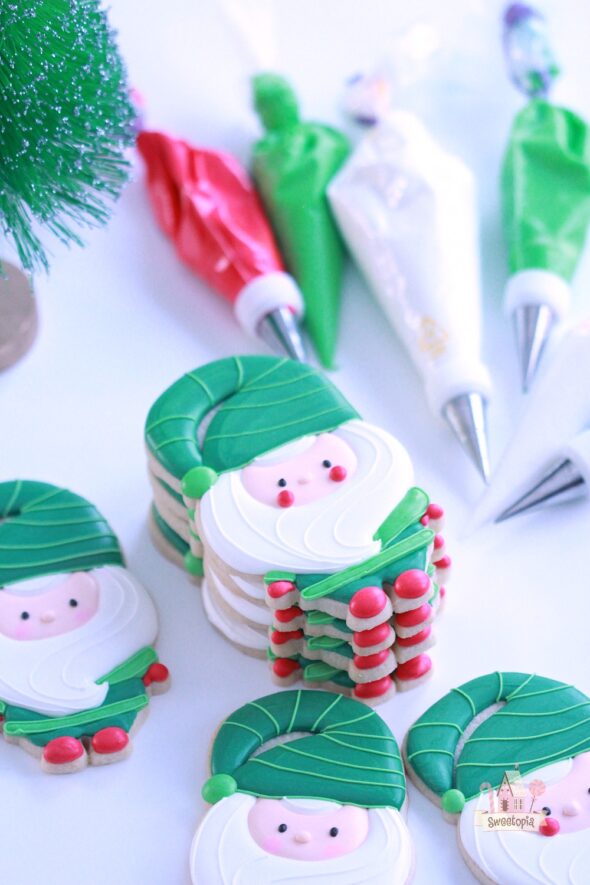
In baking, details really make a difference. Over the years I’ve learned a few tips, often through trial and error, which help me easily make the perfect cut out cookies every time. These hints generally also work for other kinds of baked goods too. Here’s hoping they help you, and please feel free to share more thoughts in the comment section if you like!
Butter Tips for Baking
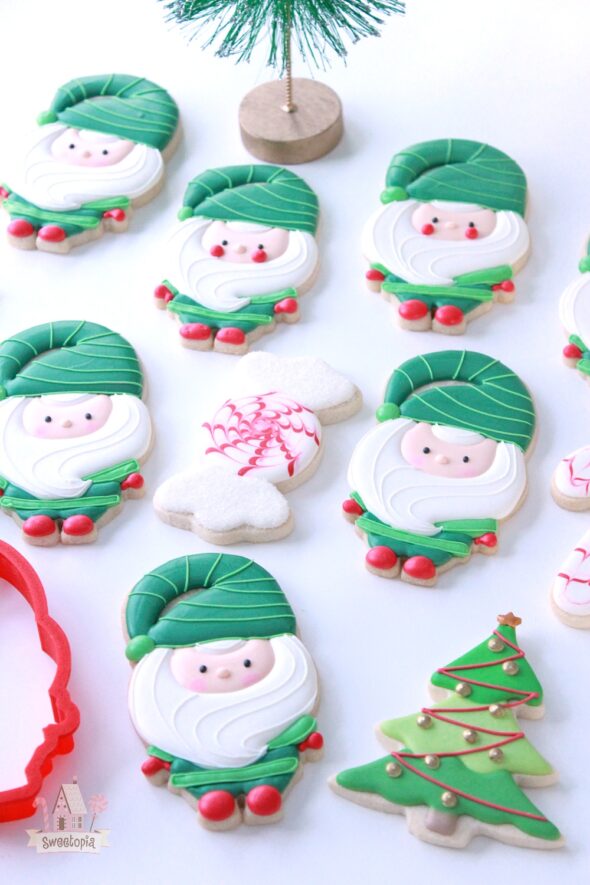
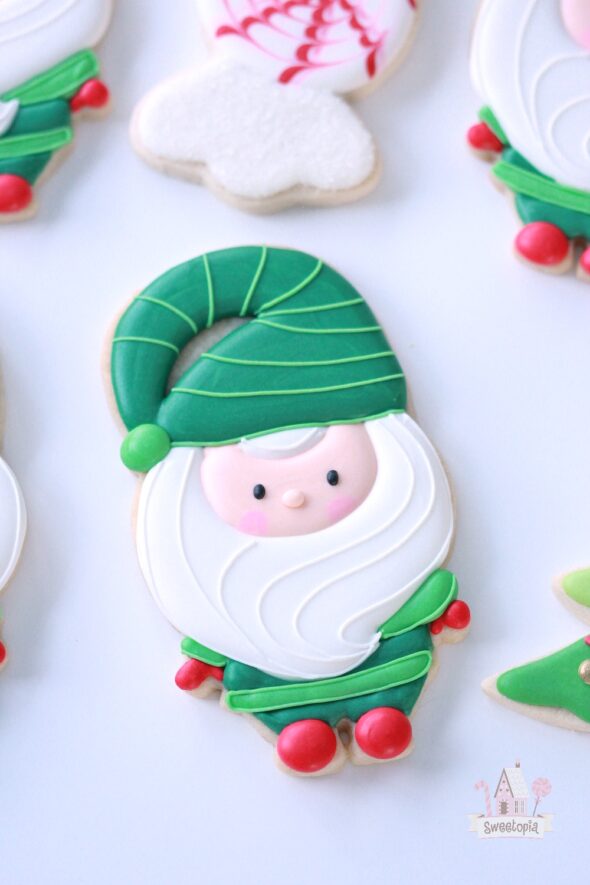
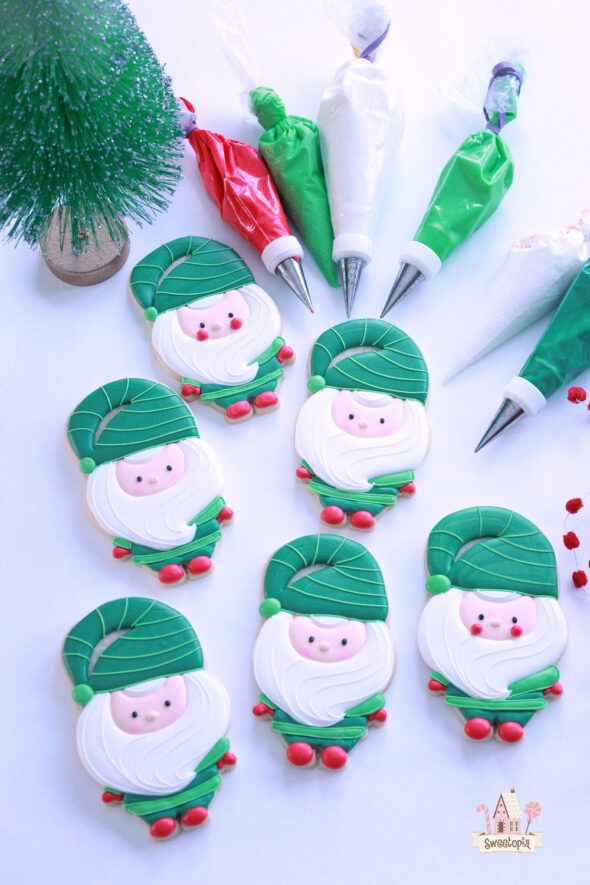
One note before I begin; I will be referring to butter which comes in 1 lb or 454 gram blocks, either salted or unsalted. The Santa’s elves cookies are examples of cut out cookies I’m referring to. You can find a video tutorial for them here.
Using the butter at room temperature is essential, unless you’re making pastry. Keep butter refrigerated until the night before you’re ready to use it, then take it out and leave it on the counter to slowly soften.
Room temperature is an average of 23 degrees Celsius or 73.4 degrees Fahrenheit, but besides measuring the temperature of your butter (I don’t), there are some key things to look for to test its readiness. It should be pliable but not really soft. If you press your finger into the outside of the package (assuming the package is not cardboard), it should leave an indent but overall the butter should retain its shape.
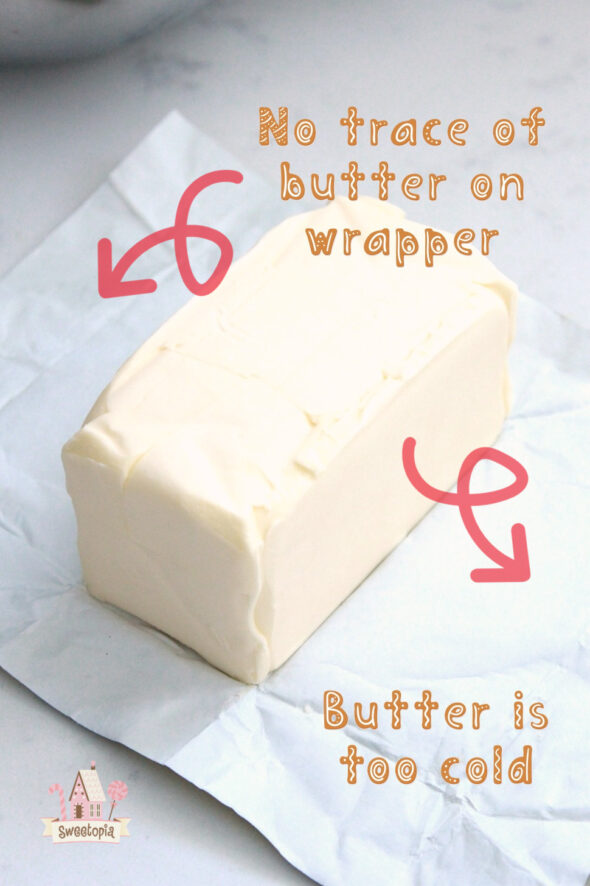
When you peel the wrapping away from the butter, if it peels away with hardly a trace of butter remaining on the wrapper, the butter is too cold.
If the butter is so soft that many chunks of the butter stick to the wrapper when peeling away, it’s too soft. It will be hard to peel the wrapper away from the butter without messing up the block of butter when it’s too soft.
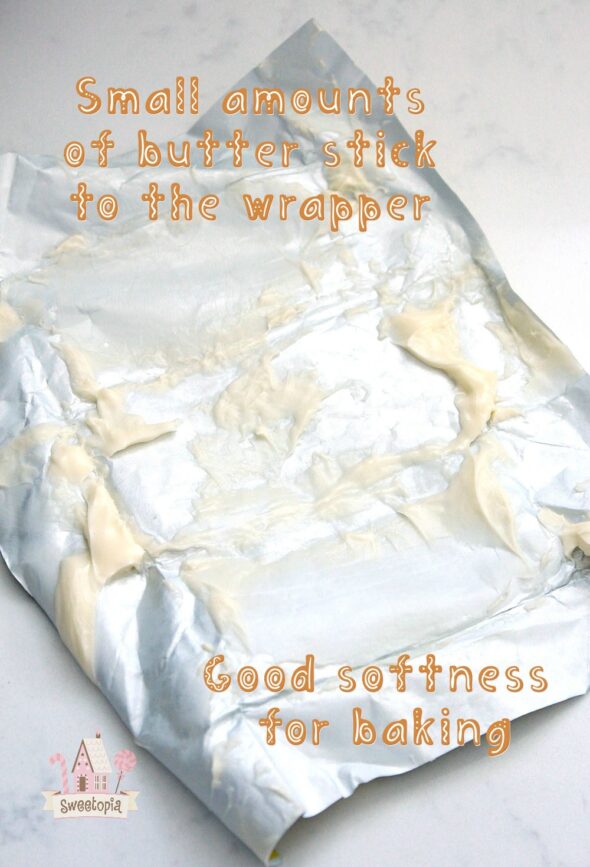
If a small amount of butter sticks to the package, and it peels away easily, the butter is just right. (Goldilocks, anyone?).
You can also stick a knife into the block of butter and see how easily it cuts through. You can get the feel from the how the knife sinks into the butter, to see how it would mix with the sugar, once inside a mixing bowl. (Please note I am referring to a mixing bowl for a KitchenAid mixer). If it’s a little too cold, the creaming step (butter and sugar mixed together, generally the first step of a cookie recipe), won’t go too well. The butter will collect on the paddle attachment and not mix with the sugar. You can manually scrape with a plastic spatula a few times to help the process along, so it is doable, but takes more effort.
If your butter is too soft, you will notice that the finished dough will be somewhat sticky, even though you’ve added the exact amount of flour the recipe requires. If this happens, you can add more flour, 1/4 cup at at time, and mix. Once the dough peels away from the walls of the mixing bowl, and collects around the attachment, and is not sticky when you pinch a sample between your fingers, it is ready.
If you’re interested in learning more about butter, especially for roll out cookies, I have a complete digital download guide to cut-out cookies in my shop here.

Baking Cookies
Baking requires exact measurements and methods, including the baking temperature and time. Generally, following the recipe will help you achieve success, however, you’ll have to get to know your oven as well.
Oven Temperature
The right amount of heat during baking is essential for cut-out cookies to keep their shape nicely, instead of turning into undefined lines. If you can, check the temperature of your oven using a thermometer. If don’t have one, and are trying a recipe for the first time, do a test run with a small amount of cookies. Bake them for the recommended time, and if they don’t hold their shape well, increase the temperature of your oven by 25 degrees Fahrenheit or about 15 degrees Celsius. It may of course also depend on the recipe, but if you’re using my recipes, they should hold their shape.
Baking Rack
You can use the convection setting to circulate the air, or bake your cookies at the middle or higher rack. Not the very top rack though. The cookies will brown too quickly. If you bake them at the lowest rack, the bottoms will brown too quickly.
How to Tell When Cookies are Done
If you can help it, don’t open oven to look at the progress of the cookie. The heat escaping affects how the cookies bake. It could result in some spreading of the cookie shapes, if you open it up at an early stage, before they have mainly set. Putting on an oven light helps, especially if it’s a new recipe, but doing a test run on a few cookies should help you determine the timing.
Generally cookies are done if the middle no longer looks wet, and some edges have a slight golden brown tinge. It will depend on personal preference though. If you like crispier cookies, bake a little longer, for softer, chewier cookies bake a shorter amount of time.
If you’re interested in learning more about roll out cookies, I have a complete digital download guide to cut-out cookies in my shop here.
Cookie Cutters
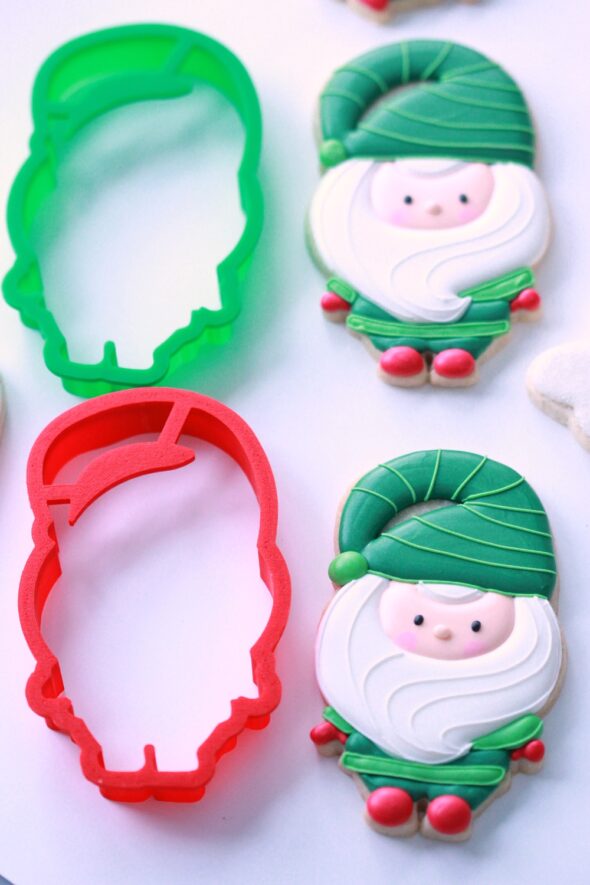
Thank you so much to Cheap Cookie Cutters for making these adorable custom cookie cutters for me! Karrie and Chris Mueller of Cheap Cookie Cutters have excellent quality cutters (the only thing cheap is their prices!), they have over 4000 cookie cutters on their site, they provide custom orders, and ship within 2 business days! I can’t say enough good things about them; they’ve provided excellent customer service for many years!
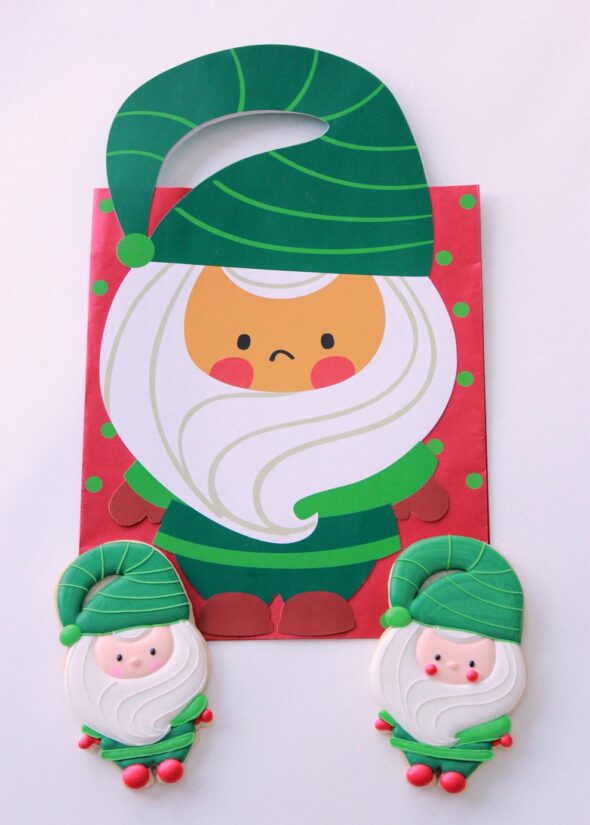
Thanks also to Pier One Imports for this adorable Christmas elf design! It’s from a gift bag Pier One sold a few years ago.
I will be sharing a how-to video on the elf soon. Until then happy baking and decorating!
xo,
Marian


Hi Marian,
Amazing hints and how to be successful in any baking style! The way you teach makes anybody successful! You are my favorite! Love the elf cookies, adorable!
ML
Thank you so much Maria! xoxo
This is great information! Thank you for sharing!
Hi Barb,
Thanks so much, hopefully they’re helpful!
Please can you do a tutorial on the candy sweet cookies! Thank you!
Hi Asmita,
I have one, but it’s in a recent digitial download here; https://sweetopia.net/product/digital-download-christmas-cookies/
Hi!! These are so cute. Can you tell me how you mix for the face color?
Thanks!
Hi Rae,
Sure, it’s Wilton ivory with a slight touch of pink.