Hi there!
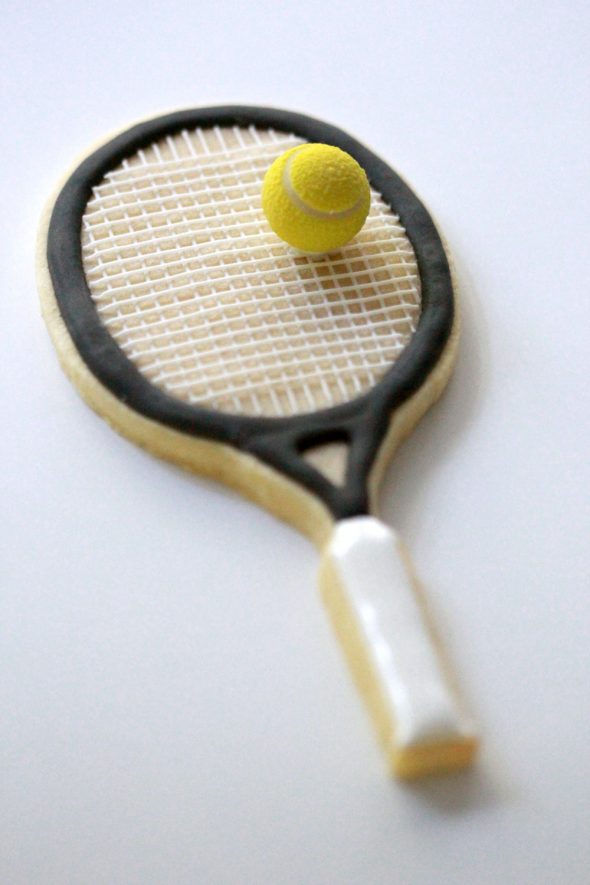
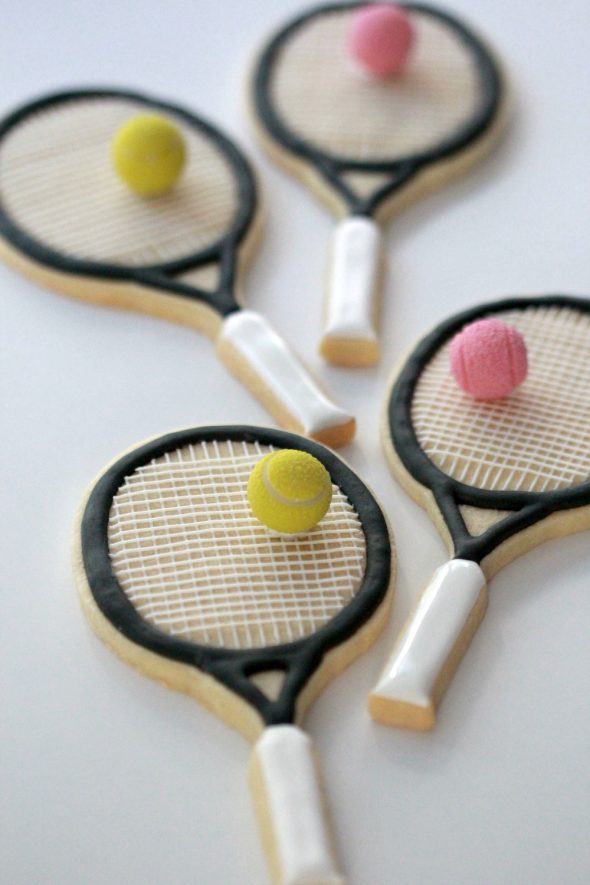
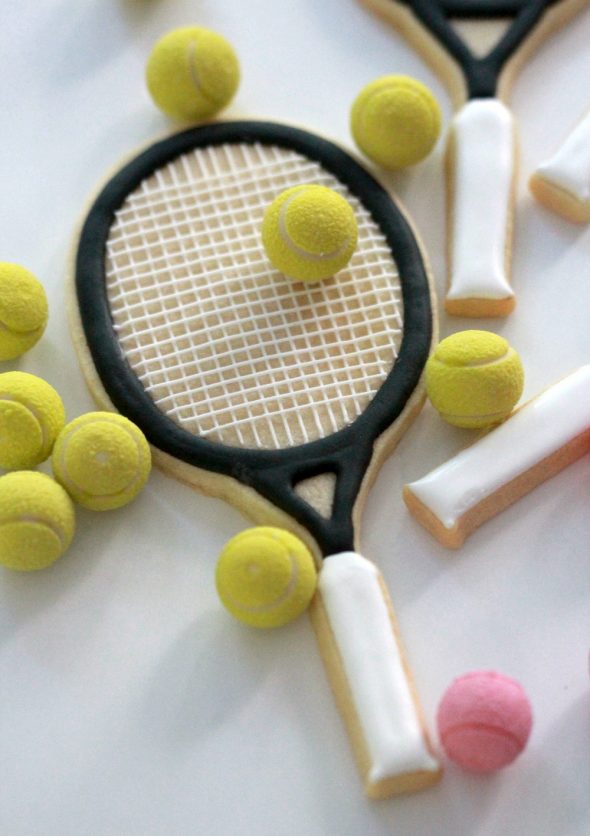
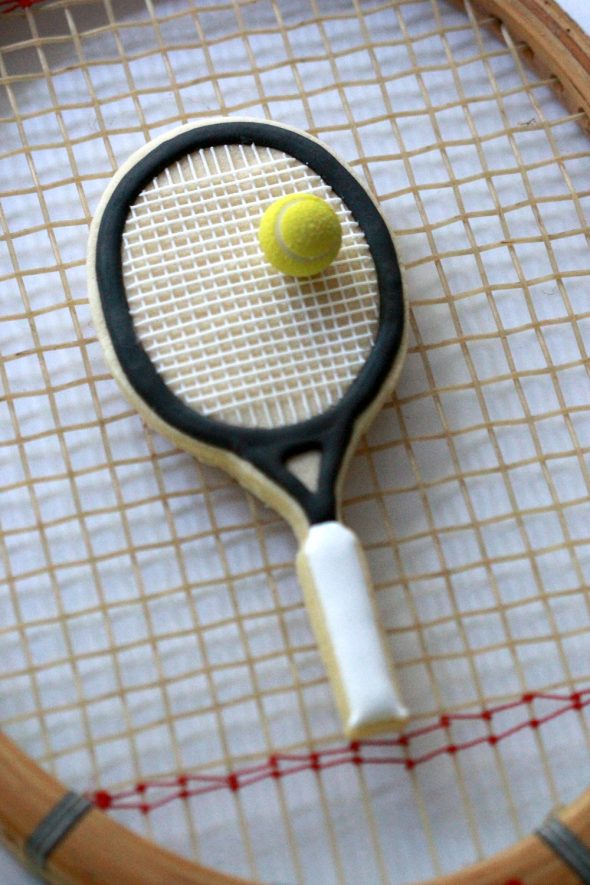
I’m back to baking (especially cookies) and so looking forward to sharing some new recipes I’ve been working on. Summer is here (unofficially) and I thought I’d kick things off with these tennis racket cookies.
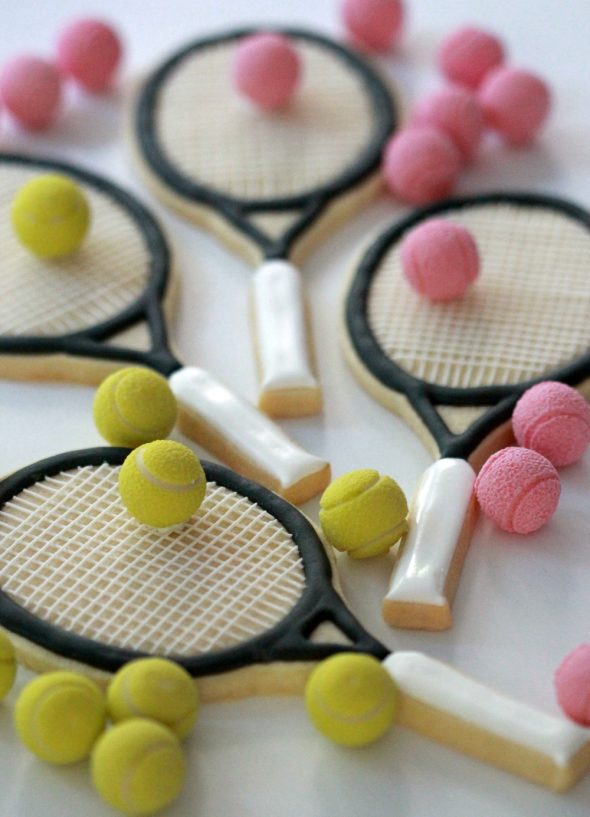
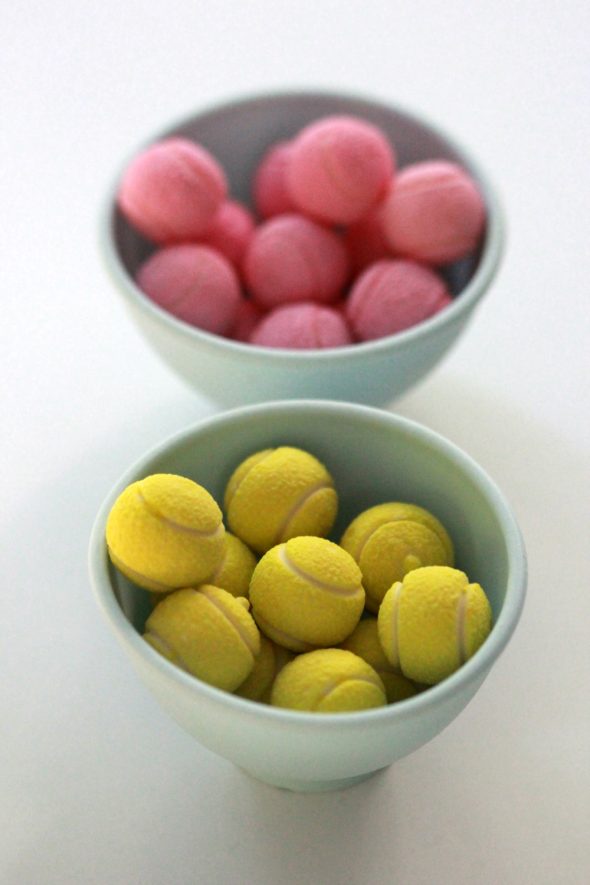
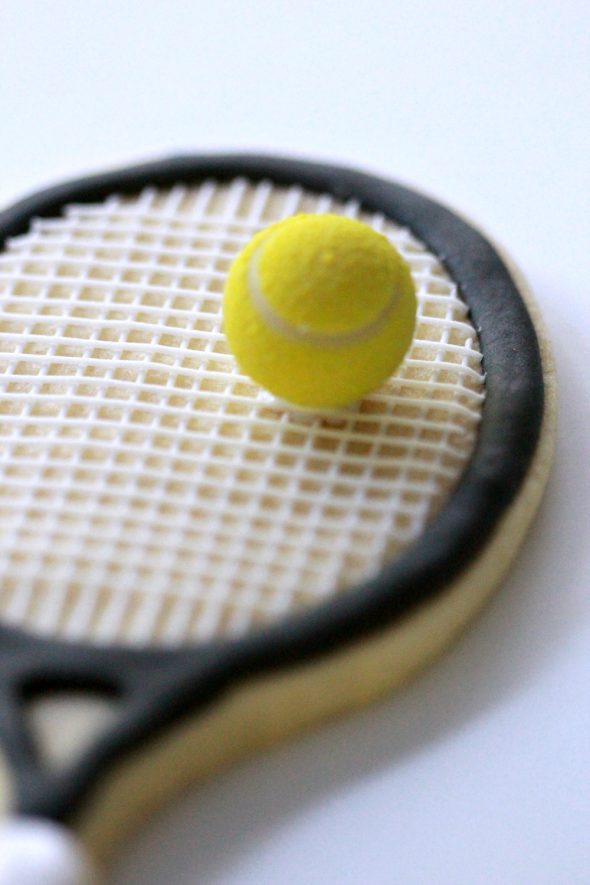
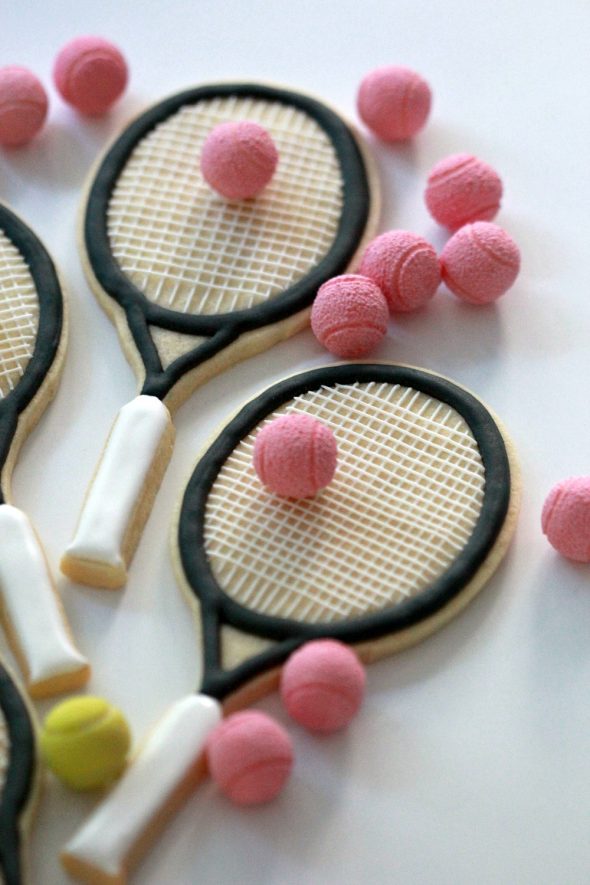
One look at these adorable Sugarpova tennis ball gumballs, and I knew I had to make a racket cookie to match.
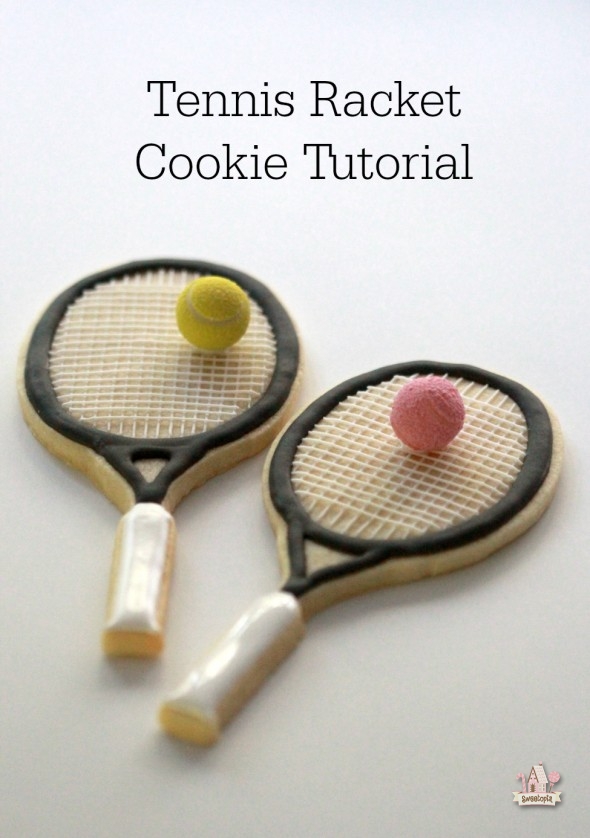
If you’d like to make the decorated tennis racket cookies, here’s how to make them:
How to Decorate Tennis Racket Cookies
Sugar Cookie Dough
You can find the recipe for the dough here.
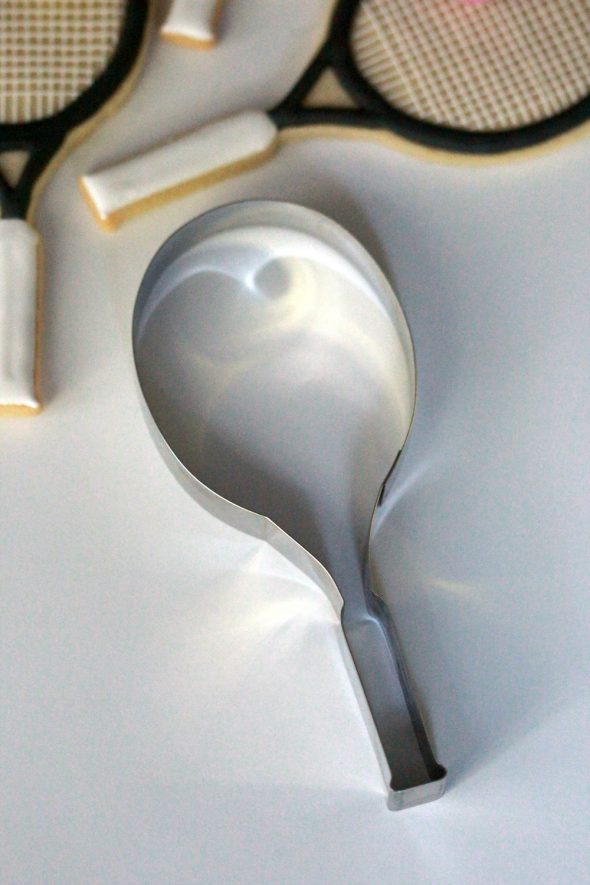
Tennis Racket Cookie Cutter
Thanks to Sherry of How Sweet is That for making the custom tennis racket cookie cutter happen. You can find the cutter in her shop, here. For tips on helping your cookies keep their shape, click here.
Royal Icing
You can find my favorite royal icing recipe here. The consistency of icing is key for easy decorating. Click here to see a YouTube video on finding the right icing thickness.
Decorating Steps
What you’ll need:
- Piping Tips #1, 1.5
- Piping Bags
- Couplers
- Gel paste colors
- Sugarpova tennis ball gumballs
Step One:
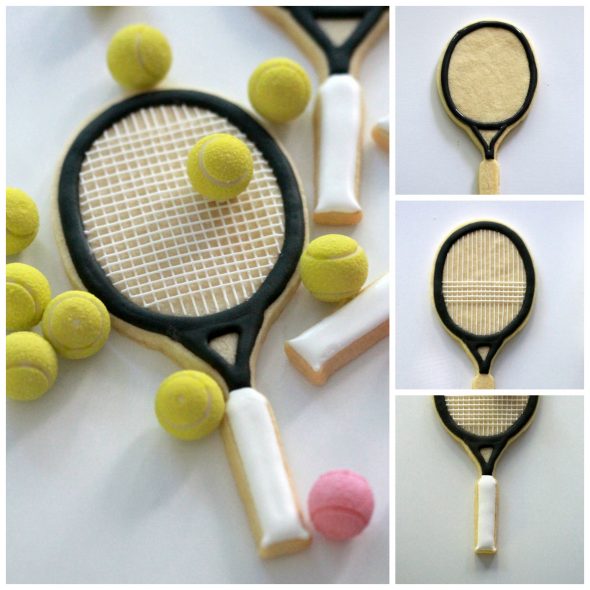
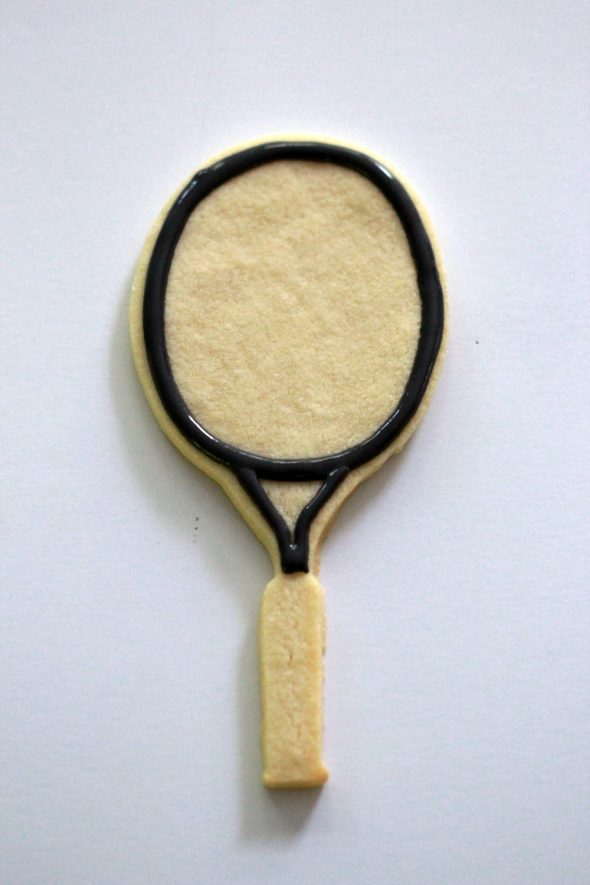
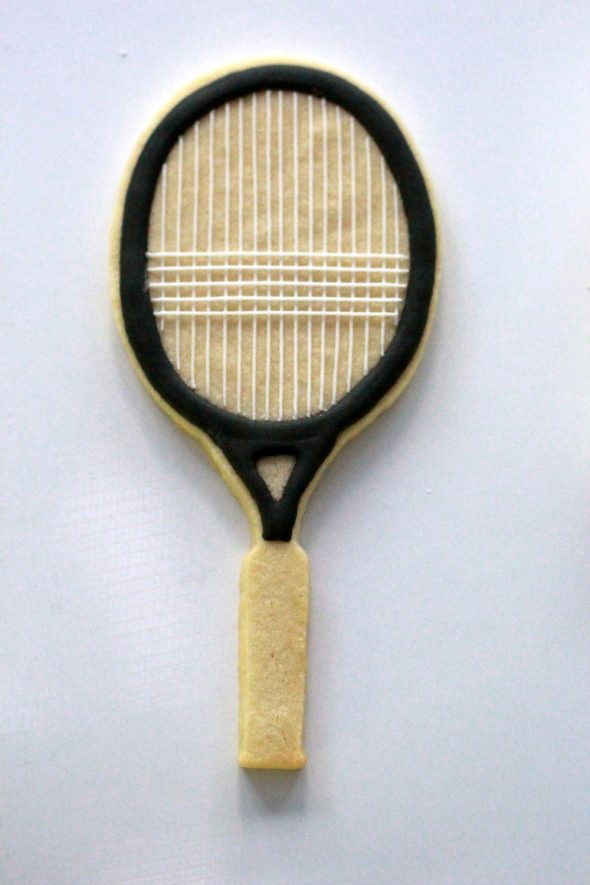
Using a tip #1.5, outline the top section of the tennis racket with 10 second consistency black royal icing. For detailed decorating tips, this tutorial may be helpful for you. Let the black icing dry before you do the next step.
Step Two:
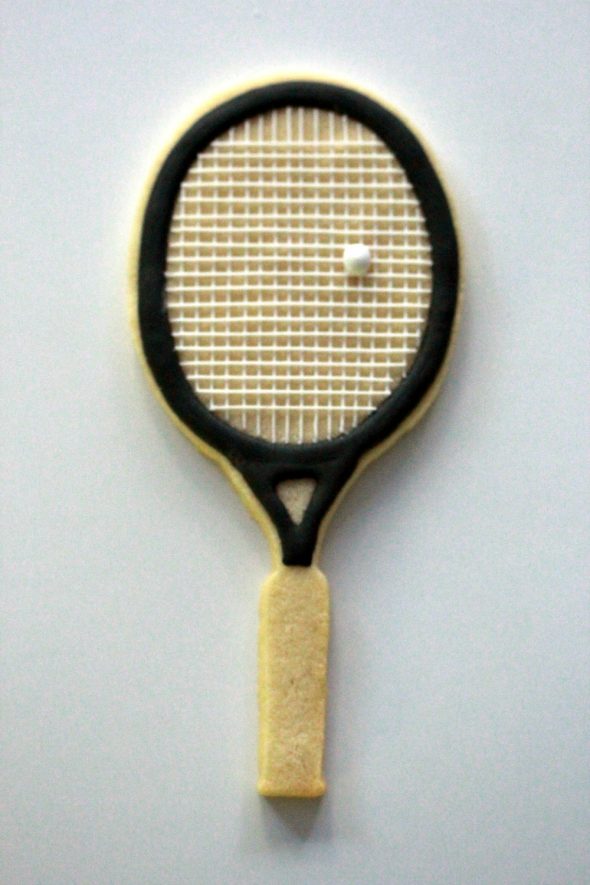
Using a tip #1 and thick, white royal icing, pipe the strings of the racket. The icing should be thick enough that if you dipped a spoon into it and lifted, a stiff peak would be created. For tips on piping lines, see this video here.
Step Three:
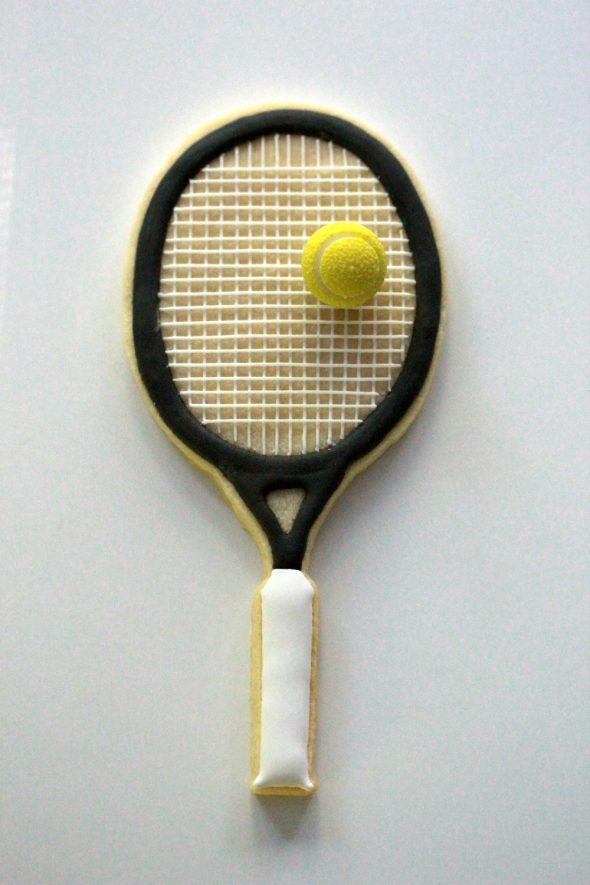
Pipe the handle of the racket using 10 second consistency icing and a tip #1.5.
Step Four:
Add a dollop of icing to the tennis racket and attach your gumball.
Note that in the photo above I did the gumball first, but I came to prefer adding the gumball last, in case I needed to shake the cookie a little to help settle the icing on the handle. Shaking the cookie once the gumball was added could break the icing strings.
Done!
These cookies are best packaged in little favour boxes instead of cellophane bags, for better support.
Hope you have fun making them too!
If you have any questions or comments please feel free to drop me a line below in the comment section or on social media. You can find me on Facebook, Google+, Instagram, Pinterest, Twitter, YouTube and I just joined Snapchat. (Sweetopia_net if your Snapchat search bar doesn’t find Sweetopia Marian).
Happy decorating!
xo,
Marian




Happy Fridaaaay Marian 🙂
(well, every day is a Friday, isn’t it?),
are you kidding me…those straight lines, HOW do you doooo that?? That looks amazing!! I love these cookies! Make me want to play Tennis on the XBox again haha.
What a lovely and detailed tutorial, I am sure it helps many decorators – we all appreciate your effort. Praise God for the talent he gave you <3
Much love,
xoxo
niner
Hi Marian, wow…again! Your Tennis racket and balls look real! Amazing straight lines on the racket. What a great idea for the summer to start with!
Have a wonderful day and summer!
ML
Awesome! They look wonderful. Glad your back! Missed you.
Deb
I love these!! I thought you “photoshopped” those tennis balls in 😉 Saving this one for sure!
So cool!
They are oh so cute and wonderful! Glad that you are back. missed you sooooo much!
Great tutorial! You stated that you outlined the black frame of the tennis racquet with a #1.5 piping tip, yet it appears a LOT thicker that the #1 piping tip that you used for the racquet stings. Are they different brands?
Hi Cindy,
My favorite piping tip to use in general is the #1.5, so I’ll use that for general work. In the outline of the racket I used a #1.5… did an outline (creating the thicker look of the racket) and filled it in. You could use a #4 and do it in one swoop (that would be about the thickness and you’d need to use a good amount of pressure squeezing the icing out), but I find the line isn’t as precise. Hope that helps!
Thanks for the comments everyone!
These are too adorable
Hi! I know this is old, but I’m about to place an order at howsweetisthat and Sherry has two sizes for these tennis racquets and I’m a bit confused.
Would you be able to tell me if your racquets are the 4″+ or the 6″+ ones? I have the gumballs here and they seem too big for the 4″ cutter, but maybe it’s my imagination.
Thanks in advance.
I just figured it out by putting it in my graphics program and checking out the gum ball. You’re using the 6 3/8″ one here. I’m going to buy a few of both anyway since Sherry is the only one with a real-looking tennis racket. Thank you so much for designing these!
Hi Doris,
I just measured the cutter from top end of the racket to the bottom of the handle and it’s the 6 inch one. Happy baking and decorating!
Thank you for answering. Sherry is out of the 6″ ones now, so I’ll have to wait on these. I’m in the US and when I order, I want to order a lot to make it worth it. Thanks again.
Thanks Sherry, all the best!
Hello Marian,
I was going to try my hand at making these tennis racquet cookies for my sons senior year tennis party. I ordered the cutter and the tennis gum balls. So excited! The one thing I’m nervous about (besides the straight lines, lol) is baking this shape. Since the handle of the racquet is much narrower than the rest of the cookie, how did you prevent it from baking more than the wider part of the cookie? Maybe that’s a dumb question. Newbie here. Thank you in advance! Love this cookie design!
Hi Tracey H,
Sorry my response is a bit delayed! A few things, here is a post for you on preventing the spread of cookies:
https://sweetopia.net/2011/04/top-8-tips-on-preventing-cookies-from-spreading/
Also, be aware that the handle of the racket is easily breakable, so in case you give the cookies away as favours, I would put them in little cookie boxes instead of just a cellophane bag. Hope that helps!
No worries. I made them back then.
I found out about how fast the handle breaks. I bought three of those cutters, so I expanded one a little bit and that was better.
They were very cute, just not as cute as yours.
https://www.instagram.com/partyprettier/
https://www.instagram.com/p/BnFUFiVgsUY/
Thank you, again, for teaching so many skills to everyone.
Thank you so much for your response Marian and the tips too. Very helpful. I am mostly concerned about how the cookie will bake since the handle is so narrow compared to the body of the racquet. I was concerned that the handle would bake through well before the top section of the racquet. I was wondering how you kept the handle from browning or over baking. I’m assuming the head of the racquet will take longer to bake through. Did you have any issues with this? Again, newbie here. I’m better suited for decorating. 😉
Hope I’m making better sense. I make a thick cookie, 3/8in. Thanks so much in advance! 🙂