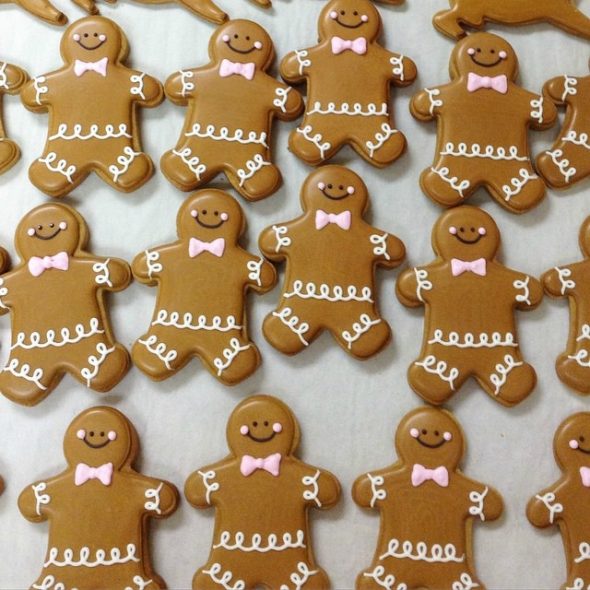
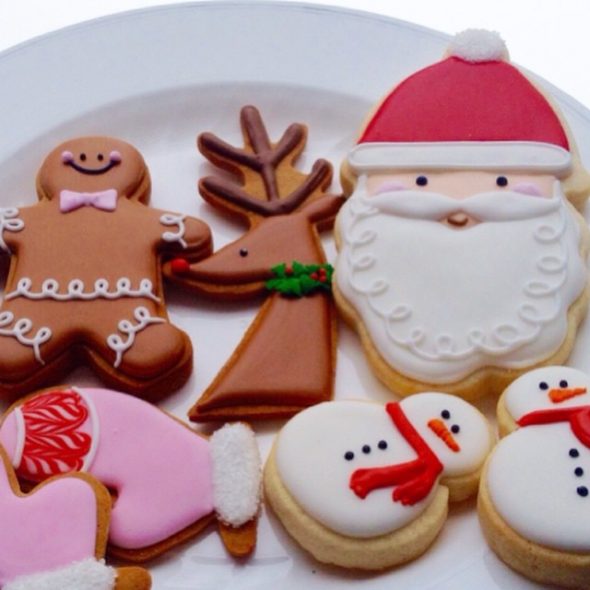
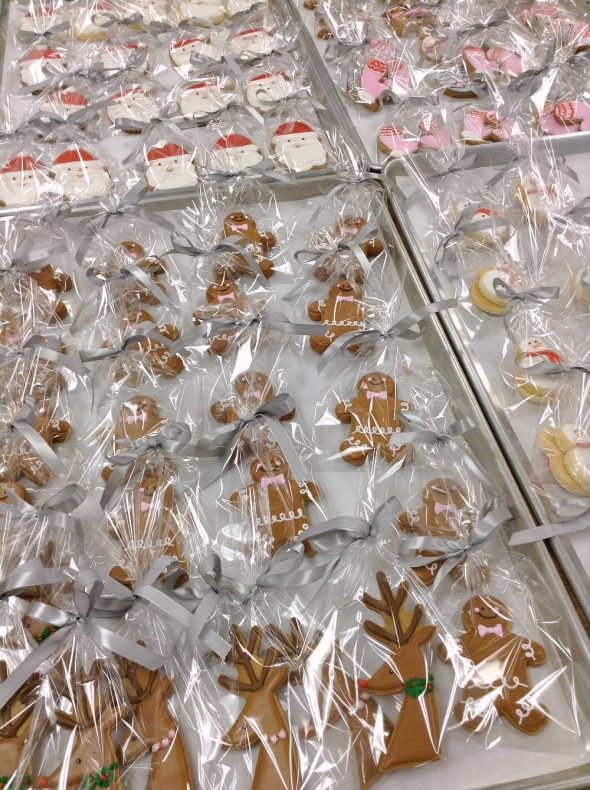
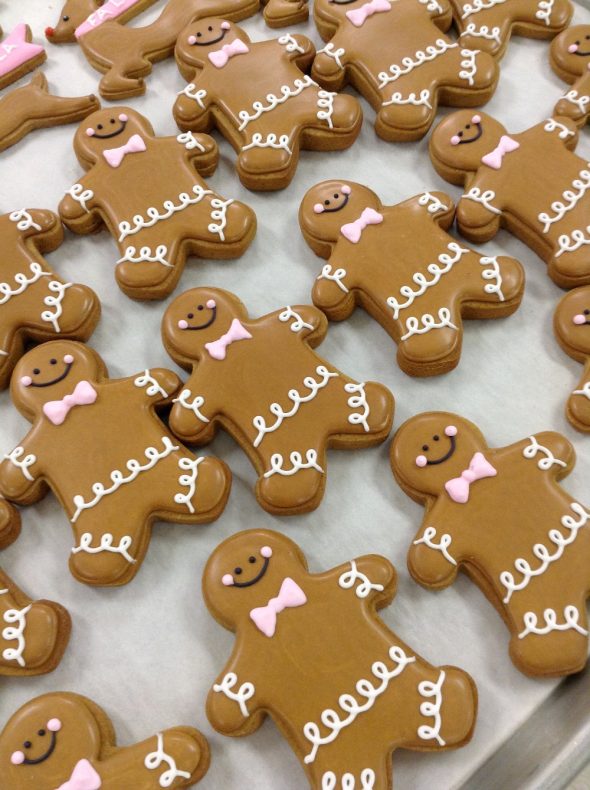
Tis the season to be baking and cookie decorating my sweet friends, so this post is a bit rushed as I’m off to decorate a gingerbread house next. Just thought I’d quickly share these simple Christmas decorated cookies I’m gifting to neighbours, friends and family…
If you’re new to cookie decorating, they really are easy to make with some key tips I’ll be sharing below.
Apologies for the poor quality of photos… Most of these were quickly taken with my iPad when I thought to!
For all of these cookies the videos and links below will help you with cookie decorating basics, and I’ll share the specifics steps for the Santa Claus cookies below. So let’s get started!
You’ll need:
Cookie Cut-Out Recipes
Chose a flavour from my recipe section. (Make sure you wait for the page to load so you can see the words “See More” and see all the cookie cut-out recipes).
Icing Recipe
Tried and true, click here for my favorite royal icing recipe.
You’ll need to have a certain consistency for flooding your cookies… Here’s a video on how to achieve that consistency.
Cookie Decorating Basics
Here are some posts which take you through all the cookie decorating basics:
{Video} Cookie Decorating Tools & How to Fill a Piping Bag
{Video} How to Outline and Flood Cookies with Royal Icing
{Video} How to Dry Cookies Decorated with Royal Icing
More Tutorials
You can find more tutorials and information on cookie decorating in the tutorial section found at the top of Sweetopia. Everything from how to store royal icing to the shelf life of cookies.
*
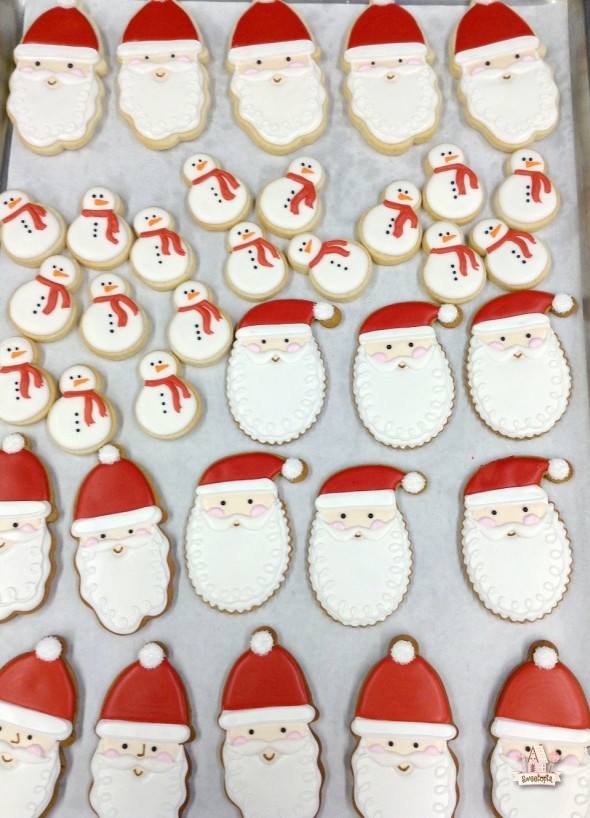
Easy Santa Claus Cookies
What You’ll Need for Decorating
For flooding basics, you’ll need:
- Piping Tips #1
& #2
- Piping Bags
- Couplers
- Food Gel Coloring
*
* The gel colors used for the Santa cookies are; Americolor gel colors red, white, brown, black and ivory.
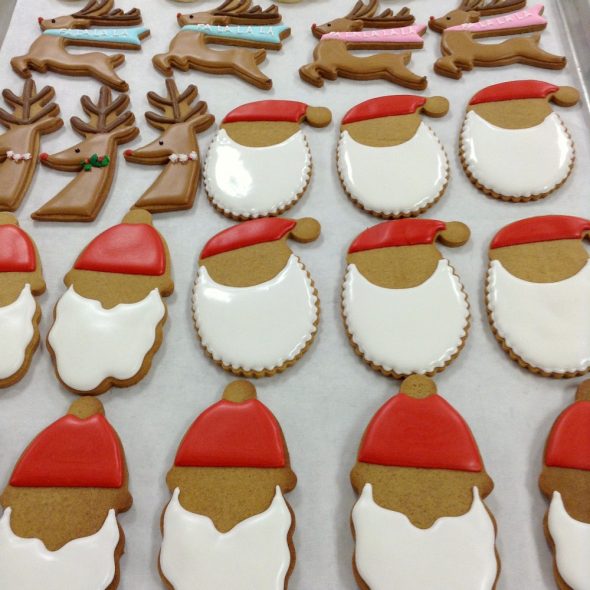
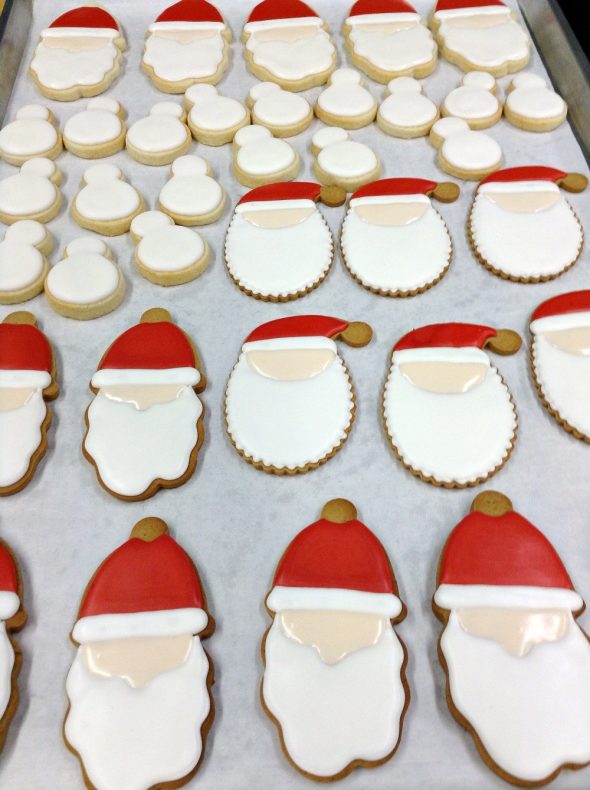
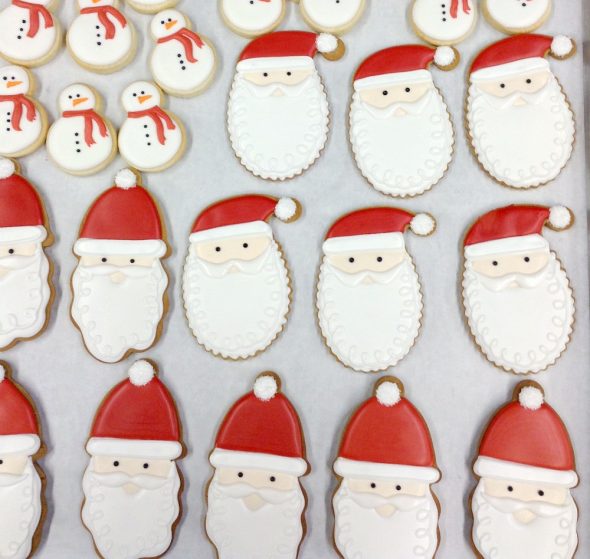
1. Using a #2 piping tip, pipe the beard and hat (photo above), and let dry for at least 15 minutes.
2. Using tip #2, pipe the hat brim with white icing. Let set for 15 minutes.
3. Using tip #2, fill in the face base with ivory icing. Let dry for at least 1 hour before you pipe the moustache or face details.
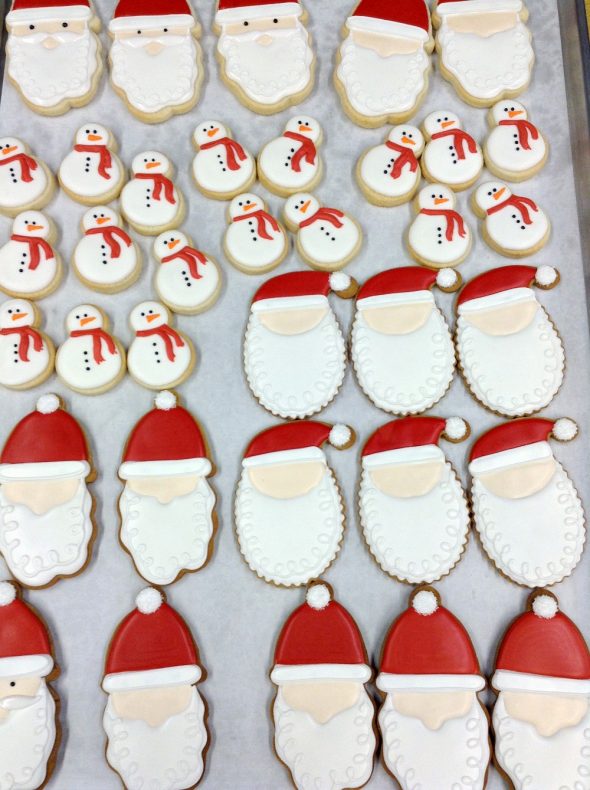
4. Pipe a white dot of icing on the top of the hats and immediately sprinkle with sanding sugar.
5. Using tip #1 or #1.5, pipe the swirly details on the beard and the outline on the hat brim. Pipe the moustache with the same tip.
6. Using tip #1 for all colors, pipe two black dots for eyes, pink cheeks and brown mouths. (You may want to pipe a nose as well. I tried a few with noses and preferred without after all).
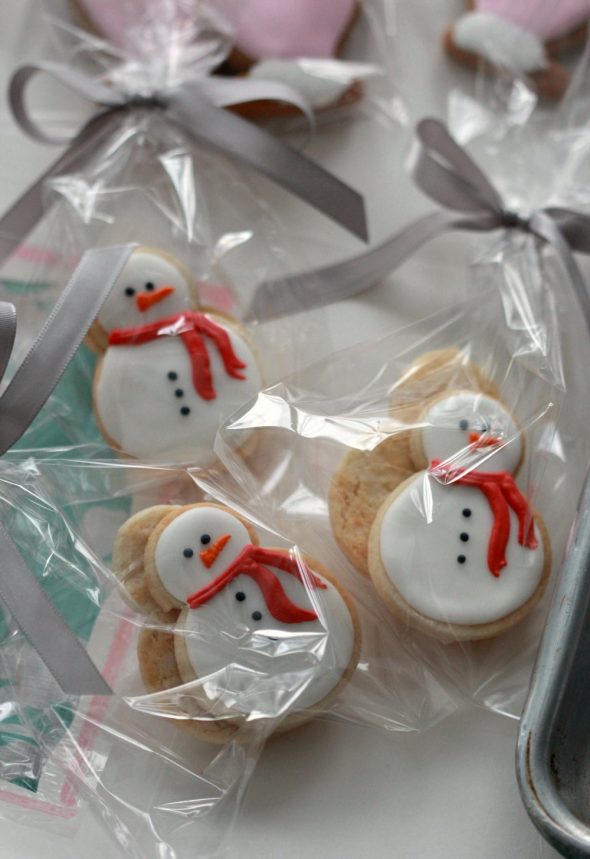
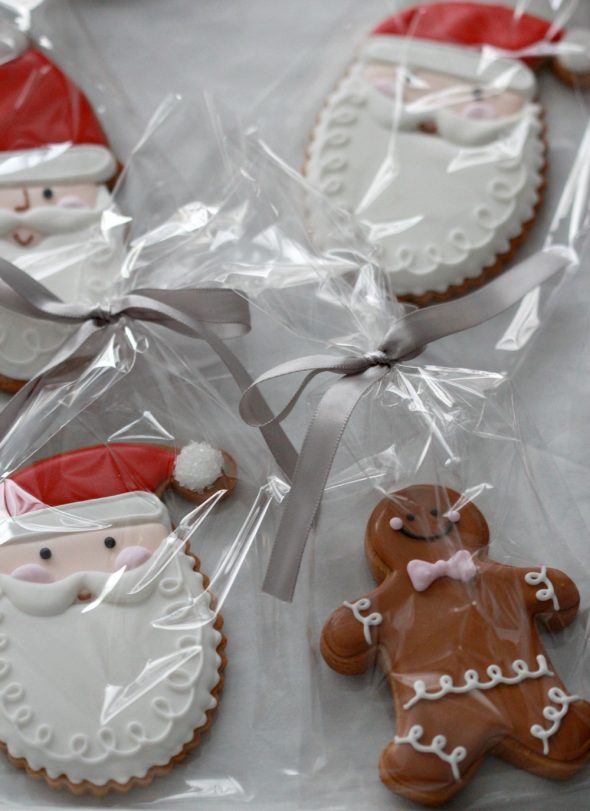
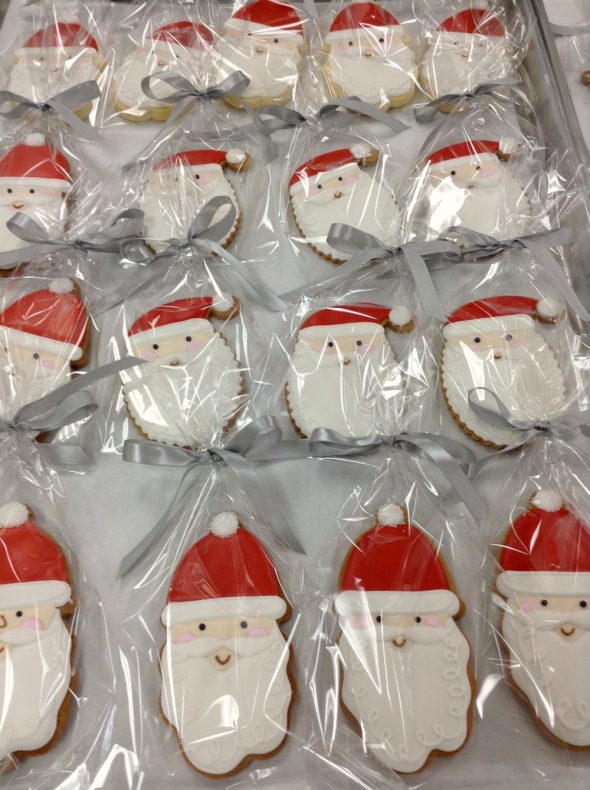
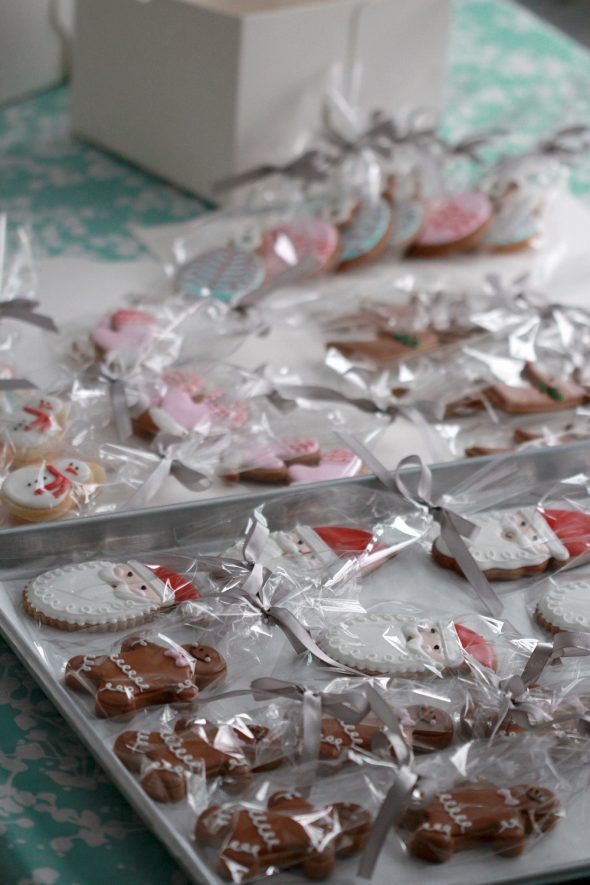
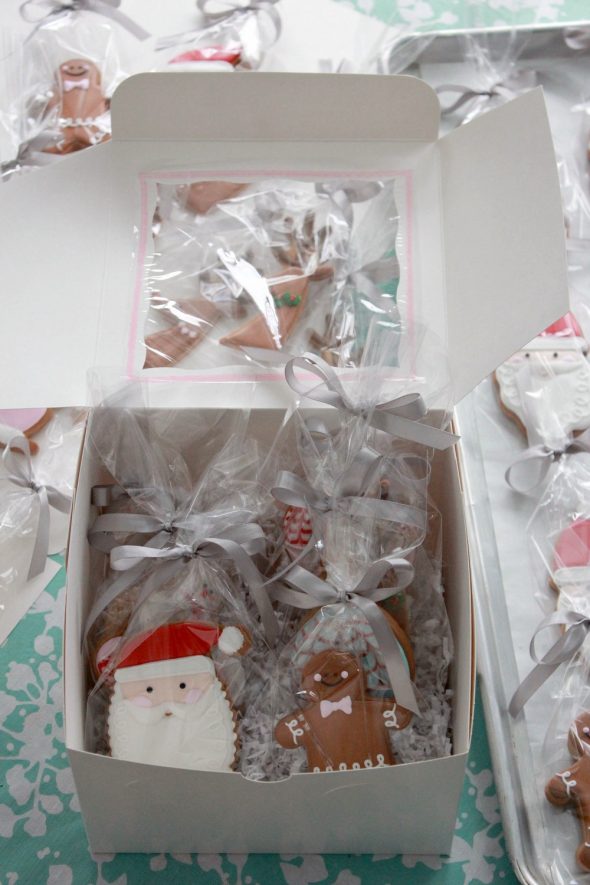
That’s it! Let the cookies dry for at least 6-12 hours and place in cellophane bags with ribbon.
Silver grey probably isn’t the best color choice for ribbon but I had lots left over from another project.
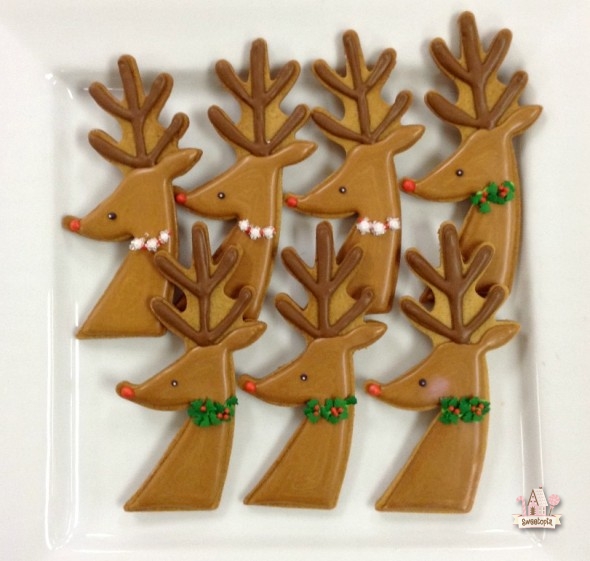
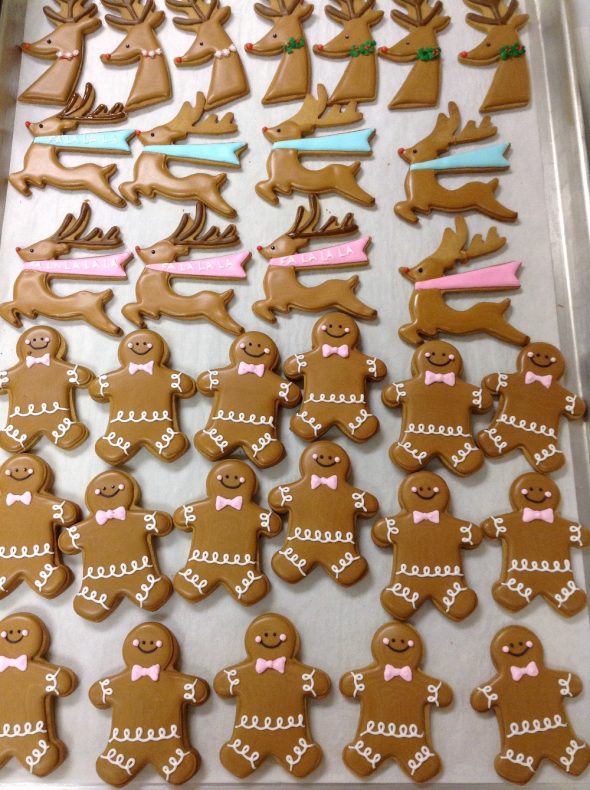
The santa and reindeer cutters by the way, are made by meri meri. I found both at Home Sense (Canada) which is Home Goods in the United States. You can also find them on Amazon (click here)..
And one of the best parts about cookie decorating – Giving them away! Here they are ready to pack…
Shipping Cookies
If you’d like to ship cookies, here’s a post for you on how to do that.
Wishing you lots of fun baking and decorating!
Please feel free to share in the comment section what you’re making or drop me a line on Facebook, Google+, Instagram, Pinterest, Twitter or YouTube.
xo,
Marian



Pretty Cookies as usual. your friends and neighbors are very lucky 😉
Merry Christmas!
Beautiful work,and lots of work too. Gorgeous like always!
You are amazing!
Have wonderful Christmas and a Happy 2016!
ML
Rosie you always have the most beautiful sweets but your Christmas cookies always impress me the most! Just lovely. What a wonderful treat. Merry Christmas!
Marian, your cookies are delightful and so festive. I’m decorating cookies this week so I was excited to see your post which has provided me with ideas and inspiration. Have a wonderful Christmas!
Thank you for your comments and Merry Christmas!
Hello! I’m eating a sandwich in Beijing China and as I was reading the wrapper I realised they had directly stolen the words from the internet. I looked up a section of it and found this. Did you know your post is on sandwich wrappers in China? If you want me to send you a photo, send me an email.
Fascinating! I’ll send you an email, thanks!