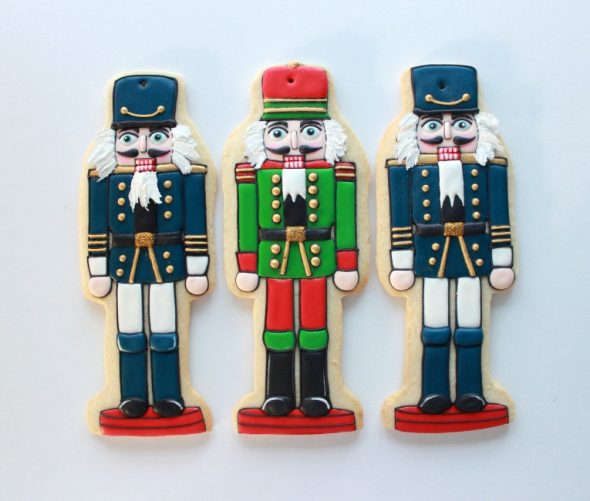
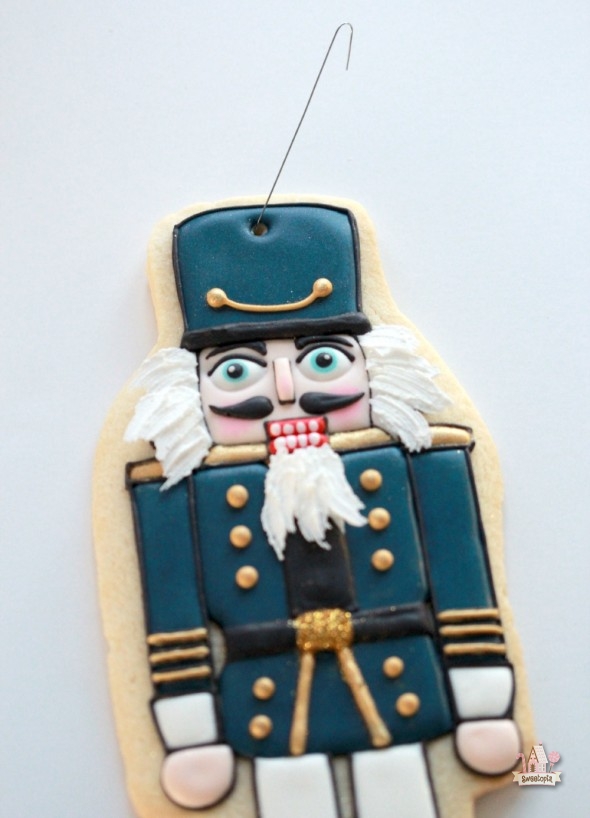
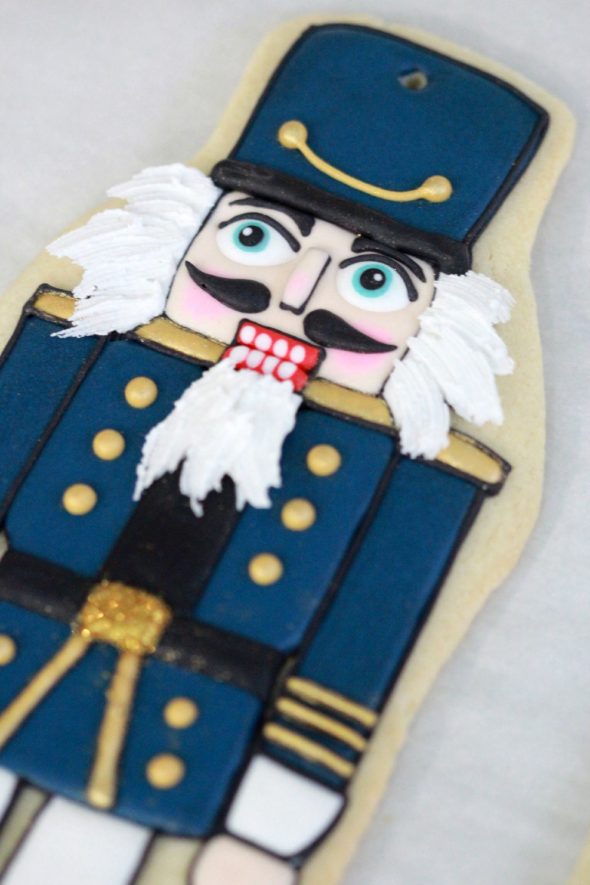
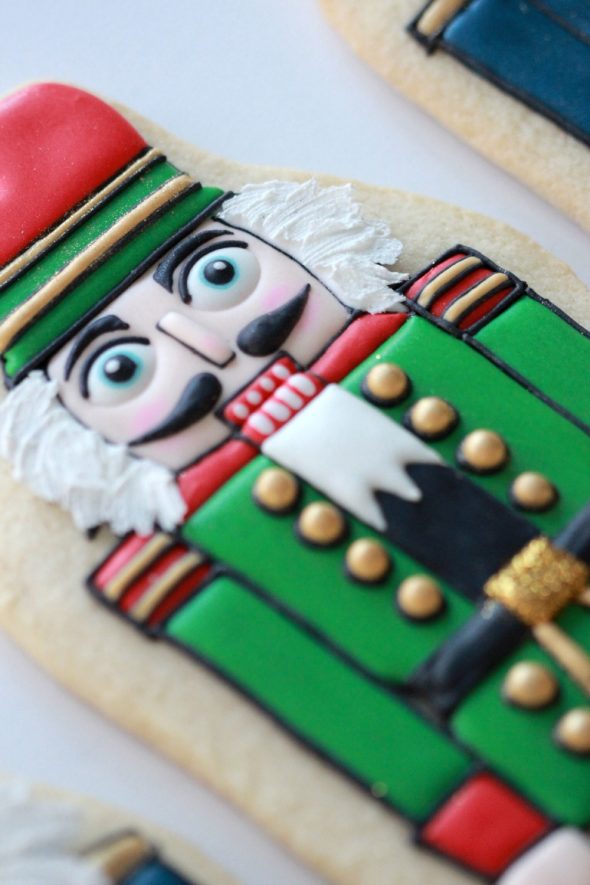
Happy Monday! With Christmas around the corner, it seems that all my holiday dessert ideas may not be realized, but I’ve managed to fit in a few which I’ve been meaning to make for quite some time. An invitation from Haniela to do a video collaboration of sorts was the perfect excuse to decorate these nutcracker cookies – a cookie delightfully sweet to eat, or whimsically festive as a nutcracker ornament. Follow these tips on preserving your cookies if you’d like to keep them for future Christmases and especially follow #5 if you live in a warm climate this time of the year.
To see a video how-to on making the nutcracker cookies click the video below, and definitely check out the links to Haniela and Marlyn’s gorgeous ornament cookies too. Their YouTube channels are both excellent – if you haven’t already, subscribe to be notified whenever they post something new. You’ll always be in for such a treat! The three of us teamed together to each create our own Christmas cookie ornaments, and you can see the results below.
Notes and a list of items used to create the nutcrackers, can be found below the video.
How to Decorate Nutcracker Cookie Ornaments {Video}
Tools You’ll Need:
- Piping Tips
(#1.5, #2.5)
- Piping Bags
- Couplers
- Gold luster dust
(FDA approved)
- Gold disco dust
- Pink luster dust
- Scribe tool
- Paintbrushes used for luster dusts, disco dusts
- Gel paste colors
- Kopykake projector
or create your own template with paper
- Plastic wrap
- Small, square-edged paintbrush
Notes
* The cookie recipe I used for the base, sugar cookies, can be found here. Other cut-out cookie recipes, should you like to try a different one, can be found here.
* The royal icing recipe can be found here.
* If you’re new to cookie decorating definitely check out the following posts:
* {Videos} Cookie Decorating Basics (Flooding, Piping Lines, Drying Cookies etc.)
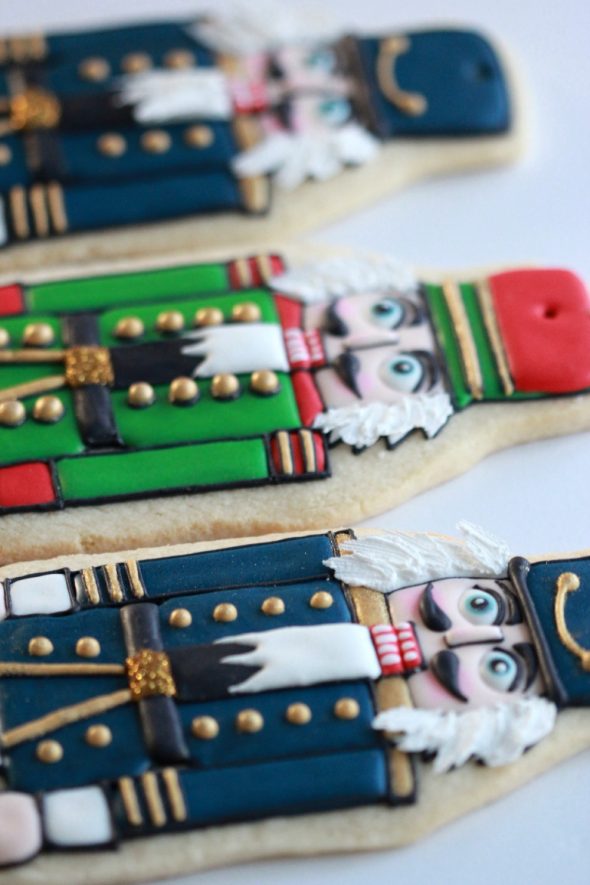
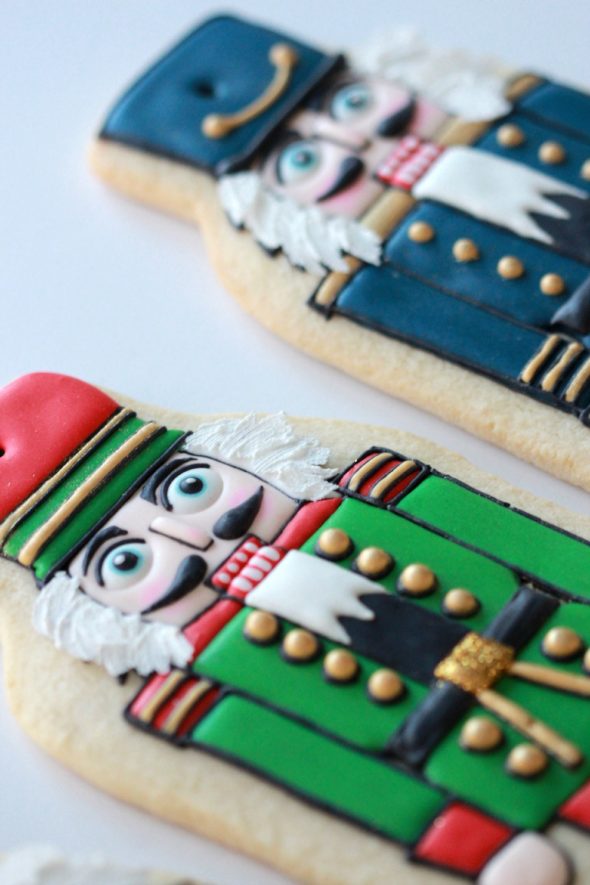
* The idea for the feather-like hair came from Yukiko of Rosey Sugar. Check out her site here too.
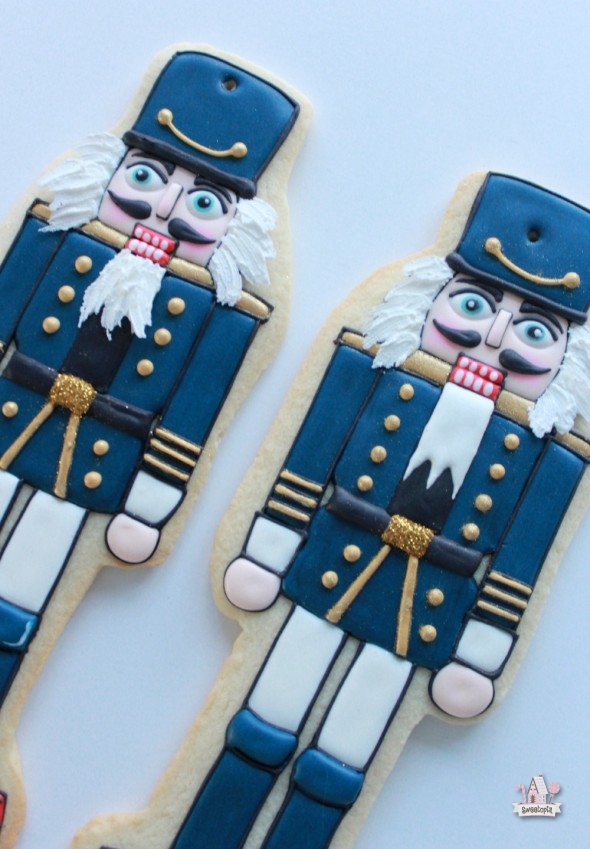
* I wasn’t sure if the beard should be feather-like/textured or plain so I left a few without. Do you have a preference?
* To thicken the royal icing for the hair add icing sugar until it becomes paste-like.
* The gold sparkles are disco dust, and are for decorative purposes only. Perfect if you’re using only as ornaments.
* You can find gold luster dust which is safe for consumption, here, but as I knew I was only using these for display I used one which is more shimmery, but only for decorative purposes. You can find that gold luster dust here
.
* The pink luster dust can be found here.
* To help me draw the shape of the nutcracker, I used a Kopykake projector. You can find one on line here
, and a how-to tutorial here.
* These cookies are quite simple to make, technique-wise. They do take a long time to decorate though. On average, I spent about an hour a cookie.
* I will make his eyes a bit smaller next time.
* The image of the nutcracker can be found on istock.
* When cutting your cookie shapes out, use a drinking box straw to cut a hole out to be able to hang as an ornament.
* Use a long ornament hook or ribbon to hang your nutcracker cookies.
* My first attempt at him (found him on a sticker years ago, but can also be found on istock.com) is here.
* For most of the icing colors I used of icing a #1.5 piping tip or a #2.5
tip.
If you have any questions I’m happy to help! Please leave me a comment below or leave me a message on social media somewhere.
Happy decorating!
xo,
Marian
p.s. Sorry for all the photos – I can never chose which ones to post. xo


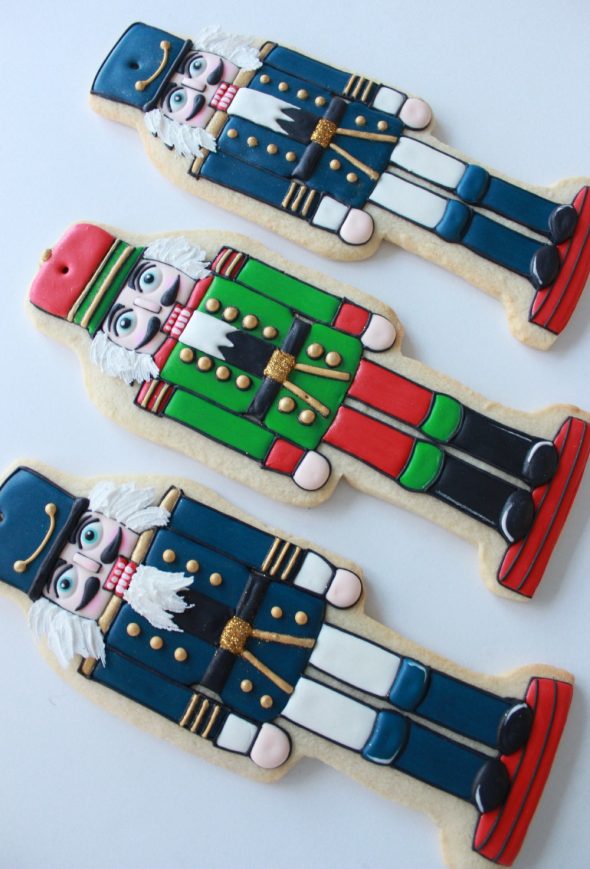
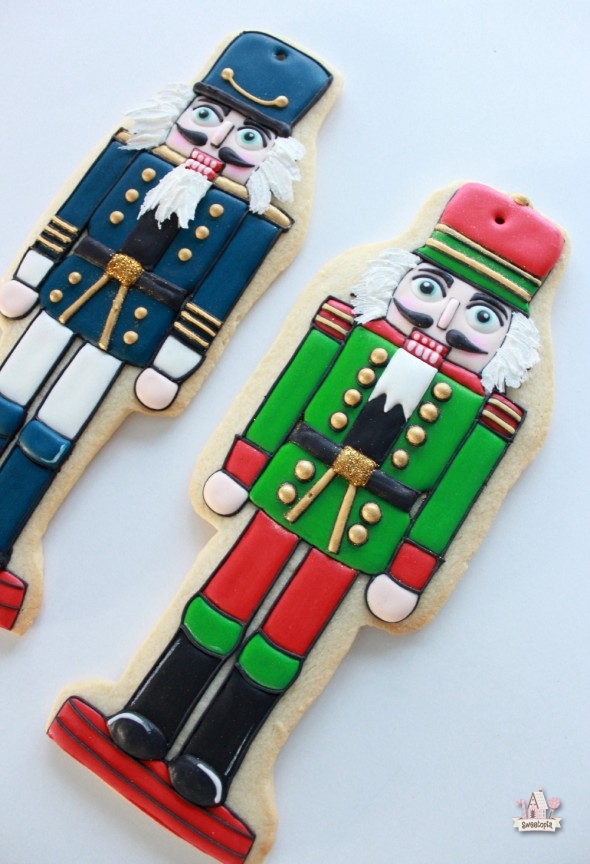


I am simply blown away. They are beyond amazing and I am thrilled to be the first to say so.
High praise, thank you Marian! 😉
Seriously???? 🙂
Marian – this is CRAZYYY!
That video is AMAZING! EVERY move is on point, such perfect lines – I am simply amazed.
Such a great tutorial! 🙂
Love,
niner
Niner thank you so much for always commenting – it means a lot – thank youuuuu! xxoo
You are an amazing cookie artist. I am blown away each time you post. Thank you for the inspiration!
Aw shucks, thanks so much Jocelyn!
WOW……how amazing! I have no better words! That is talent! Love every thing you do and share with us!
THANK YOU MARIAN!
ML
Thank YOU for your unfailing comments, Maria Theresia – it is much appreciated! xoxo
I don’t think I would even attempt this….but it was AMAZING to watch. Your work is truly art and I love watching all your video tutorials. Thanks for sharing.
Ansa
Thank you for the lovely comment, Ansa. xo
Hi Marian. What a pleasure to watch the video and see the cookies come to life before my eyes. Unbelievable artistry. Wow.
Hmm, I may try this. My biggest worry would be messing up half-way through. Are you able to easily correct any errors when decorating such an intricate design?
I tried making your mixer cookies a while back and just hated the way my icing work turned out-lol. I must practice more.
Happy holidays!
Hi Lisa,
It depends on the mistake, but yes, I do make them and am able to fix most of them.
If it’s at the outlining stage I take off the “mistake” icing with a toothpick or clay tool and slightly scrape away the surface of the cookie so the icing residue can’t be seen as well.
If I’ve flooded the wrong section, or flooded the wrong color etc., I again scrape away the icing, this time with a clay tool… pictured in the video picking up the “feathered” hair.
You can also try and pipe or fill in bumps, cracks, open spots etc. Covering with sugar or disco dust, or later with some sort of sheen, helps too.
I hope that helps and thanks for the comments!
Perfect holiday cookies.
Thanks for the amazing tutorial, Marian!
Can’t wait to try this!
Thank you Madame Baker! Happy baking and decorating to you!
These are works of art! I was viewing the video and Brian muted the hockey game to watch your tutorial instead. Amazing! You are so talented. I’m not attempting these. Still trying to perfect some basics on less intricate designs. Thanks again for sharing your beautiful work.
Hee hee, that is funny! To take away from hockey, such a great compliment! Merry Christmas you two!
wow…
Love the video! Looking forward to more! Thanks and Merry Christmas!
Romina and Kathy, thank you and Merry Christmas to you!
Thank you so much for posting this video! It was very helpful. Would you ever consider doing a video dedicated solely to the Kopykake projector? Maybe a tips and tricks type video? I’ve had one for about a year now and I don’t feel I get as much use out of it as I like. Thanks!
Hi Vanessa,
Thanks for your comments! I will definitely add that one to my list, thanks for the suggestion!
Gorgeous cookies as always!! Did you use a cookie cutter for these or cut the shapes out by hand?
Hi Natalie,
I cut these out by hand.
If you hand-cut these, would you mind saying how large they were?
Hi Madeleine, they were quite long.. about 11 inches long.
Was wondering what the finished size of these cookies were?? I just love your work
The feathered hair was way too cool, definitely tucking that tip away! Thanks for sharing, I was completely mesmerized the entire tutorial. You make it look so easy! 🙂
Amazing website!!! What kind of cutter did you use to cut the actual cookie?? your cookies are mind blowing!! Thank you for your amazing tutorials!
Beautiful job! Curious what size the cookies are though?
Hi! I love this video but sadly it is not available on Youtube anymore maybe because copyright with the sound. Do you have this video anywhere else? Thanks! These are beautiful!!
Hi Cakey,
I did replace the sound and I can see it on YouTube again. I’m hoping you can too!
Aw, I loved watching this video last year. Sad to say, it is not working on YouTube due to a copyright? What was the music that was played in the video?
Hi Shannon,
Thank you for letting me know. It was nutcracker music, but I had purchased the music I think from audionetwork, to allow music clips copyright free, but YouTube flagged it. I replaced the music with free YouTube music, and I can see the video playing again, but apparently not everyone can. Perhaps it depends on the country you’re in. I will see if I can repost it.