Hello and Happy Valentine’s Day!
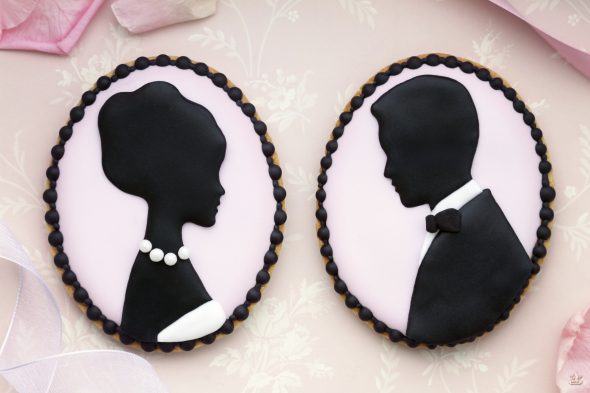
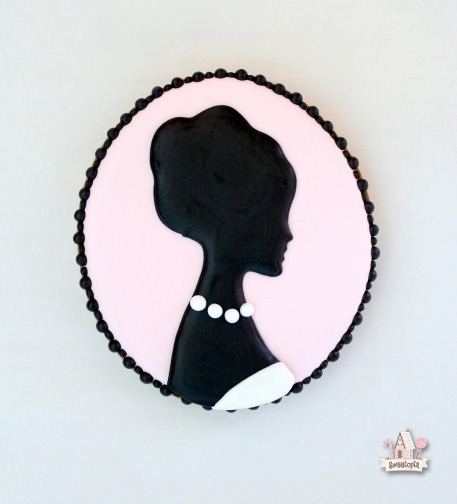
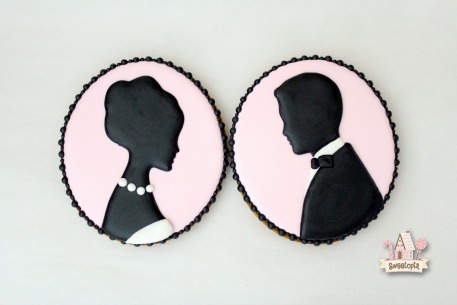
Today’s cookies would be perfect for Valentine’s Day or a wedding theme, and in my case, I was happy to make these for CakeCentral.com, who asked me to create a tutorial based on the photo given to me above, which was published in their latest magazine issue. Pretty in pink and elegant silhouettes… Had me thinking about when I could make them again. Imagine making personalized versions of these, like the ones of Blake Lively and Ryan Reynolds on Martha Stewart’s site here – so sweet!
If you’d like to make these, here’s a little how to for you…
*
How to Make Cameo or Silhouette Cookies
Items You’ll Need:
Cookie Recipe (Shortbread, Gingerbread or recipe of your choice)
Oval Cookie Cutter (size is personal choice)
Food Gel Colorings (pink, white, black)
Piping Tips (#’s 1, 2, & 3)
Piping Bags
Couplers
Parchment Paper or Transparency Sheet
Shortening
Cameo Template (use your own personalized ones or purchase stock image here).*
Decorating Instructions:
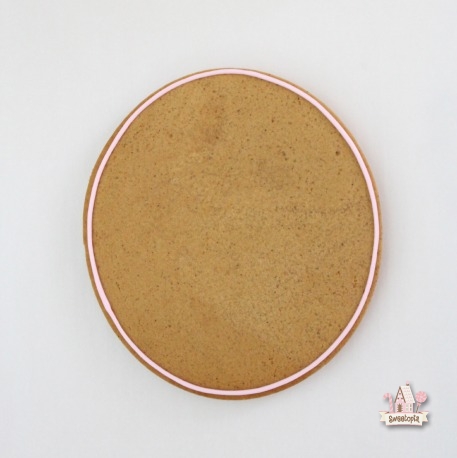
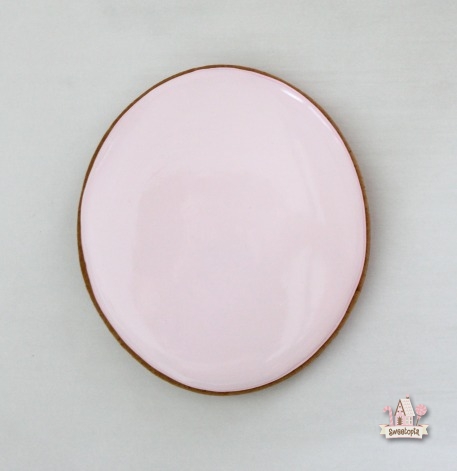
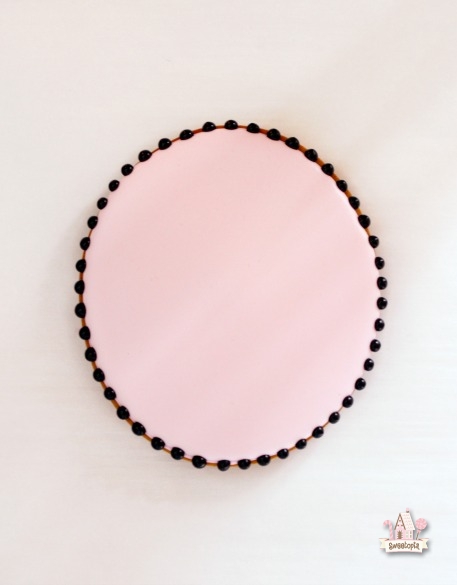
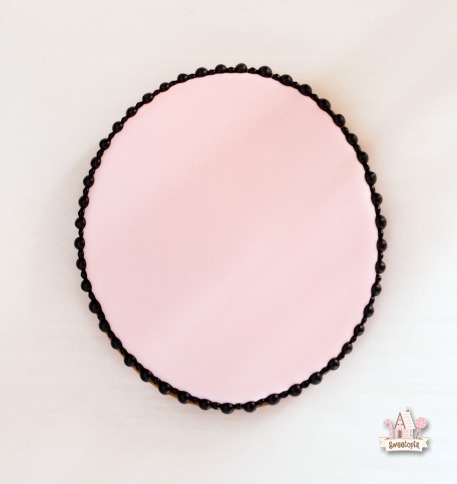
Once your cookies have been baked, you’re ready to decorate. Using a #3 piping tip and pale pink royal icing, outline and flood the base of your cookie.
*Make a personalized cameo for your recipients, such as this example on Martha Stewart’s site here, or use a stock photo, like this one cakecentral.com provided me.
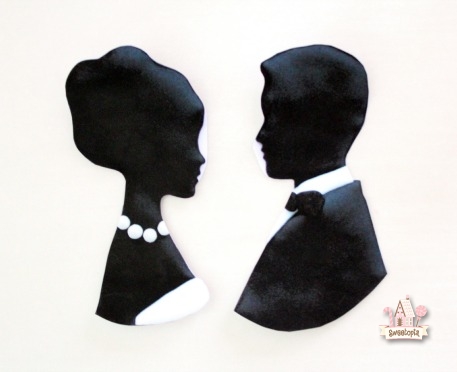
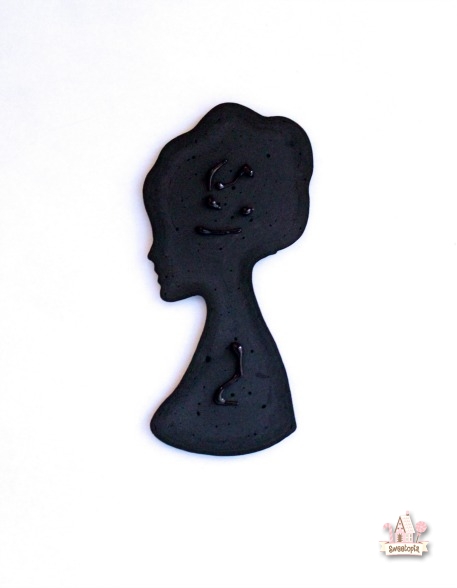
While your cookies bases are drying, make your royal icing cameo transfers. The transfers are a nice option as they can be piped while the cookie bases are drying, and make the ‘drawing’ portion of these cookies easy, as the shape is traced.
Use the cameo template as is, or resize it in a photo editing program, in the print options or even with a photocopier, to match the oval cookie cutter you’d like to use.
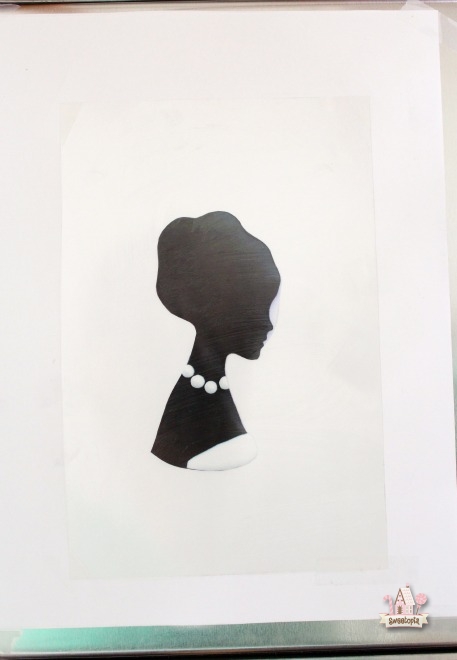
Cut the transparency (or parchment paper) out larger than the size of cameo image you’ll be piping. Lightly coat the transparency with a small amount of shortening using some paper towel. This helps make the royal icing shape easier to remove when it’s dry. Place the cameo image on a flat surface, such as the back of baking sheet or a book, and tape the transparency over it. (I’ve also taped a white sheet of paper under my transparency, so that the details are easier to see in photos).
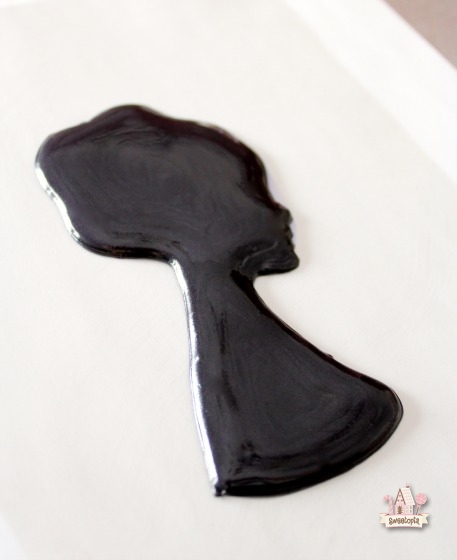
Using a #1 piping tip, trace the outline of the cameo shape, and flood with black royal icing. Make extras as royal icing transfers can break easily. Let the icing dry for at least 24 hours.
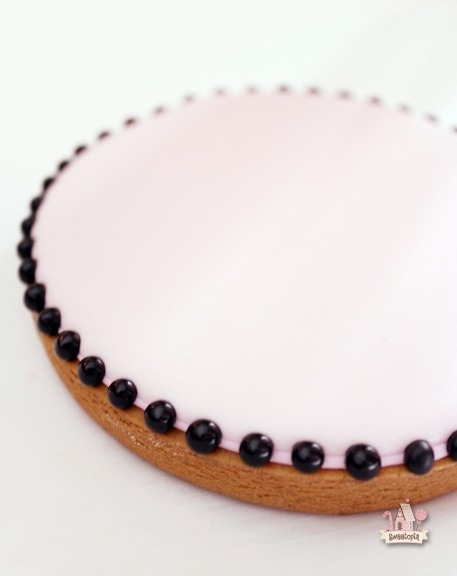
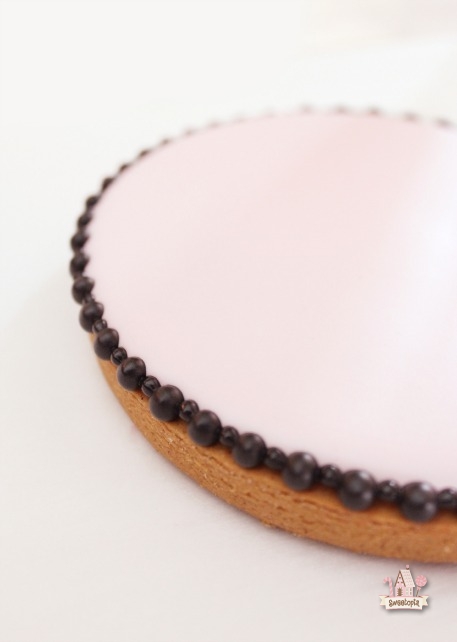
In the meantime, using a #2 piping tip, pipe larger dots evenly spaced around the perimeter of your pink base.
Let those dry for approximately 15 minutes so that the dots set, and then pipe the smaller dots in between. Use the same piping bag fitted with a #2 tip, just use less pressure and less icing for the smaller dots.
Once the cameo transfer is dry, gently remove it by peeling the backing away, and pipe a small amount of black royal icing on the back of it.
Place it face up on the cookie and gently press so that the transfer adheres to the cookie.
Pipe the white royal icing details (necklace and dress). Let those details dry and you’re done!
Happy decorating!
xo,
Marian



Hi Marian,
I had a similiar idea to make silhouettes in the shape of dancers for my niece’s graduation party then attach them to a cookie as a favor. Because most of the designs I found online have legs and arms in an extended position I thought it may be a little tricky to get them off the transparency without breaking them. I thought maybe I could draw a square around the figure and flood the background white while the figure would be flooded in black, that way I would have one solid square piece to attach to my cookies. I need to make about 100 of these cookies, how far in advance do you think I could make the silhouettes? Also, do you think it would be ok if when decorating the cookie I flood a square shape covering most of the cookie in white(like you did here with the pink oval shape) and then when it is dry attach the square piece with the silhouette on it? Your cookies are amazing and I am so glad my coworker told me about your website. Any help/suggestions you can provide would be greatly appreciated.
Thank you!
These are so beautiful! I think it might be the perfect idea for an upcoming wedding anniversary this summer! 🙂
Thanks for the detailed tutorial!
Thanks, @ Jenny H.!
Beautiful.
I absolutely LOVE these! I was curious how you get such detail as in the faces… is that achieved by using the smaller tip that you used. So beautiful, I need to try these!
Genial!! thank you soo much for all the tips, recipes, and recomendations you give here, you are great and I´m sure my cookies will look so too.
Blessings and keep working in helping us to improve.
Brilliant!! Going to try this on some upcoming ‘Barbie’ cookies I am making!!
Thank you for sharing this idea.
What about shortening and royal icing? I’ve heard if royal icing touches anythins that has oil it won’t dry
Hi Dalia,
A think coat of the shortening helps the royal icing transfer remove easier. The icing does dry.