A little while ago, Amanda of iambaker invited me to take part in a very special project.
A project she named Desserts for the Deserving, where Amanda asked for nominations for deserving people who could use a little pick-me-up. She then asked bakers if they would be willing to step up and make a crafty gift or baked good and ship it to the chosen nominations. (1 person per nominee). The response was overwhelming! For the heartwarming details, click here.
This year, the lovely Amanda has organized another one! You can read all about the 2nd one here, which I was thrilled to be a part of.
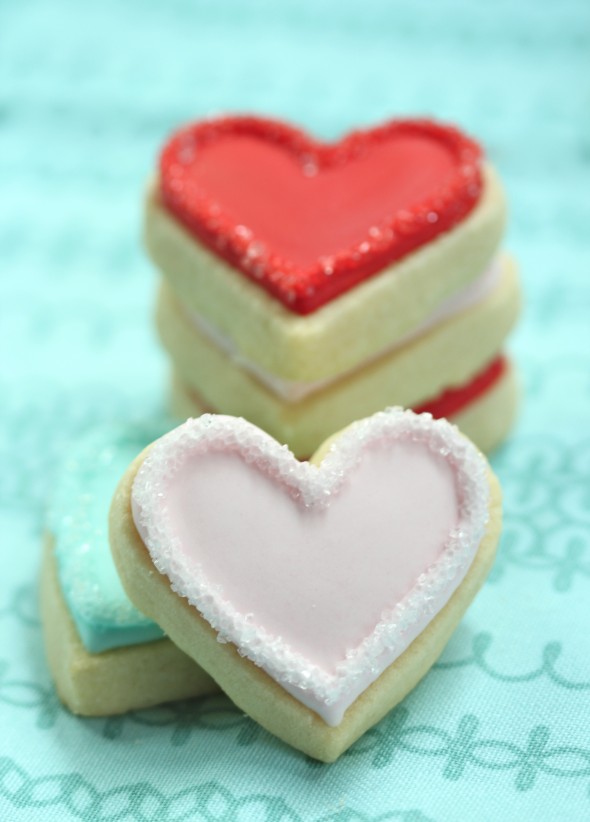
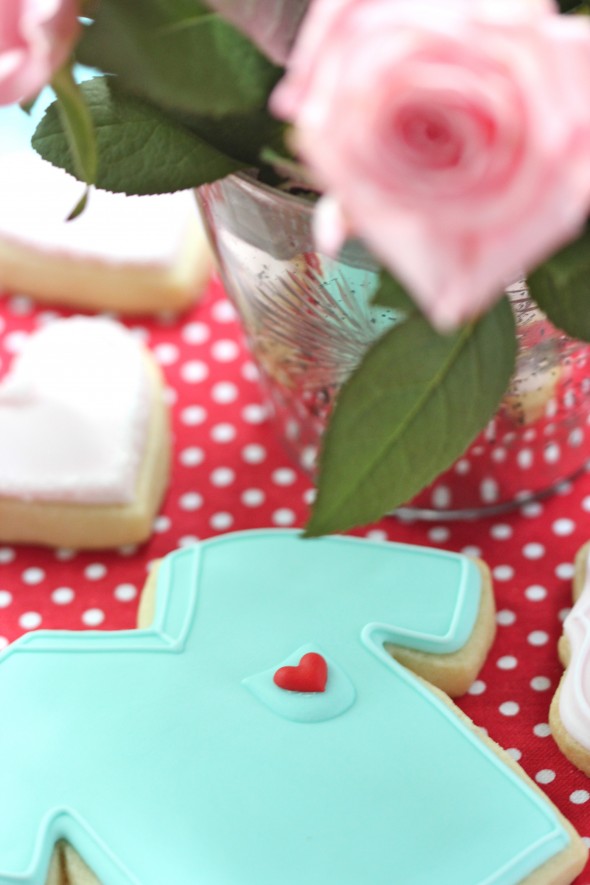
My recipient is a loving, hard-working registered nurse, who was nominated by her step-daughter who wanted to say thank you in a sweet way, and I sincerely hope these cookies were able to add a little joy to her day.
A little something I’d also like to share with you… Beyond Amanda’s Desserts for the Deserving efforts, her blog is filled with such irresistable dessert inspiration, you won’t ever want to leave. Imagine decadent cakes filled with surprises inside; sweet and fluffy rose swirl cakes; and luscious layers of chocolate. Sigh.
And about the sweets I made… These thank you cookies were the perfect excuse to pull out my tappit cutters, which I’ve owned for years, but never tried. I wanted a little more of a crisp, raised look and lately have been interested in trying different mediums other than only royal icing on my cookies. So, I’m definitely no expert in using these, but I thought I’d share how I made them, what I experienced and what did and didn’t work for me.
{Quick side note about Instagram ~ I’m really enjoying the filters you can chose from to change the look of photos. The filter I’m using in the pic above, Valencia, is my favorite right now. It casts a soft, kind of vintage glow, compared to the original below}.
What are tappits?
Tappits are the Fmm brand name for their small alphabet cutters. Here is a link to all of Fmm’s tappits.
Notes:
A few notes before I even begin the how-to:
- I tried using fondant at first but found the fondant so pliable and soft, that the letters warped and stretched a little too much than I liked… Repairing them was challenging, so I tried a 50/50 gum paste/fondant mix and it was better, but after I tried only gum paste, I was sold. Straight gum paste was the easiest to work with and warped the least. It was also fairly easy to remove from the cutter.
- Taste-wise you might want to go with a 50/50 mix or straight fondant; you might have more success with it than I did! Maybe freezing the letter for a few minutes or letting the fondant dry out a bit first would work better. Would love to hear your input below if you’ve tried it.
- If you do go with gum paste, you could let your sweet recipients know to take the letters off first; they are edible, but they’re not yummy.
- Rolling the gum paste as thinly as you can is key to success. About 1mm was what I did… At about the point where the gum paste begins to look see-through.
- The cutter for the thank you cookie, is from Coppergifts.com and is called the Fancy Rectangle Cookie Cutter 4.25
. They all sorts of cute ‘plaque’ shapes and sizes.
How to Use Letter Cutters (Tappits)
Click on the item below to find it on line:
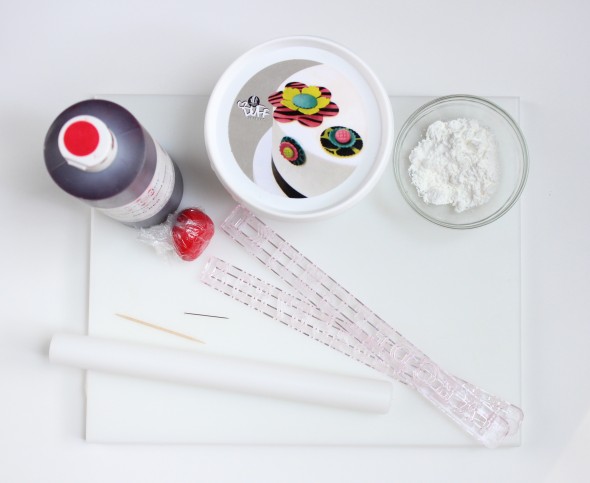
What you’ll need:
- Gum paste
- Super Red Soft Gel Paste
~or color of choice - Tappit Alphabet Cutters
- Small Fondant Rolling Pin
- Corn Starch
- Fondant & Gum Paste Board
~or hard, flat surface of choice - Toothpick or pin
Making the Letters:
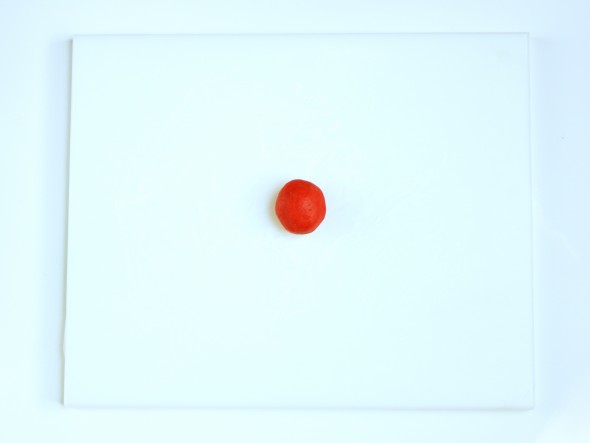
Step 1: Color the gum paste to your desired color. If mine gets sticky while I’m massaging the color in, I use a little shortening on my hands to help remove the stickiness.
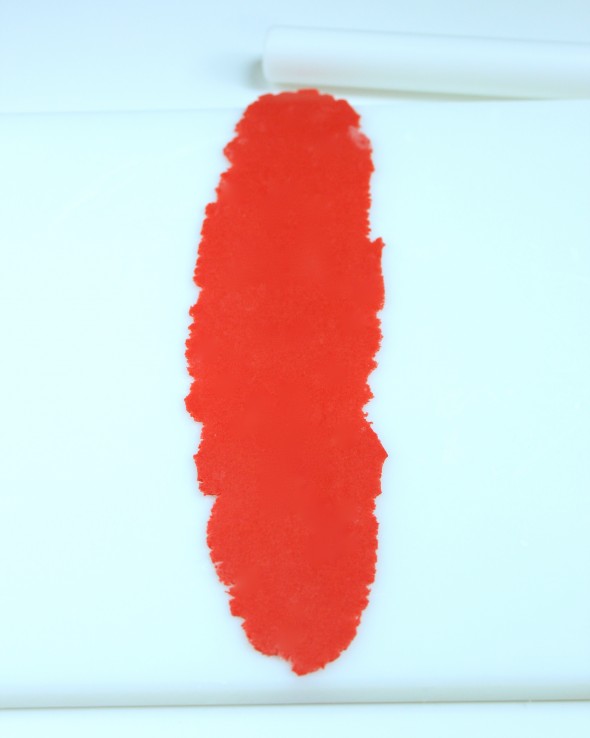
Step 2: Roll the gum paste out onto your cornstarch dusted surface. Roll it as thinly as you can, about 1mm thick. Rolling a long, thin piece saves time, as the alphabet cutters are joined.
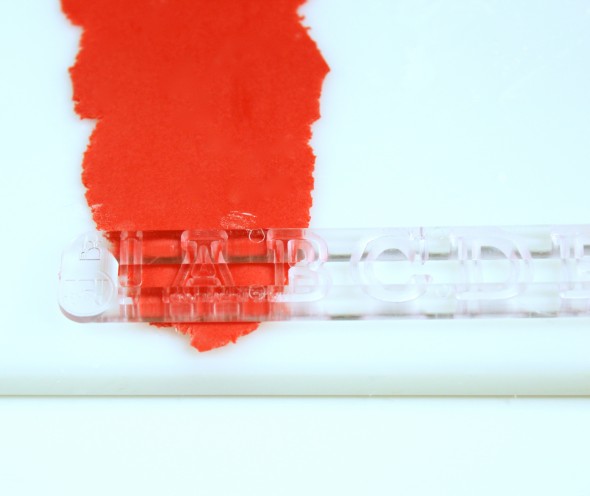
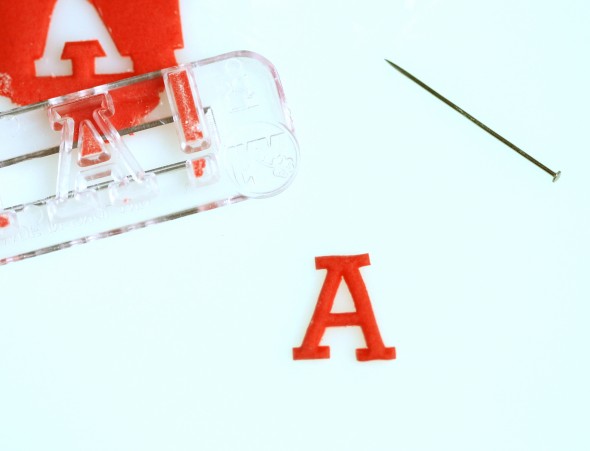
Step 3: Firmly press your desired letter into the gum paste. While pressing downwards onto the cutter, I also shimmied it left and right a bit, to help loosen the area of paste around the letter.
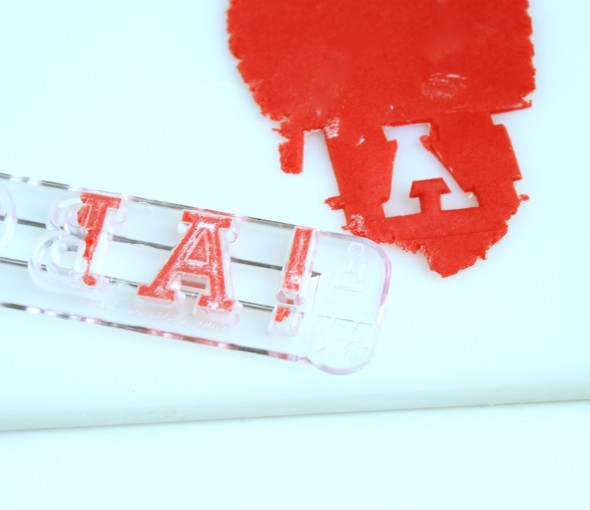
Step 4: Lift the cutter away, and with your fingertips, lightly brush the excess gum paste away from the letter.
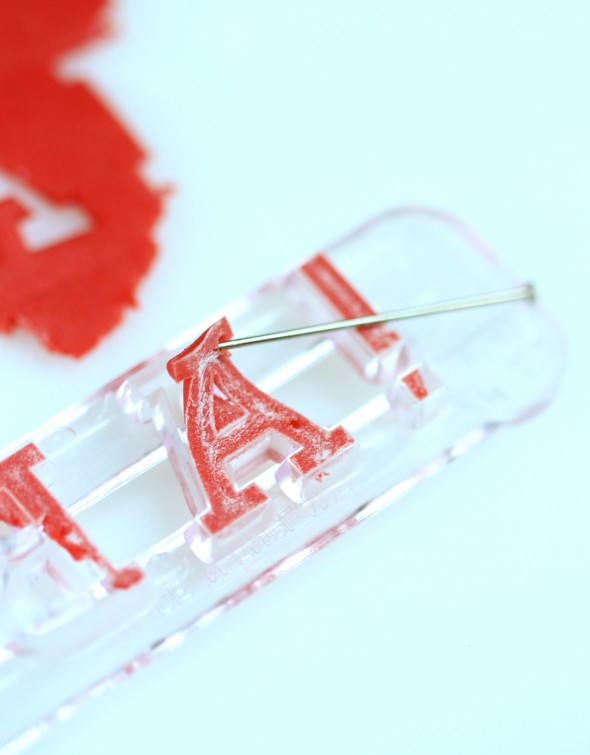
Step 5: Try tapping the cutter on your work surface to release the letter. If that doesn’t work, take a pin or toothpick, insert it into one area of the gum paste (not too deep) and gently peel the letter out. I noticed that if I let the gum paste sit in the tappit for a few minutes to dry, it was easier to pull out.
Step 6: Place it onto the parchment paper to dry. You may need to use the pin or a toothpick (or any cake tool of your choice), to reshape a bit.
Step 7: Let your letter dry for a day or two. You could use it right away, but if the letter is dry it’s a little easier to place. Note; if you’d like your letters to sit on a curved surface, use them right away. Gum paste dries quite hard, and it’s easier to use when it’s not dry, than trying to heat it up and reshape later.
Step 8: Once you’re ready to place your letter on the cookie, dab tiny bits of royal icing onto the back of each letter, and adhere. Careful not to use too much icing, because it will seep through and you’ll need to use a toothpick to remove the excess. (Can you tell I did that?! ;-)) If you’re placing the letters on fondant, a little dab of water on the back will do the trick. Water and royal icing aren’t the best mix though – too much water will leave craters in the royal icing. Another FYI, placing the letters on the cookie so that the spacing was decent was a little tedious. Not the kind of decorating to do if you’re getting interrupted by a little one every few minutes. At least for me anyways.
And that’s it!
I liked the result and will definitely be trying it again.
So what are your experiences with tappits? Other letter/number cutters? Have you tried it? Do you have other tips to share?
Please feel free to share your experience using any kind of letter cutters in the comment section below.
Happy decorating!
xo,
Marian







Lovely cookies & specially love the cause!
Hola, vivo en México, ¿crees que pueda conseguir las letras aquí? Gracias por coompartir
Thank you for this tutorial! I have had a set of Tappits in my toolbox for a few years and, after a few disastrous attempts, had given up on them completely. I can’t wait to give them another try.
Thanks for the tutorial and for sharing your amazing cookie skills! It’s always such an inspiration to check in on your blog. I’m a total beginner when it comes to cookie decoration but I’m really getting in to it!
I love all your tutorials! They’ve been so helpful. I was wondering can you skip putting royal icing on the back of the letters and just drop it while the icing is still slightly wet? Or would that mess us the icing? I was thinking about doing chocolate transfers of letters, but they’re very small and I can’t really ice the back of them. Thanks!
Hi @ Cookie Newb: Yes you can drop it on while the icing is slightly wet… it will sink a little and have a slightly dif. look, but still looks cute. The wetter the icing, the more it will sink btw.
I learned at Global Sugar to use Mexican paste when using tappits, I tried it and it worked wonderful. They have great tutorials on how to do it. Thank you again Marian.
Thanks @ Maria jacomino!
Do you think Tappits can be used to imprint cookies before baking? I was thinking it might be easier for me to pipe the letters on after baking. Then I wouldn’t need to get out the KopyKake. I really love some of their fonts but they are too shallow and small to use as cookie cutters.
Hi @ Barbara (Lov2bake): Hmm, they are a bit shallow, but they may make a faint imprint. Sorry, I’m not sure! Please let me know how it goes if you try.
Hi, love ur page to the very last letter i can read on it, because of the discovery of your work i started playing with cookie making. So many great tutorials and giveaways ( hope someday something comes my way;)) regarding these letters , i find it more helpful if i smack the tappist ageinst the table , and if pops right out, it is noisy ( i make my cakes when my children go to sleep and that sometimes wakes them up).oh and everything has to be dusted with cornstarch.a lot:)
Keep up the marvelous work that you do! WE WANT MORE;)
Hi Marian – just wondering if you could use modeling chocolate with the tappits? Thank you!
Hi, I was wondering if you could tell me which letter cutter you used…. id really appreciate it. Very helpful tips …. thanks you x
Hi Marian,
I was just watching a tutorial using Tappit letters and they laid the letters upside down then put a piece of cellophane over them and rolled the fondant over that, removed the extra fondant and then just lifted the cellophane up, presto! I haven’t tried it, but it looks like it would work. Thank you for all you do here x
hi can you tell me what size tappit you used pleased looking for the same size as will be using it to decorate cupcakes thanks
Hi Marian! Can you please tell me how you achieved that perfect teal colored shirt? What colors did you mix? I need this for tomorrow. Thanks!!!