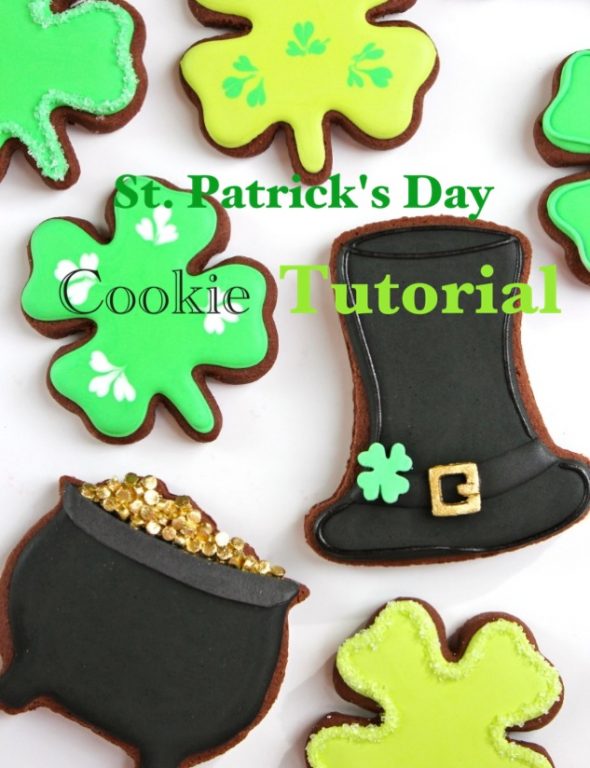
Happy St. Patrick’s Day! (Well, soon). 🙂 Have you been preparing for the holiday in any way? I’m officially in love with the colour green after decorating these. I don’t know why I haven’t made St. Patrick’s Day cookies before – the colours are so fun and vibrant, and the designs (well, besides one of them I’ll tell you about in a second), easy to create. If you’re looking for a fun and fairly easy project to celebrate the day, these cookies double as good luck charms and sweet treats.
Continuing on with my last post where I shared 50+ Cookie Decorating Secrets, I’ve got a few more “secrets” to share with you today. Let’s just say, had I been paying more attention to my decorating and less attention to HGTV (a new favorite channel pre-occupation), I probably wouldn’t have this first one to share with you:
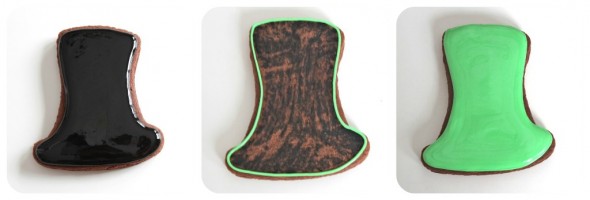
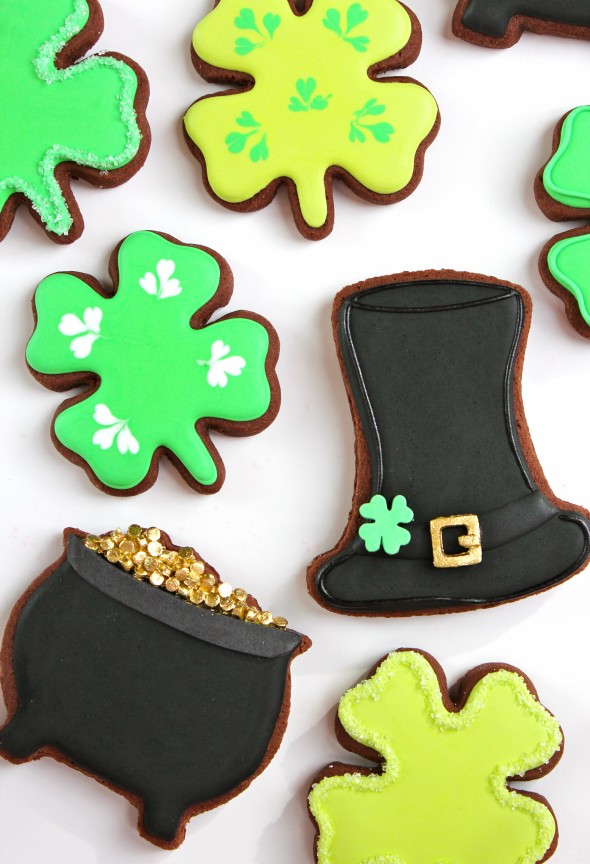
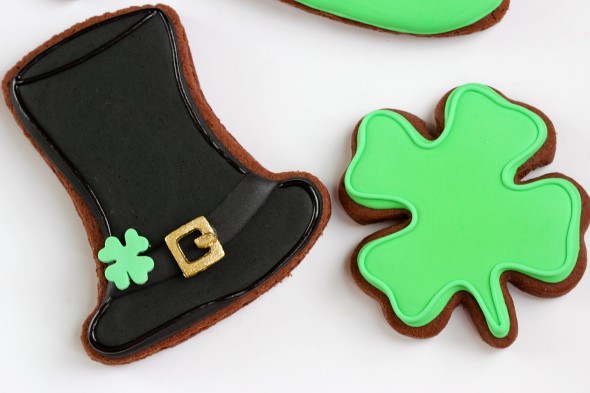
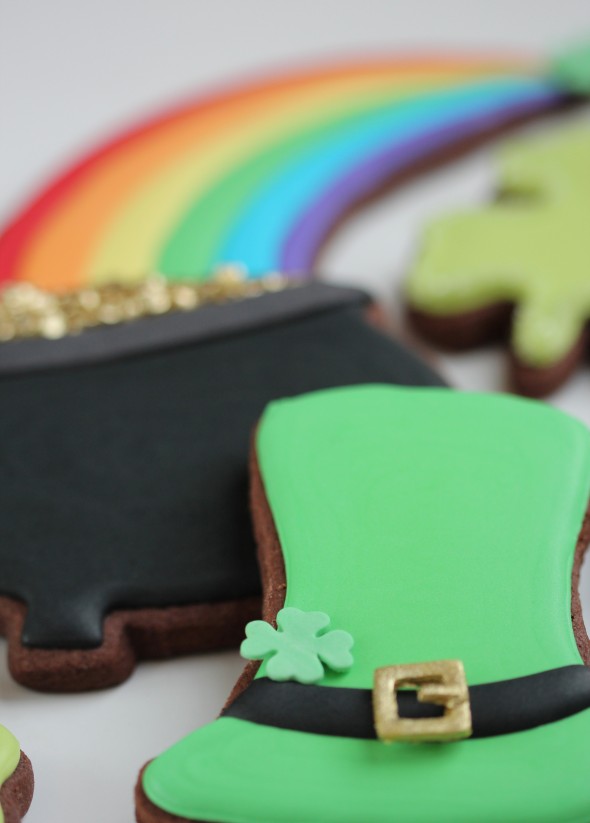
So, a few minutes after I had covered a top hat cookie with black icing, I realized that a leprechaun’s hat is usually green. *Gasp!* I didn’t have any more dough to make more cookies, so I thought I’d try scraping the icing off.
It worked! Only the outer edges had hardened, so they took a little more effort to remove, but as long as I scraped the icing off in the direction of the center of the cookie so that the edges didn’t get smudged with black, I was able to cover everything over with a fresh coat of green icing. Hurray for small victories!
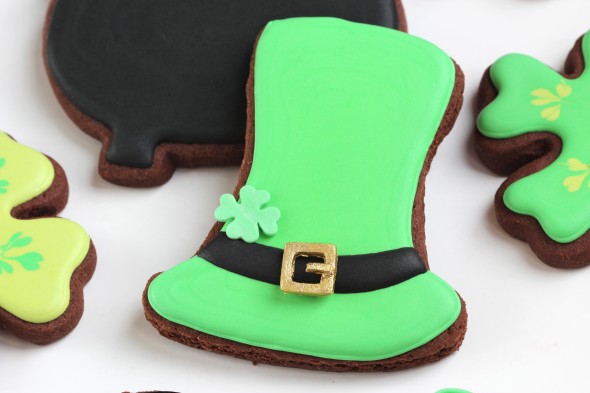
I decided to keep one hat black anyways for a little bit of variety. (And less effort. Lol).
This chocolate dough is yummy, but I still think I can make it a smidgen better, so will continue experimenting until I’ve got it just right. If you’d like to try other cookie recipes I use, you can find them by clicking on the recipe section at the top of the blog. UPDATE – HERE is my CHOCOLATE SUGAR COOKIE RECIPE.
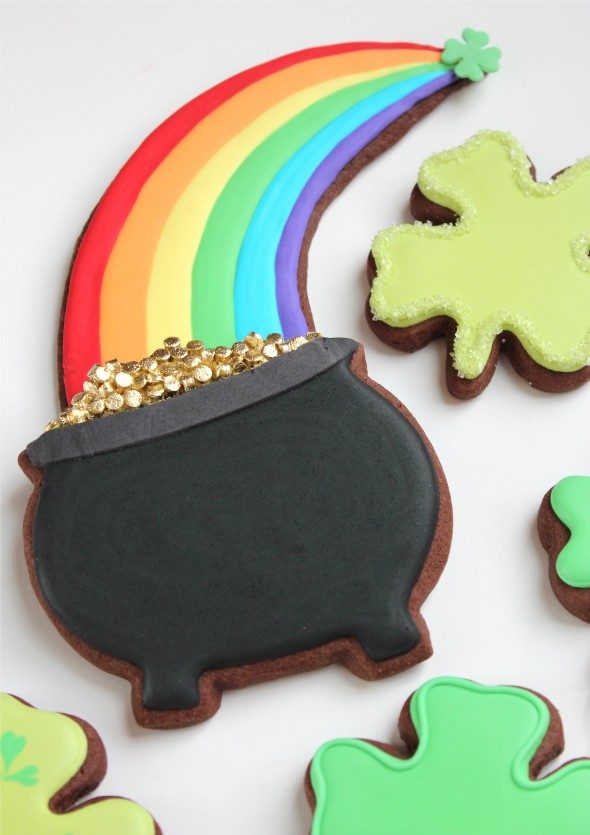
My inspiration for the pot of gold cookies came from this set of of stickers at Michael’s. (Update, the link is no longer active). When I saw them, I knew I wanted to try and recreate my own pot of gold. Too bad it’s just a cookie and not the real thing, hey!
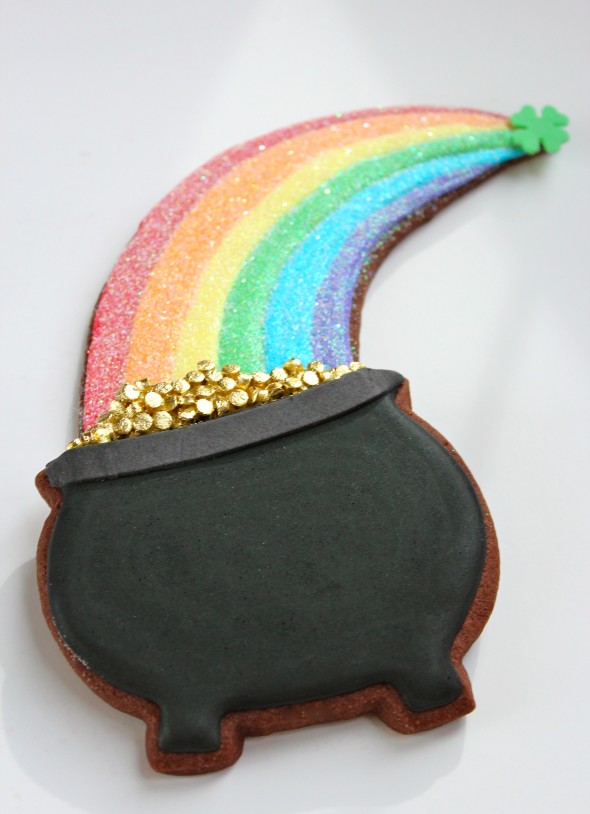
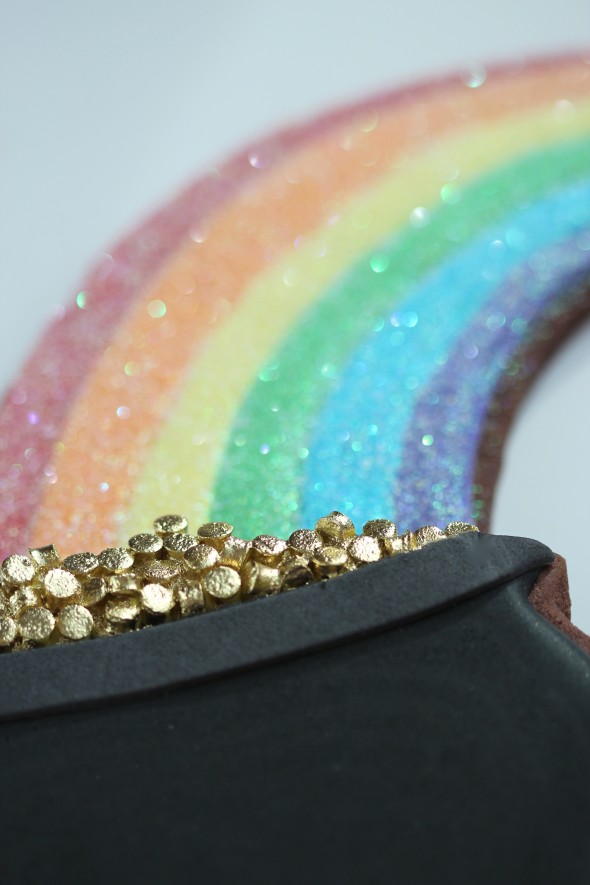
The rainbow below is inspired by the same image, and of course, is covered in my favorite, disco dust. You should know that the quest for finding out if disco dust will be FDA approved is on-going. Apparently, it’s being researched, and for now is considered non-toxic. What does that mean? Not harmful if ingested, but in my humble opinion, a good rule of thumb – everything in moderation.
Sooo, the rainbow I made here probably doesn’t fall under the same category as moderation; I just had to try and see how it looked! If you’d like to make these and are concerned about disco dust, you can always make the disco dust-free version. (Or use less).
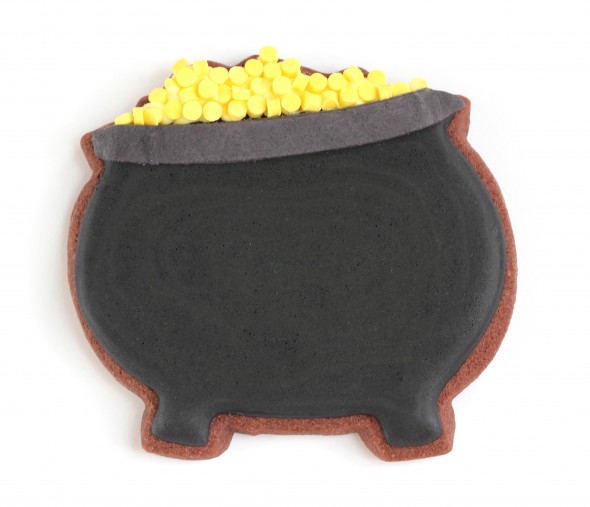
The same rule goes for the gold luster dust I used on the belt buckle and gold coins. Less sparkly, but here is the pot of gold cookie without it:
On a random note, although I’m often mistaken for being Irish as I’ve got reddish-brown hair (auburn, they say), freckles and green eyes, I’m not, and I don’t know a whole lot about the Irish traditions behind St. Patty’s Day, so if you happen to know more about the holiday, please feel free to share in the comment section below. I don’t think I’ll count these as belonging to my Around the World cookie series, as it’s such a beautiful country, I’d love to revisit the theme.
If you’d like to try making these, here’s what I used and how I made them…
How to make decorated cookies for St. Patrick’s Day:
What you’ll need to make these cookies:
- Chocolate Sugar Cookie Recipe
- or if you prefer, Sugar Cookie Recipe here
- Royal Icing Recipe
- Crooked Hat Cookie Cutter from CopperGifts.com
- Pot of Gold Cookie Cutter from CopperGifts.com
- Four Leaf Clover Cookie Cutter from CopperGifts.com
- Piping Tips (#1, #2, #3, #10)
- Couplers & Piping Bags
- Food Gel Colourings
- Fondant (Gumpaste an option)
- Fondant Rolling Pin
- Small Square Cutters (a paring knife works fine too)
- Parchment Paper, Toothpicks & Tweezers
- Gold Luster Dust
, a small Paintbrush & Clear Extract or Vodka (optional)
- Disco Dust (optional)
If you need some more guidance, a good place to start is with this Cookie Decorating Tutorial, and two videos on Icing Consistency and How to Pipe Icing Lines.
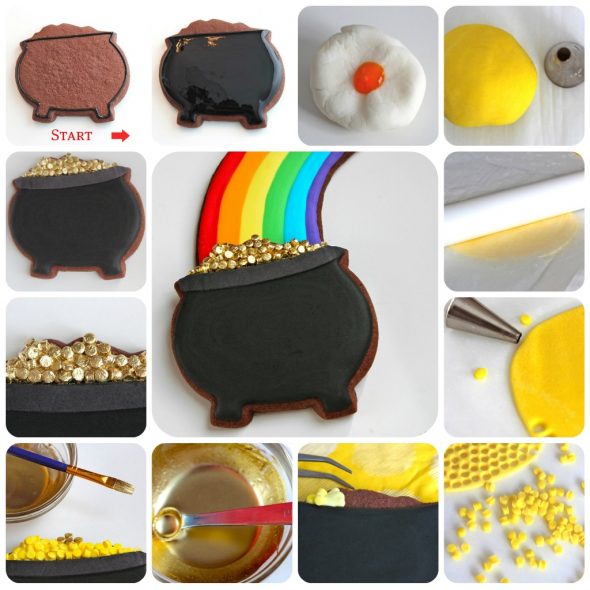
How to Make a Pot of Gold Decorated Cookie
Before you begin these cookies, you should know that they’re a bit time consuming. I made 3 of them… I wouldn’t recommend more. Lol. Maybe use these as a couple of your ‘glam’ cookies to highlight the easier four-leaf clovers. It was the punching out of the circles which actually took the longest. My finger started to hurt a bit from pressing the piping tip into the fondant, but I’ll stop whining and just recommend you watch some T.V. or YouTube while you’re doing it, and then it’ll seem to go much faster.
What I really enjoyed about making these pot-of-gold cookies was actually the painting of the coins. It was somehow satisfying getting the gold to cover all the little coins. I don’t know why… Chalk it up to the cookie nerdness. (Or simple mind = simple pleasures). 😉
1. Once cookies are baked and have cooled, flood cookies with royal icing and let dry. (Please see the tutorial section if you need a how-to on flooding).
2. Massage yellow gel coloring into your fondant. Depending on how many cookies you use, you will need more or less fondant. For 3 pot-of-gold cookies and 3 belt buckles, a golf ball size amount worked well. If you need a how to on rolling fondant or gumpaste out, please see the video HERE.
3. Punch out ‘gold coins’ with a #10 piping tip.
4. Using tweezers, adhere ‘gold coins’ to cookie with royal icing. Let dry overnight.
5. Mix one part gold luster dust to three parts clear extract or vodka. (The spoon pictured above is actually a whimsical ‘pinch’ spoon).
6. Paint luster dust onto coins.
7. Roll and cut out a piece of black fondant for the lip of the pot of gold, and attach with royal icing.
How to Make Four-Leaf Clover (Shamrock) Decorated Cookies
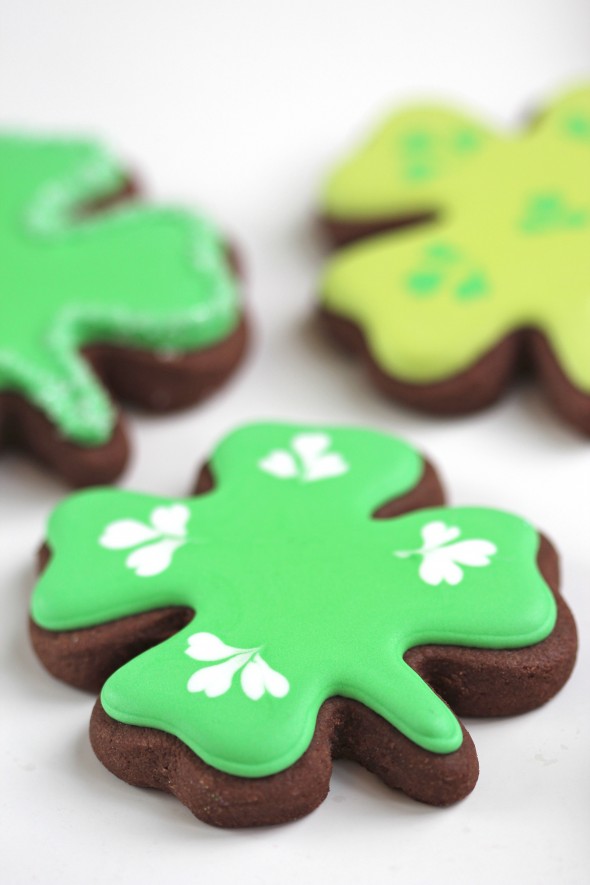
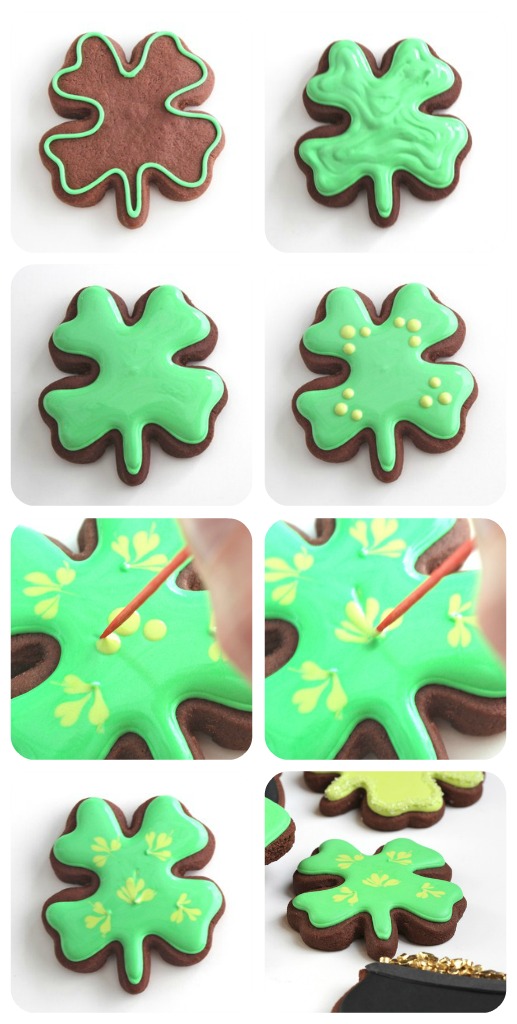
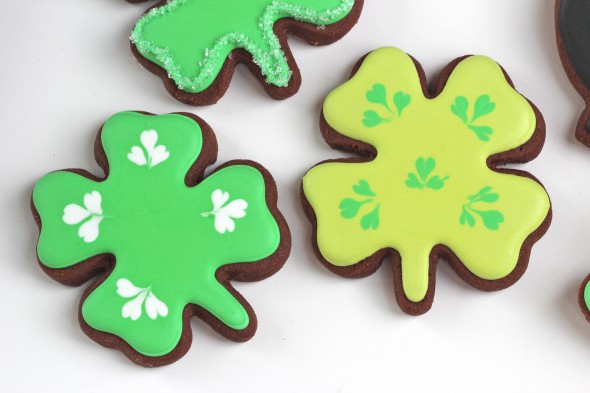
Marbling royal icing has got to be one of my favorite, if not the favorite, decorating technique for me. It’s easy, fun, and the creative possibilities are endless!
Below is a pictorial on how to make the marbled, four leaf clover cookies.
You may like the following posts on marbling as well:
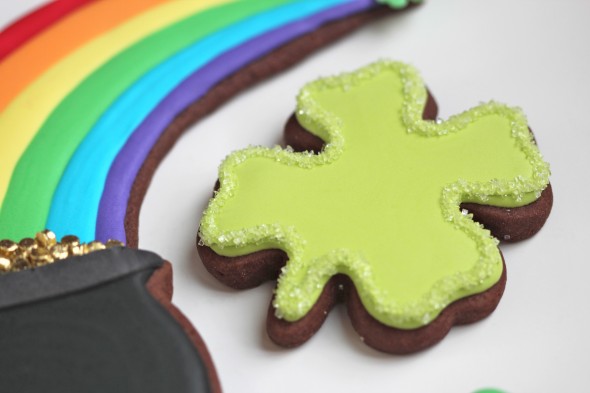
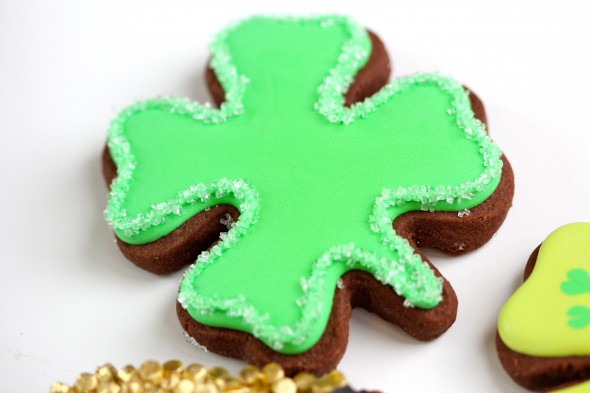
This last shamrock cookie is simple to make and has a nice satisfying crunch to it, when you bite into this chocolaty sweetness. The sanding sugar on the edges gives it that crunch, and is easy to apply. Once your first base layer of icing has dried, pipe a line of icing around the perimeter, and sprinkle sanding sugar on top right away.
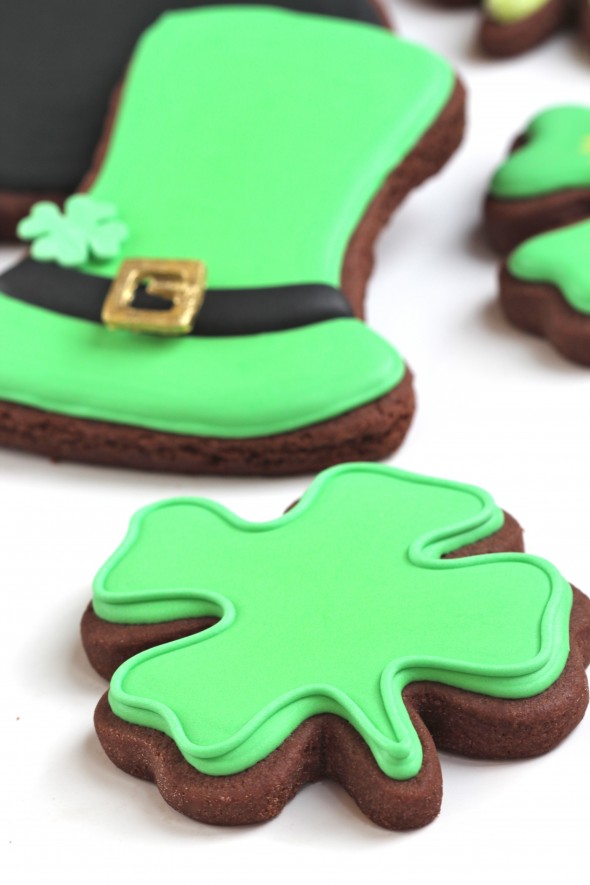
Even easier, but clean and classic, the four leaf clover below just has a simple outline of icing.
A few notes:
- The fondant top hat buckle above is made using small, square cutters, but if you don’t own the cutters, a paring knife can do the trick.
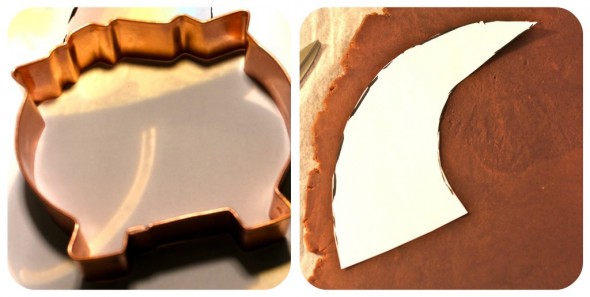
- The pot of gold, 4 leaf clover, and hat cookie cutters are from CopperGifts.com, but the rainbow was hand cut. I use edible ink marker any time I’m working with drawing templates.
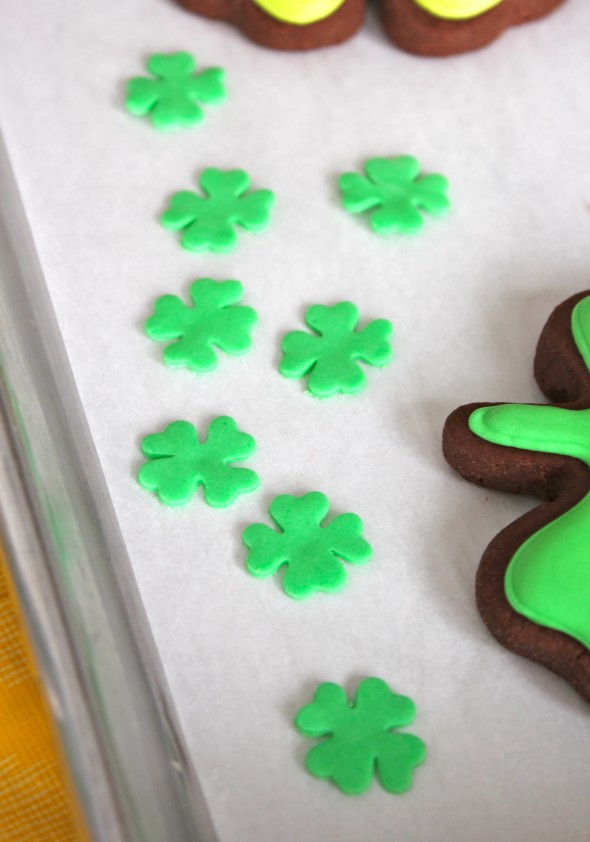
- The shamrock cutters are from an old set of tiny cutters (from my father), but I’m sure some searching on Google will help you find a version as well. If you’d like to share your findings, please feel free to come back and comment here.
- Another option would be to connect 3 or 4 tiny heart shapes.
So I hope you enjoy (possibly) making these, have a happy St. Patty’s day and join me later on this week for a wee little celebration of sorts (40, 000 facebook fan thank you!), where I’ll be giving away a little something.
Wishing you lots of luck and happy decorating!
xo,
Marian
p.s.




I love these cookies. The pots of gold in particular caught my eye. I never heard of gold sparkle dust. It really makes a huge difference to get the real look. I’m very thankful to find out about the disco dust too! Thanks for sharing Mariann ☘️
Thank you kindly, Susan! I appreciate your feedback!