It’s probably not the best time to be experimenting with desserts. My brother’s wedding is less than two weeks away and I still want to be able to fit into my favorite dress. But, I have been good. It’s summer here, and going for walks and the occasional jog are a lot easier than during the icy winters. You might be surprised to know that I’m a bit of a health nut. Oh, yes, I see the irony. A health-conscious girl with a blog named Sweetopia. I’ve always had a serious sweet tooth though and two years ago when I began this blog, it began as a bit of a tutorial thing for my students and friends, and it definitely has grown into a major passion of mine.
That’s why trying to maintain some sort of fitness balance has been important. I definitely can not always resist when I probably should, but I’m not willing to give up the gift of sweets, especially this chocolatey concoction. It just means have one, and then give the rest to neighbours. Which, I promptly did.
Thank goodness they were home.
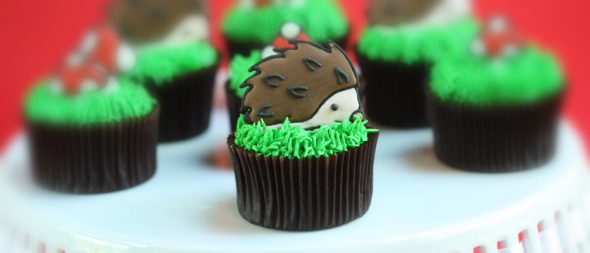
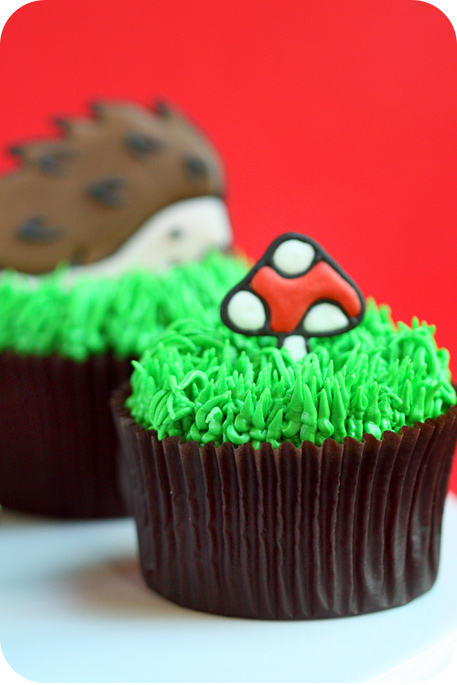
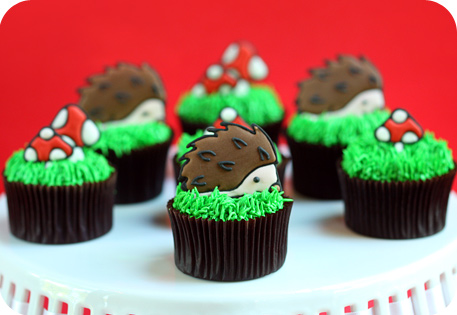
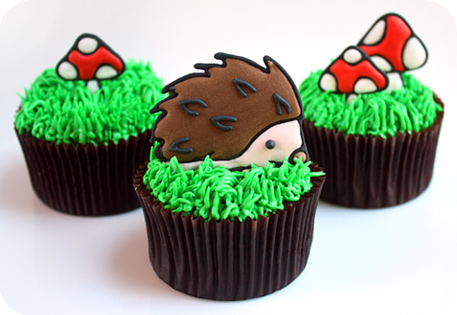
Making the sugary hedgehogs as the hazelnut cupcake toppers was my favorite part of this baking project. There isn’t really a danger of me eating too many of them, because, as they’re entirely made from royal icing, they taste like pure candy, and my sweet tooth hankers for chocolate-type goodness.
If you’d like to try making them, here’s how I did it:
*
How to Make Hedgehog Cupcake Toppers
To make these royal icing toppers, you’ll need:
- Royal Icing Recipe and Food Gel Colorings
- Critters In The Forest Clear Stamp Set (Lawn Fawn)
- Piping Tip #2
- Piping Bag
- Couplers
- Parchment Paper or Transparency Sheet
- Shortening
- Scissors
- Toothpicks (to help fix mistakes)
I used my KopyKake projector to project the hedgehog so I could trace the image, but if you’ve got drawing talent you won’t need the projector. 😉 If you’d like to see a KopyKake projector tutorial, click here. This shape is simple enough that you could also trace it.
The hedgehog design is from Critters In The Forest Clear Stamp Set (Lawn Fawn).
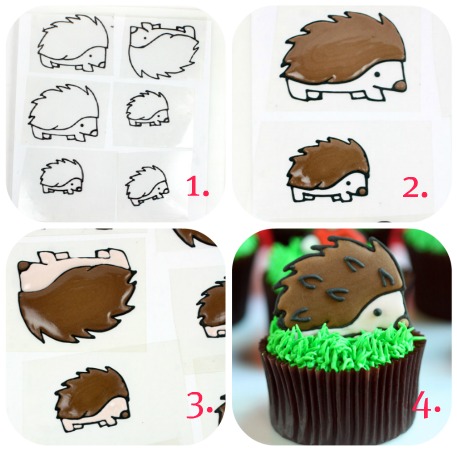
Step 1: Cut the transparency (or parchment paper) out just larger than the size of the image you’re piping. Lightly coat transparency, with a small amount of shortening using some paper towel. This helps make the royal icing shape easier to remove when it’s dry.
Step 2: Pipe royal icing outline. Let it dry for 24 hours.
Step 3. Flood or fill in your outline
Step 4. Gently shake the transparency left to right to help the icing smooth over. Let the brown icing dry for 24 hours, then fill in the beige section. You could fill in both colors right away, but if the icing goes over the outline, the colors will seep into each other.
Step 5. Once the beige has dried (minimum 24 hours), add the details, such as the eye and quills.
If you prefer video, HERE’S one in which I show how to make a royal icing transfer.
Quick pictorial summary:
It turns out the bigger hedgehogs were a bit tooooo big for this size cupcake.
It’s a giant hedgehog!
If you think that’s funny…
Anyways, if you’d like to try these chocolate hazelnut cupcakes, here is the recipe:
*
Chocolate Hazelnut Cupcakes
Chocolate Hazelnut Cupcake Recipe
Ingredients
- 2 cups granulated sugar
- 1 cup all-purpose flour
- 3/4 cup freshly ground hazelnuts
- 3/4 cup cocoa powder, best quality you can find (I used Ghiradelli)
- 1 1/2 tsp baking powder
- 1 1/2 tsp baking soda
- 1 tsp salt
- 2 tsp vanilla extract
- 3/4 cup sour cream
- 2 large eggs
- 1/2 cup vegetable oil
- 1 cup whole milk (35%)
- 3/4 cup Nutella (optional)
Instructions
- Preheat oven to 350 degrees Fahrenheit.
- Sift together the sugar, flour, freshly ground hazelnuts, cocoa powder, baking powder, baking soda, and salt; set aside.
- In a separate bowl, briefly whisk together the sour cream and vanilla extract; set aside.
- In the bowl of a mixer fitted with a paddle attachment, beat together the eggs, vegetable oil, and milk, until smooth.
- Add the sour cream mixture and stir until well incorporated.
- Add the flour mixture and stir on low speed until just incorporated. (The batter is fairly thin, don’t worry, you’ve done it correctly).
- Using an ice cream scoop, pour the batter into the cupcake liners (in muffin cupcake pan). Fill each liner no more than 2/3’s full.
- Bake in preheated oven for about 20 minutes, or until a toothpick inserted into the center comes out clean. (Ovens vary). Cool in the pan for a few minutes, then remove from the pan, and allow to cool once again.
- Optional – Nutella center: Fill a pastry bag fitted with a #10 circle piping tip, with Nutella. Insert the tip into the center of the cupcake, and squeeze for a few seconds.
- Top cupcake with icing of your choice.
Notes
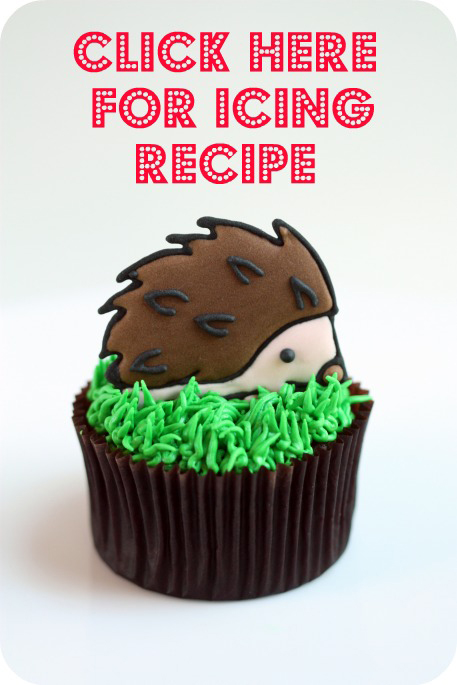
For the icing, I used a vanilla frosting because it needed to be colored green, and it tasted good combined with the hazelnut chocolate, but if you’d like more chocolatey goodness, click here for a chocolate buttercream recipe. For the vanilla recipe I used, click on the hedgehog below:
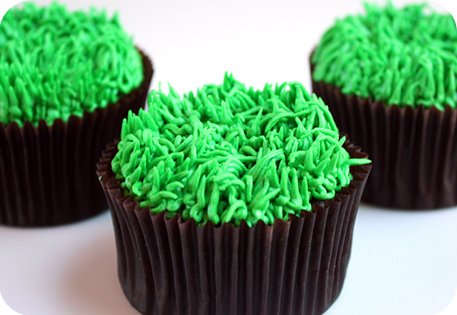
Making the ‘grass-like’ icing requires that your icing be quite thick. To figure out how thick it needs to be, just dip a spoon into the icing and pull upwards; the icing should form a peak, and stay standing. Using a piping tip #233 is what I used to get the ‘grass shapes’.
A huge thanks to Niner of We Choose Organic for helping me with this post by resizing and editing the photos for me. You can find this talented girl and her treats on her facebook page here. Not only is she conscious about baking and cooking organically, she bakes spectacular sweets and is a skilled web designer.
Have fun baking and decorating and enjoy!
xo,
Marian








Hi.
Why is sour cream used in chocolate recipes?