
What would you choose for dessert; a sugar cookie or a slice of chocolate cake? If you’re anything like me and those two items were in your home, the sugar cookies would be hanging around long after the chocolate cake was polished off.
Don’t get me wrong, I do like sugar cookies, but love them… Not so much. But trying to decorate chocolate cake to give as gifts – that wouldn’t work as well as sugar cookies do. Which leads me to the reason why I’m writing this post today – I’ve come up with a sugar cookie recipe by playing around with some favorite recipes. It’s definitely tasty, although it’s still not in the ‘chocolate cake’ category. If you try it out I’d love to hear what you think in the comment section below.
Before I get to the recipe, let me share a little introduction to the ‘Polar Bear Parade’ cookies with you.

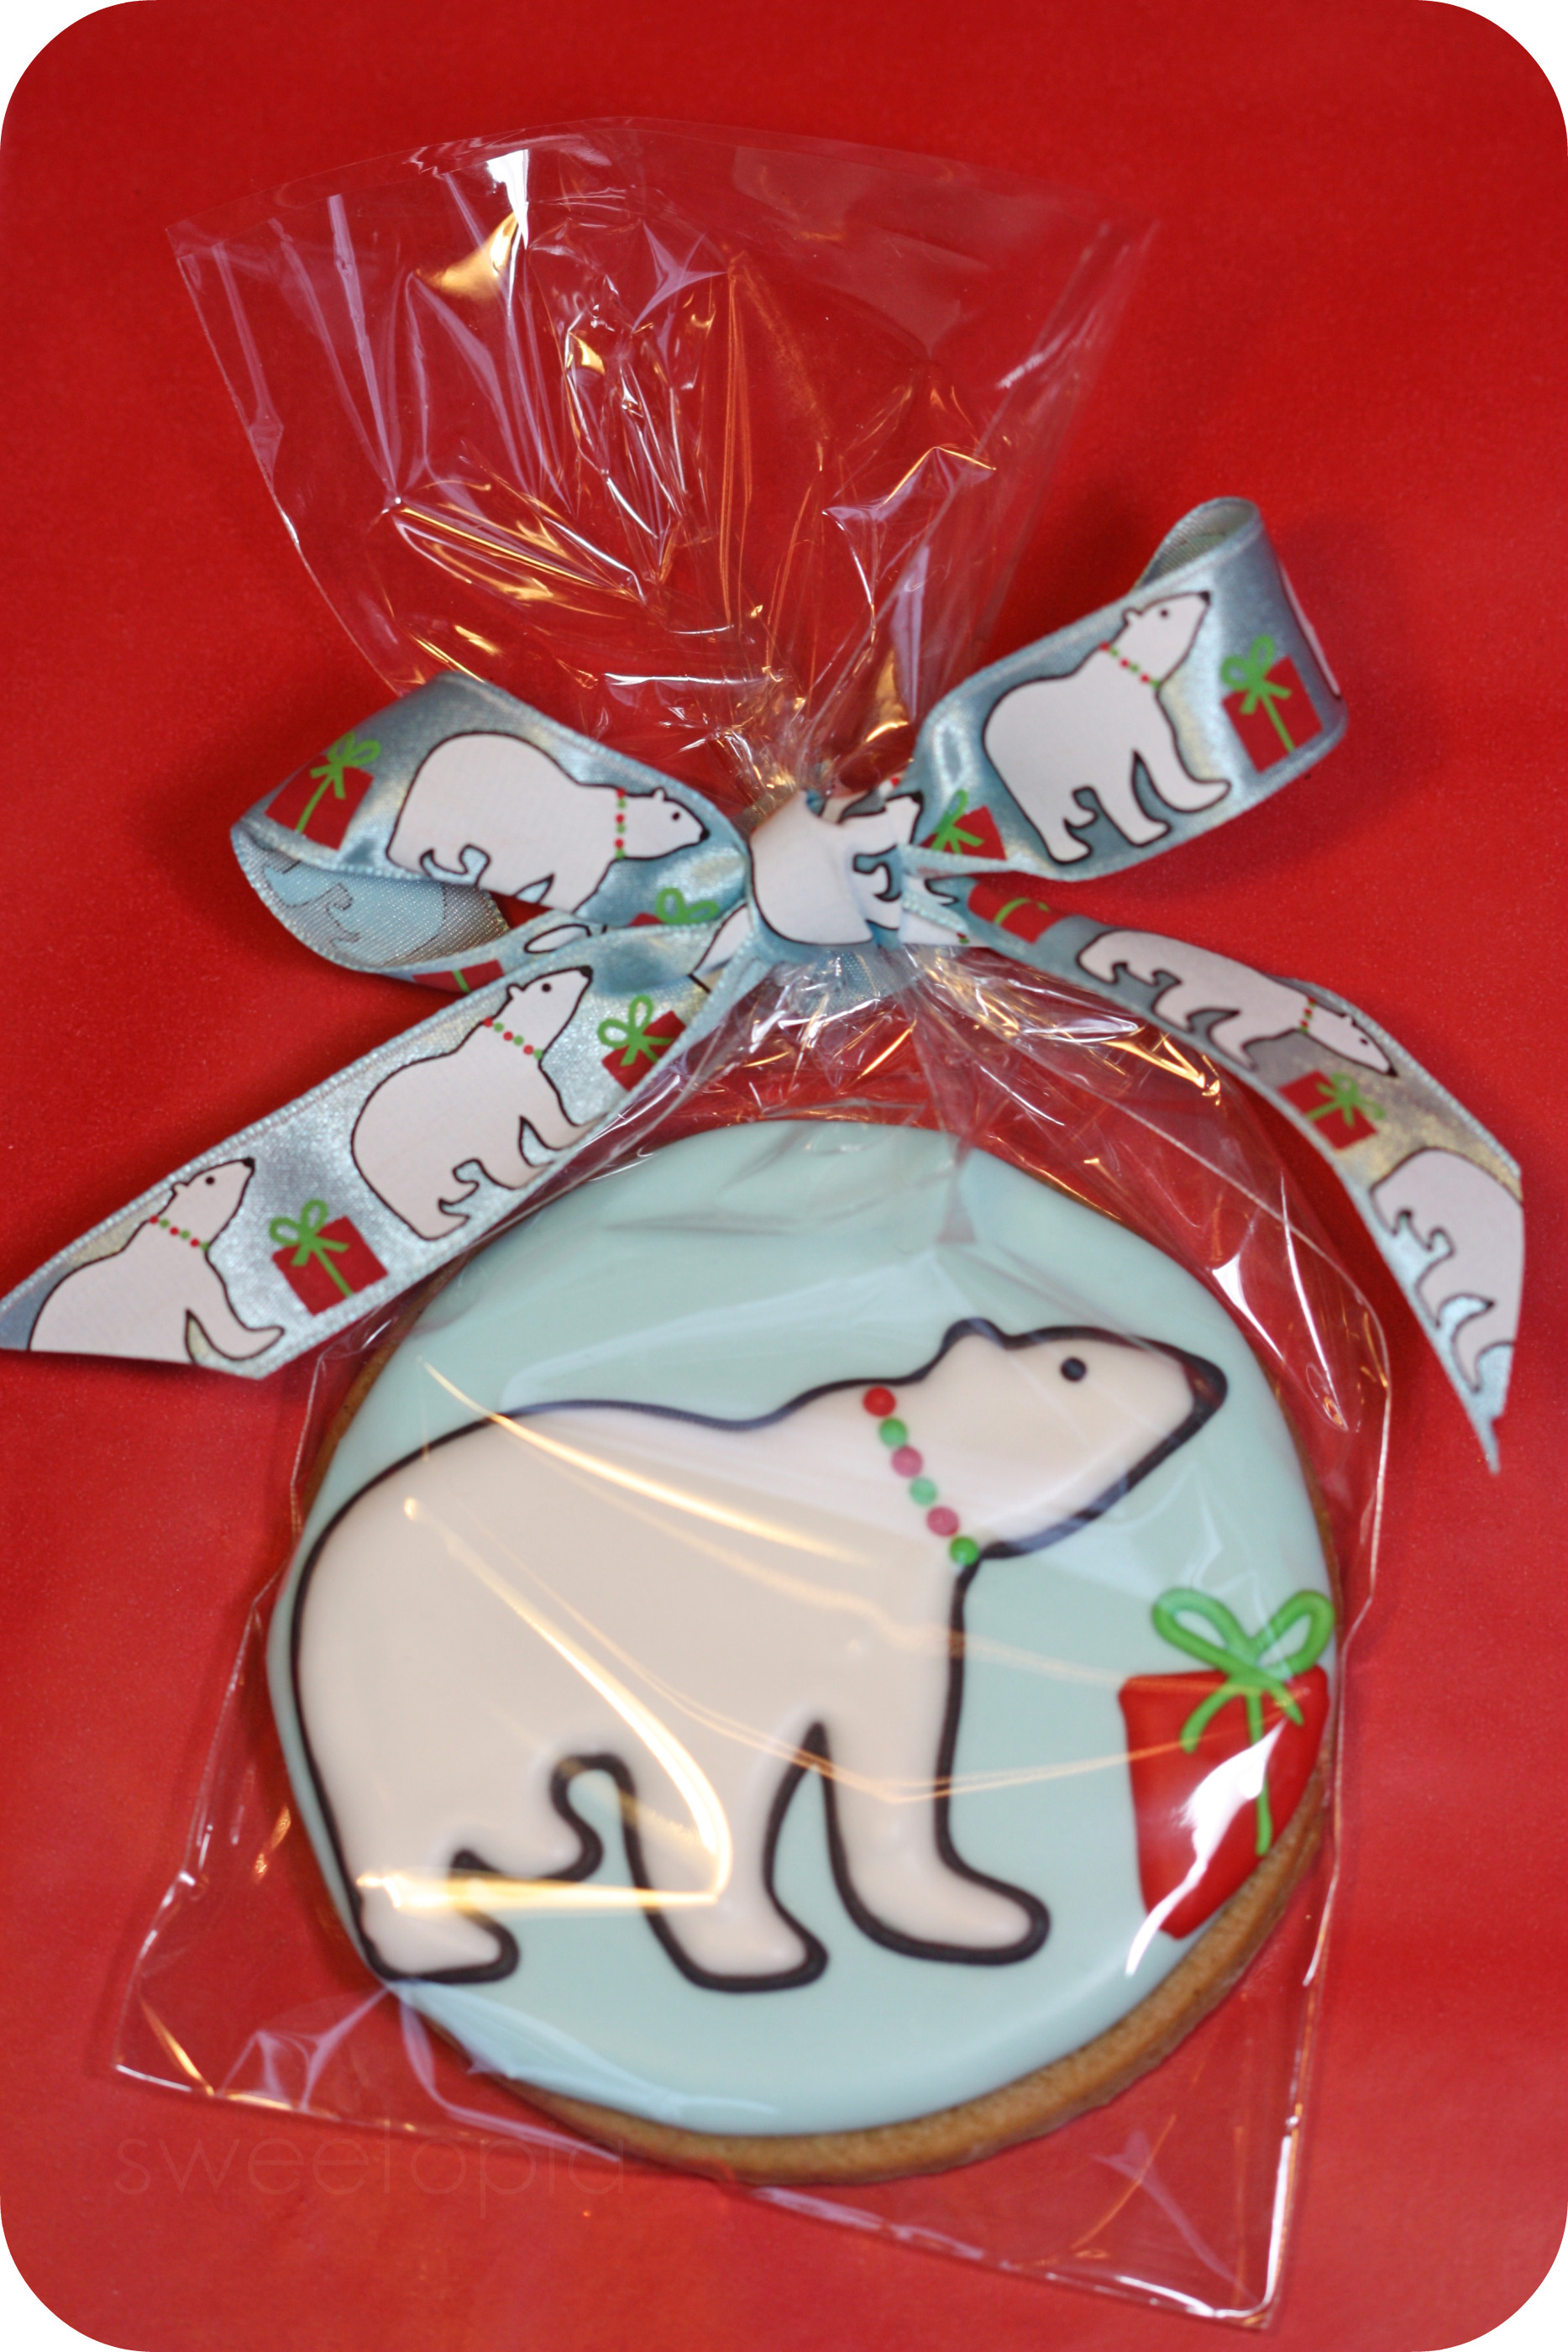
When I saw this ribbon months ago at Michael’s Craft Store I just knew I had to make a cookie version of it. Pretty colors, a simple shape and such a cute little polar bear.

These were finished before Christmas, but I wasn’t able to post them in time. If you’d like to create these, you could make just the polar bear or substitute another object for the gift instead. It’d be a nice winter-themed cookie I think. The ribbon is probably on sale now too!

I used the KopyKake drawing projector to help me draw the image (believe me – I need it!), but you might be able to freehand as it’s a fairly simple shape.


Some of these are made of a new gingerbread recipe I found on-line, but I wasn’t entirely happy with the results (taste).

As I mentioned earlier, I’ve been playing around with some of my ‘go-to’ sugar cookie recipes – a few of the main ones being Peggy Porschen’s![]() and the NFSC (No Fail Sugar Cookie) recipe (from cakecentral.com), to come up with my own combination. The latter two are still favourites for me, but now I’ve got a third choice. This is what I’ve come up with (please also see notes at the bottom of the recipe):
and the NFSC (No Fail Sugar Cookie) recipe (from cakecentral.com), to come up with my own combination. The latter two are still favourites for me, but now I’ve got a third choice. This is what I’ve come up with (please also see notes at the bottom of the recipe):
Sugar Cookie Recipe
Sugar Cut Out Cookie Recipe
Ingredients
- 2 cups unsalted butter, room temperature
- 2 cups granulated sugar
- 2 large eggs
- 3 tsp vanilla extract *or seeds from 1 vanilla bean
- 5 cups all-purpose flour
- 1 tsp baking powder *take this out if you don't want your cookies to spread
- 1 tsp salt
Instructions
- Cream the butter and sugar together in the bowl of an electric mixer on low to medium speed. (Use the paddle attachment). Mix until thoroughly incorporated - for about one minute. Scrape down the sides of the bowl with a plastic spatula and mix again for a few seconds more. Over mixing the butter and sugar in this step will cause too much air to be incorporated into the dough. If you'd like a light and fluffy cookie, that's ideal, however the dough will spread more during baking; not ideal if you'd like the cookie to hold its shape.
- Add eggs slowly and mix. Scrape down the bowl with your spatula at least once and mix again.
- Add liquid vanilla extract. Stir briefly. Alternatively, cut open your vanilla bean and scrape the seeds out. Add to mixing bowl and stir.
- Sift your dry ingredients together. (Flour, baking powder and salt).
- Add all of the flour mixture to the bowl. Place a large tea towel or two small tea towels between the edge of the bowl and the electric mixer so that the flour won't escape. Mix on low speed for 30 seconds. Remove the tea towels and observe the dough mixing; when it clumps around the paddle attachment it's ready. It's also important at this stage not to over mix the dough (the glutens in the flour develop and the dough can become tough).
- Roll the dough out between 2 large pieces of parchment paper. Place on a baking sheet and into the fridge for a minimum of 1 hour.
- Roll out the dough further if you need to, and cut out cookie shapes. Place on parchment paper-lined baking sheet. Re-roll scraps and repeat.
- Put cookie dough shapes back into the fridge for 10 minutes to 1 hour to chill again. They will then hold their shape better when baked.
- Preheat your oven to 350°F or 176°C.
- Bake cookies for 8-12 minutes or until the edges become golden brown. The baking time will depend on the size of your cookie.
- Let cookies cool to room temperature and decorate!
Notes

A few notes about the recipe (also listed in recipe):
These have already been included in the recipe above, but just in case you didn’t see them, they are important to read, so I’ve included them again.
*Butter – The butter needs to be soft, or room temperature. I leave mine out the night before I do my baking. If you forget, you can grate the butter on the largest hole of your box grater, so that the sugar and butter will mix together better.
*Amount of Butter – I’ve noticed some people who’ve tried the recipe who live in a warmer climate have trouble with 2.5 cups butter, and although the extra 1/2 cup butter taste is nice, to make the dough easier to work with in any climate, I edited the recipe to say only 2 cups of butter. The printable version is uneditable, so still says 2.5 cups of butter.
*Baking powder – I hardly use any baking powder in my recipe because the dough will spread and rise more during baking, thereby making the shape of the cookie less crisp. The only time I use it now, is if I’m just making round shortbread cookies and I don’t care about the cookies spreading.
*Chill your dough if it gets too soft work with. It’s a softer, sometimes sticky dough (depending on your environment as well), but in my humble opinion, makes up for it in taste.
*Read these tips here on stopping dough from spreading.
*Added May 19th, 2019 – Clarification – the sugar used for the cookies is granulated sugar not icing sugar or confectioner’s sugar.
I’ll do an in-depth tutorial with pictures on making the sugar cookie dough in a future post.
Hope you enjoy this recipe!
xo,
Marian


These are fantastic.
Oh, those polar bear cookies are adorable! ^_^ The colors and everything match the ribbon so perfectly, I love it!
This recipe sounds similar to one I use, but I’m going to try yours (substituting my gluten-free flour mixture) and see how it turns out. (I’m craving sugar cookies just thinking about it!)
A trick I learned in pastry school, for quickly softening your butter, is putting it in the kitchenaid and letting the paddle beat it around for a while until it gets sufficiently soft. It only takes a couple of minutes, and then all you need to do is scrape it down and add the sugar to it.
Cheers!
just the cutest!!!!!! can u tell a little more about how the projector works? Where do u put the picture? u were able to use ribbon as the picture?? Thanks!
Thanks Maureen and Kelley!
Kelley thanks for the tip and I’d love to hear how this recipe turns out for you with a gluten-free flour mixture.
Oops danielle your comment snuck in there. 🙂
I actually photocopied the ribbon onto a transparency (acetate paper) and put it in the top box of the projector. (The front cover flaps open so that you can insert your image there. You’ll see what I mean if you look at a pic of the projector through my affiliate link). The image projects straight down.
The ribbon itself is too thick for the light to shine through, and although I like transparencies the best, thin white paper works too.
Hope that helps but please, no worries about asking if you have any more questions.
I REALLY want one of those KopyKake machines! 🙂 Beautiful work, as usual:)
awww so cute!:) I’ve been meaning to start some cookie decorating with the royal icing and all….but I havent QUITE gotten around to it 😛 it seems like a lot of effort…too much to spend on cookies that arent intended to be given away for a special occasion? :p
As always, beautiful work! What talent! (I know you used the KopyKake, but it still takes very steady hands to follow those lines…which most of us don’t have–but you sure do!) Thanks for the sugar cookie recipe; I’ll have to add it to my list and try it out sometime. Also, GREAT tip about not over-creaming the butter and sugar. I always beat the bejeezus out of my butter and sugar and wonder why my cookies spread so much and make me sad! 😀
I’ll take the sugar cookies over the cake any day! My whole family decorated the holiday leftovers after Christmas and I have abandoned my oatmeal and Greek yogurt and am eating them for breakfast! I think the vanilla makes all the difference in a recipe and Nielsen Massey is my fave. The bears are adorable, you are most talented!
Love those Polar Bear cookies. We would finish the chocolate cake first also in my family but we would love to receive those cute cookies.
Happy Holidays!
Wonderful job.
These are fantastic! One question…what is the order of the icing technique you use? Do you pipe the black outline first? Each cookie is so perfect!
Beautiful!!
Awesome cookies! Beautiful & perfect work as always! Your cookies are always so perfectly decorated!
Your cookies are adorable! You are so creative to get ideas from ribbon. One of my New Year’s Resolutions is to learn how to be a better cookie decorator, so I will definitely be back to your blog for tips!!
Beautiful! The mascot at my childrens school is a polar bear so I’m sure these cookies are in my future!
I agree with Melissa – what is the order of your layered piping? That is what I have the hardest time with.
Thanks!!
Thanks everyone!
Melissa and Christy; the order that I made these cookies in was:
1) Piped the bottom coat or baby blue circles and let them dry
2) Piped the polar bear outline and red gift box and let them dry.
3) Filled in the white of the polar bear and when those were dry, I
4) Piped the black eye, red and green dots and green ribbon on the gift box.
In terms of how long it takes for each layer to dry, I would say minimum 5-6 hours.
Hope that helps!
I just have to tell you how much I enjoy your site. Your cookies are absolutely beautiful!! I have a soft spot for polar bears, so these cookies are my new favorites!! I can’t wait to try out your recipe.
Beautifully decorated! They look so adorable.
These are beautiful!! Absolutely gorgeous!! Your flooding and outlining is perfection!!
If you want to try a delish sugar cookie recipe… (its almost as good raw as baked… stop by and check out my favorite!!
http://thepioneerwoman.com/tasty-kitchen/recipes/desserts/amanda-amazing-sugar-cookies-ii/
I absolutely love these! You’re so talented.
Gosh…I wish Santa would have brought a KopyKake projector!!!
Your cookies are perfect!
I think maybe we choose cake over cookies is because we’ve eaten so many? Maybe it’s just me? 😉
they look so perfect for christmas…beautifully done!!
Those look great! I will try your recipe soon. Thanks so much for sharing all your talent!
Your cookies have been a real inspiration. With your tutorials, I made batch after batch of delicious, adorable cookies this Christmas. They turned out well enough that I’ve been asked to make some for an upcoming bridal shower! Thank you for all of your fantastic ideas and helpful tips!
Just wondering…with this recipe, how thick do you roll out your cookies. I love thicker cookies but not if it sacrifices the shape 🙂
Hi Linzy,
There are a few things you can do to keep the shape of your sugar cookie:
* Use less leavening agent in your recipe (i.e. baking powder)
* Make sure you let it rest for min. 1 hour after you make the dough
* Roll and cut your shapes and chill them for min. 1 hour before you bake them
That should help, and if you’d like to see some side-view pics of cookies I have (for the thickness I usually make), see here.
Hope that helps; let me know if you have any more questions.
Marian
Beautiful cookies!!
I sometimes have trouble with the second layer (of RI)cracking or caving in…even after letting the first layer dry overnight….It drives me CRAZY!! Do you have any suggestions…???
Thanks!
Hi Silke,
From what you’ve said though, cracking usually occurs if the icing is too dry (not enough water or moisture), or if you were shaking the cookie while it had already set a bit, cracks can form.
Caving in can sometimes mean that when you were flooding you didn’t quite put enough icing to make it look full, or that the edges of your cookie have more icing and the middle less.
Can you send me a picture of one of those ‘incidents’ please? I might have a better idea after seeing them.
You can contact me through the contact button at the top of my site, or, here’s my email:
[email protected]
Seu trabalho é lindo! Maravilhoso!! Parabéns!
These are so cute. I’d like to make cookies for a baby shower, but as co-hostess I will be very busy. How long will these last? How far in advance could I make these for a baby shower, either it be dough, baked cookie, or even finished iced cookie? Thanks
Racheal,
The fresher the better of course, but if you bag the decorated cookie and seal it with a ribbon you can make them 1-4 weeks (maximum), in advance.
The dough you can make ahead and freeze. It’ll stay in the freezer for up to 6 months.
You can even roll and bake the cookies and freeze those for a maximum of up to 6 months as well. Store them in tupperware with layers with parchment paper in between. When you’re ready to use them, thaw them overnight in the fridge.
I don’t recommend icing the cookies and freezing those. The humidity in the freezer and in the thawing process can wreak havoc with the colors in the icing.
Hope that helps!
This is very helpful. Thank you so much!
Hi Marion,
I love your cookies and your tutorials are wonderful.
I have followed the recipes for the sugar cookies and my first batch were ok, but I thought they were too thin, so my next batch I made them thicker (1/4″) and they seem to spread and loose their shape. My next batch spread as well. I followed the directions very carefully….allowed for all the chilling time, but still are having problems. I was wondering if my flour measurement may be off, as I know it can very whether you scoop or spoon it in the cup. That said, do you have a weight amount for the flour?
Any tips would be great. Thanks so much
Laura
Thanks Laura!
I don’t have a weight amount for the flour, but the next time I make a batch I’ll weigh it.
A couple of suggestions I mentioned but maybe were easy to miss… (one hint was below the recipe under ‘A few notes about the recipe’).
* Use hardly any baking powder (It’s the leavening agent in the recipe), or maybe in your case try none at all.
* For step #1 of the recipe, make sure the butter and sugar aren’t mixed too long; just enought to incorporate the two ingredients together. Overmixing can cause spreading.
*It’s true that how the flour is measured makes a difference. When you dip your measuring cup into the flour, fluff up the flour a bit first (aerate it), and then scoop the flour into your measuring cup. Use the back of a knife to level it and never pack it tightly in. I’m sure you know this one though, so I’ll get back to you with the weight of the flour.
Hope these suggestions help!
Marian
I just made a batch of dough Laura. The flour weighs 28 ounces or 680 grams.
Thanks so much Marian, I will give it a go and let you know how it works
Laura
I have them chilling in my fridge as we speak. If this recipe works I will worship you till the end of my days.
OMG. Cookies out of the oven.
You are a cookie goddess and have won my unsworn devotion.
I have been looking for SO LONG for a good cookie recipe that holds shape AND tastes good. I cant stop eating the dough for crying out loud….
Amazing. I can’t wait to try these. Do you know if you can half this recipe successfully? Thanks! 🙂
Yes, Shelley, you can. Another option is making the whole batch and freezing half of the dough for future use. You can keep it in the freezer for 2 months.
What are your thoughts for a shortbread cookie recipe in place of a sugar cookie recipe? A shortbread cookie will not have eggs or baking powder? http://www.joyofbaking.com/shortbreads/shortbreadcookies.html
I tried Martha Stewart Sugar Cookie Cutout just a few weeks ago and it was my first time with sugar cookies and rolling/cutting out. I overmixed the butter and sugar which caused a slight spreading, but not too much. Cookies were good, but it didn’t have that crisp tender texture like a shortbread cookie. What is the texture of your cookies and does it get softer as it is exposed to air. I had Martha Stewart cookies sitting out on a platter for a whole day and became softer sitting out. Still delicious though.
I just discovered your website and is inspired and will visit more often. After baking my first batch of sugar cookies last week, I’m hooked and would like to perfect them.
You had mentioned a few post back that you had come up with 28 ounces for 5 cups of flour.
Can you be specific whether you dip your cup into the flour, then level OR did you spoon the flour into your cup, then level. That makes a huge difference because 28 ounces of flour comes to 5.6 ounces per cup.
I experiment twice by spooning (not dipping) my flour intp the cup, then level and came up with 4.1 ounces per cup which totals to 20.5 ounces (1:4.5 lbs) for 5 cups of flour. Sorry for being so technical, but I need to be sure. There is about 7.5 ounces of flour difference between our measurements.
Hi Marion,
Well, I finally got a chance to try your suggestions, and I got some great results!! I omitted the baking powder and only used 2 cups of butter instead of 2 1/2 cups. Finally got a cookie that holds it’s shape beautifully. Thank you for weighing the flour for me, now I get the same results each time, I also find it so much easier to weigh than measure.
Thank you again for taking the time for my questions, this is a wonderful site for tips and tricks. Can’t wait for your next post.
Laura
That’s awesome Laura!
D, that’s correct, each cup weights approximately 5.6 ounces of flour, for a total of 28 ounces.
I basically scoop the flour out with my measuring cup, making sure I’ve aerated it by fluffing the flour up a bit, and then level it out.
I think I’ll eventually post the sugar cookie recipe again with weights included as a measurement option as well.
It’s good that you’re being technical/careful; baking is a science!
D, for your first question regarding shortbread cookies, experimenting, and the texture of my cookies, I’d say it’s best just to try the recipe and see if you like it. That being said, any cookie which is overbaked will be crispier and any cookie which is underbaked will be softer (which I’m sure you know!), buuut in general this sugar cookie recipe is a nice balance between the two textures when baked until the edges are slightly golden.
Hope that helps! Please leave me a message here if you have more questions.
I’m wondering if this recipe is good for cut outs??