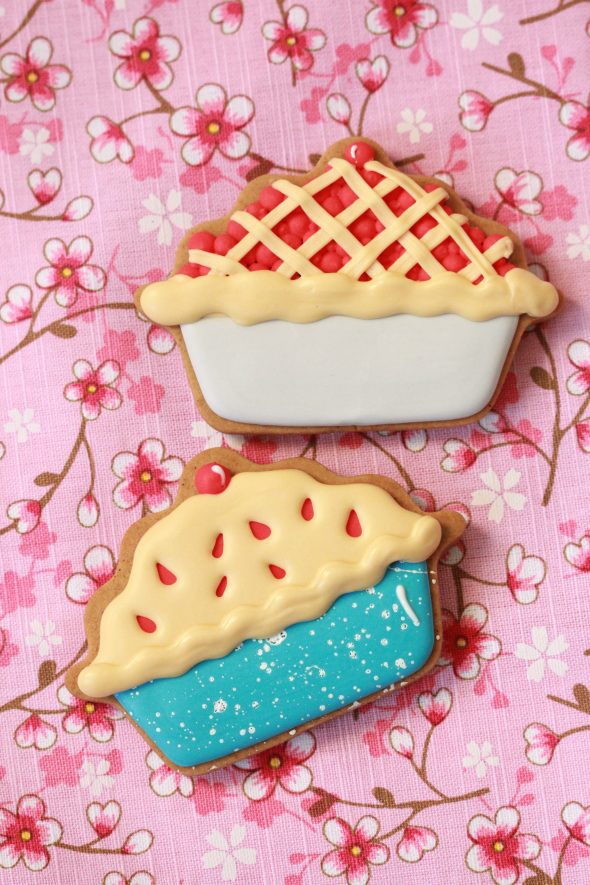
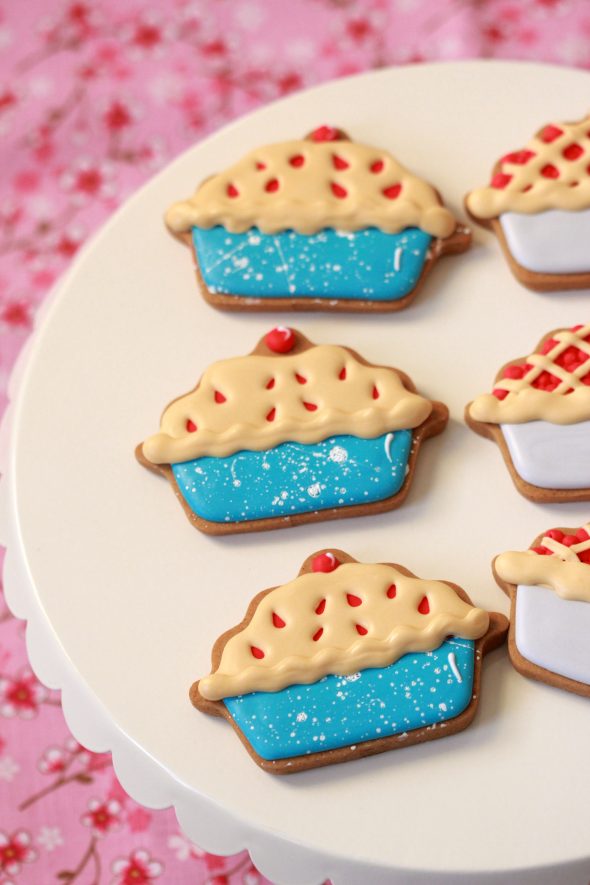
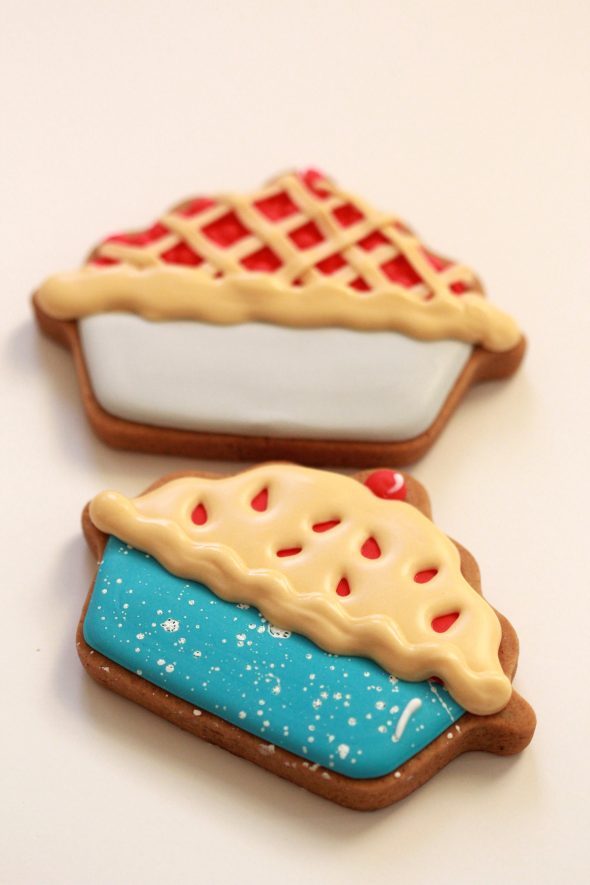
Hope you had a great weekend! Mine was a busy one, so today’s post is going to be short and sweet… A little Cherry Pie Decorated Cookie Step by Step for you… Version #1 – the enamel bakeware look. I’ll work on the second tutorial for Friday.
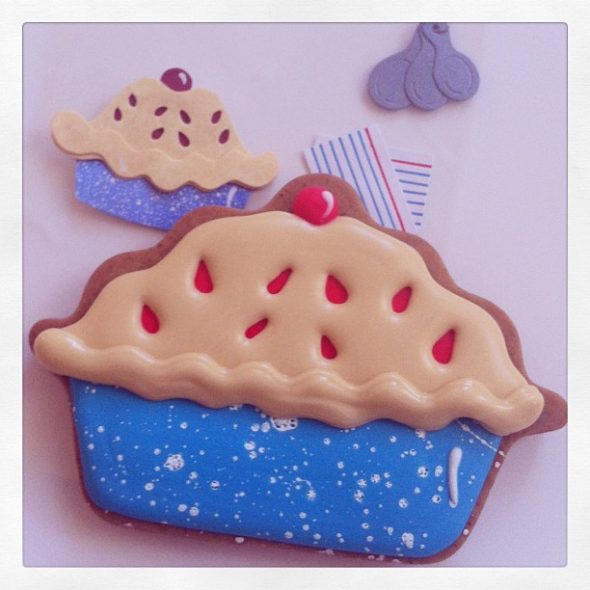
I love using stickers as cookie designs! These ones above were from Michael’s but I no longer have the packaging and haven’t seen them at the store recently. Do you know the name of the company who makes these stickers? I asked on Instagram and Jolee’s Boutique seems to be the best guess so far.
*
Gingerbread Dough
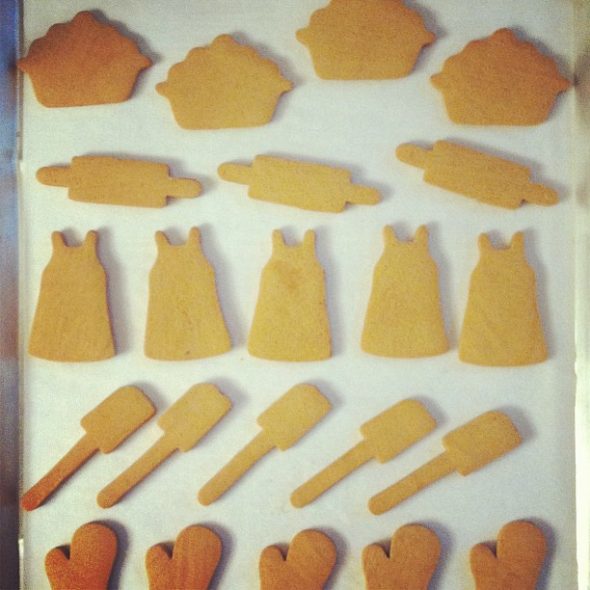
I used my gingerbread dough recipe and this adorable cherry pie cookie cutter is from my lovely sponsor, Cheap Cookie Cutters, and can’t wait to decorate the rest of my baking themed cookies (they’re frozen until time permits). Here they are on Instagram:
*
Royal Icing
You can find my favorite royal icing recipe here. The consistency of icing is key for easy decorating. Click here to see a YouTube video on finding the right icing thickness.
What You’ll Need:
Click on the item below to find it on line:
What you’ll need
*
*
*
*
*
*
*
*
Decorating Steps
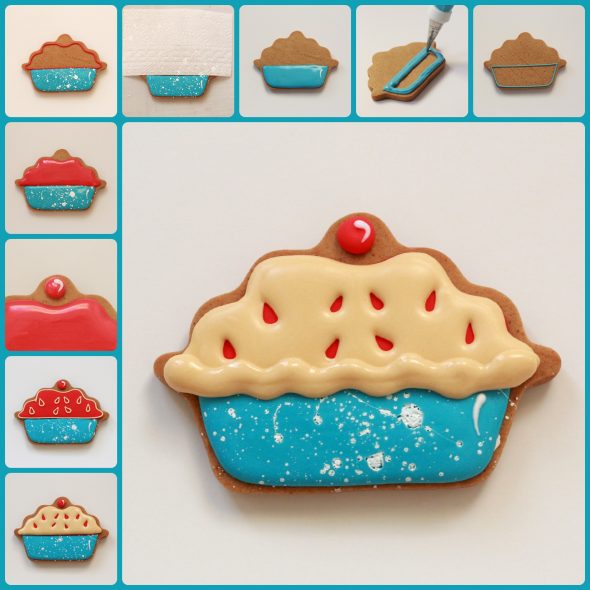
Step One:
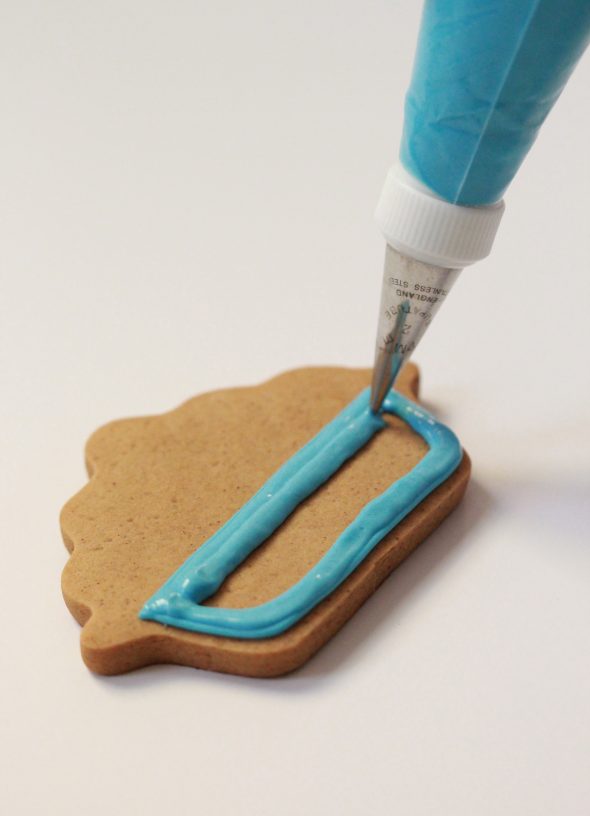
Outline the pie plate shape with royal icing, using a #2 tip. For detailed decorating tips, this tutorial may be helpful for you.
Step Two:
With the same icing, flood, or fill in your shape.
Step Three:
Using white icing and a 1.5 piping tip, add a little white “reflection” line. Let the icing dry for a minimum of 6-12 hours.
Step Four:
Cover the undecorated part of the cookie with paper towel, and flick white food gel coloring onto the cookie with a paintbrush. (See my notes below on using royal icing to do this next time!).
Step Five:
Using a #2 tip, outline the pie filling area with red icing (or color of your choice).
Step Six:
With the same icing, flood, or fill in your shape.
Step Seven:
Pipe a small dot at the top for the cherry, and pipe a little white “reflection” line right afterwards. Let the icing dry for a minimum of 6-12 hours.
Step Eight:
Using ivory colored icing and a #2 tip, outline overtop of the red icing and pipe small seed shapes (I used the sticker as my design guideline).
Step Nine:
With the same icing, flood, or fill in your shape. Let the icing dry for a minimum of 1-12 hours.
Step Ten:
Using ivory colored icing and a #2 tip, pipe the “pie crust” over the edges of the pie plate and cherry filling (I used the sticker as my design guideline).
Done!
*
Notes:
- Thanks to Bake At 350 & SweetSugarBelle for their “splattered paint” decorating technique! Check out their amazing blogs if you haven’t yet, and prepare to be there for a while!
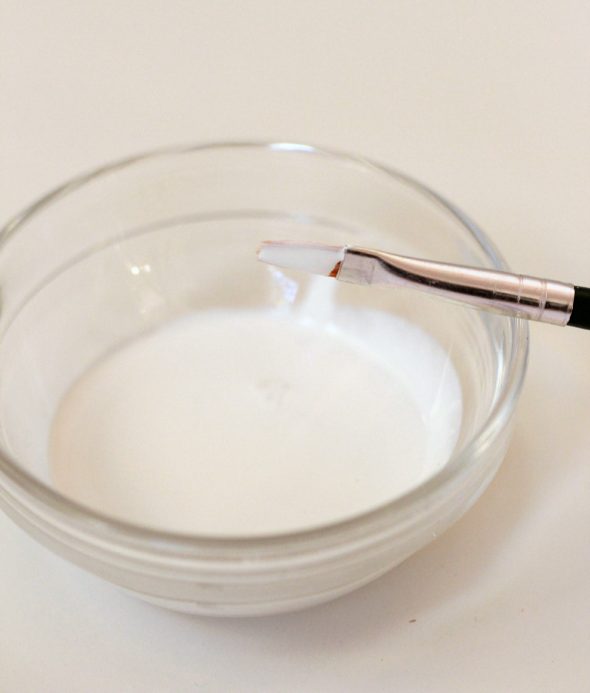
- The white food coloring left some indents in the blue royal icing as dry royal icing is sensitive to liquid. The next time I try this technique I won’t skip a step
be lazyand will use white royal icing instead of gel coloring. How cool would this look be for a moon or planet cookie though! - The blue icing color was made mixing sky blue, Wilton Delphinium blue and a little bit of Americolor navy.
- It might add a nice touch to dust a little light brown lustre dust on the pie crust for a natural browned look.
- And if you haven’t seen it yet, I’m giving away a Raspberry Ice KitchenAid Stand Mixer! Head on over here to check it out and enter!
Good luck and have fun decorating!
xo,
Marian


So pretty! And love the attention to detail – gorgeous cookies 🙂
Followed on g+!
How cute are these!!! Xx
you always have the sweetest ideas and it makes me want to decorate cookies again.
Awww, thanks, I hope you do. 😉
Greetings from London! I Love these cookies Marian
Happy Monday and a successful week xx
Thanks Rowaida, you too! xo
Following on google+!!!
I followed you on Google +
Are those graniteware pie dishes? Oh-so-cute!
Hi Anna! Oh yes! I’m practicing for the Barn Light Electric dishes. 🙂
omg these look like REAL cherry pies. they’re so realistic and gorgeous! i just wanna eat it up!
Those look so good! What amazing detail!
I love the idea of using stickers for ideas! there are so many great scrapbooking stickers out these days!
Amazing work, Marian. I love those little blue pie pans!
Cookies are wonderful!! Thanks for all the information
These cookies are so creative & adorable!
These cookies are super nice, Marian! The pie plate is gorgeous.
I can’t even handle how incredibly creative you are!!! The splatter pie dishes are off the charts!!
Too cute!
I love how you always come out with the best ideas… These cherry pies look adorable,perfect detailed!
ML
Adorable cookies, Marian!
I just started following your blog. I don’t sleep at night
Because I have a baby so I try get inspired by your
Beautiful work. Thank you. I just love it.
Love the pie cookies. Thanks for the tutorial. Did you finish your kitchen yet?
Thanks, Kathy! Kitchen is still not finished. I’ve heard that patience is a virtue (I’m working on it). Lol. Thanks for asking!
These cookies are absolutely beautiful!!!!
I need one, I want one, I want to win… I still have a hand mixer can u believe that!
I have pinned your cookies they look so good and i followed you on google + And like you on facebook I would so like to win
please check the link of the gingerbread dough, it is wrong
Thanks so much, I’ve fixed it!
I dunno, I kind of think the indents add dimension to the graniteware. I noticed it and I loved it! : D
Oh that’s good to hear, Stephane, thanks!
Oh sweetie I have been missing out on all your new lovely posts!!
Been very sick due to a detox I am going through.
I absolutely love these cookies – I can taste the cherries, warm cherries, so so yummy!
Love your tutorial, sweetie. So awesome you are posting a lot these days!!
XOXO,
niner 🙂
Hi Niner!
Hope you’re feeling okay! Missing your posts.
Thanks for commenting here and feel better!
xo
Marina,
Your tutorials are always amazing! I’m following you from Barcelona, Spain, and your blog was a inspiration for me.
Thank you to share your ideas!
Sílvia